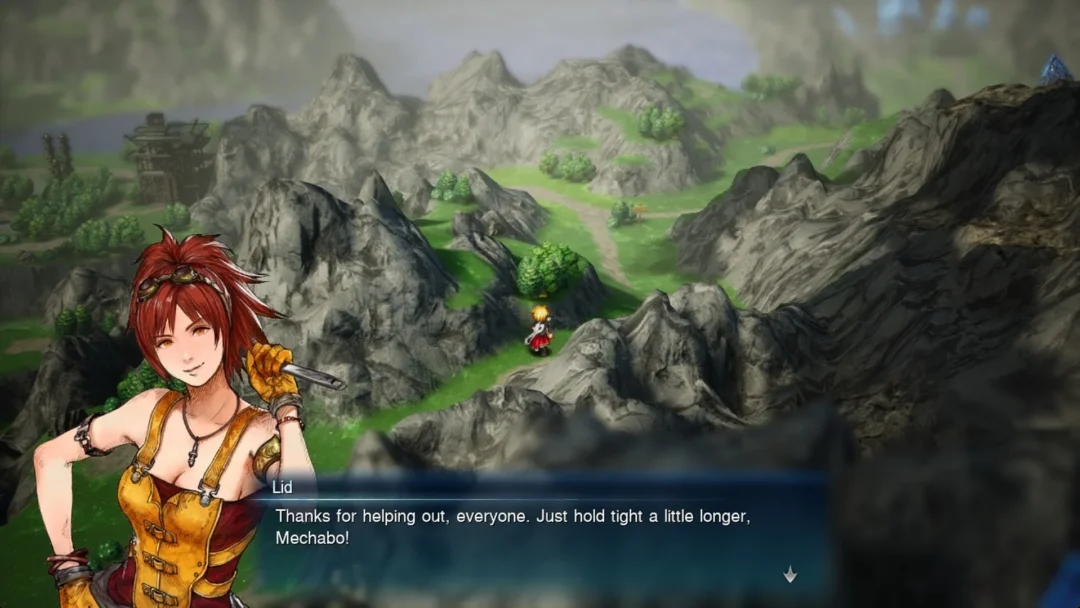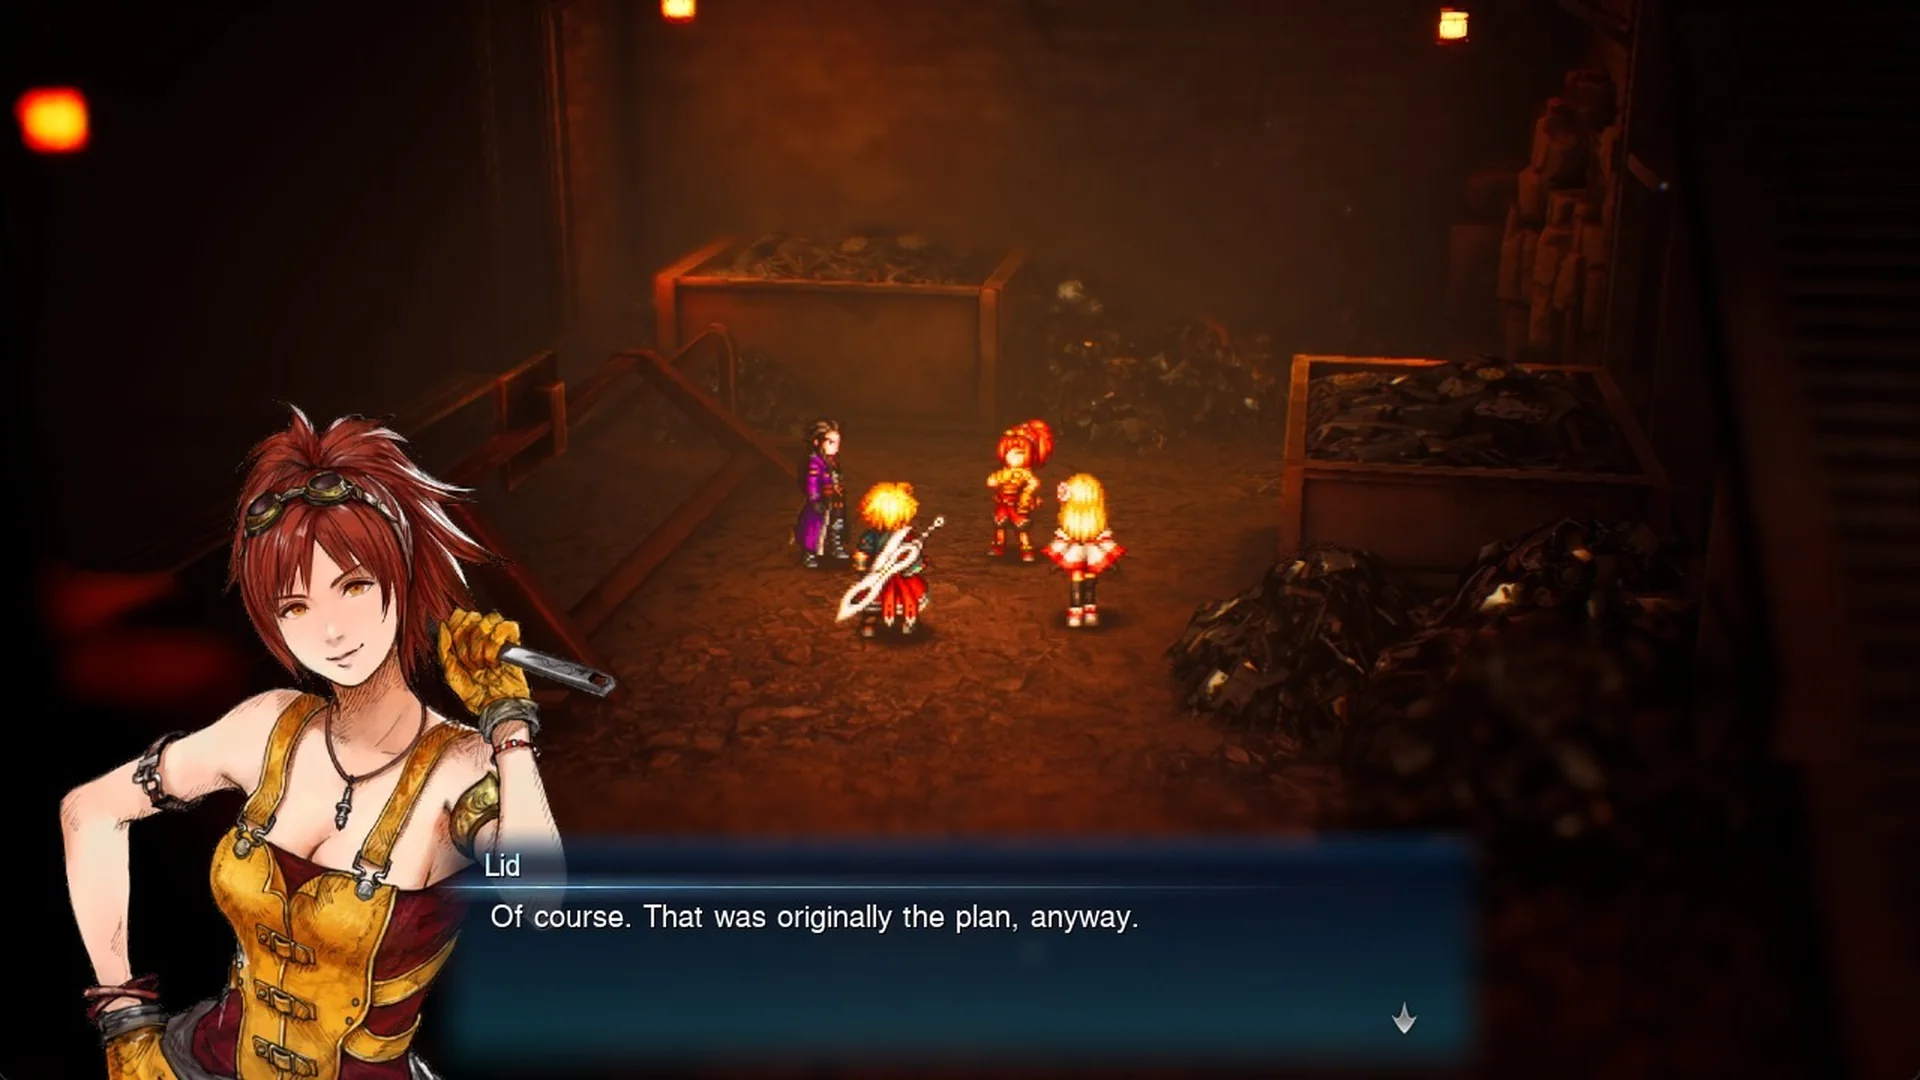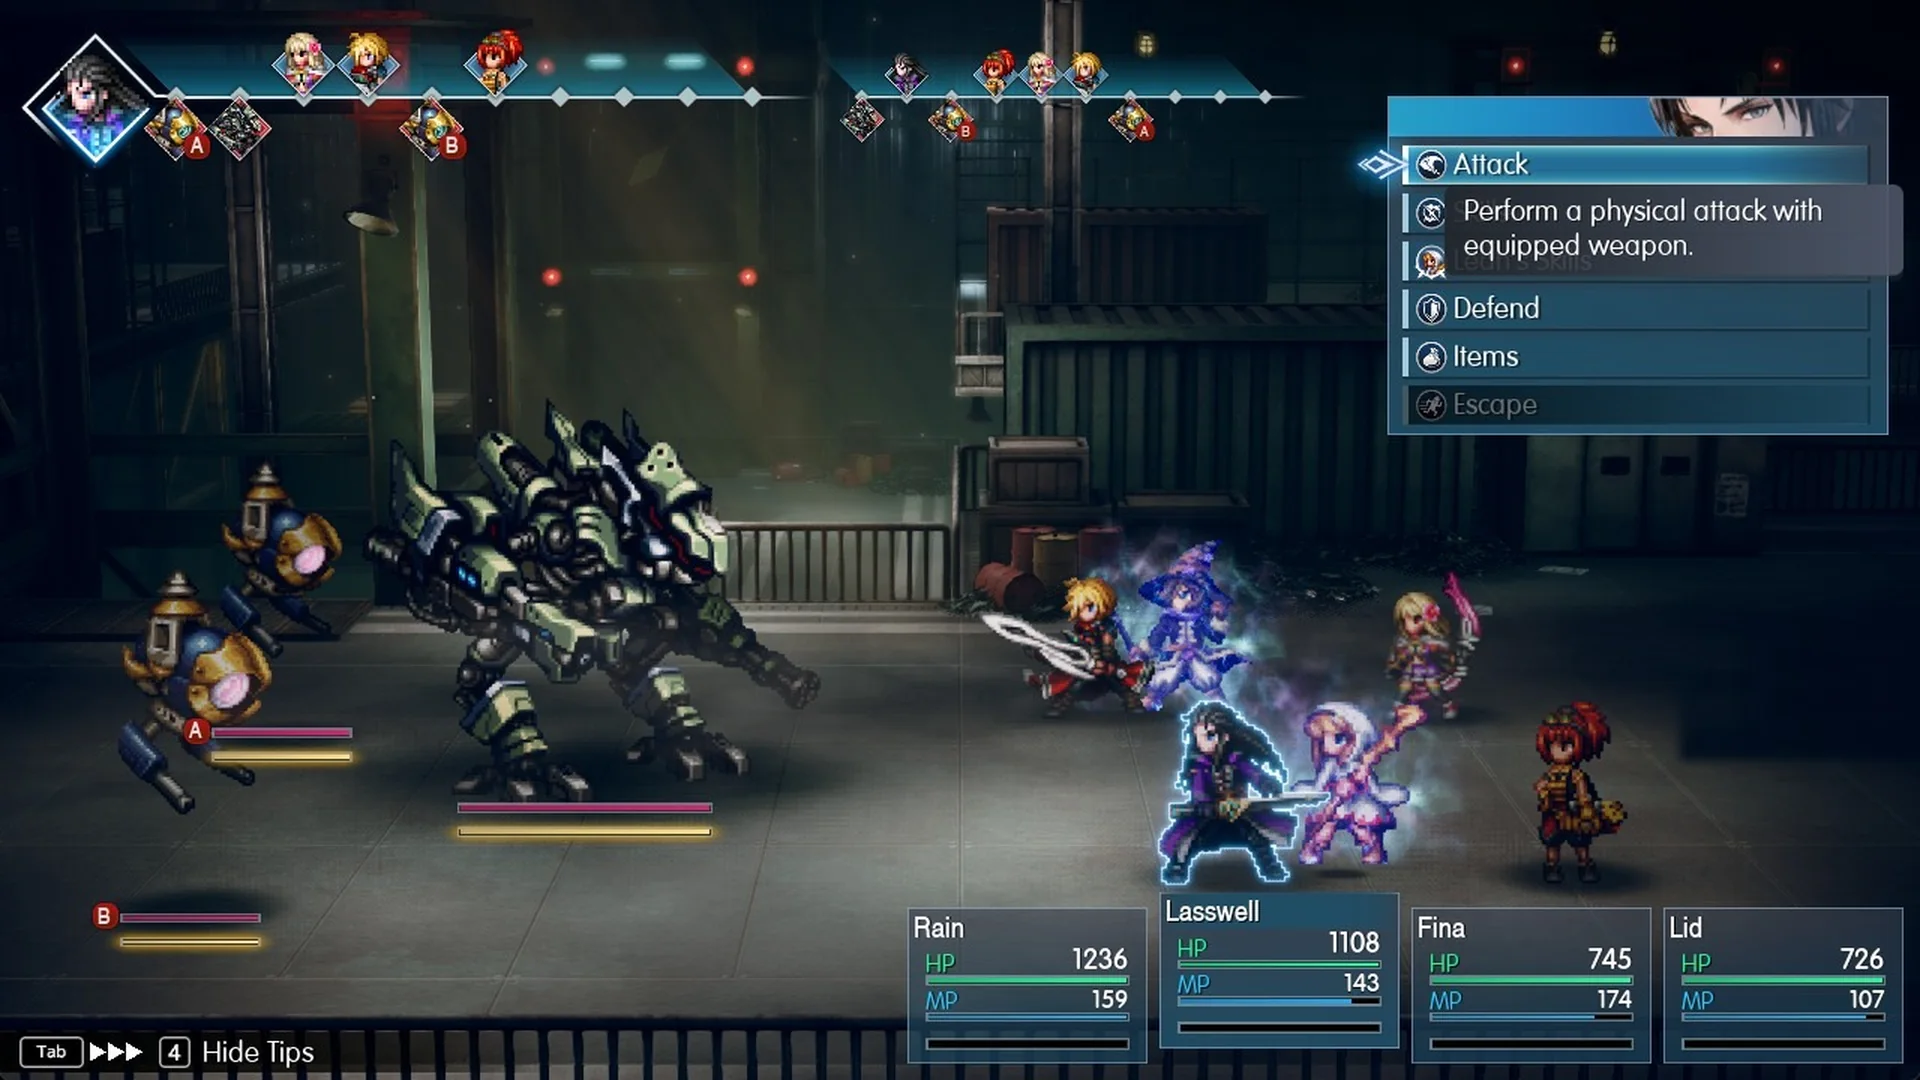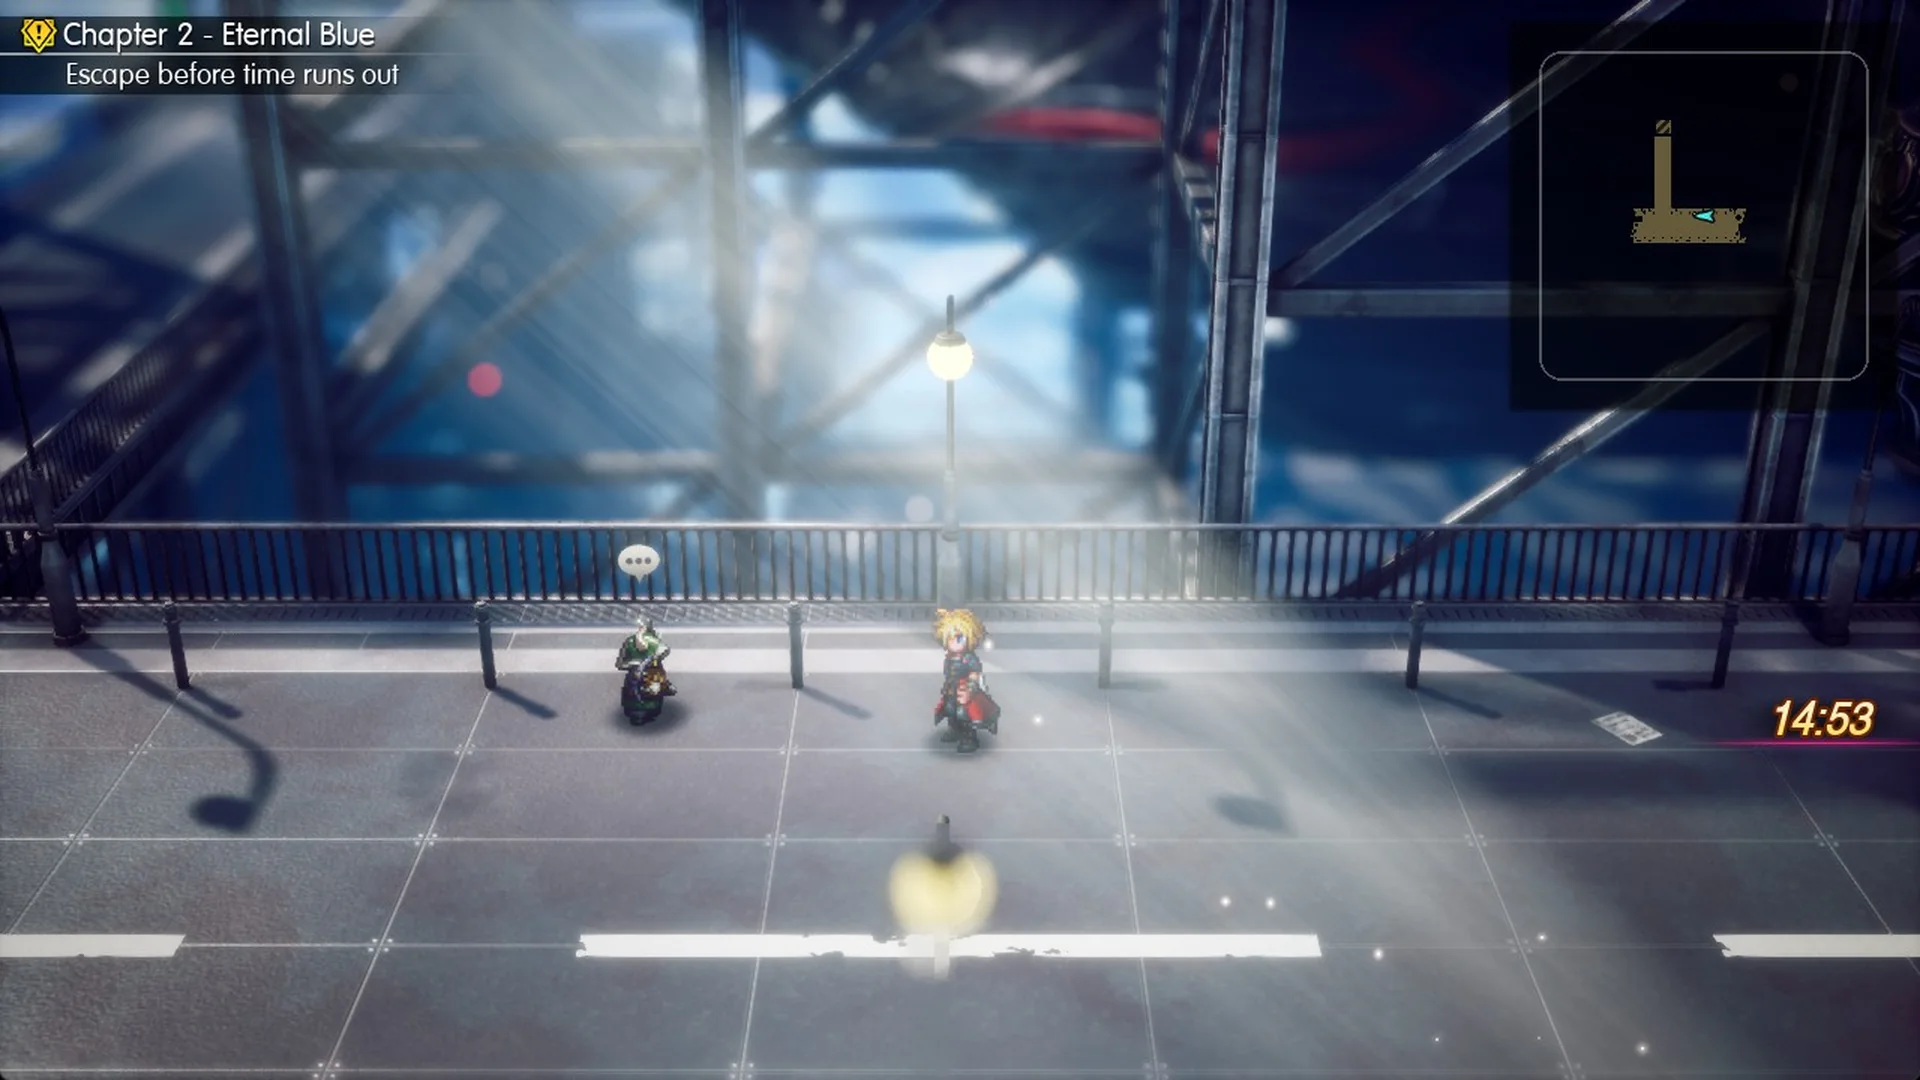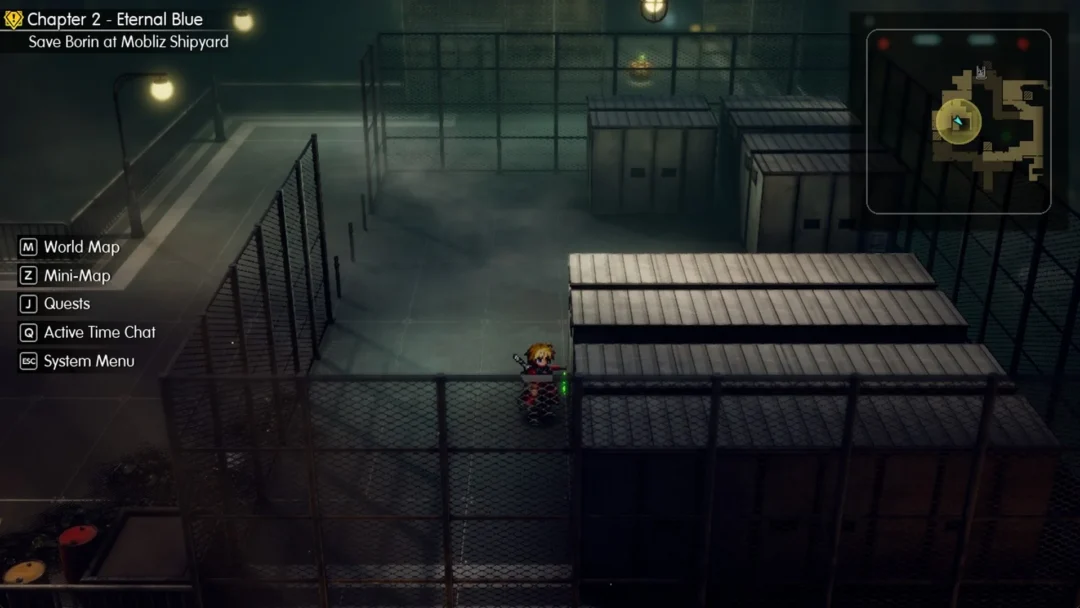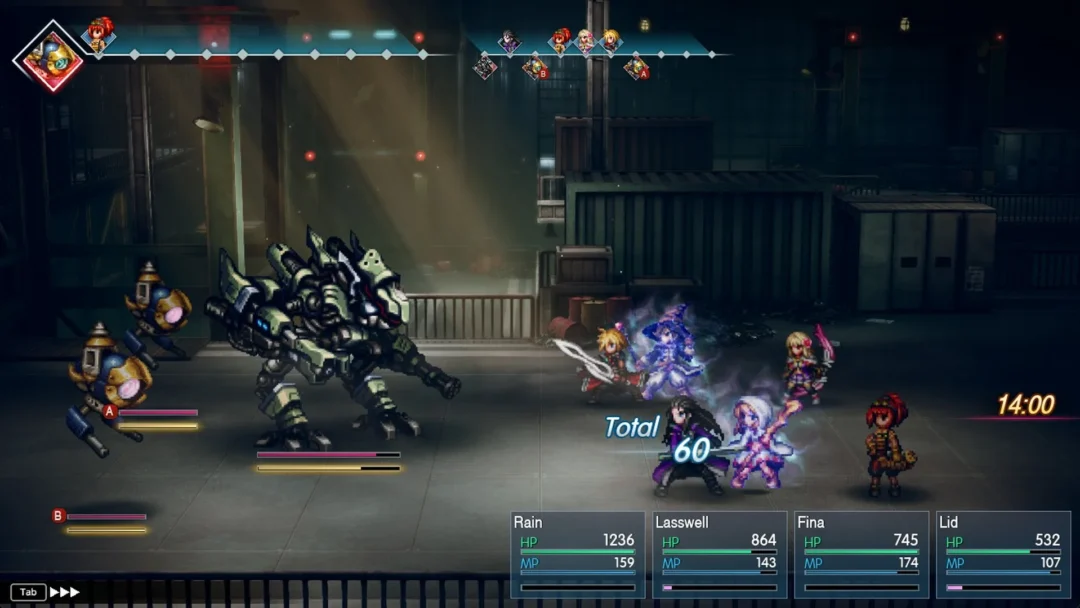
Adrastea is the huge armored machine that chases your party onto a runaway cargo train at the end of the Mobliz Shipyard escape in Chapter 2 (“Eternal Blue”) of Final Fantasy Resonance. It comes immediately after Epimetheus, with no save point between the two fights and no way to run.
Quick answer: Hit Adrastea’s Thunder weakness every turn with Rain’s Thundara and Lightning Scrolls, and summon Siren on turn one. When “Charge Wave Cannon” appears, heal the whole party before the Wave Cannon blast that follows.
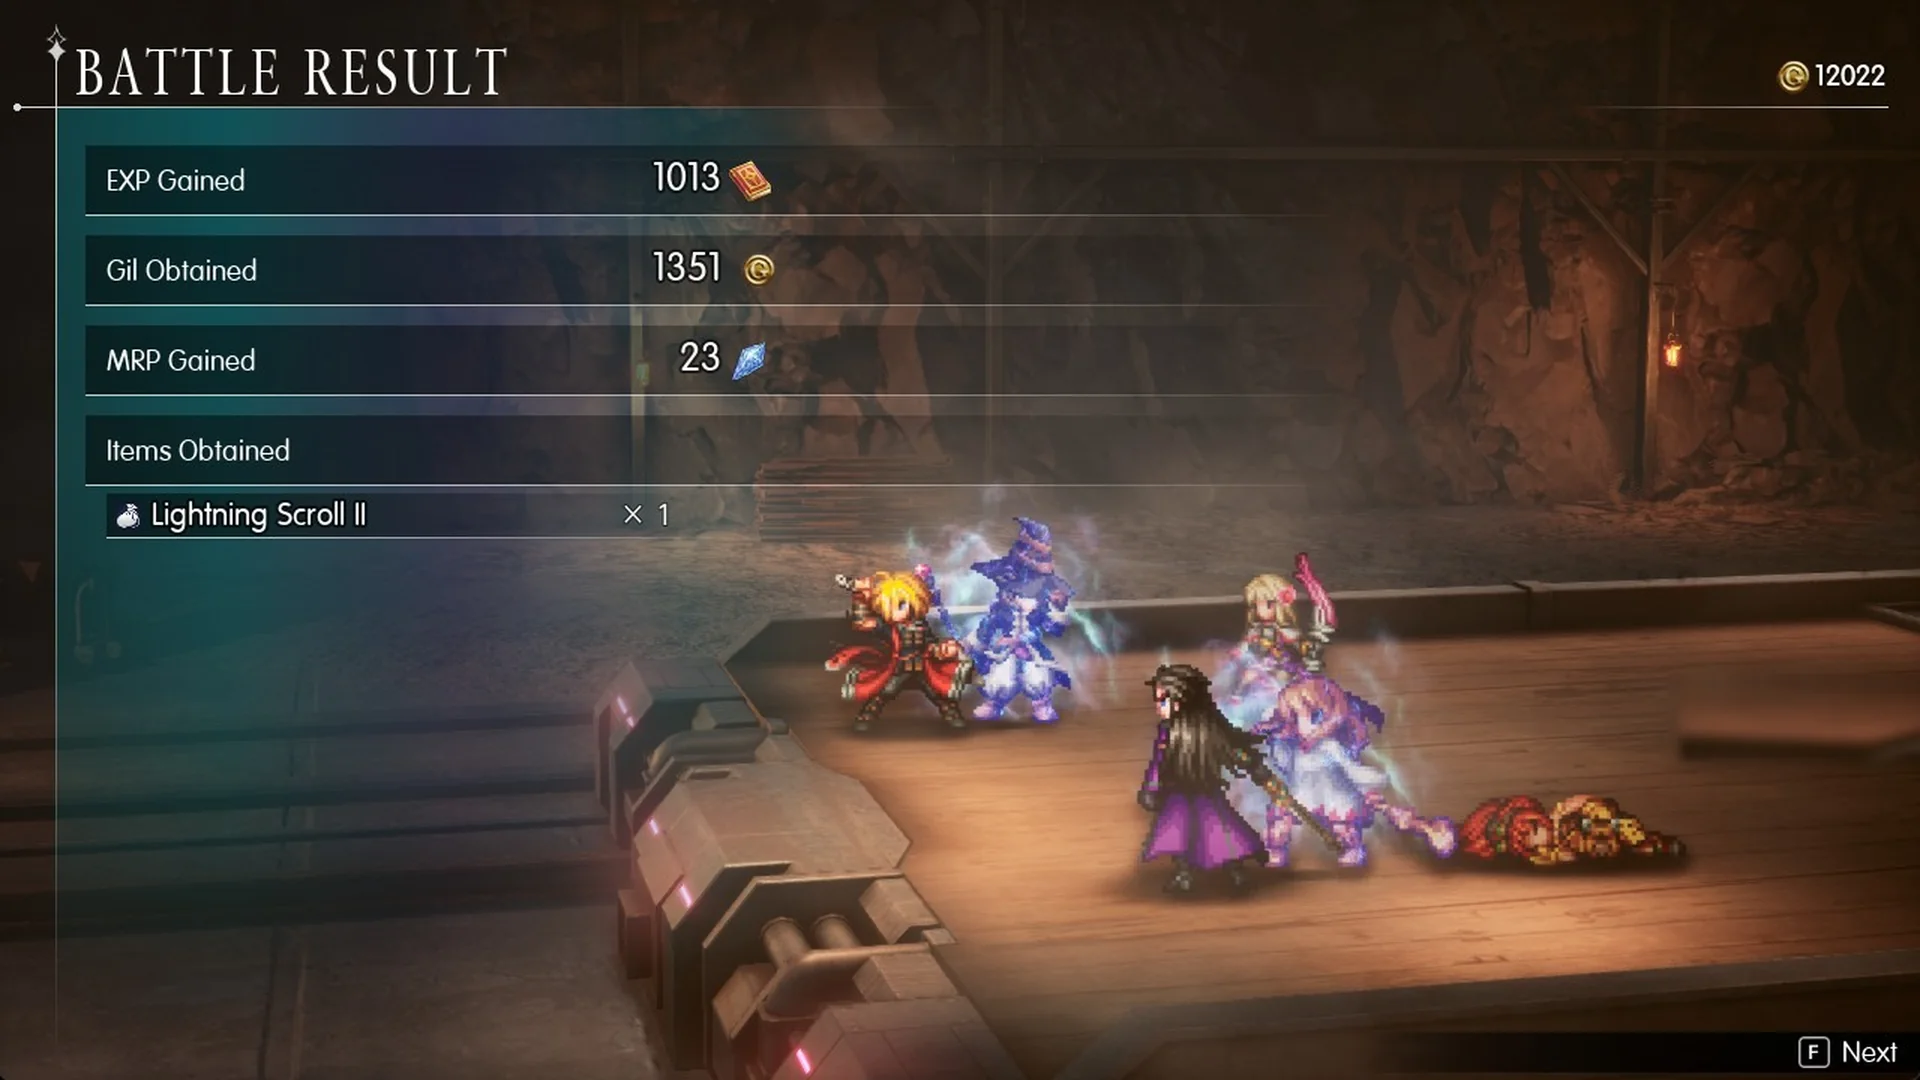
Adrastea is level 16 with 25,000 HP and is weak to Thunder and Water. A win pays 1,013 EXP, 1,351 Gil, 23 MRP and a Lightning Scroll II. If your party goes down, Retry restarts the fight with everyone at full HP and MP.
| Field | Value |
|---|---|
| Level | 16 |
| HP | 25,000 |
| Weak to | Thunder, Water |
| Resists / nullifies / absorbs | None |
| Trait | “Readies a special skill when stagger gauge is reduced.” |
| Status | Immune to Poison, Confuse, Stone, Charm, Berserk, Death, Gravity; Blind, Sleep, Silence, Paralysis rarely land |
| Big attack | Wave Cannon (whole party), announced by Charge Wave Cannon |
| Escape | Not possible |
| Drop | Lightning Scroll II |
| Battle Result | 1,013 EXP, 1,351 Gil, 23 MRP, Lightning Scroll II x1 |
Where you fight Adrastea
Once you beat Epimetheus, the party rides the elevator down to a cargo train waiting in the tunnel beneath the shipyard. Adrastea fires a beam through the tunnel that catches Mechabo (“Kwehhh!”), and the train starts gaining speed. Lasswell calls out “Actually, hold that thought! Speed it up!” before Rain settles it with “Looks like we have no choice but to fight back!”
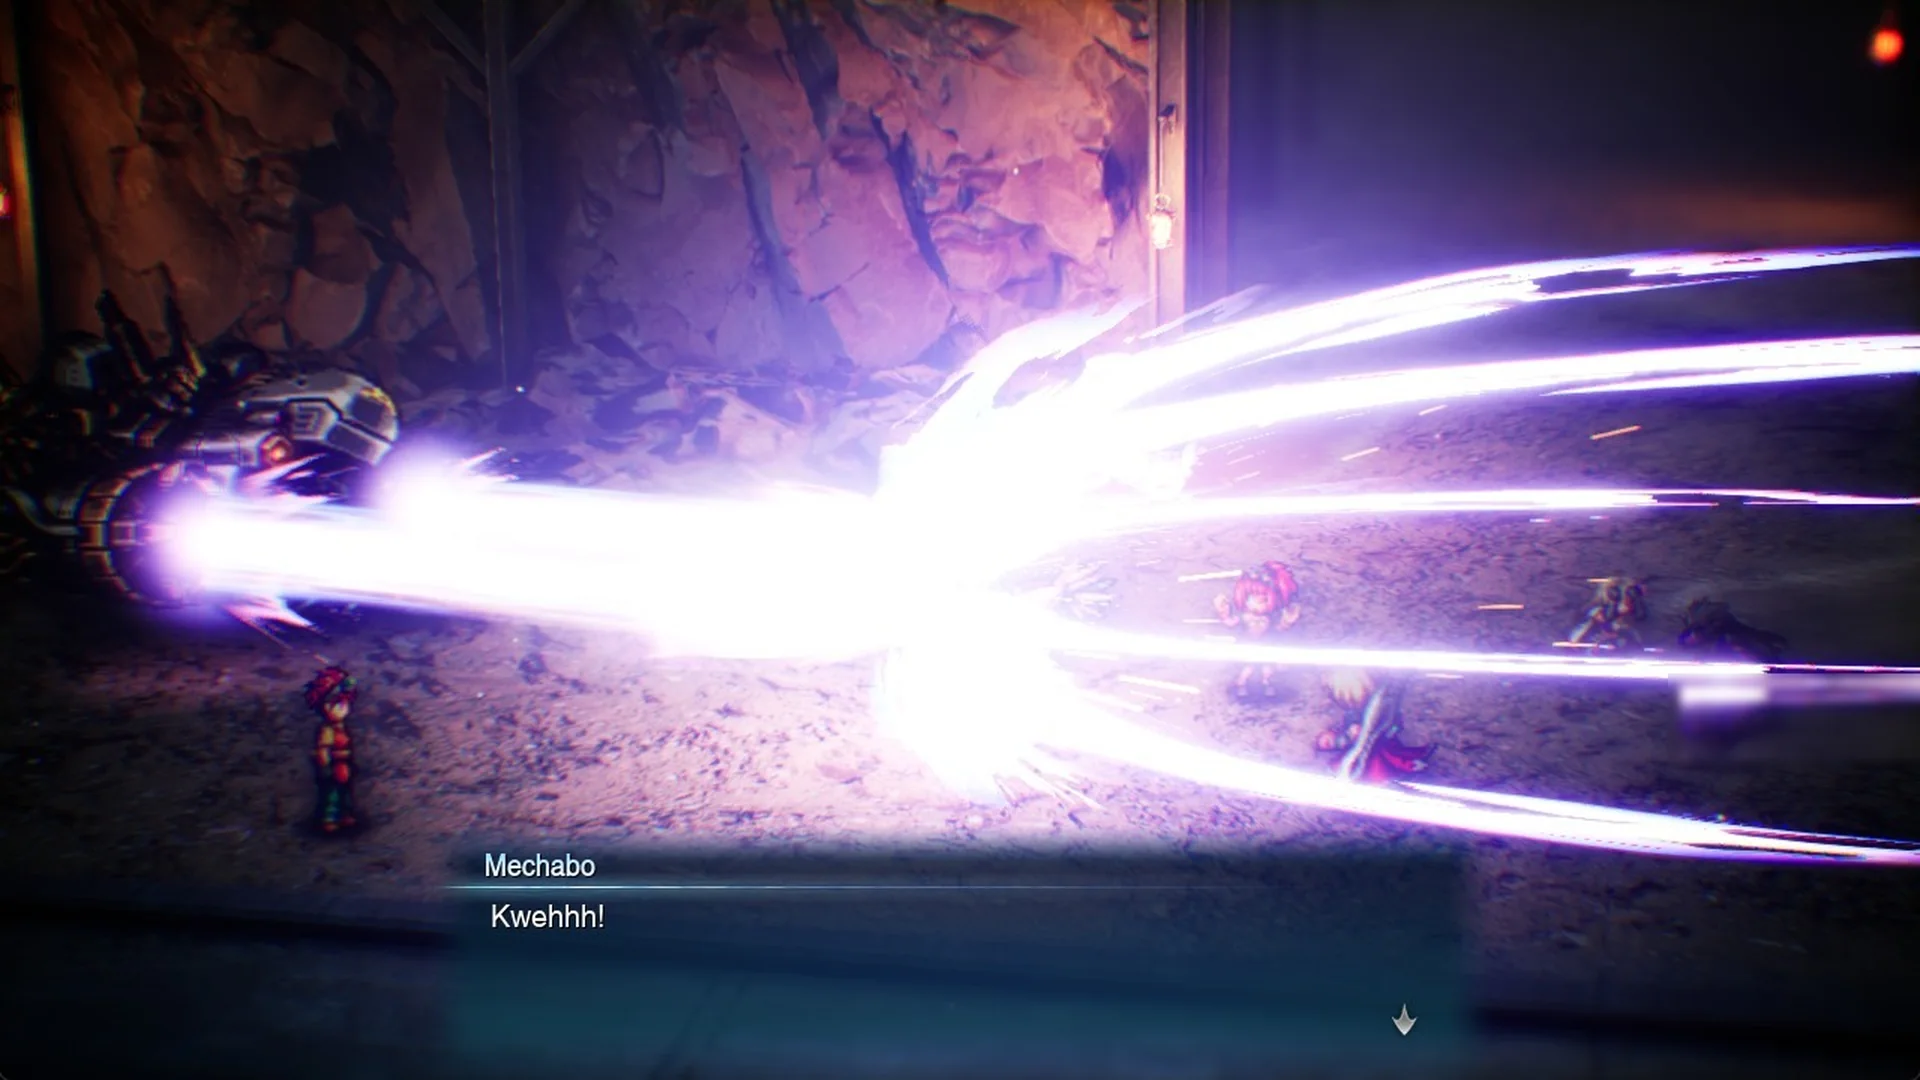
The fight begins with whatever HP and MP your party has left over from Epimetheus. There is no chance to rest or save in between, so anything you spent on the earlier stretch of the Mobliz Shipyard escape stays spent.
Adrastea stats and weakness
Status effects are mostly a waste of turns. Adrastea is immune to Poison, Confuse, Stone, Charm, Berserk, Death and Gravity, and Blind, Sleep, Silence and Paralysis rarely land. Siren’s Sleep and Silence come back as “Resisted”, and the Confuse from Lid’s March of the Machines cannot land at all. Its big attack, Wave Cannon, hits every party member; in our fights it came only after a Charge Wave Cannon turn. Its other attacks each hit one party member: Machine Gun (175 to 200 damage), Atomic Ray (215), Missile (223 to 332) and Flame Thrower (168 to 245).
Charge Wave Cannon and Wave Cannon: the attack that wipes parties
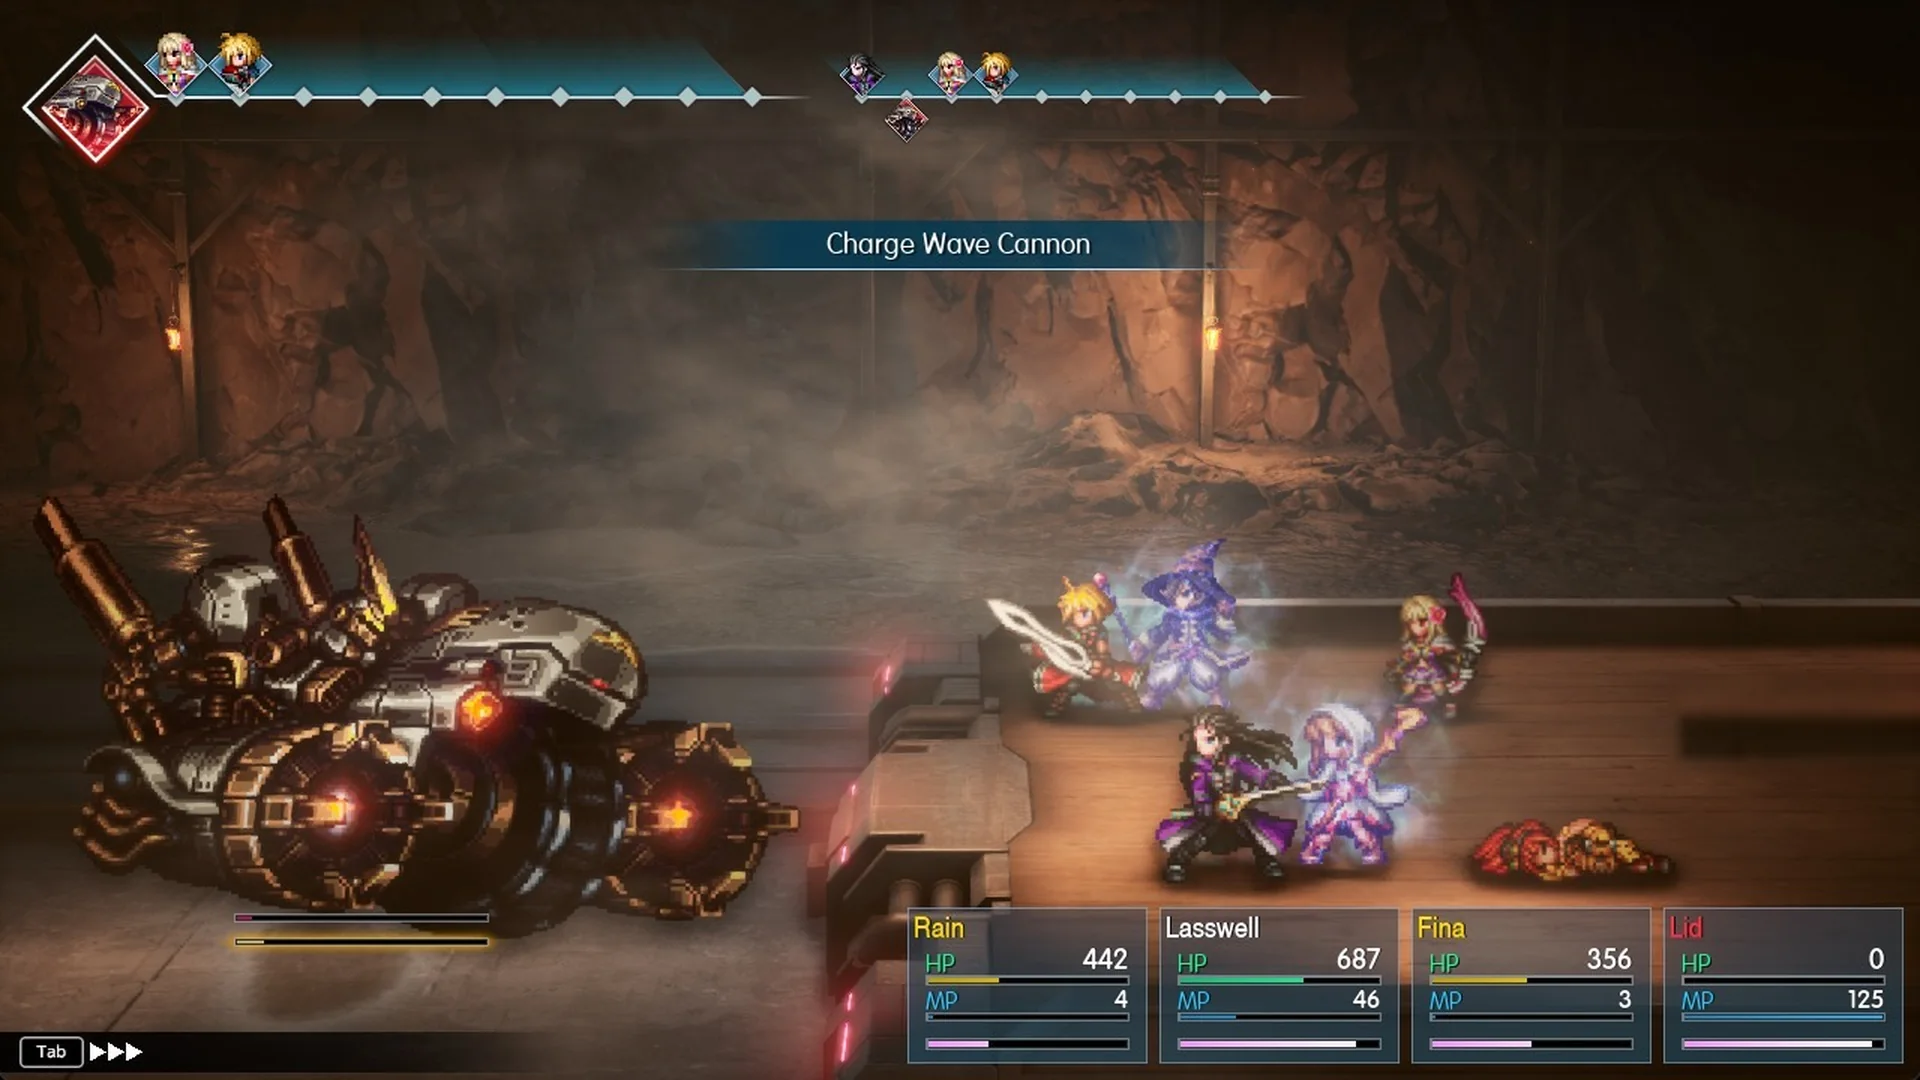
Keep an eye on the turn-order bar at the top of the screen. When Adrastea’s icon shows a yellow “!” with a red aura, it is charging. On its next action, a “Charge Wave Cannon” banner appears. That turn is the charge itself and does no damage. “CHARGE COMPLETE!” follows, and then a “Wave Cannon” banner: that is the blast that hits your whole party.
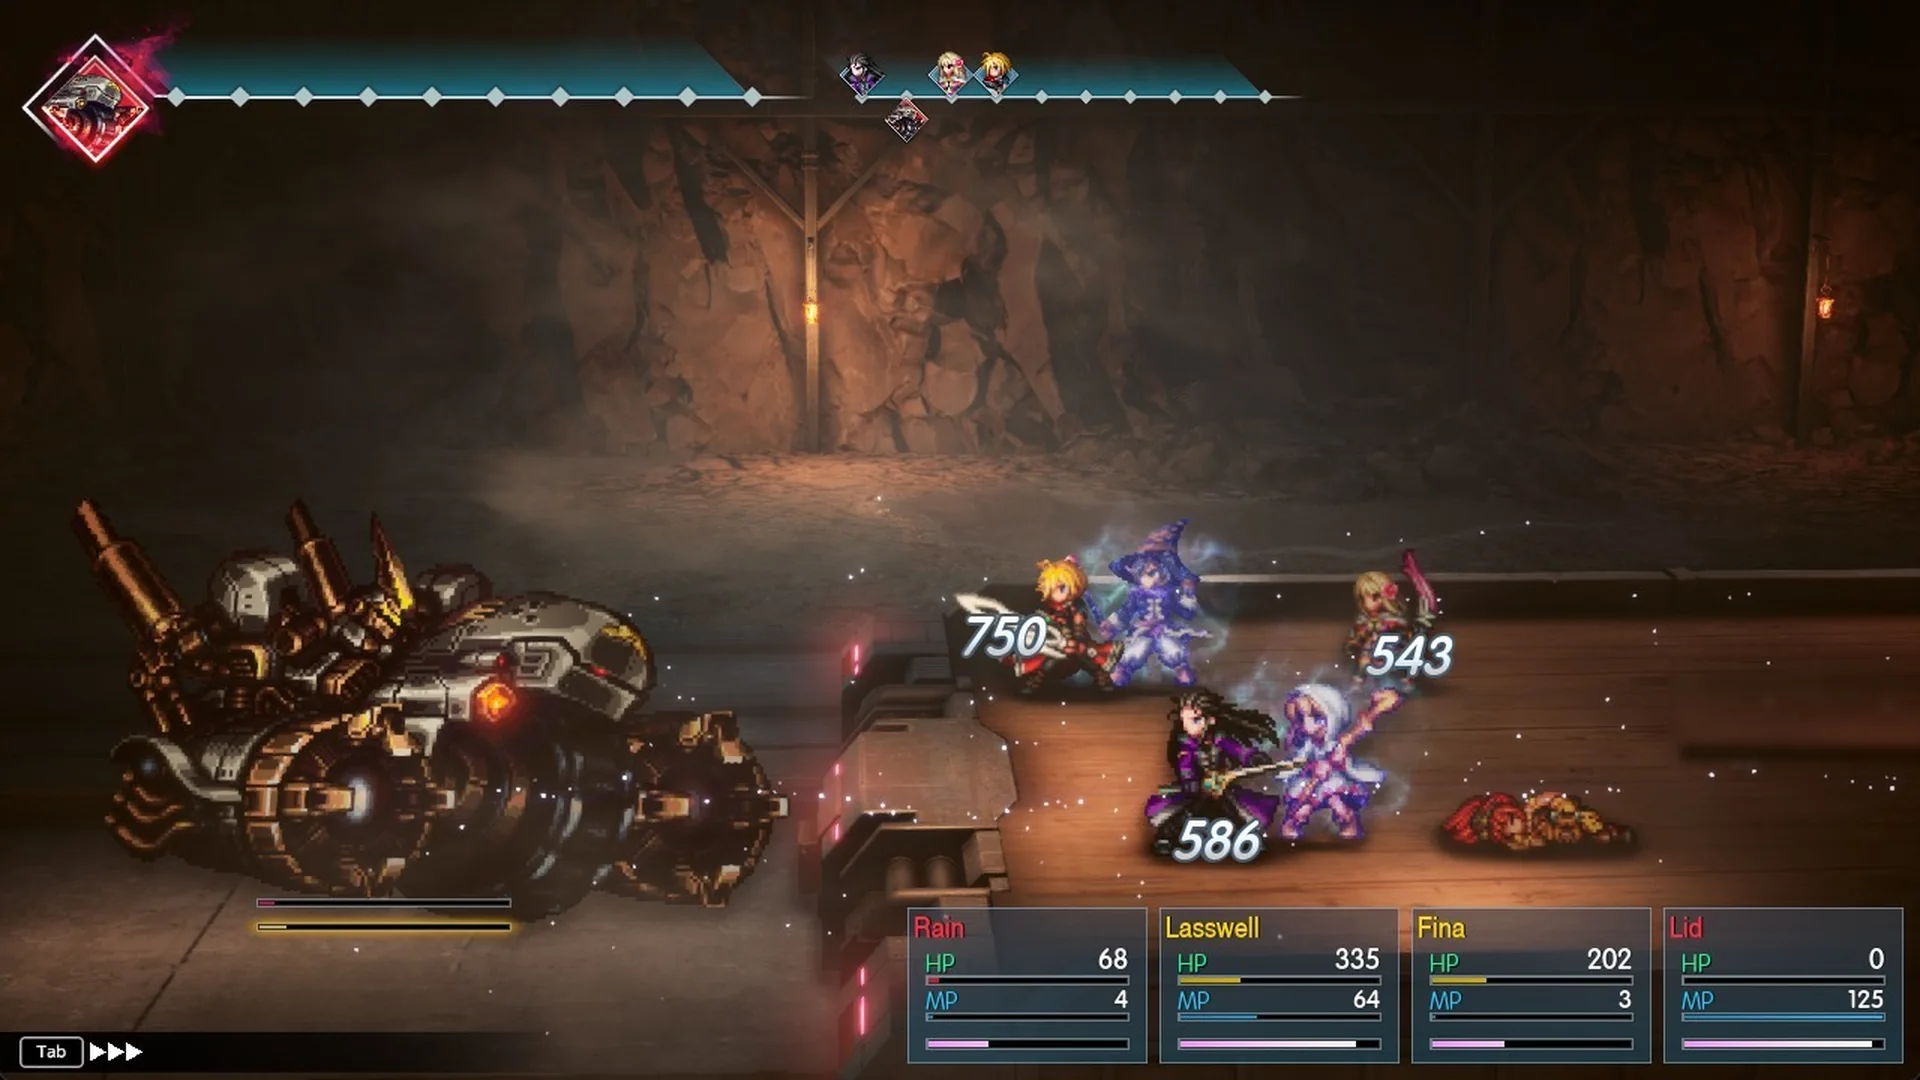
One Wave Cannon hit for 750, 586 and 543. Across our fights it did 538 to 863 to each party member and knocked Lid out twice.
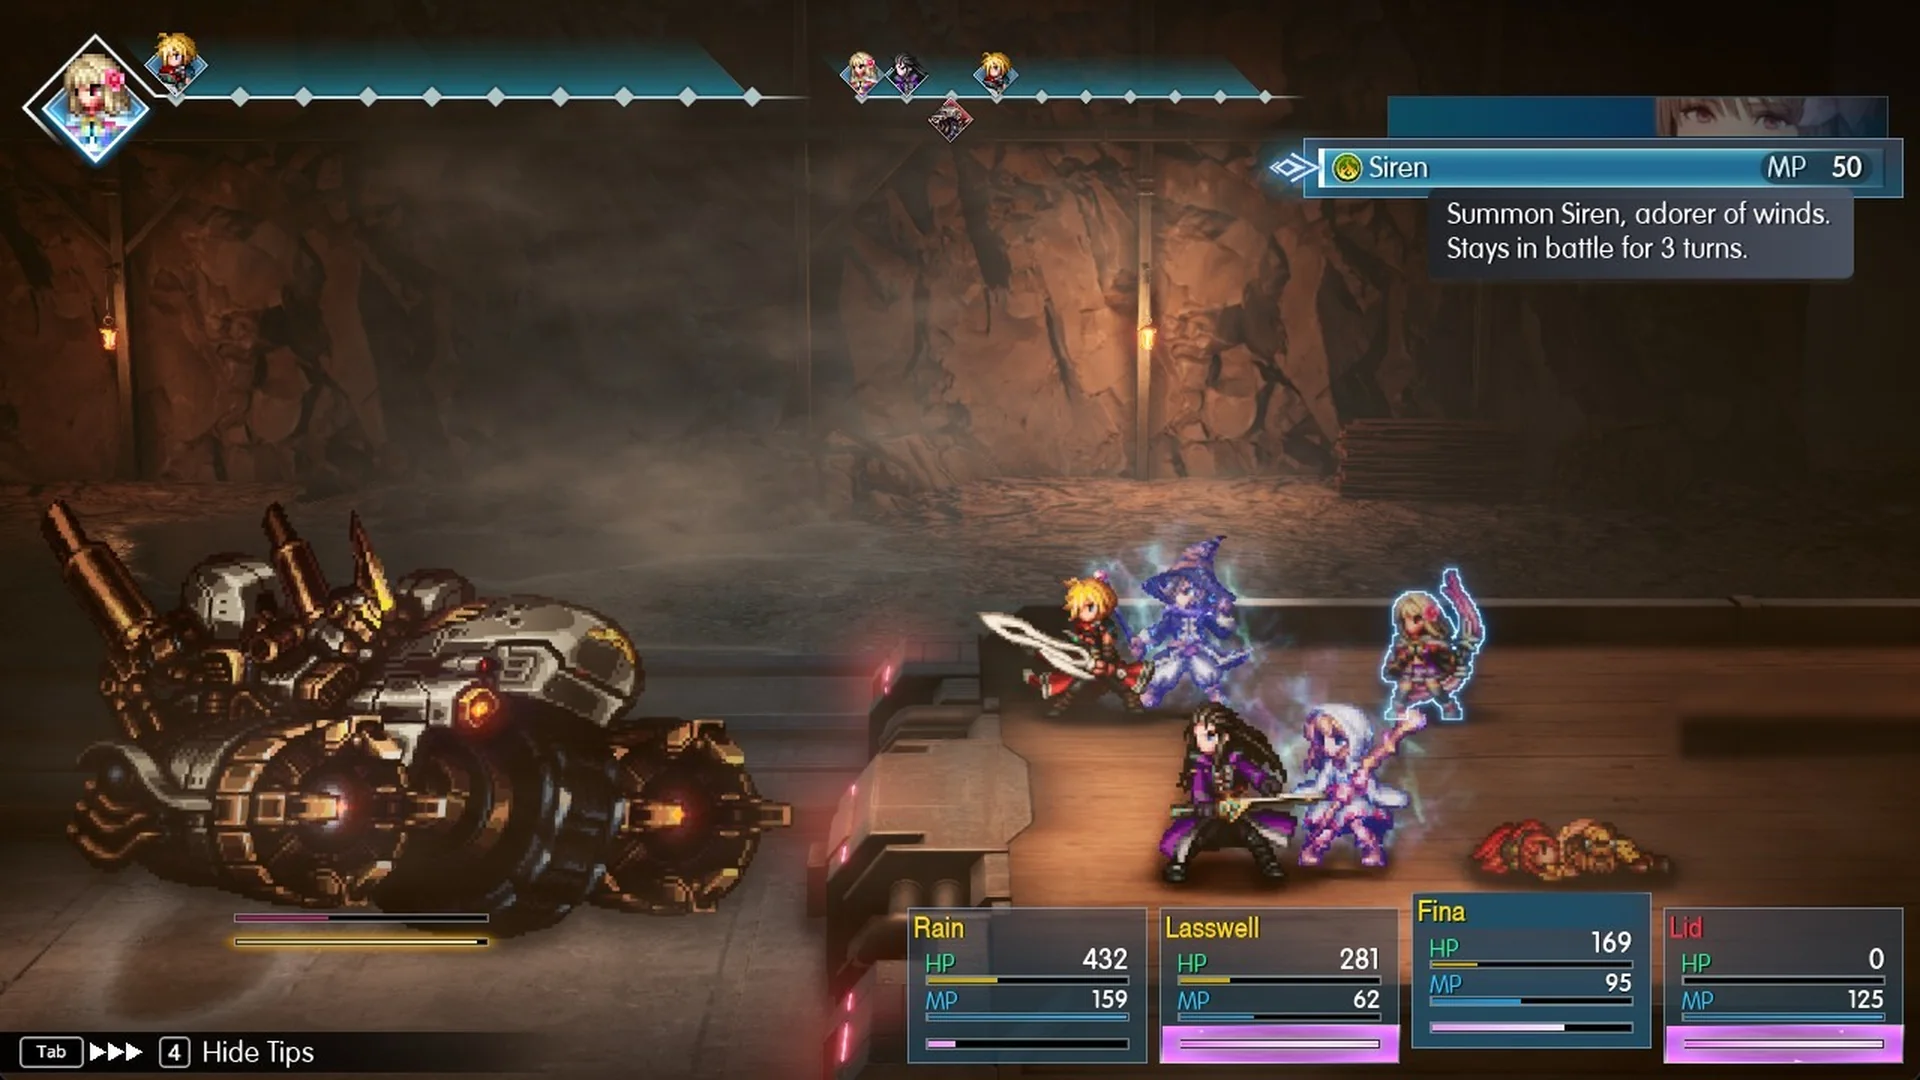
The fix is to heal everyone back up in the window between the Charge Wave Cannon banner and the Wave Cannon, not after. Lasswell’s Cura sits in his Leah’s Skills row and costs 18 MP; press Q to switch its target to All. A Mist Potion (“Restores 200 HP for all allies.”) does the same job without MP. If someone still drops, bring them back right away with a Phoenix Down (“Revives a KO’d ally with 25% HP.”).
How to beat Adrastea (the plan that won)
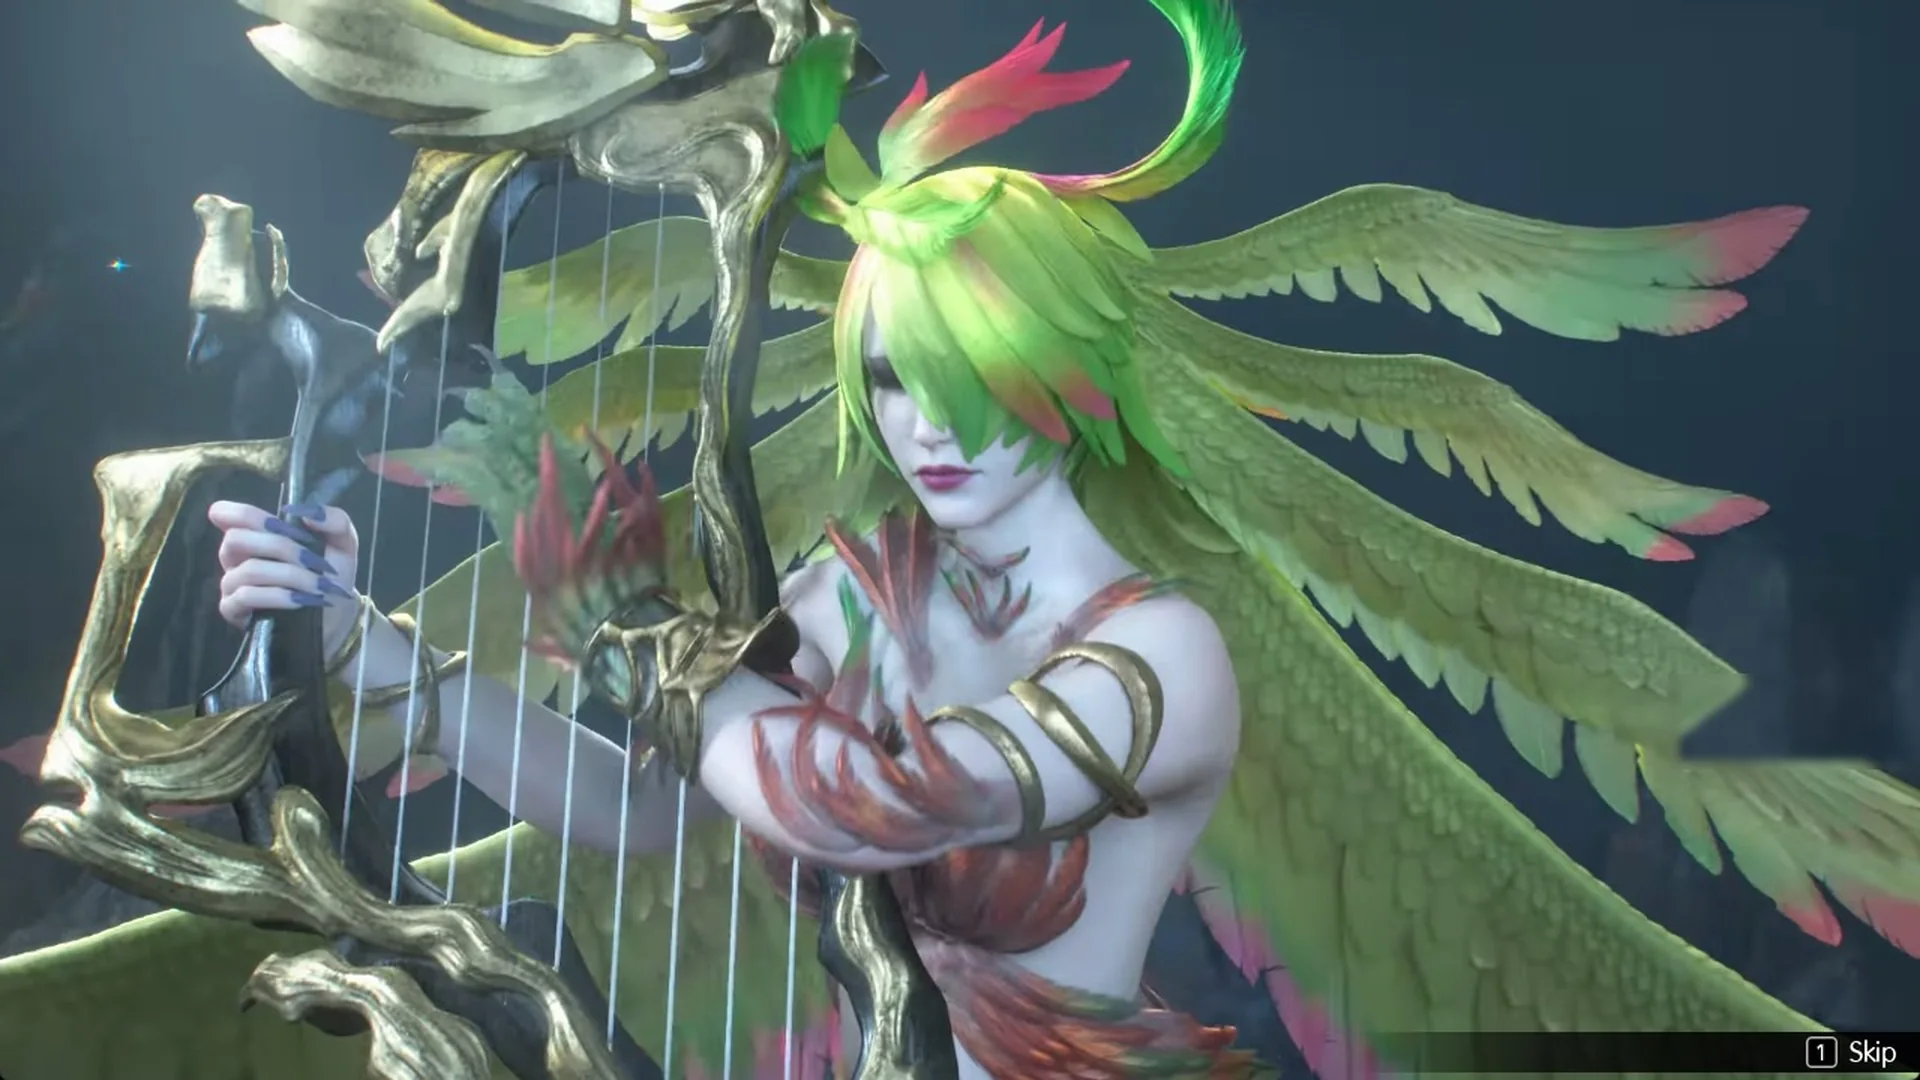
Siren appears on the field; in one of our fights her attack hit Adrastea for a total of 1,248. During that opening turn, Lasswell should cast Haste on himself; find it at the bottom of his Skills list. Apply Haste to Fina afterward.
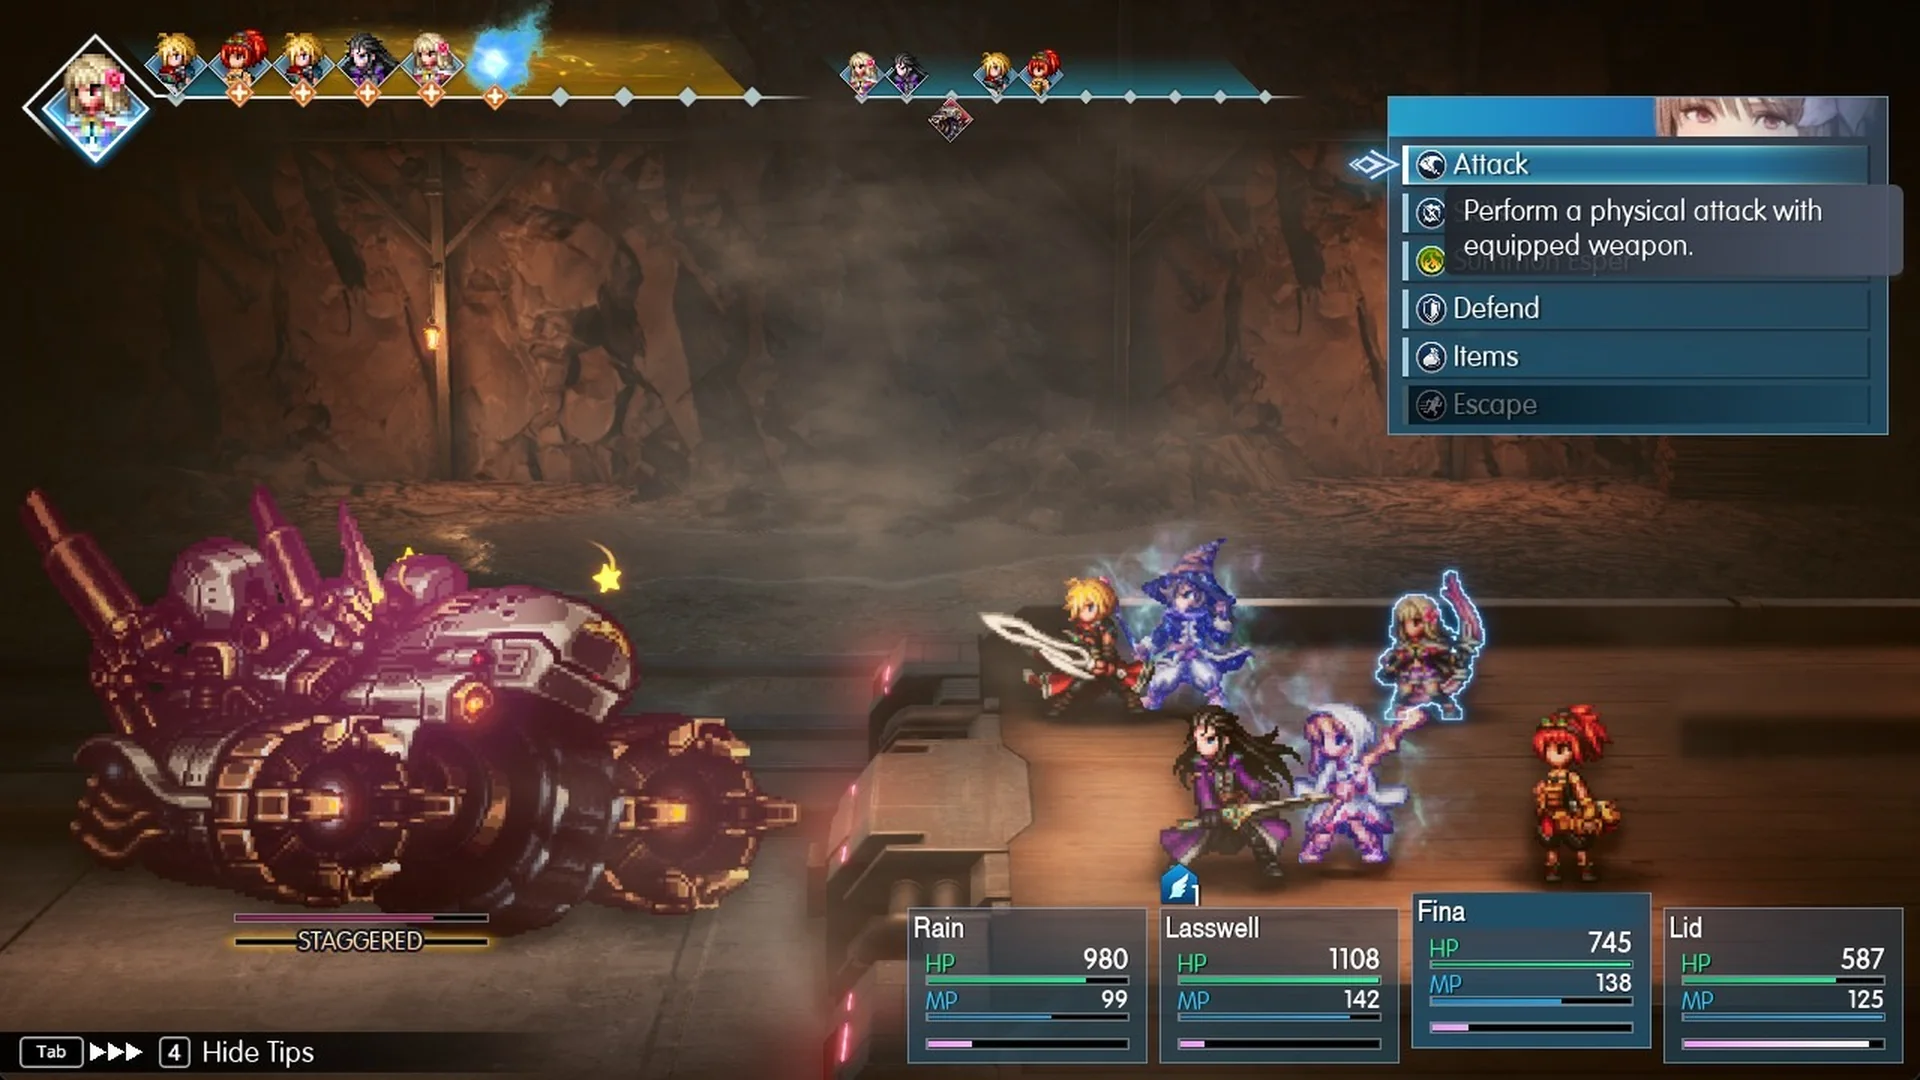
The first stagger arrives after about two rounds and the second after about two more. A third came late in the fight.
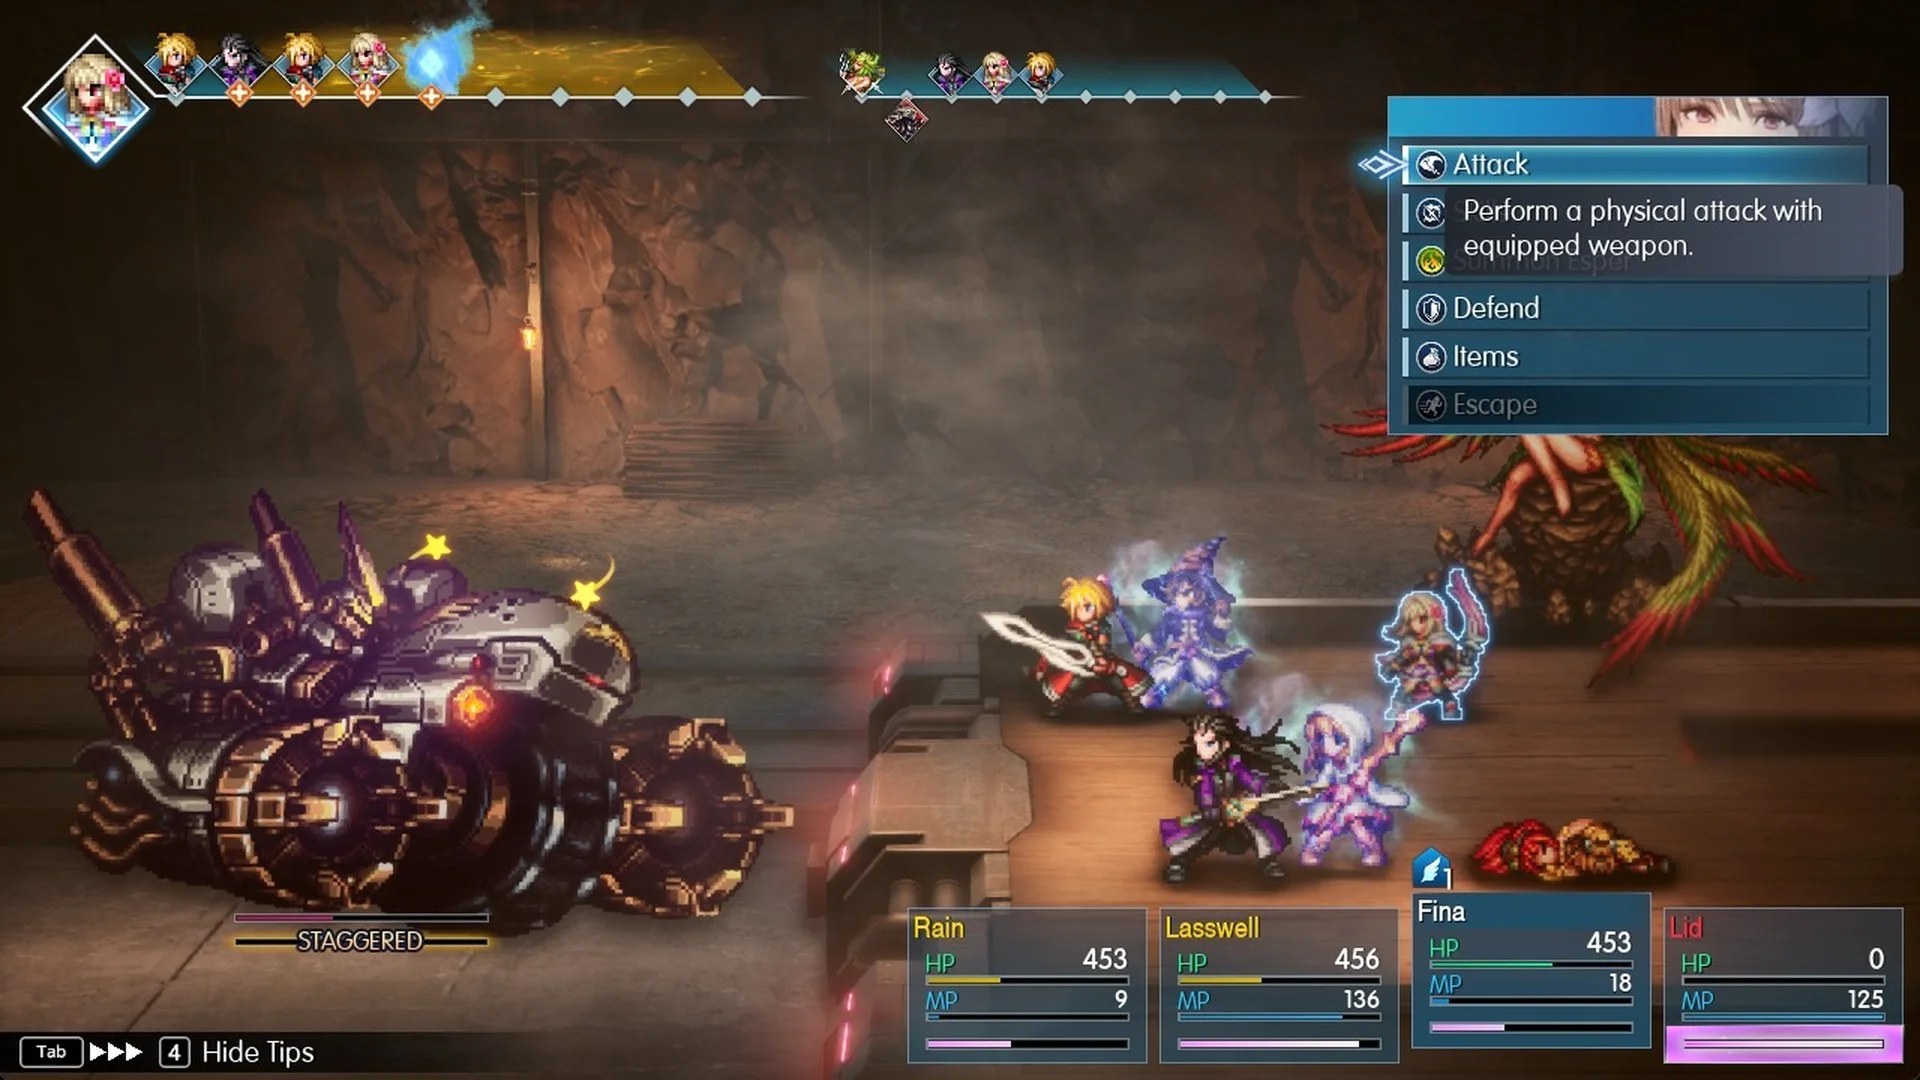
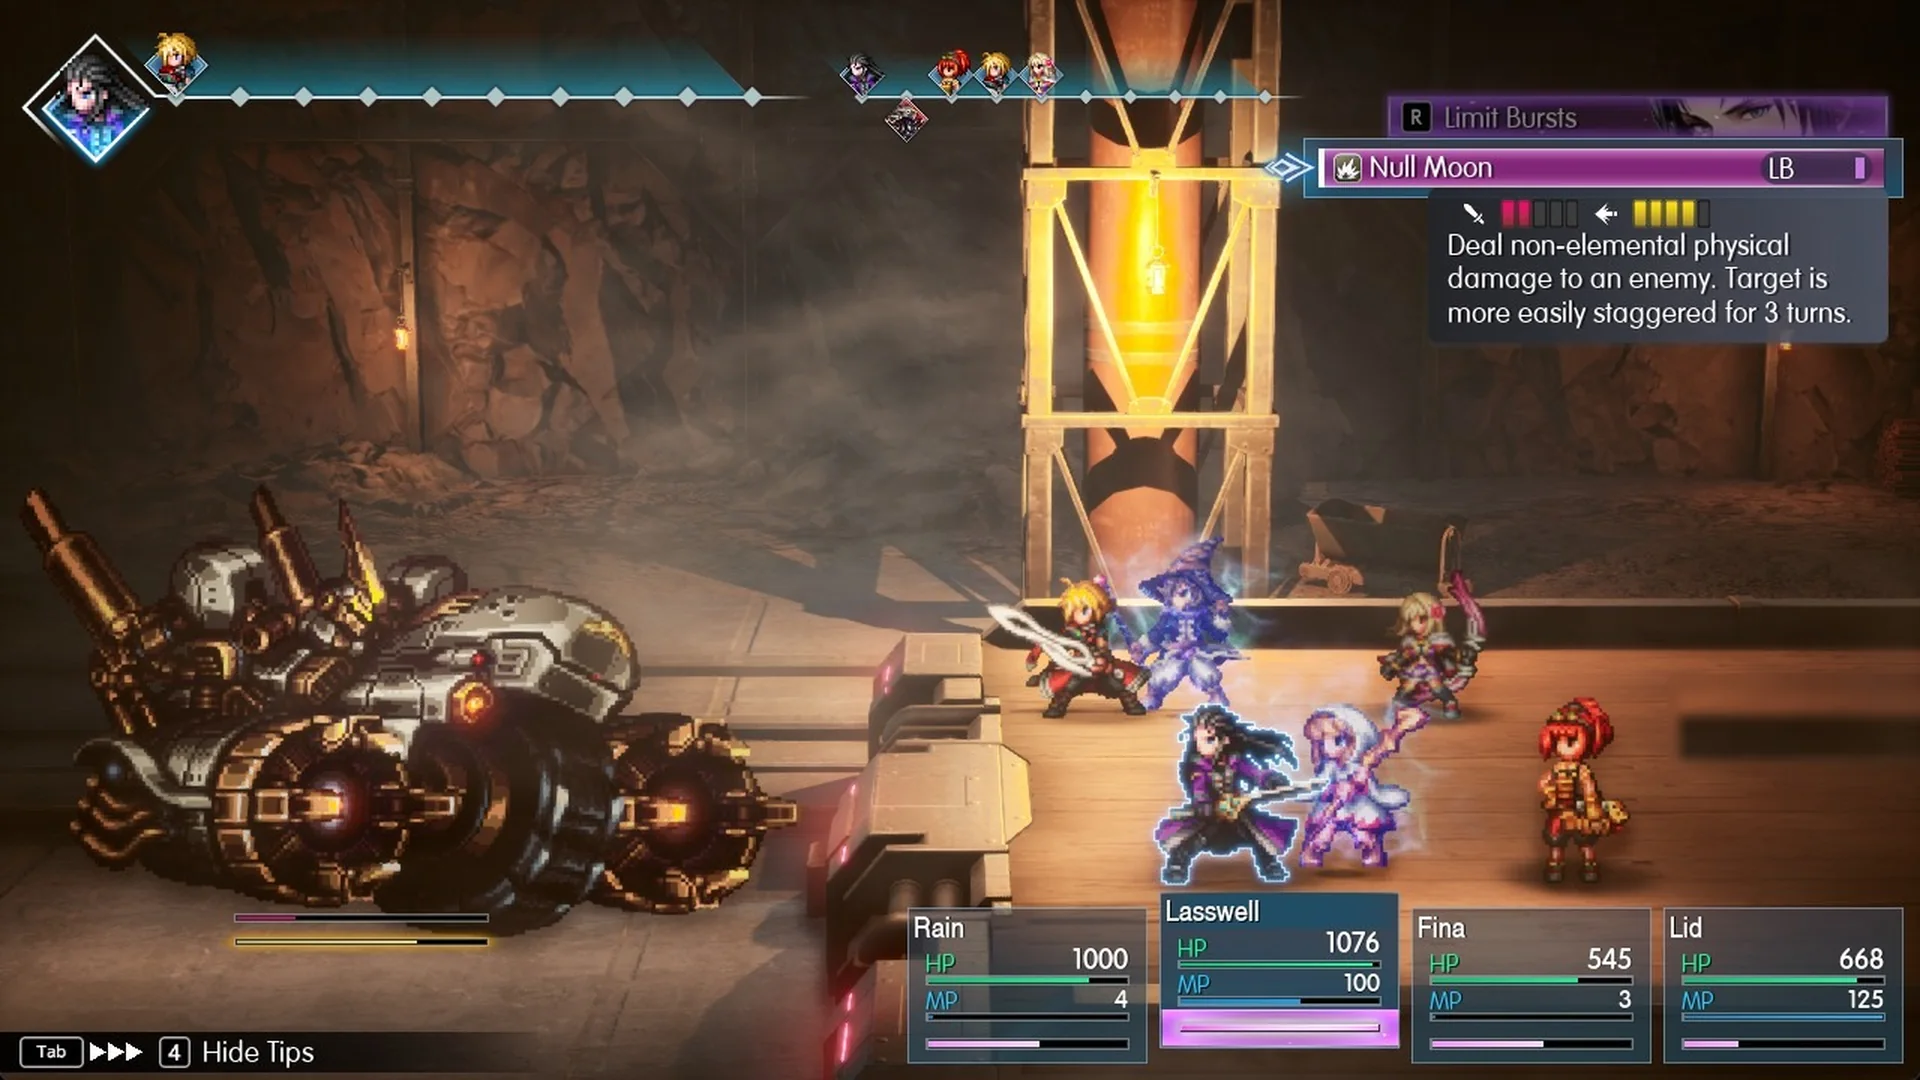
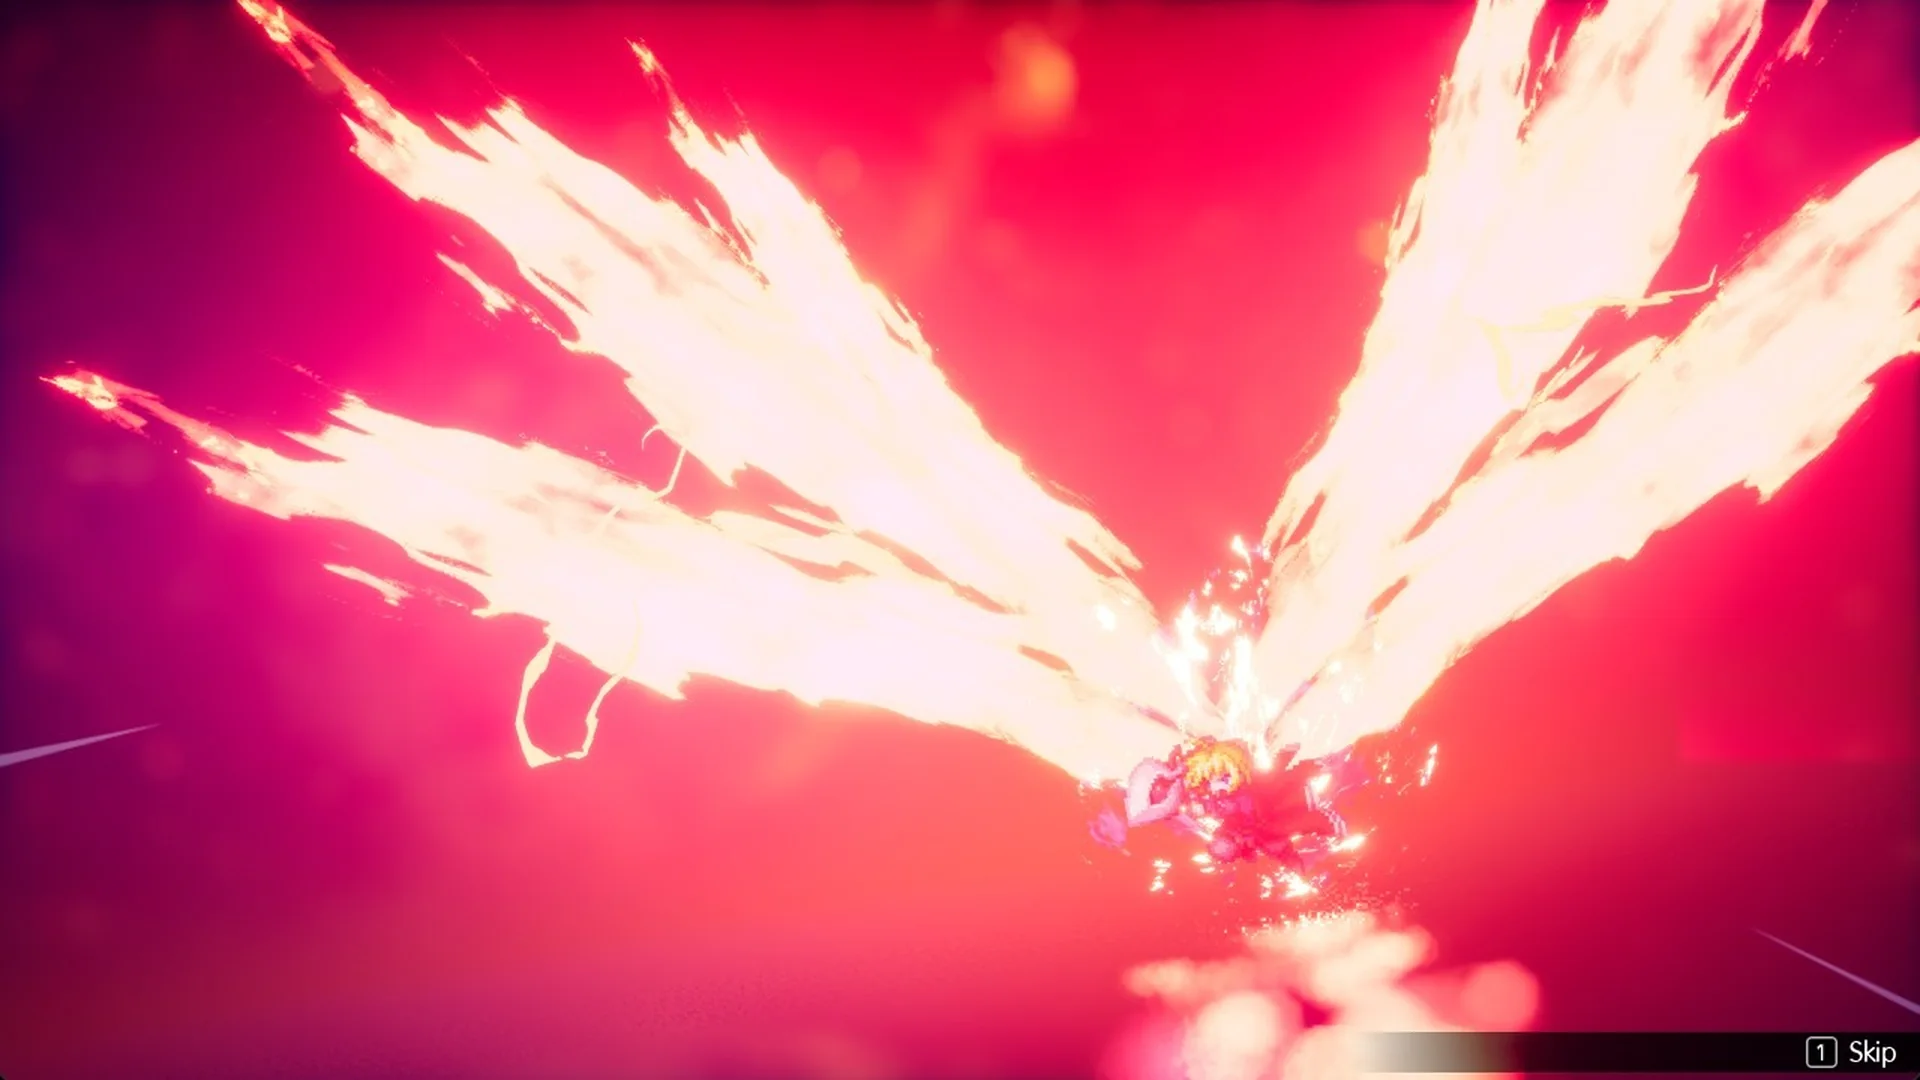
Save Rain’s Infinity Drive (“Deal Fire physical damage to an enemy. Damage increases by 50% if target is staggered.”) for a stagger window. Fina’s Holy Ray (“Deal Light magic damage to all enemies. Power scales with sanctity.”) and Lid’s March of the Machines both add damage whenever they are up.
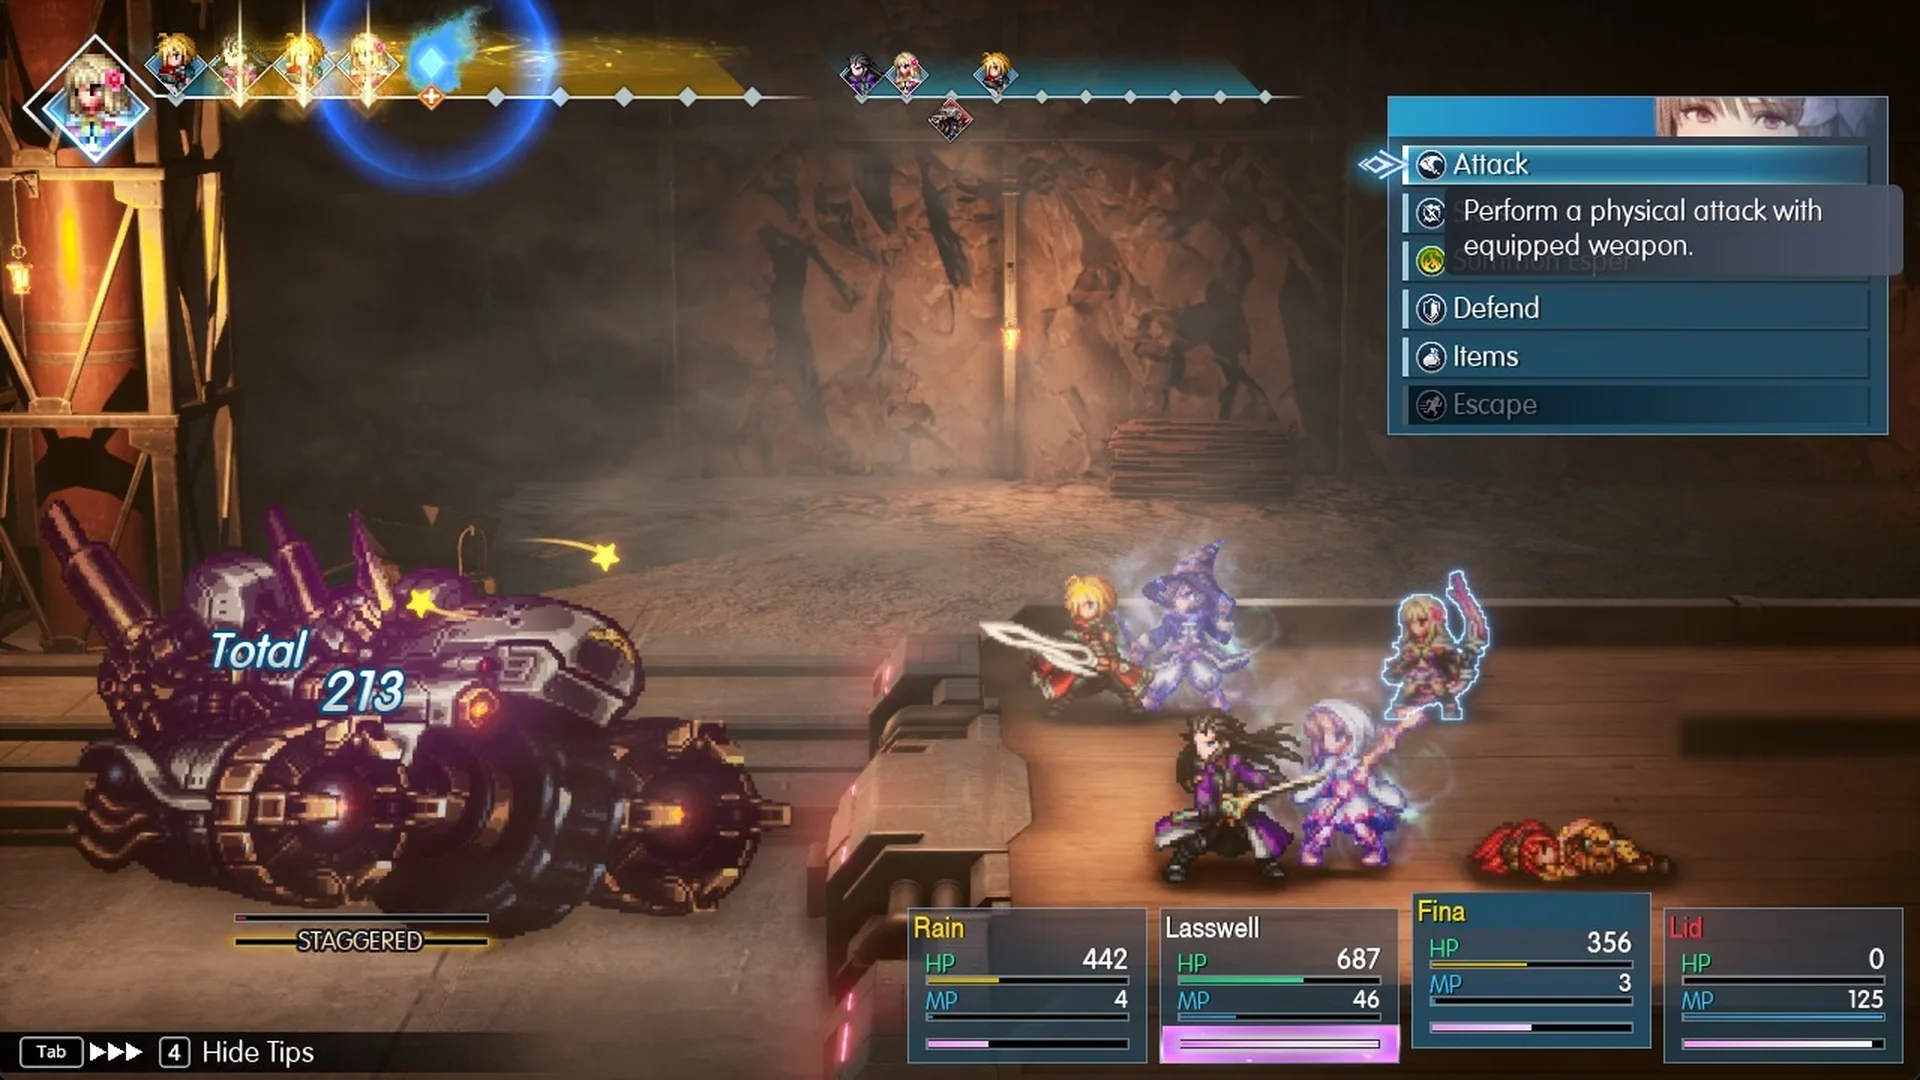
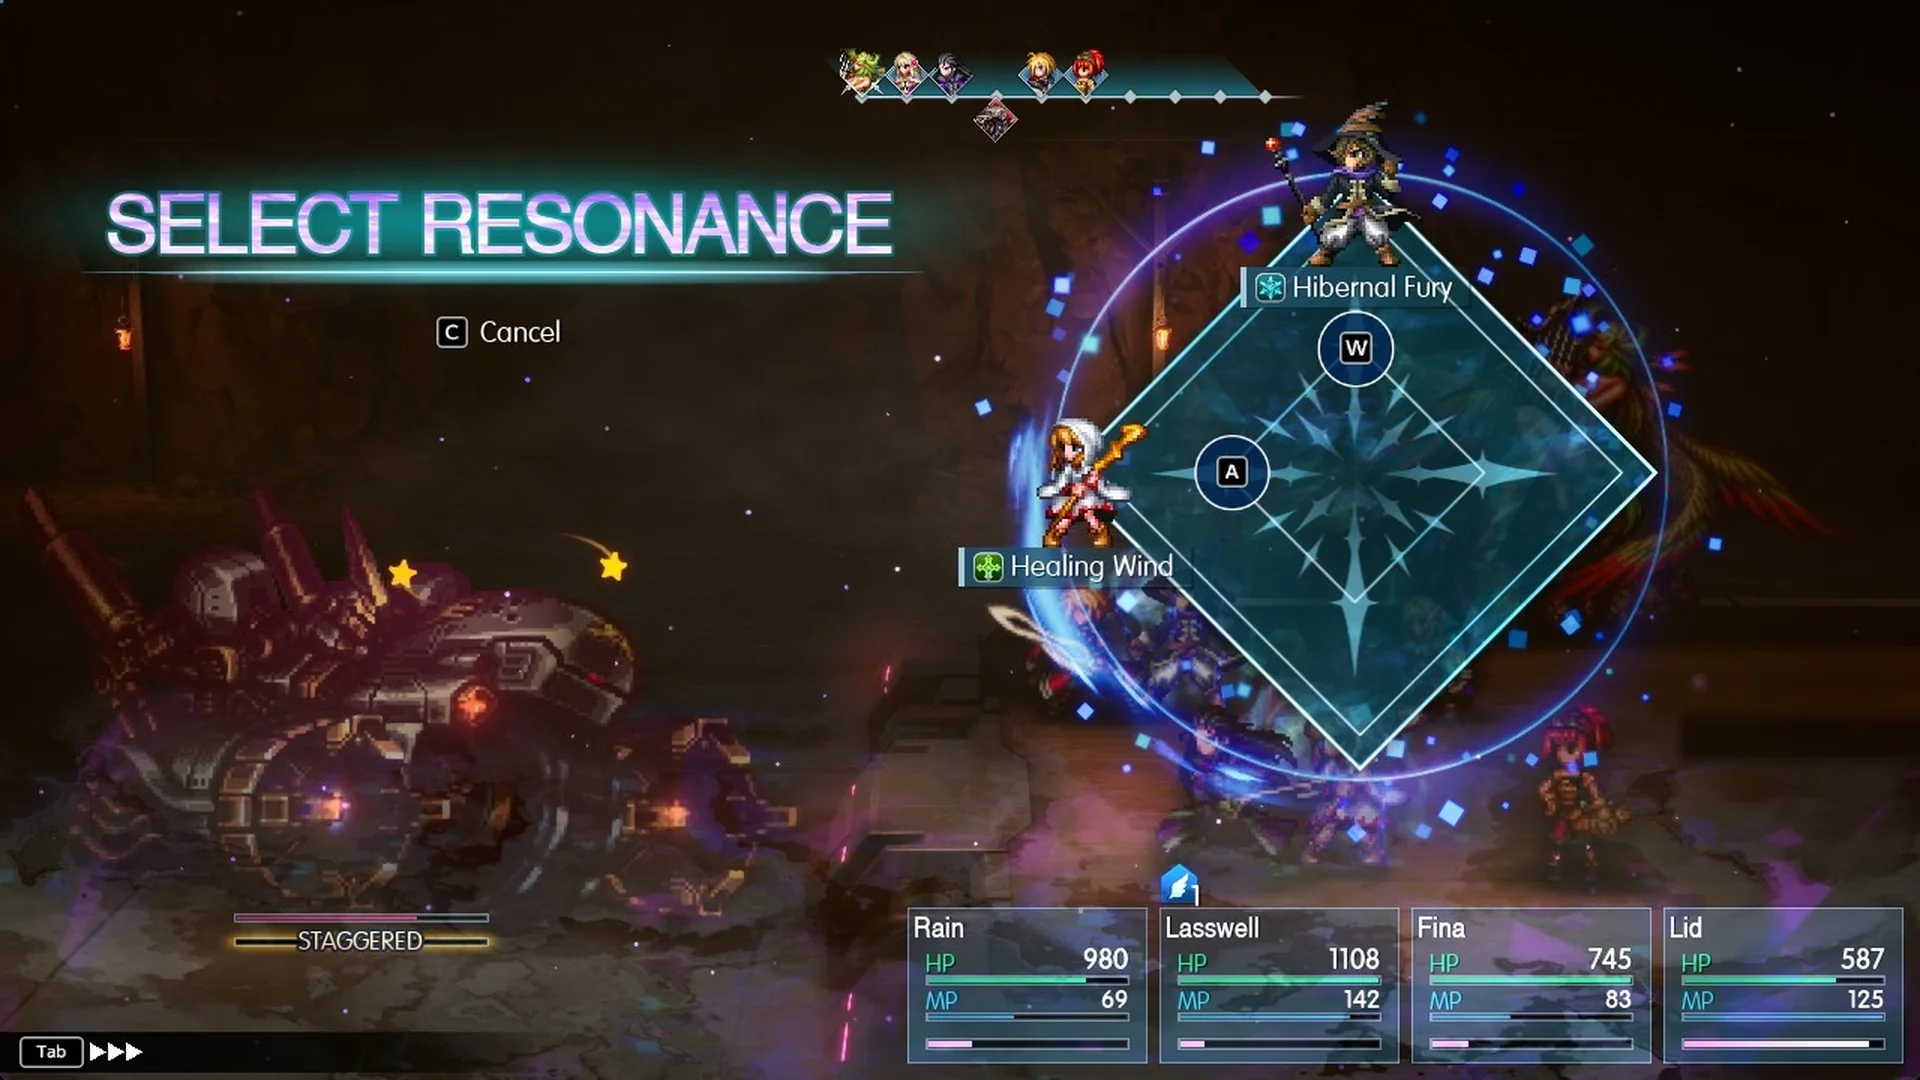
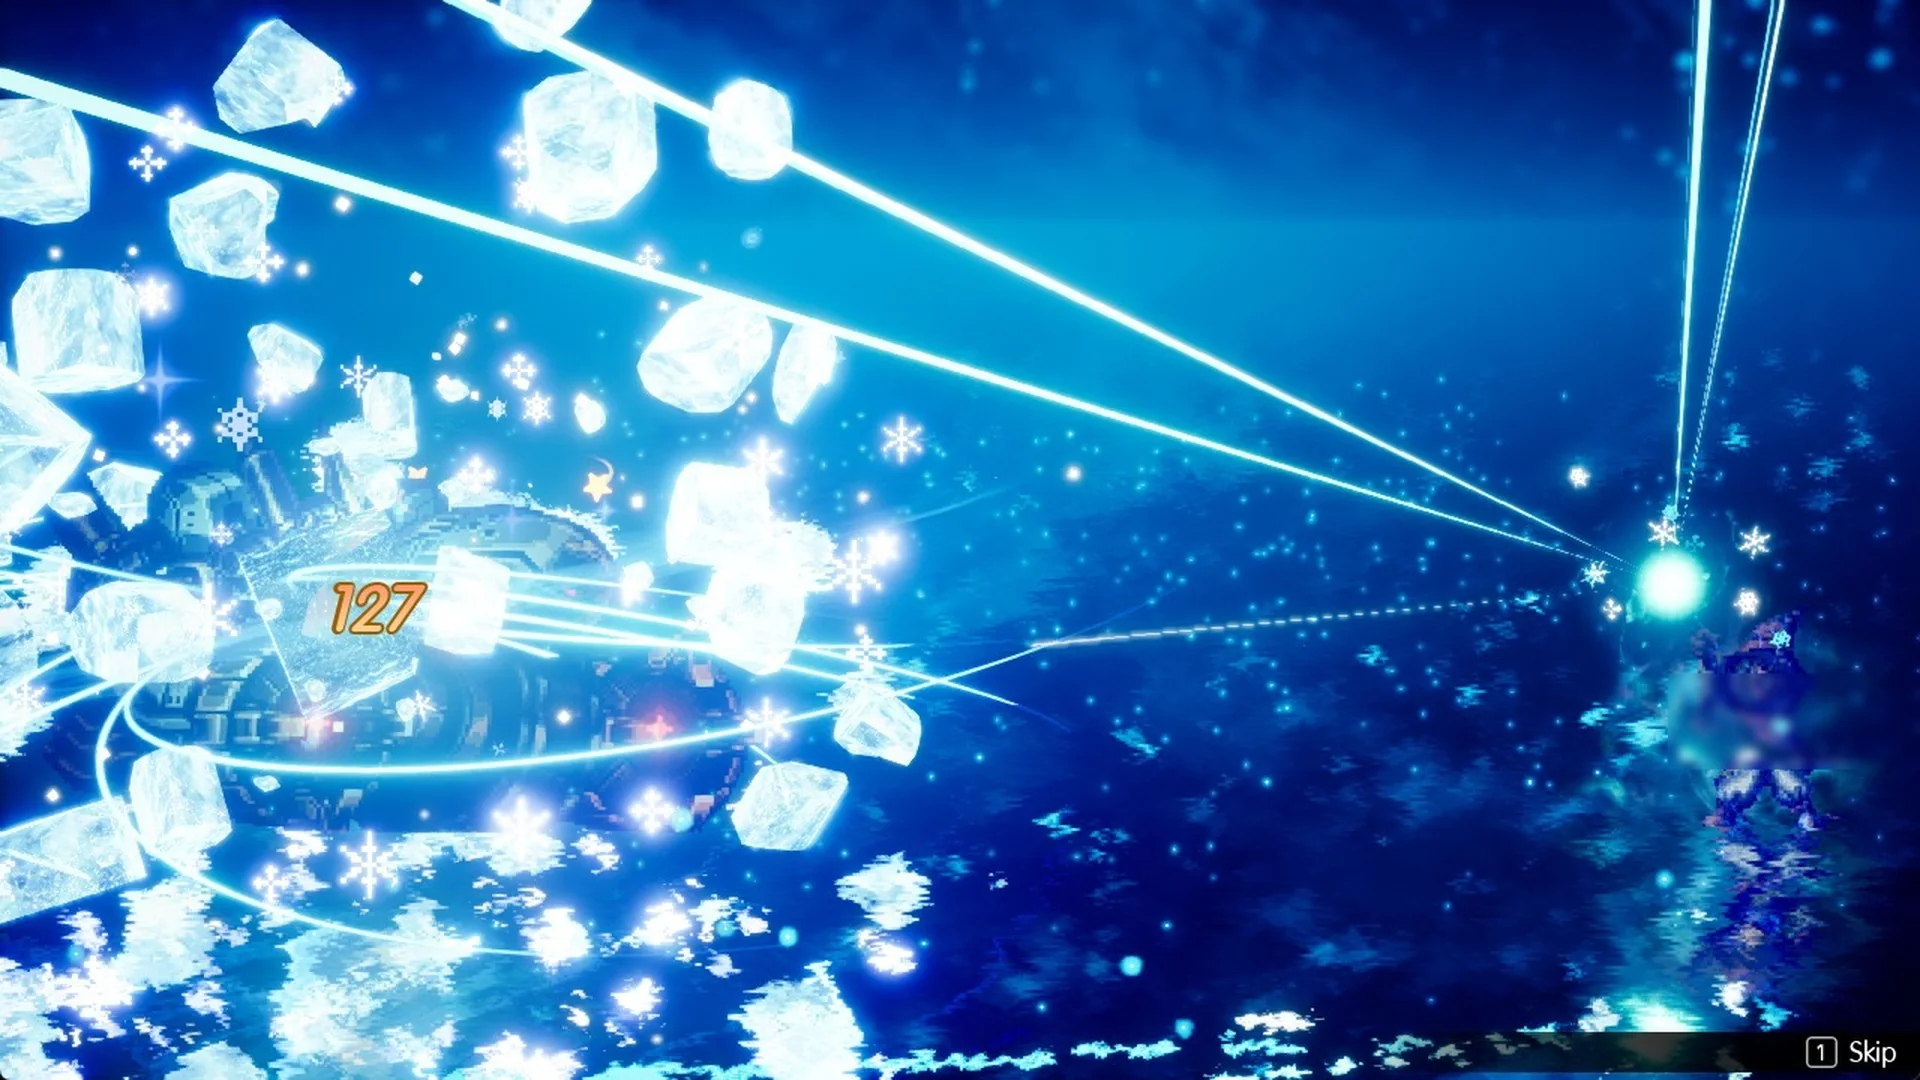
Hibernal Fury hits hard here, with single hits reaching a 205 critical, and it landed our killing blow after the third stagger.
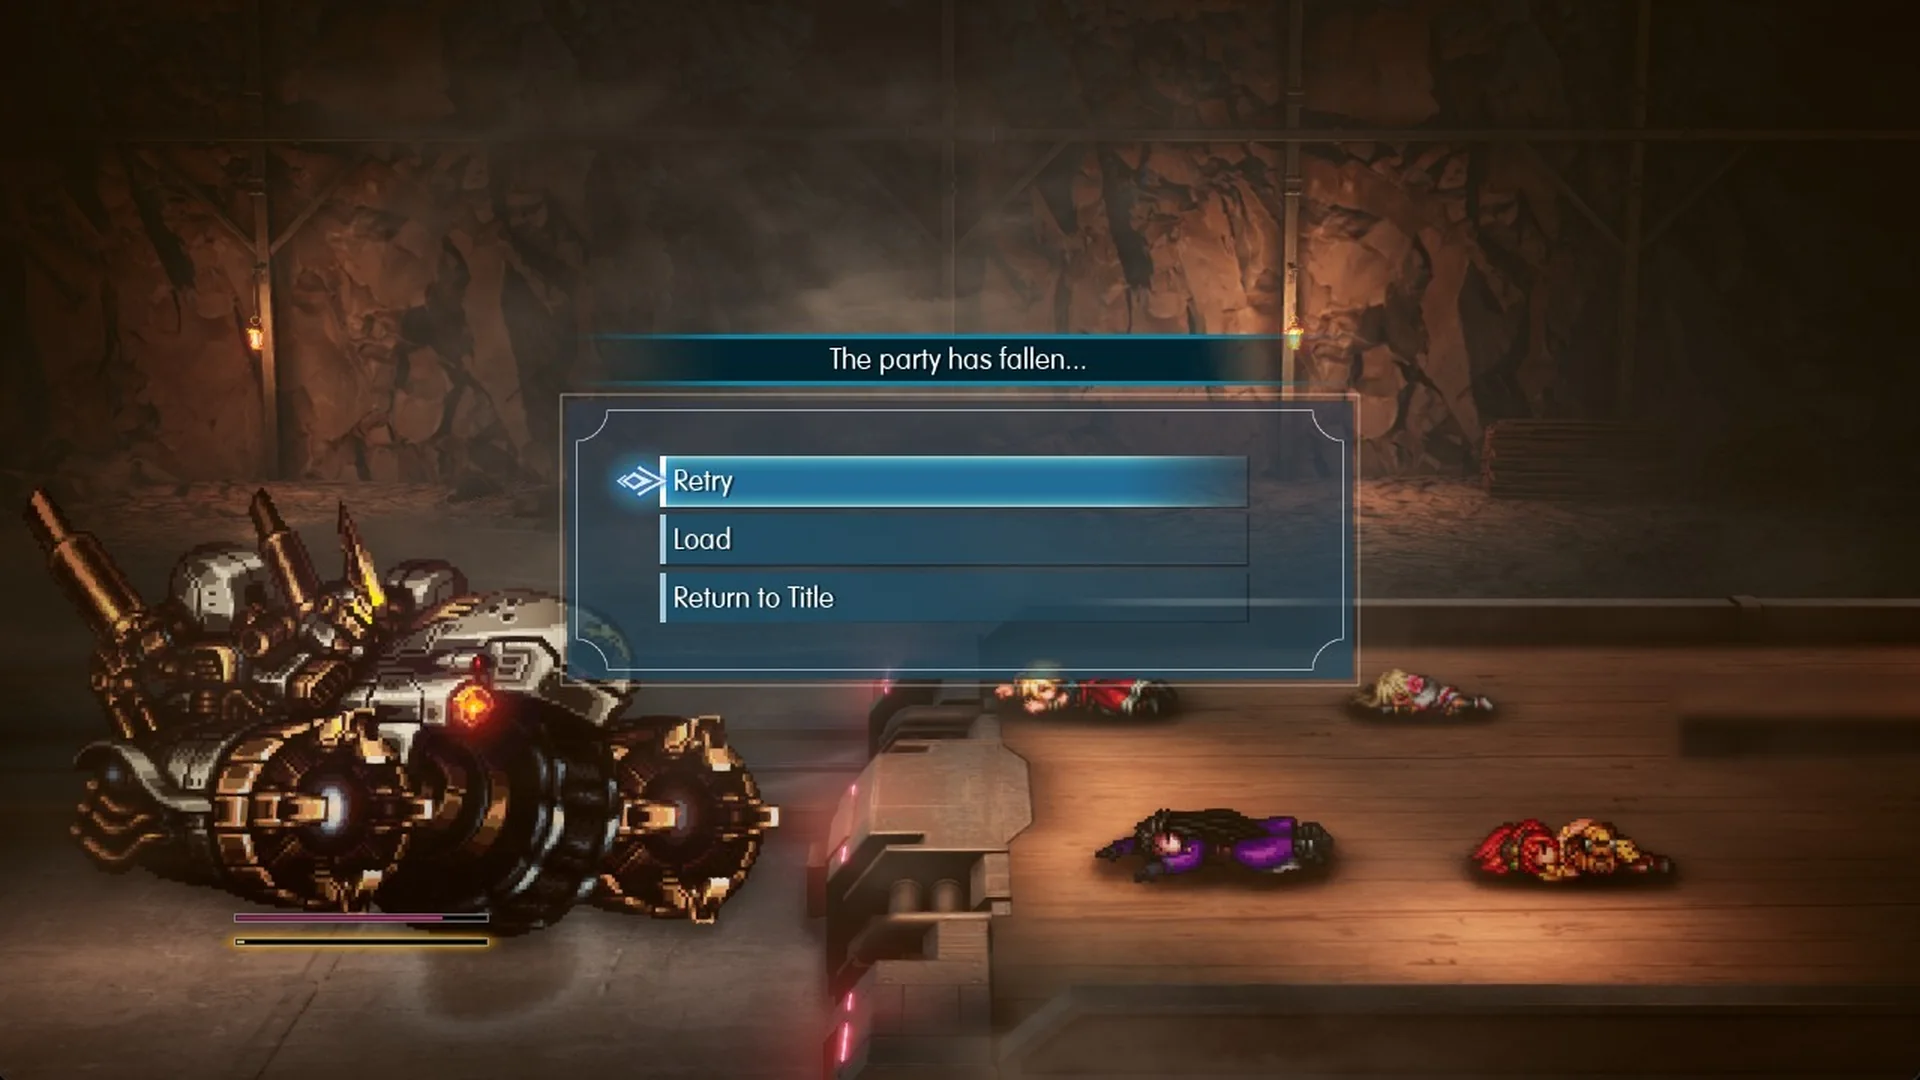
If the party falls: Retry
A wipe brings up “The party has fallen…” with three options: Retry, Load and Return to Title.
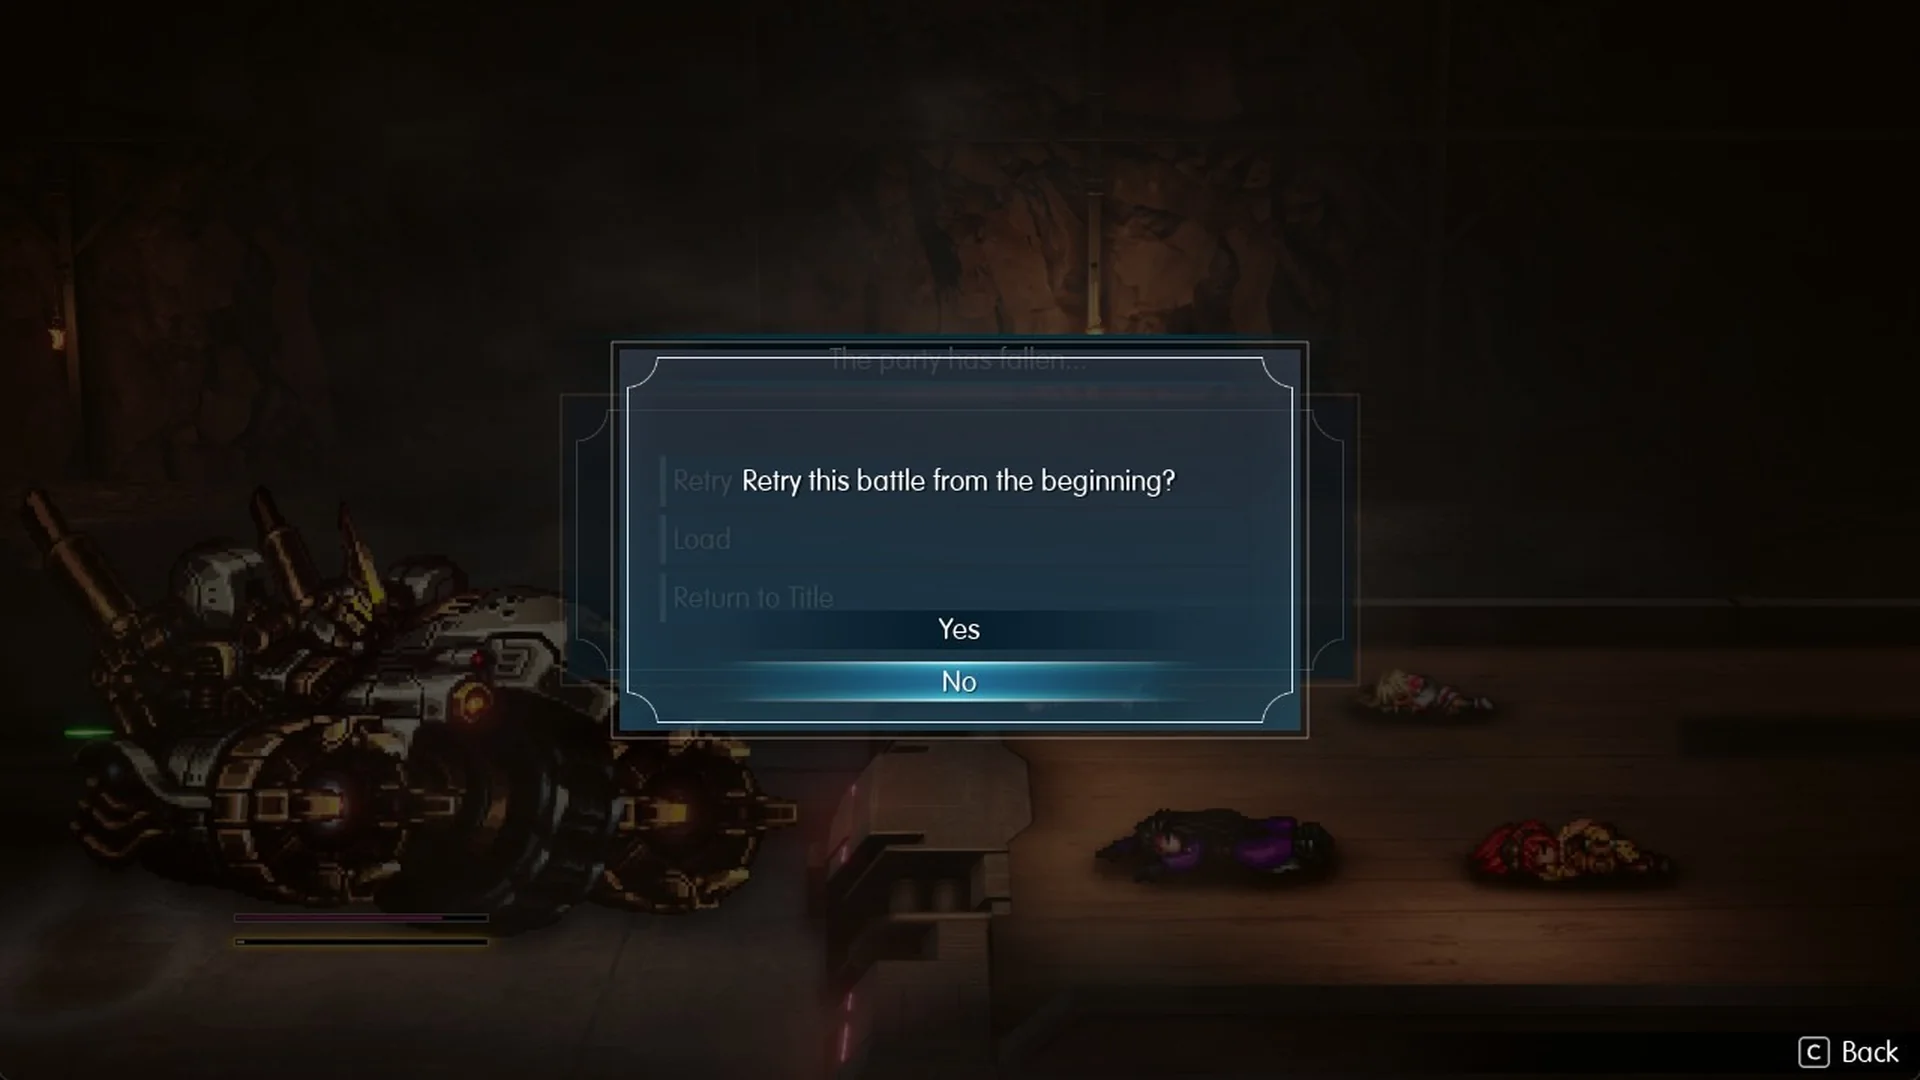
Select Retry to bring up “Retry this battle from the beginning?” The default selection is No; move the cursor to Yes. This starts Adrastea’s fight over with the full party at maximum HP and MP, giving you a stronger opening than the first attempt, which begins with whatever HP and MP Epimetheus left.
Adrastea rewards
Battle Result: 1,013 EXP, 1,351 Gil, 23 MRP and Lightning Scroll II x1 (“Deals Lightning magic damage to a single enemy. Power increases and targets all enemies when thrown.”).
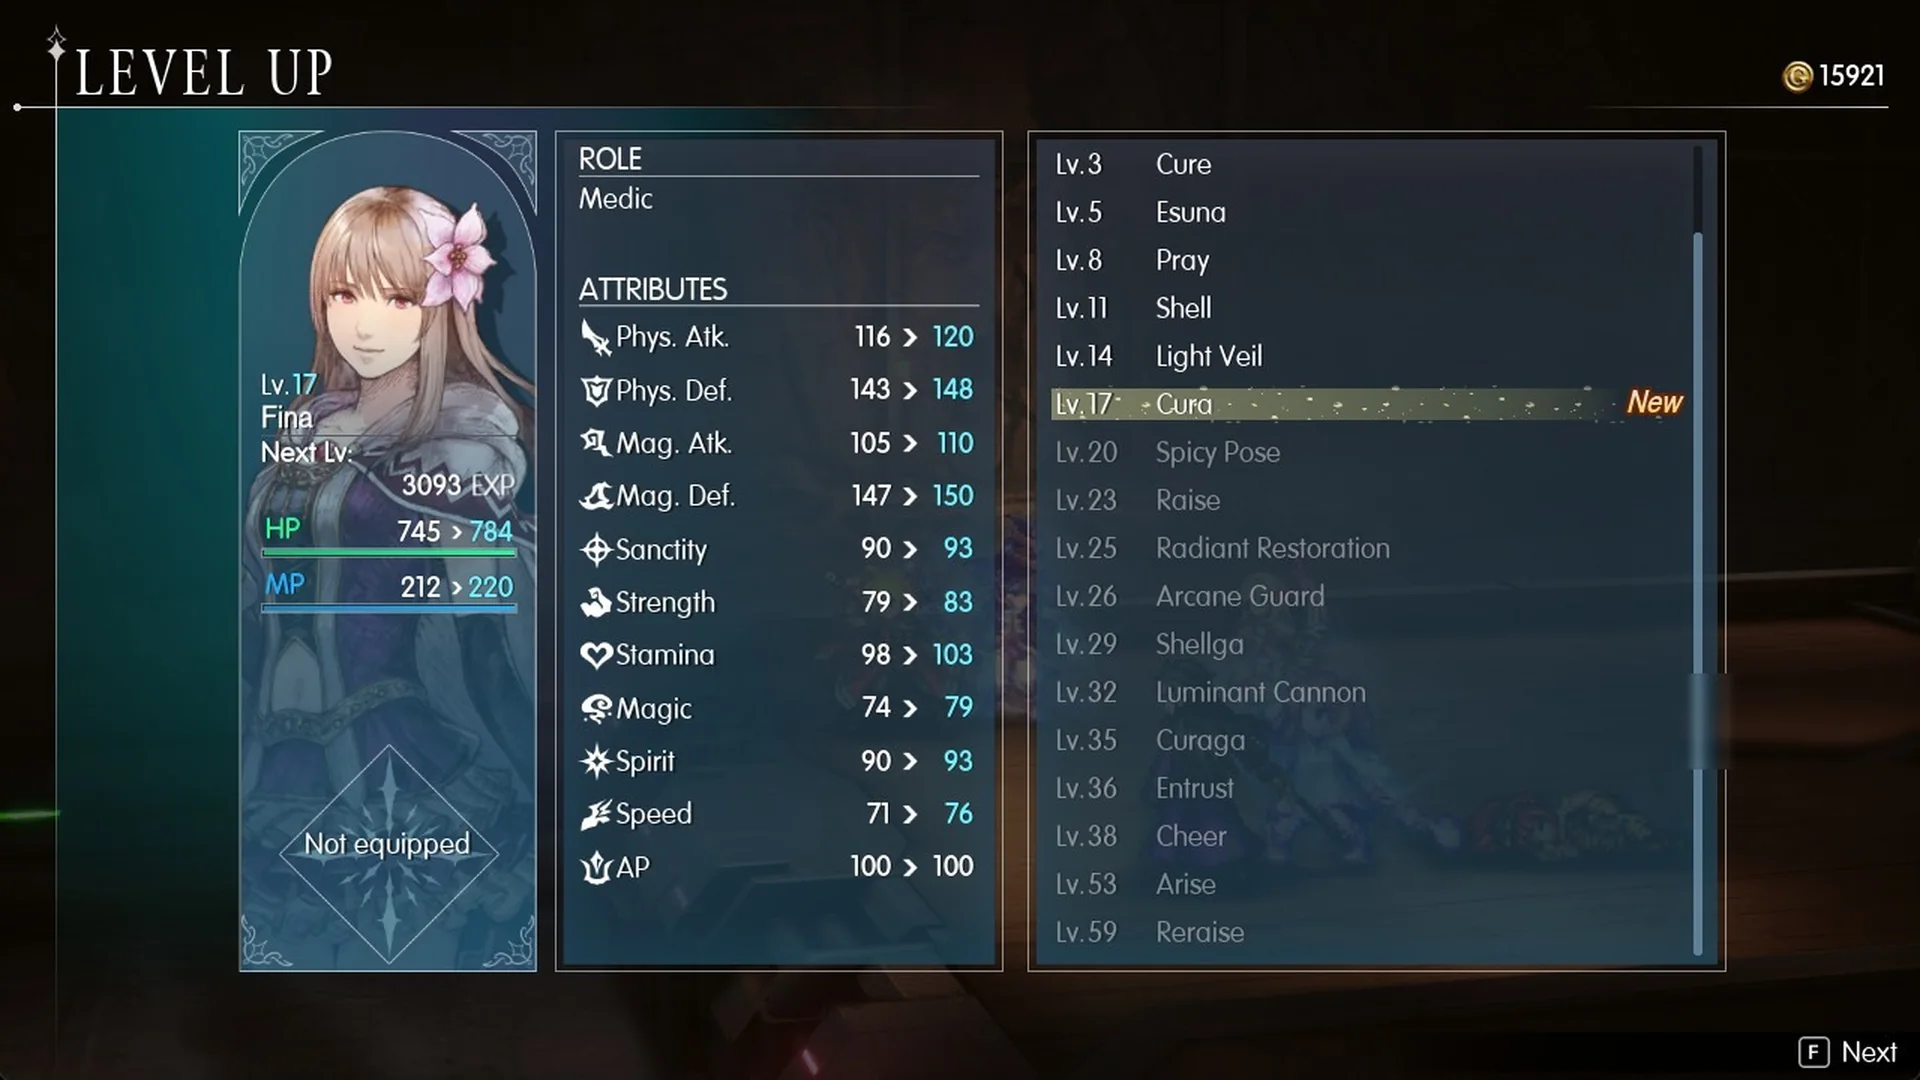
In our win the EXP took Fina to level 17, where she learns Cura, and Lid to level 16, where she learns Stonera.
What happens after Adrastea
Rain shouts “We did it!” and Lasswell follows with “It looks like we lost it. Okay, Lid, you can slow us down now.” Lid replies “I think the brakes aren’t working…” and then “Everyone, brace for impact!”
Following the scene with Dr. Lazarov, the party comes to in the Dwarven Forge. Rain must choose whether to pursue them immediately or take time to recover. The Mobliz Shipyard walkthrough covers the route to this point, and the stagger guide explains how to break enemies. Consult the bosses list for the other fights, or follow the story in the complete Final Fantasy Resonance walkthrough.