Clive Barker’s Hellraiser: Revival scatters locked cabinets, safes, and lockers across Aidan’s trip through the Labyrinth, each sealed behind a four-digit keypad. The combinations are hidden in the environment near every lock, but you can skip the hunt and punch them in directly. Behind these doors sit ammo, crafting materials, melee weapons, coins, and permanent weapon upgrades.
Quick answer: There are ten keypad codes in the campaign. Enter each four-digit combination at its matching lock; all four keypad lights turn green and the door opens.
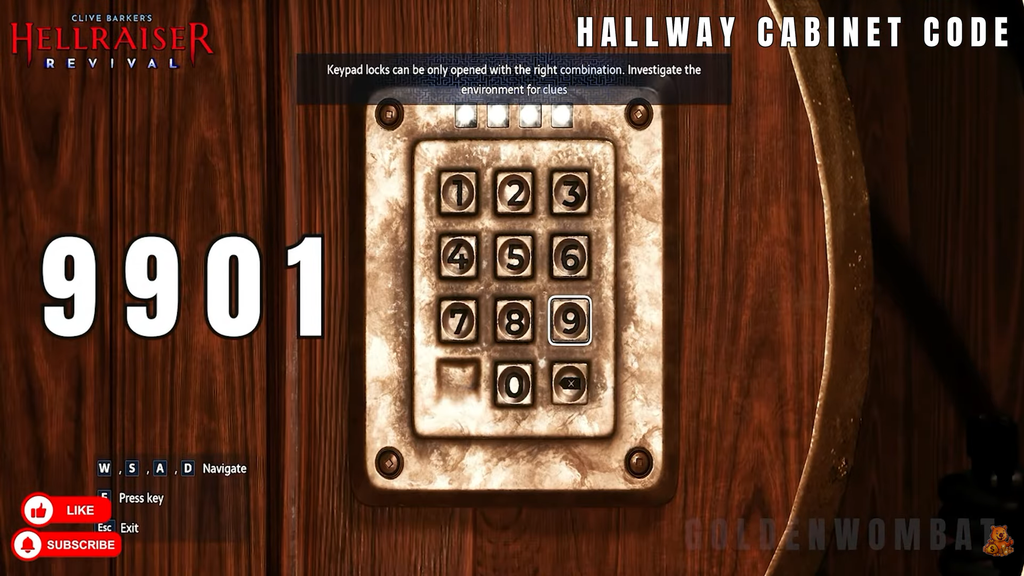
Every keypad code in Hellraiser: Revival
The list below is in roughly the order you reach each lock during a normal playthrough. You can input any combination without first collecting the note, photo, or painting that reveals it.
| Lock | Code | Area |
|---|---|---|
| Hallway cabinet | 9901 | Cult escape, painting hallway |
| Basement / medical locker | 9891 | Room by the bloody bathtub |
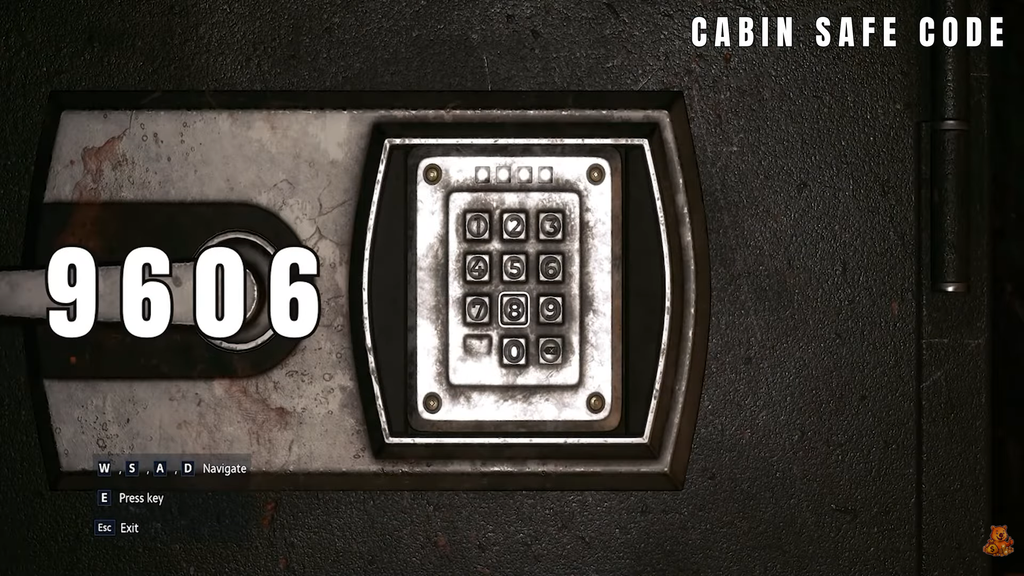
| Cabin / graveyard house safe | 9606 | House past the graveyard |
| Bruno’s music room cabinet | 1966 | Upstairs in Bruno’s house |
| Snake Room cabinet | 1952 | Club, near the Peep Show ticket |
| Private Rooms cabinet | 1923 | Private Rooms side bathroom |
| Cult compound locked door | 1362 | Hole in the wall outside the factory |
| Videotape / laundry locker | 8571 | After beating Bruno a second time |
| Operating room break locker | 2342 | Operating theater break room |
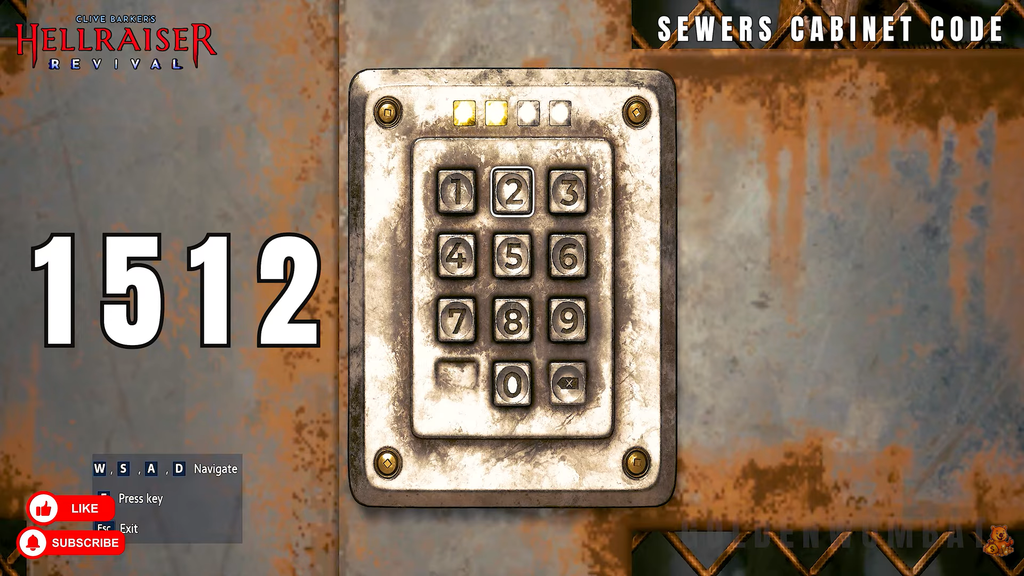
| Sewer cabinet | 1512 | Sewer with electrified water |
The first hallway cabinet has also been reported working with 0199. If 9901 is rejected, reverse it and try 0199.
How to earn the Codebreaker achievement
Opening five numerical keypad locks unlocks Codebreaker. You do not need all ten. The quickest route is the first five locks along the main path: the hallway cabinet (9901), the medical locker (9891), the graveyard house safe (9606), Bruno’s music room cabinet (1966), and the Snake Room cabinet (1952). Clearing those five pops the achievement well before the factory and later areas.
Code locations, clues, and rewards
Hallway cabinet — 9901
The first coded cabinet appears while you are escaping the cult after being kidnapped. Follow the hallway lined with large oil paintings; the cabinet sits on the left. The combination comes from the plaques on each painting. Inside you’ll find Gunpowder, a Coil, and a Bandage.
Basement / medical locker — 9891
Shortly after you pick up the knife, stealth-kill the woman kneeling beside the corpse in the bathtub. The wire-mesh locker is on the wall in the same tiled bathroom. The code is tattooed across the back of the body in the tub. The locker holds Coins, Gunpowder, and a Sawblade melee weapon.
Cabin / graveyard house safe — 9606
After crossing the graveyard full of cultists, enter the house and look for the small safe on the table, with the clue hidden beneath the vinyl print in the kitchen. The two halves of the combination sit on the back of a picture and in the note you read once you grab the shed key. Open it while you are already searching for that key, since the graveyard grows more dangerous once Charlotte starts patrolling. Reward: the Pistol Oversized Magazine Release upgrade and Pistol Ammo.
Bruno’s music room cabinet — 1966
Head to the music room in the back right corner of the second floor in Bruno’s house. The note beside the cabinet tells you to add 300 to the date on the painting in his office. The large painting of the burning buildings reads 1666 on its back, so the code is 1966. Contents: Pistol Ammo, Gunpowder, and Chemicals.
Snake Room cabinet — 1952
In the room where you collect the Peep Show ticket, the locked cabinet sits in the adjoining space behind a bear trap. Disarm the trap and examine the photo on the wall. Its banner date is scratched out, but a duplicate photo in the locker rooms by the Peep Show door clearly shows 1952. Inside are Revolver Ammo and the SMG Laser Pointer upgrade. This is usually the fifth keypad you reach, so it tends to complete Codebreaker.
Private Rooms cabinet — 1923
Once you unlock the Private Rooms wing and finish the door puzzle, take the doorway on your right. Look for the door marked “Try everything you who enter” in white paint; the cabinet is inside. The next room over has a photo of four businessmen with numbers written over them, but only the two wearing Leviathan pins matter, giving 1923. Reward: SMG Ammo, the Revolver Hollow Point Rounds upgrade, a Machete, and Gunpowder.
Cult compound locked door — 1362
During the “Use the Elevator” objective, after you escape Leviathan’s gaze and are sent to kill Bruno and Marlowe, clear the patrolling guards and speak to the vendor. Turn right and find the hole in the wall near the gate that needs the Heart-Shaped Inset. The combination is pieced together from the backs and bottoms of two small statues nearby. This is the most valuable keypad in the game: a Bear Trap, Coins, a Labyrinth Remnant, Assault Rifle Ammo, and the Assault Rifle Heavy Lower Handguard upgrade, plus an Inventory Capacity Upgrade that stays useful for the rest of the run.
Videotape / laundry locker — 8571
Right after you beat Bruno a second time and he runs off with the Genesis Configuration, chase him into the ornate painting room. Push the VHS tape into the television near the door to show an 85 on screen, then move to the next room, turn right, and insert the second tape into the other VHS player to reveal 71. The safe is to the right of the final health upgrade pillar. It holds a Skullcrusher, Bandages, Assault Rifle Ammo, the Revolver Overpressure Ammunition upgrade, and Gunpowder.
Operating room break locker — 2342
After Marlowe turns into a massive beast and rampages through the base, follow him into the operating theater and step into the small break room by the ladder and TV. The locked cabinet is in the back left corner, under the screen showing the surgical table. Turn around and read the numbers painted in the holes Marlowe punched through the wall. Enter them in order from the farthest wall to the nearest, not simply left to right. Contents: Revolver Ammo, Assault Rifle Ammo, and SMG Ammo.
Sewer cabinet — 1512
Still chasing Marlowe, you reach a sewer section where you switch the power on and off in a large pool of water. Through the barred door to the right of the save point is another keypad cabinet. The clue is writing in the room with the electric current, where someone brags about beating their high score. Entering both the winning score and the number they beat opens the cabinet with 1512. Some code lists stop at nine and skip this one, so look for the electrified water and the high-score note.
Confirming a code worked
At each lock, press the interact key to open the keypad, dial each digit, and confirm the four entries. A correct combination turns all four indicator lights at the top of the keypad green and the doors swing open, letting you loot the contents. If the keypad rejects your input, check that you are at a numerical keypad and not a padlock, which instead needs the lockpick minigame. For the hallway cabinet specifically, try the reversed reading 0199 if 9901 fails.