Hellraiser Revival opens with a trap. Playing as Aidan, you carry the Lament Configuration puzzle box into a dim apartment, step through the only lit doorway, and find yourself back in the exact same room. There is no standard exit, no key, and no switch to flip. The way out is deliberately hidden, and the game tells you how to find it only after you have circled the room enough times.
Quick answer: Keep walking through the lit doorway until red text appears on the brick wall, then walk straight into the pitch-black void opening beside that wall to break the loop.
Why the intro room keeps looping
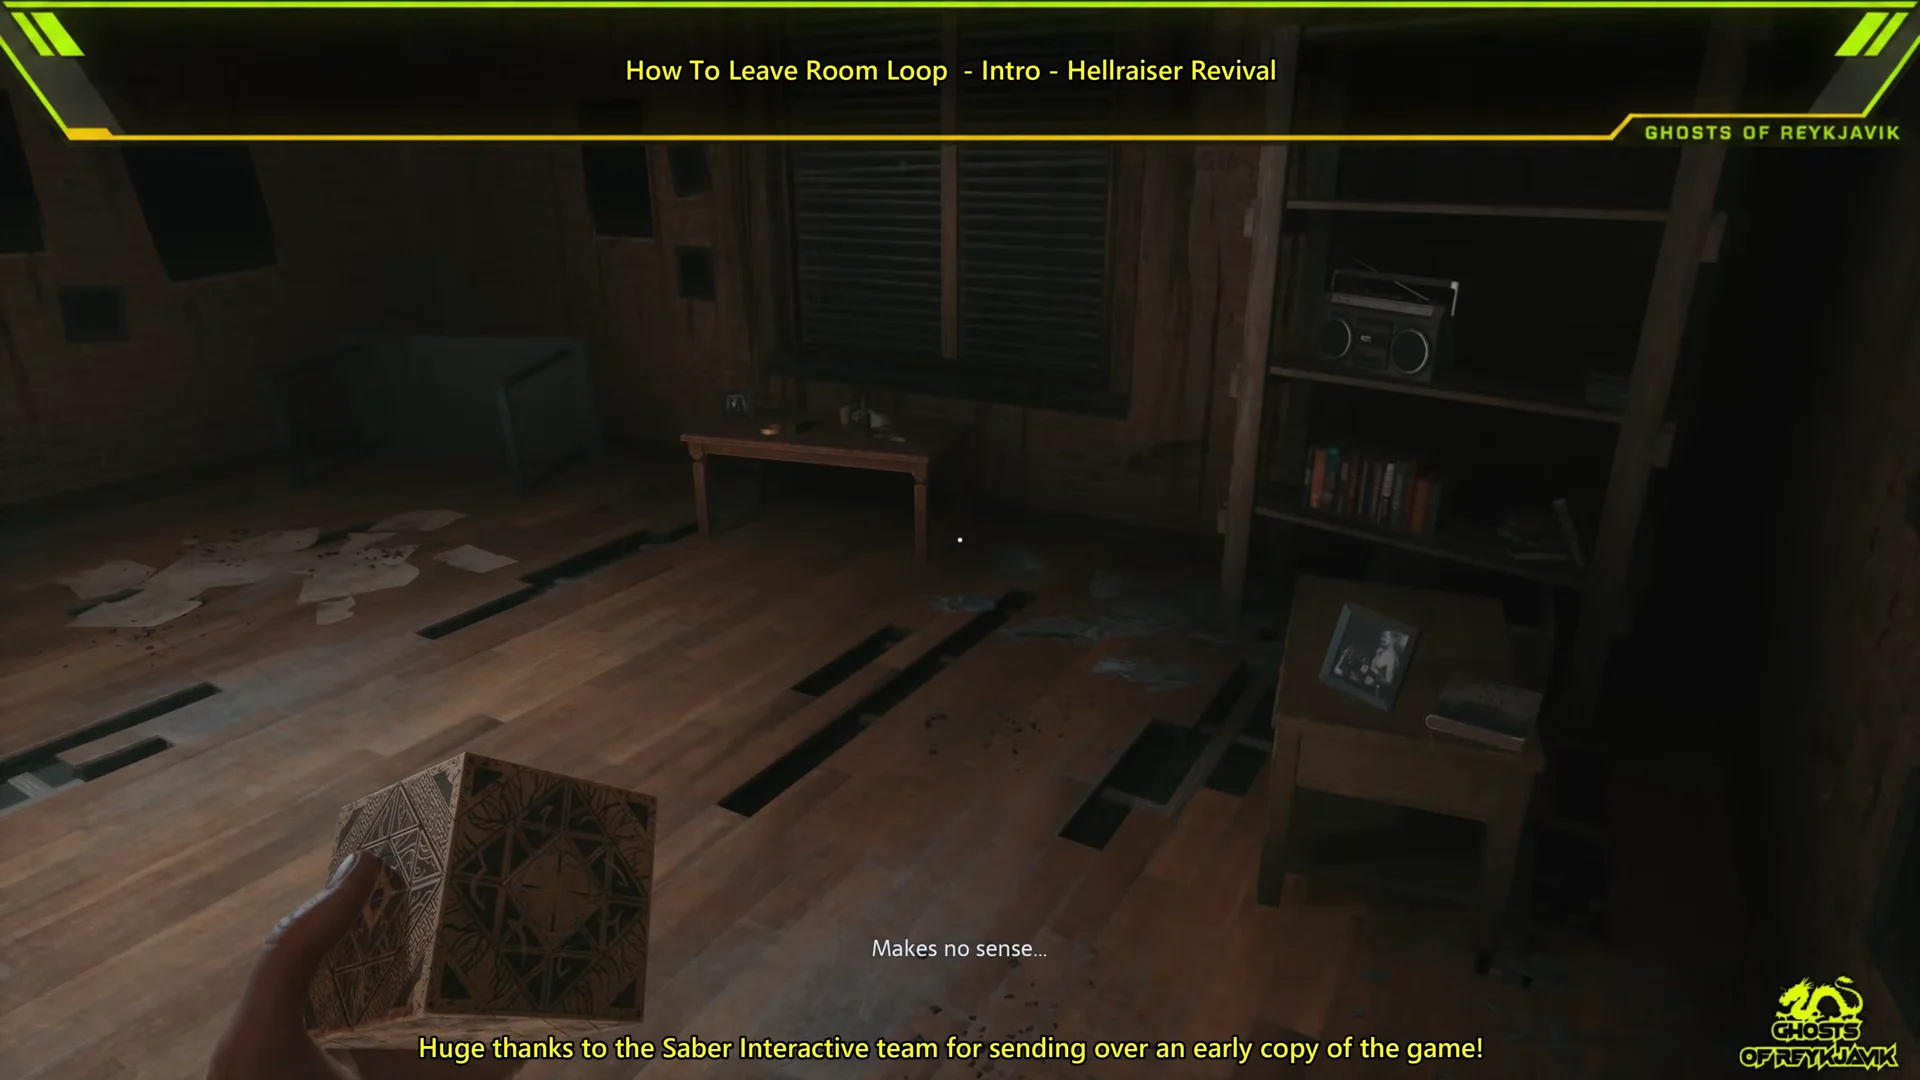
The illuminated doorway is a dead end dressed up as an exit. Each time you pass through it, the game drops you back into the same dimly lit apartment with the sofa and shelving. Aidan reacts to it out loud, with lines like “Back here? What am I missing?” and “Makes no sense.” Nothing in the room needs to be solved mechanically. The loop is a scripted sequence, and it only ends once the game decides you have cycled through it enough.
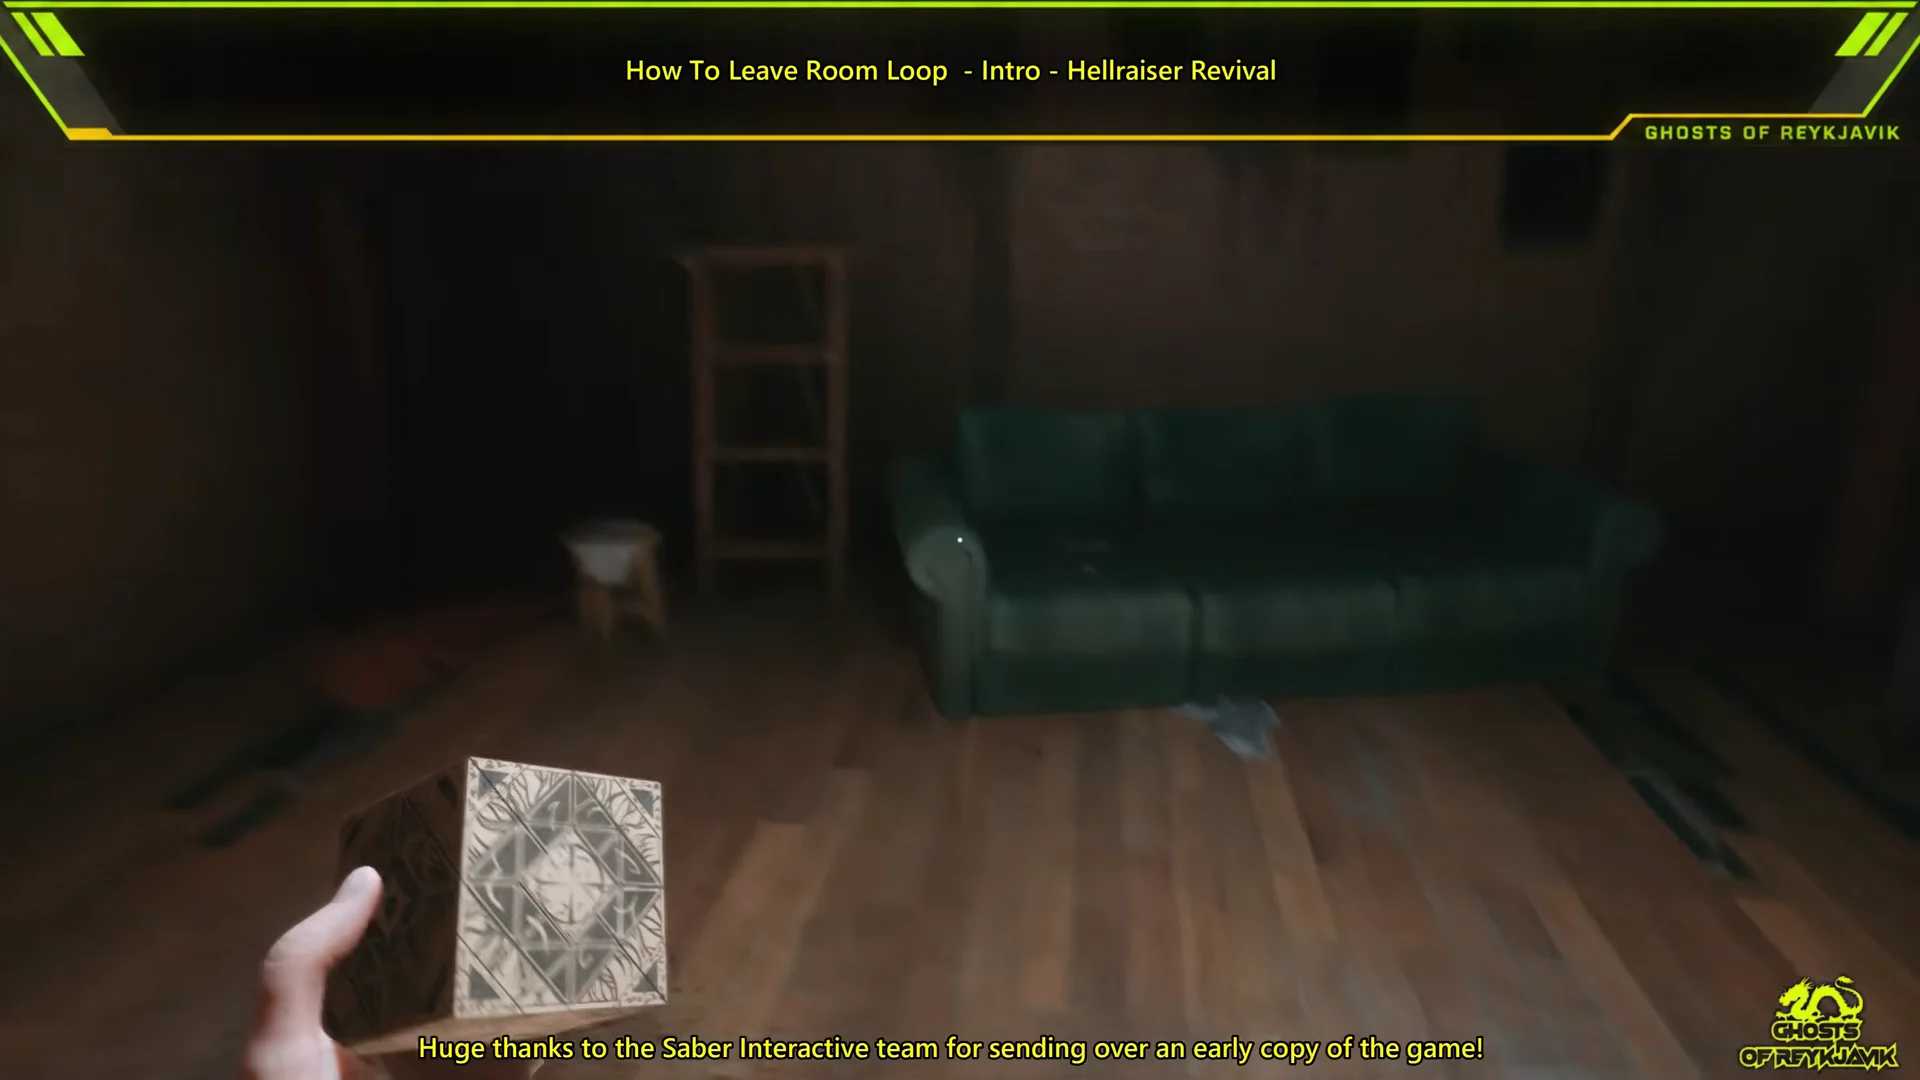
As you repeat the cycle, the room itself changes. By the third pass the space looks more damaged and worn, a sign the loop is progressing rather than resetting cleanly. This is your cue that you are on the right track, not stuck. Keep moving through the doorway.
How to break the loop
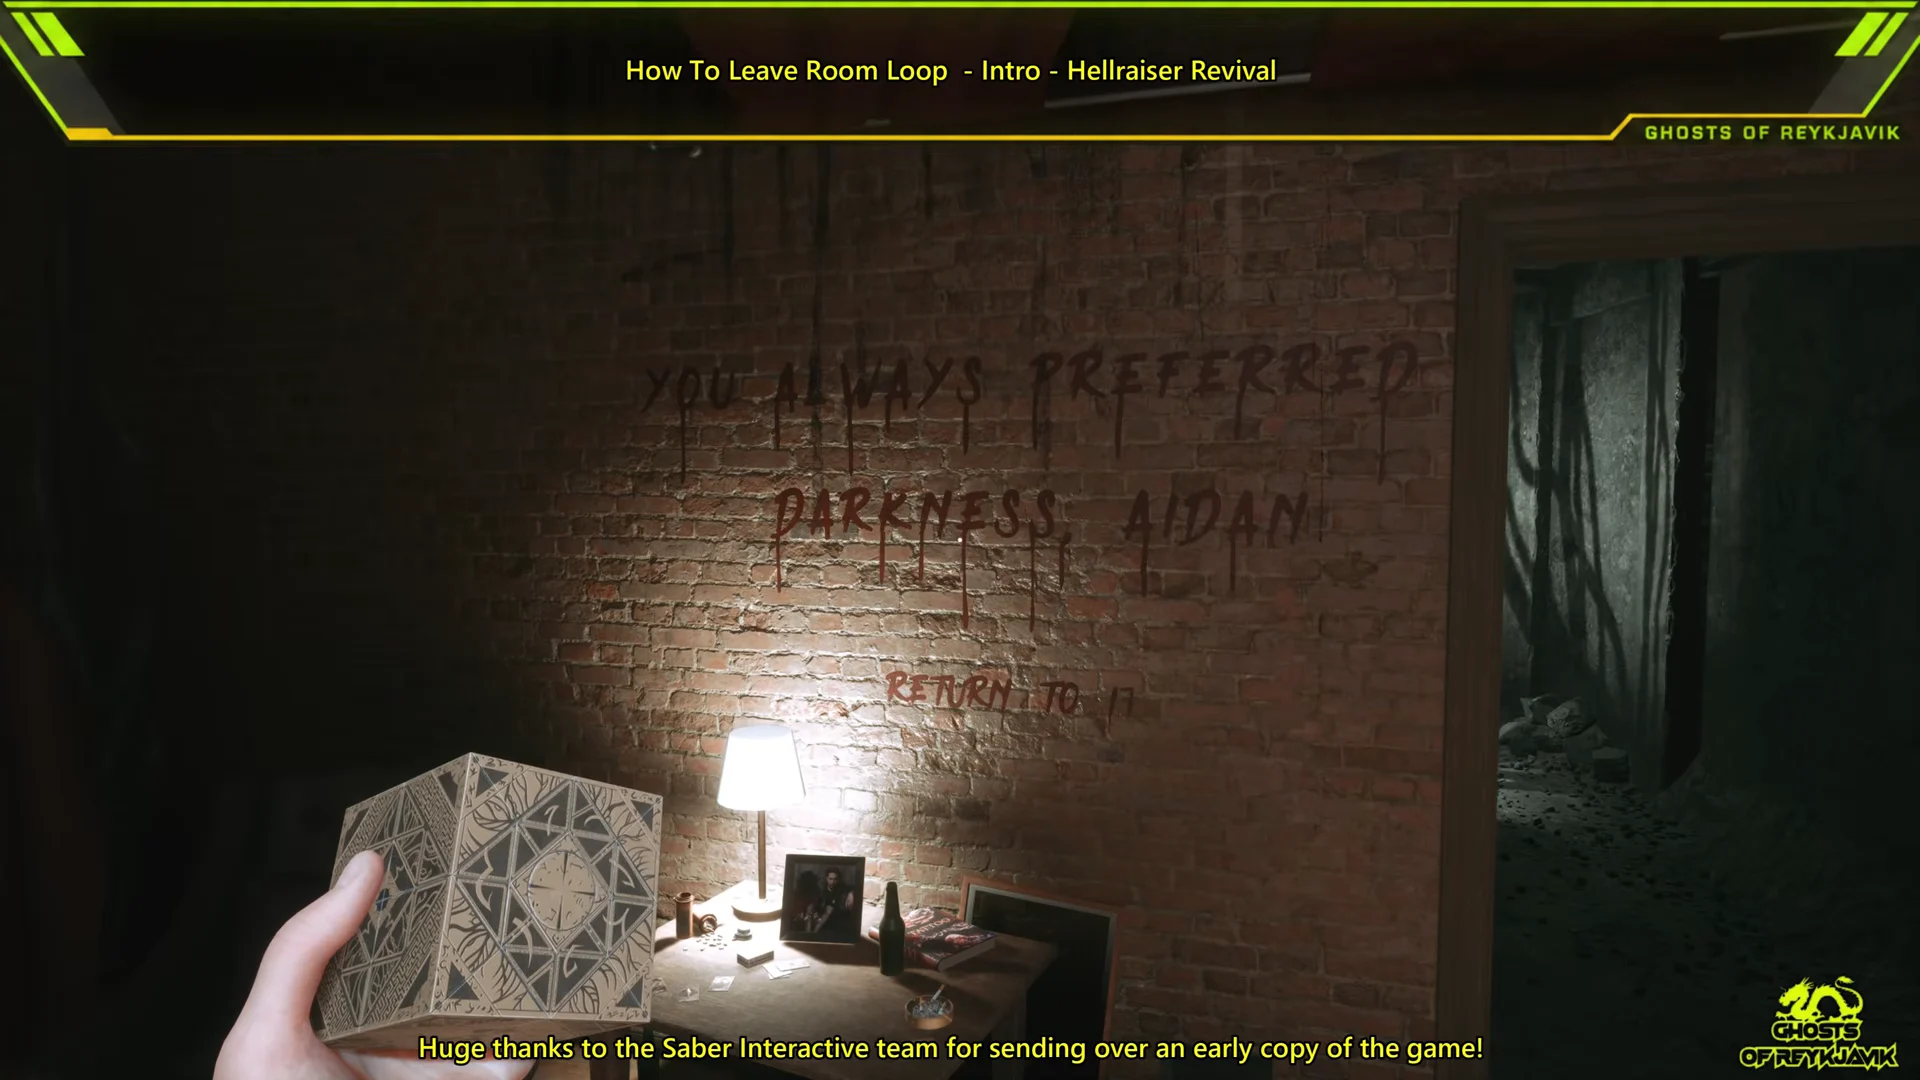
The exit void is darker than everything around it, which is easy to misread as a shadow or a wall. Follow the wall text literally and head into the blackest point beside it.
How to confirm you escaped
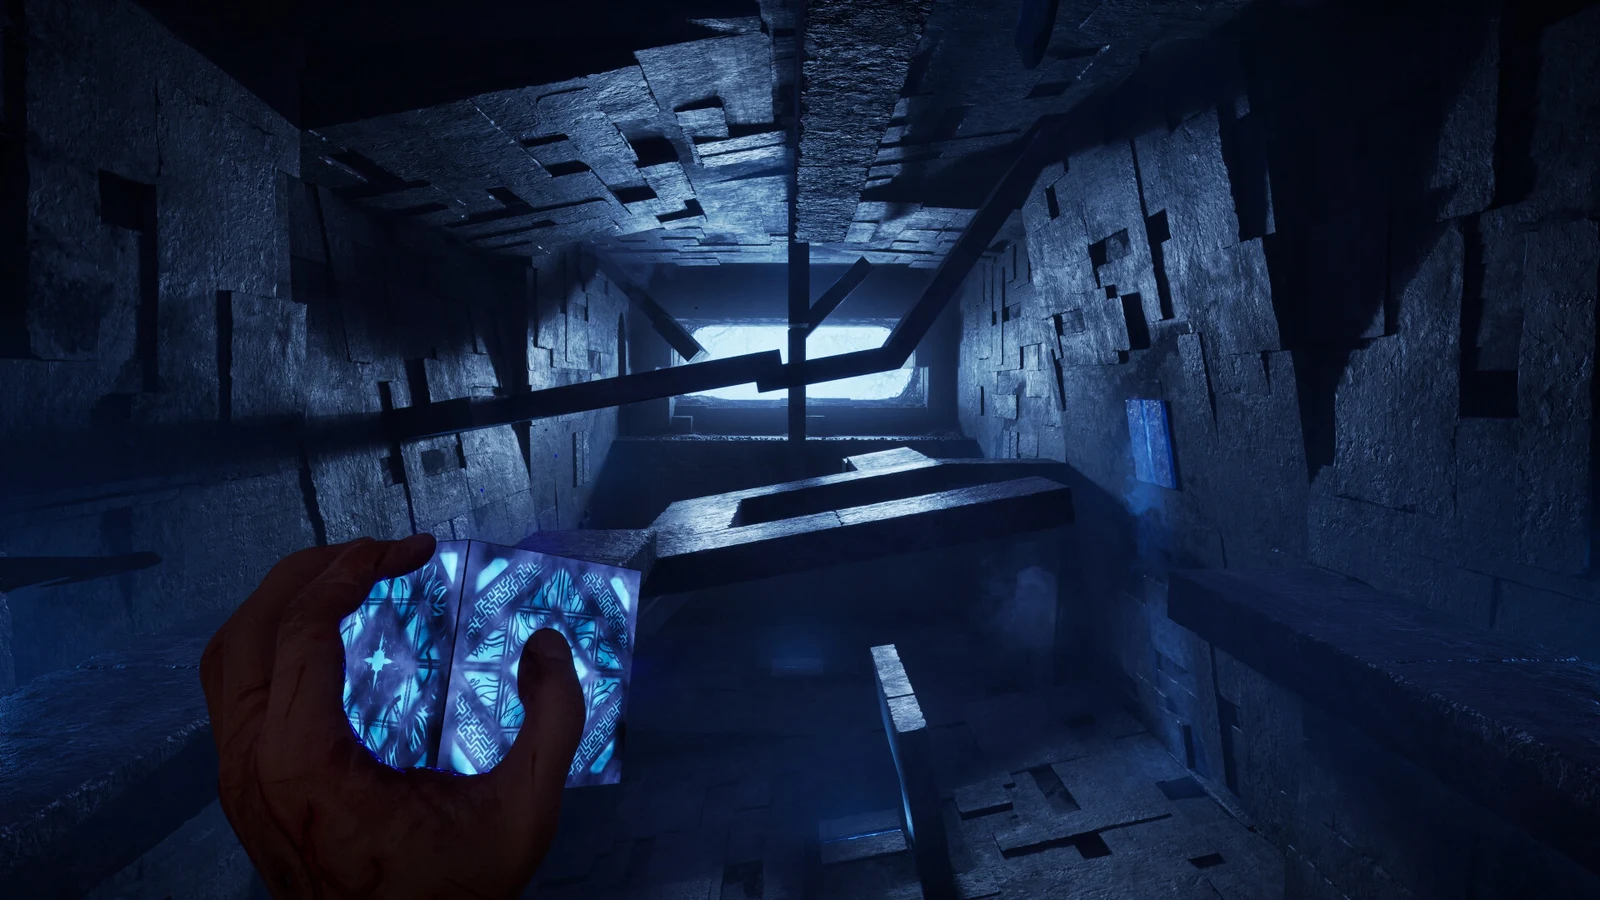
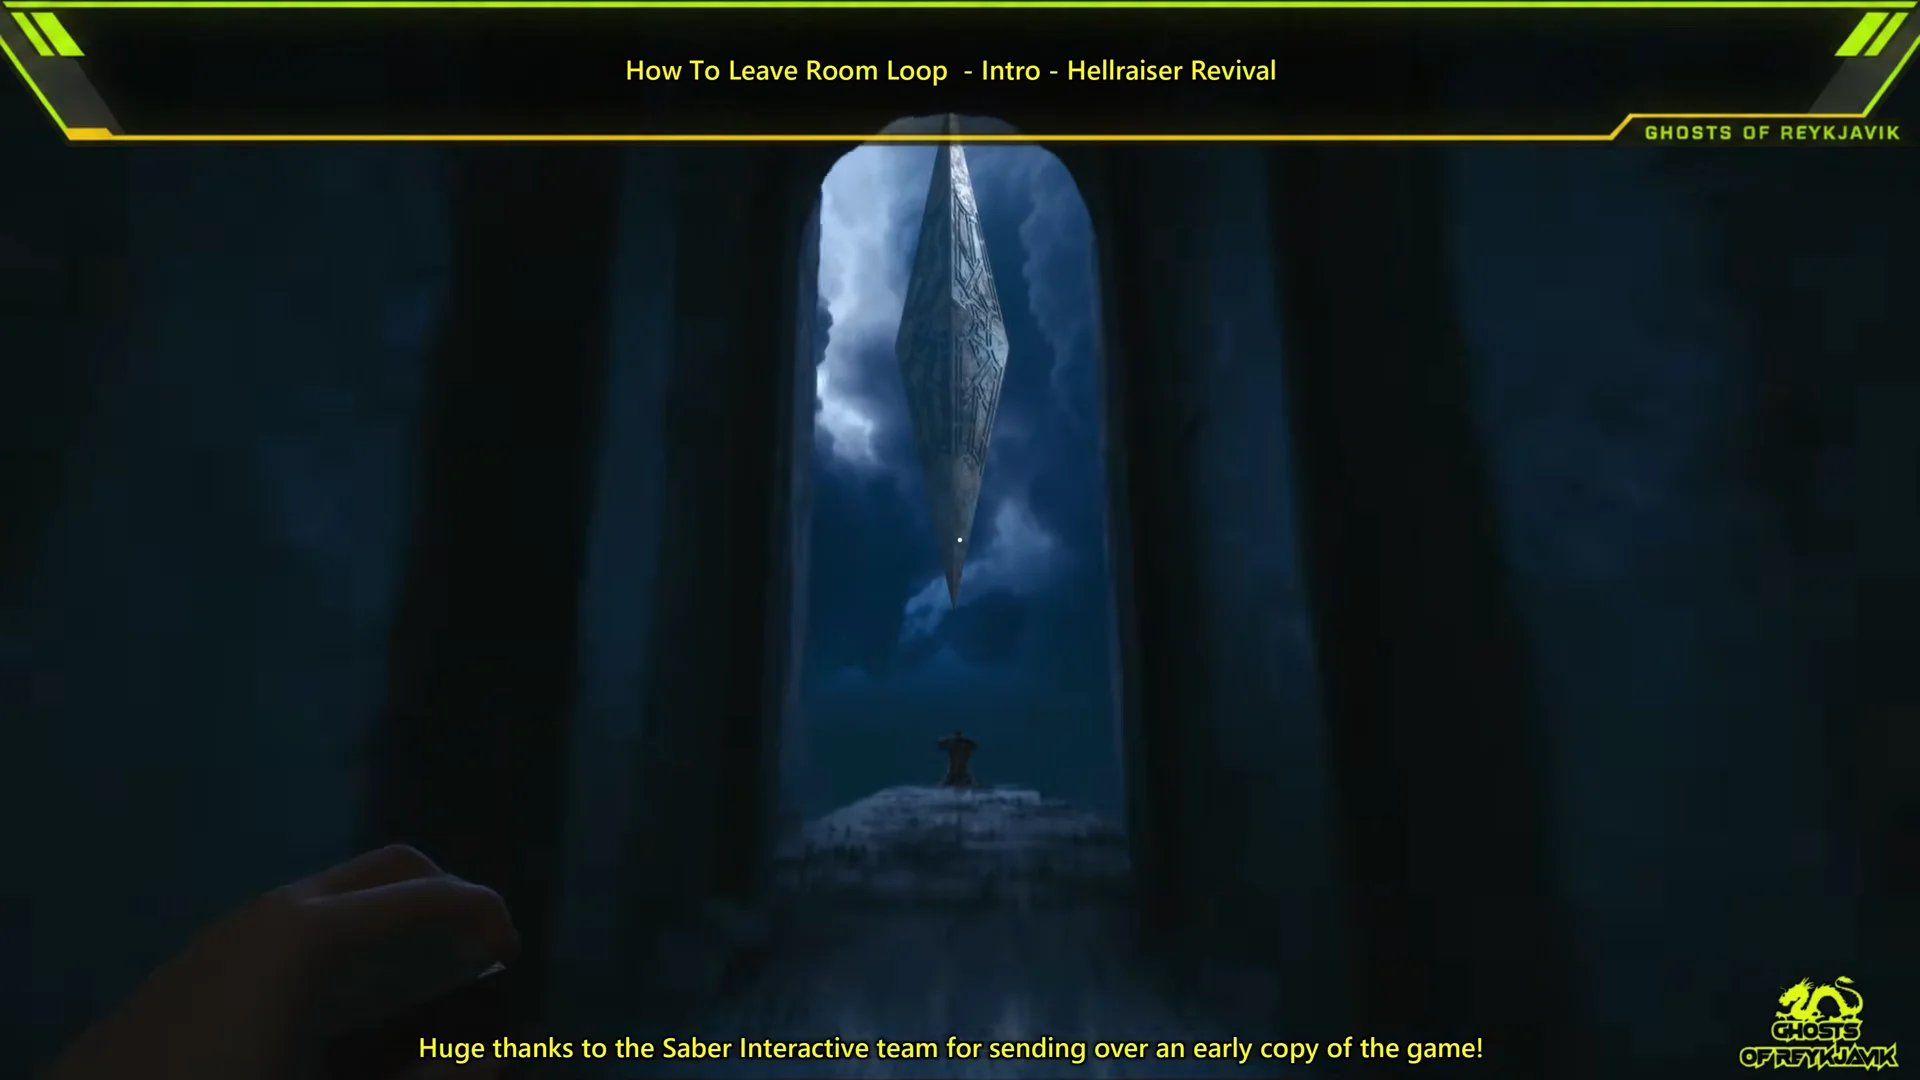
You know the loop is broken the moment the room stops repeating. The void deposits you in a stone hallway, and from there you climb a short set of steps to an overlook. Ahead of you is a pedestal and a wide labyrinth stretching into the distance, with Aidan asking “What is that thing?” Reaching this vista means the intro puzzle is complete and the game moves on past the apartment.