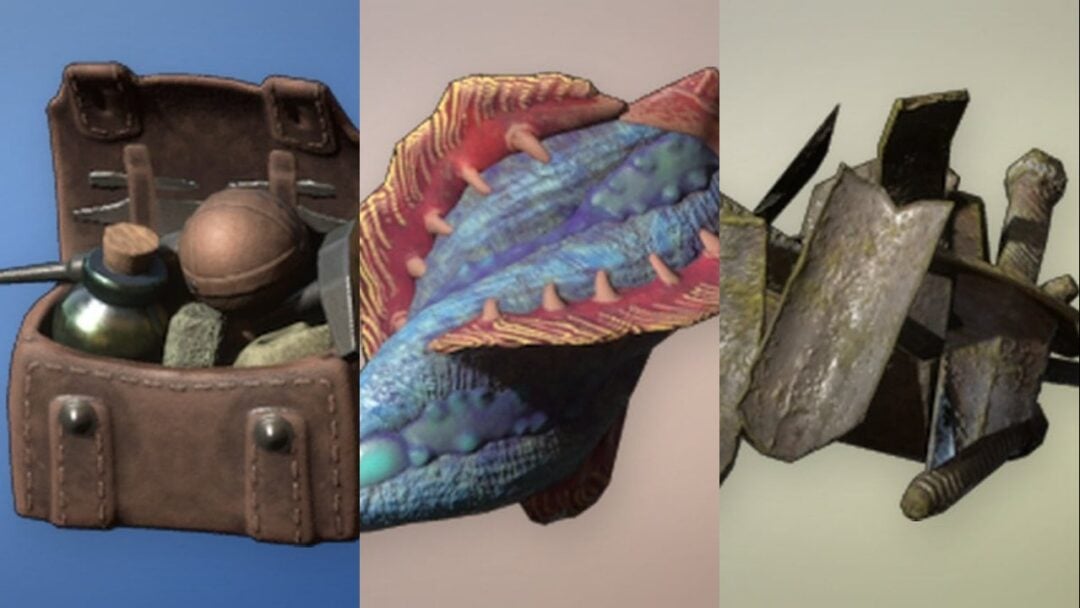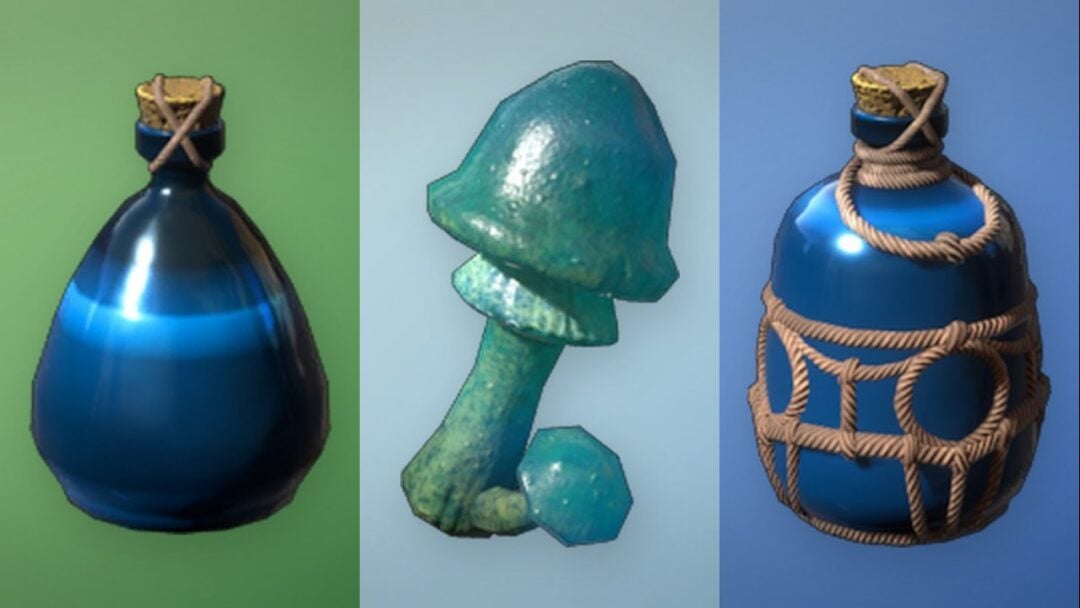
Heroes and Artifacts sits northwest of the Crossroads as a crossover zone that mixes the north world’s hero abilities with the Beamcasters’ energy-beam rules. It spans three screens and eleven puzzle entrances. Each solved puzzle locks a diamond-shaped crest emblem into the sector’s central mechanism, and filling every slot rotates the main lock column until the large gate drops and the path to Heroes and Light opens.
Quick answer: Solve all eleven puzzles across the area’s three screens, then activate each crest to rotate the lock column. When the final emblem seats, the water barrier lowers and you can walk straight into Heroes and Light.
Characters and what each one does
The game hands you a fixed character for each chamber, and the right solution depends entirely on that character’s single ability. Learn these before you start moving pieces, because most chambers have exactly one hero who can touch the puzzle.
| Character | Ability |
|---|---|
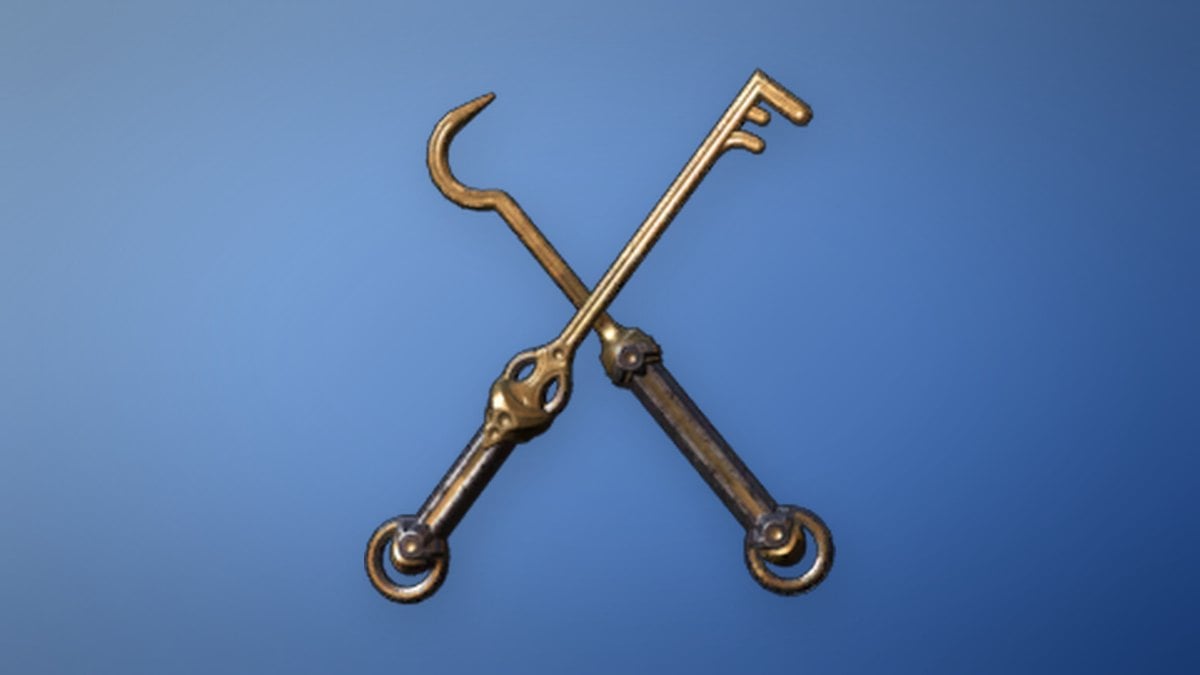
| Thief | Grapple rod that pulls a block toward you or swaps your place with it |
| Priest | Repositions goblins and other creatures around the grid |
| Wizard | Swaps places with a piece across walls and locked grates |
| Beamcaster | Walks through energy beams without taking damage or blocking them; carries gems |
| Druid | Turns plants into stone or crystal and back again |
| Warrior | Directional dash that knocks enemies off raft platforms into the water |
The Beamcaster suit is built from bone, leather, and sinew rather than wood, metal, or stone. That is why it passes through beams freely while ordinary blocks stop them. Use it to stand inside a beam’s path when a puzzle needs the beam to keep travelling.
Screen 1: the single courtyard chamber
Screen 1 holds one puzzle. The Thief works a chamber containing seven crystals and a cart, using the grapple rod to pull and swap blocks until the pedestal is clear. Reach the pedestal to light the first crest, which opens access to the five puzzles on Screen 2.
Screen 2: the five-puzzle set
Screen 2 contains puzzles 2 through 6. Two of them share an identical twenty-step solution, and the move lists below are confirmed on build 25882299. In every list, each move is one tile in that direction unless a number follows it, and “activate” means use the current character’s ability from where it stands.
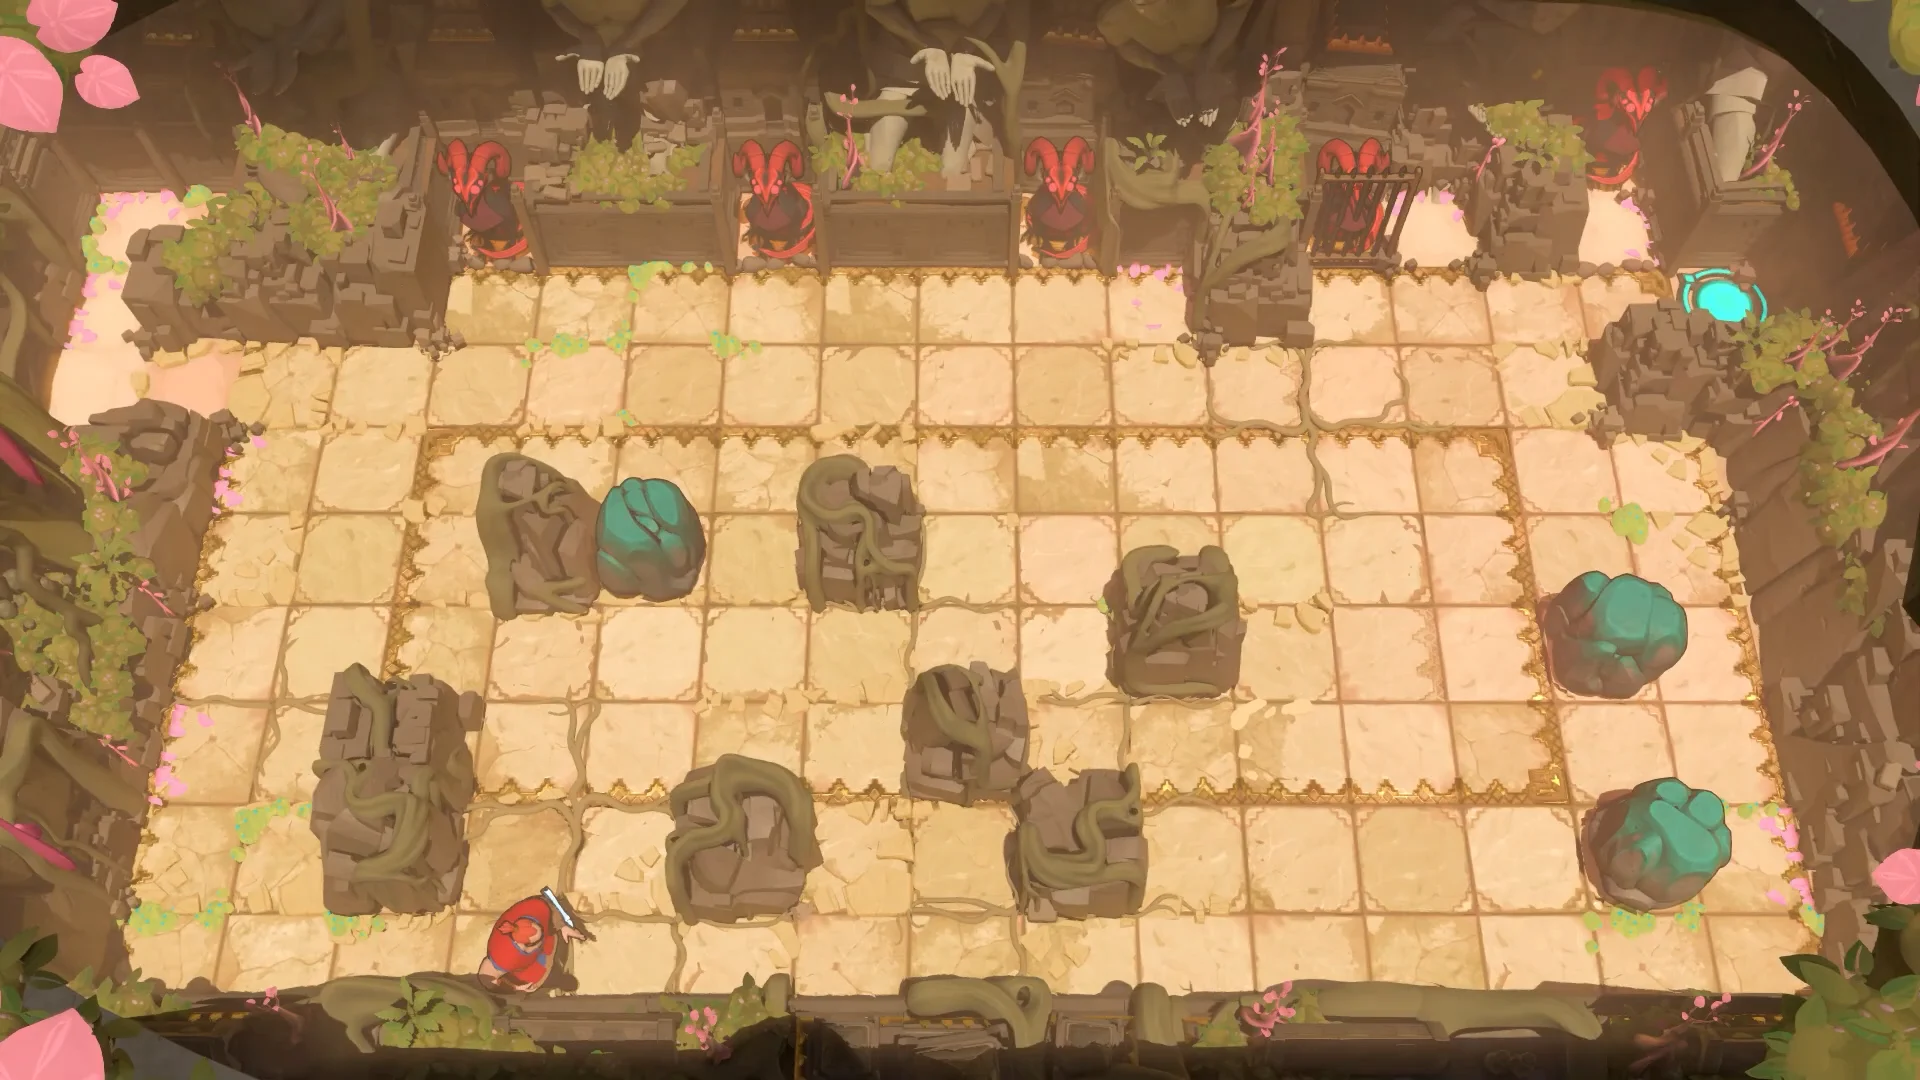
Puzzle 2: Priest and the sixteen goblins
This is a long repositioning puzzle on a wide, narrow grid. Every one of the sixteen goblins ends up in a new spot and one other piece never moves. Work the Priest methodically from one end of the lane to the other, nudging goblins into their target tiles rather than trying to clear them all at once. It takes several hundred moves, so reset and restart the run if a goblin ends up one tile out of place early.
Puzzle 3: Wizard and Beamcaster gem swap
This one runs on a small 10-by-8 grid with a single gem to reposition. Start by swapping the Wizard with the top-left gem, then hand off to the Beamcaster (shown as the Gemsman) to carry it home. The full twenty-step sequence:
Wizard: down 3, right 1, up 1, left 1, down 2, right 1
Gemsman: up 2
Wizard: right 1
Gemsman: left 1
Wizard: left 1
Gemsman: left 1, down 1
Wizard: right 1, down 2
Gemsman: down 1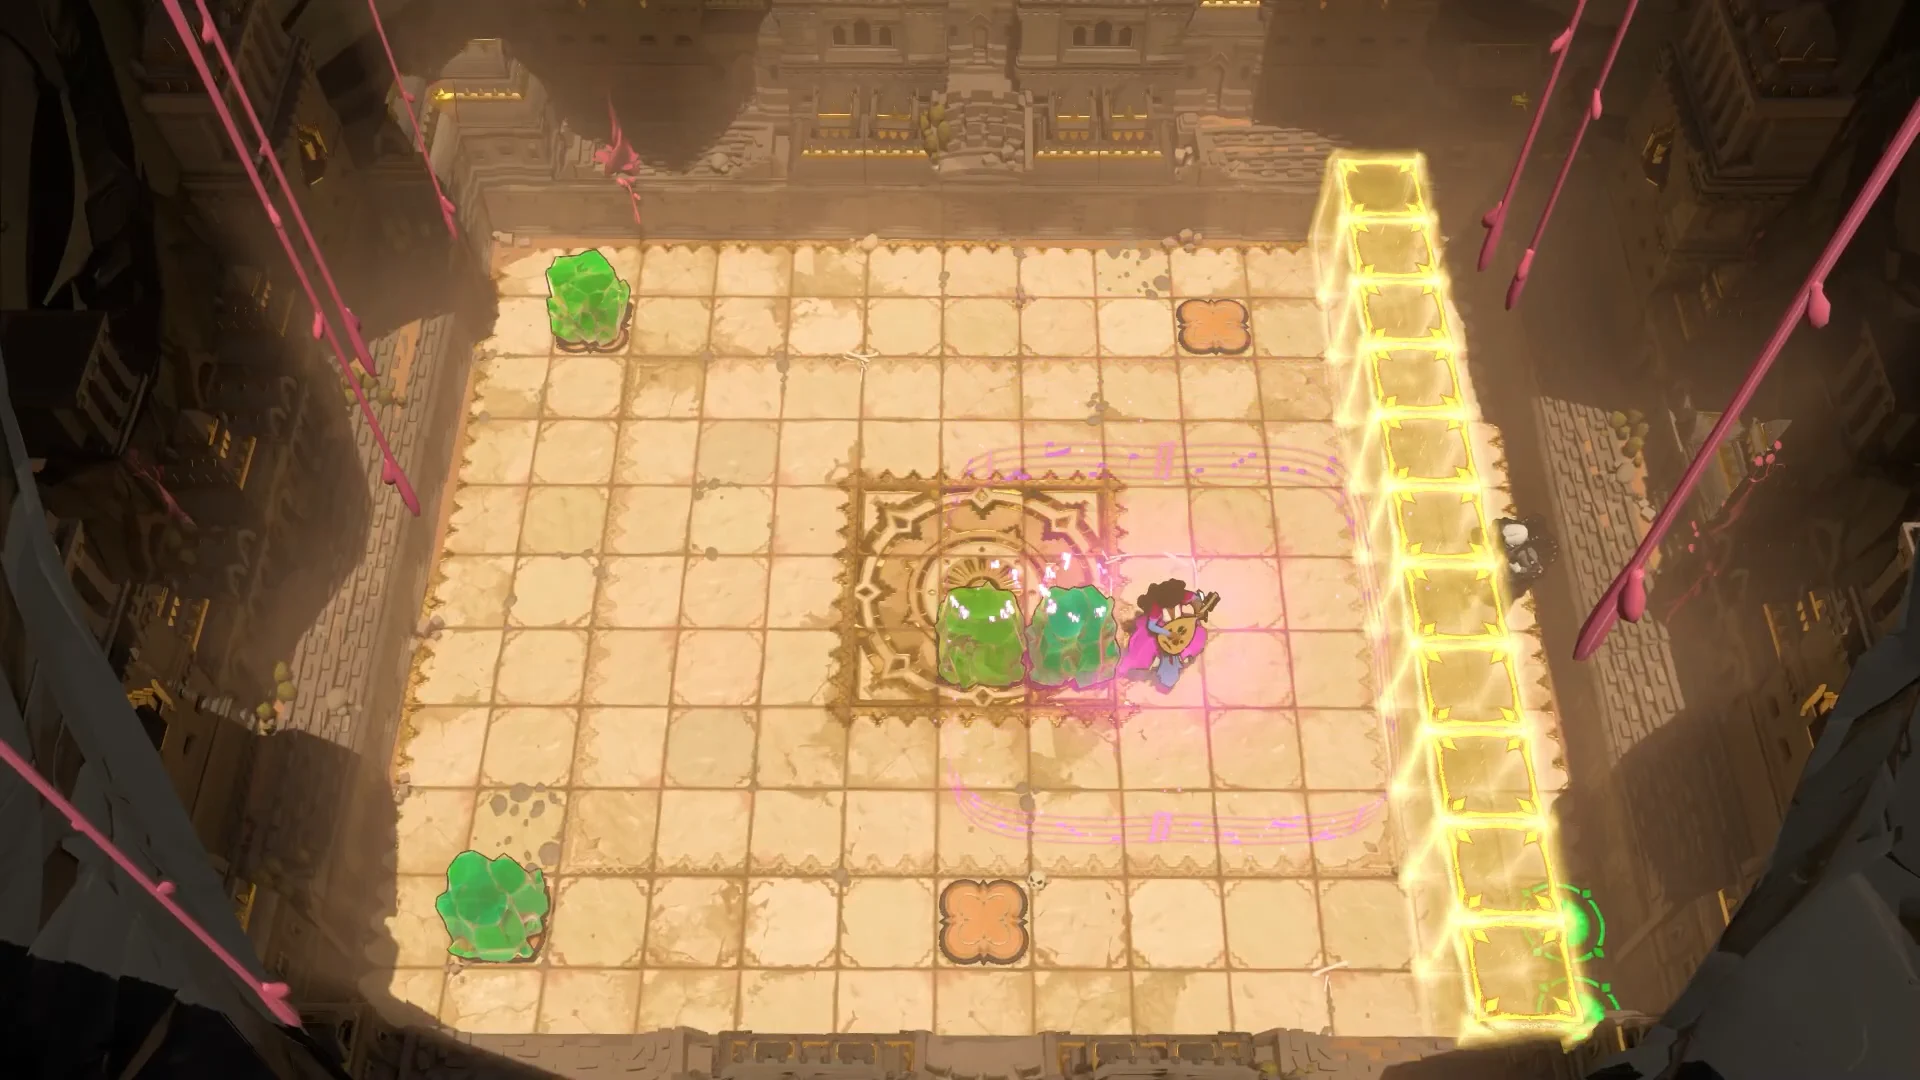
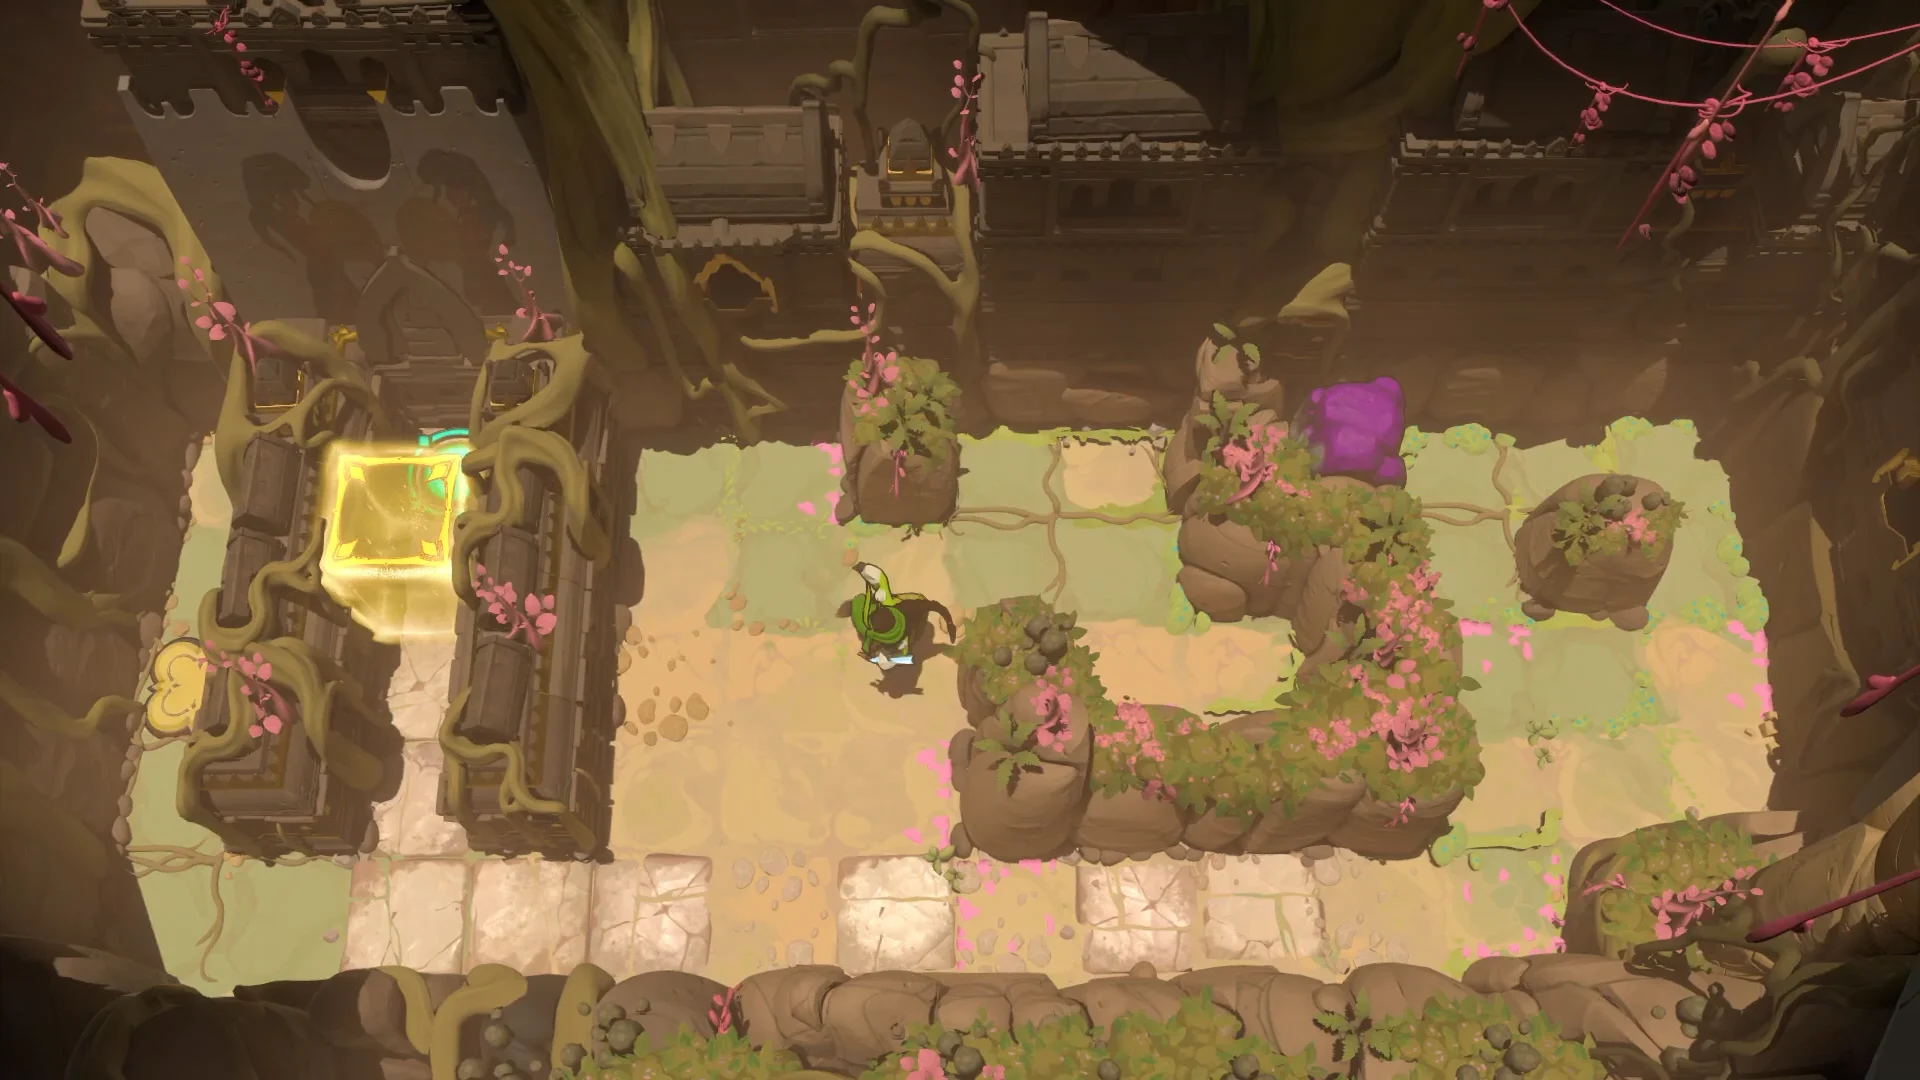
Puzzle 4: Druid, eight trees and a boulder
On this 22-by-15 board the only piece that needs to finish somewhere new is the block, and one other piece stays put. Use the Druid to convert trees into stone where you need something solid to push against, then clear them back out of the way after the boulder passes. The route is long, so plan the boulder’s final resting tile first and work backward from it.
Puzzle 5: second Wizard and Beamcaster gem swap
Puzzle 5 has an extra gem slot, yet its grid and twenty-move solution match Puzzle 3 exactly. Once you clear the prerequisite for Puzzle 5, open it and follow the sequence above again. For the opening move, trade the Wizard’s position with the gem in the upper-left corner.
Puzzle 6: two Beamcasters and three boulders
Here you control two Beamcaster suits in turn. All three boulders move and two other pieces stay fixed. The suits take turns stepping through the beams and shoving blocks, so follow the order of control exactly:
Gemsman 1: left 1, right 2, up 1, down 1
Gemsman 2: right 1, left 1, activate, left 1, activate, right 1
Gemsman 1: activate, down 3, left 1, down 3
Gemsman 2: left 3, down 3, left 1, down 1
Gemsman 1: up 1, activate, up 1, left 1, right 1
Gemsman 2: activate, down 1, activate
Gemsman 1: activate, right 3, up 2, right 3, up 1, right 2, left 2, down 1, left 1, down 2, up 1
Gemsman 2: down 2, right 3, up 1, right 1, activate, up 1, right 2
Gemsman 1: activate, up 1, right 1, up 1
Gemsman 2: activate
Gemsman 1: activate, up 3, left 1
Gemsman 2: right 1, up 1, right 1, up 2
Between the chambers, return to the central courtyard to redirect the light beam and push reflector blocks into place. The beam path has to reach the receptacle before the next lock stage will accept its crest.
Screen 3: the final courtyard puzzles
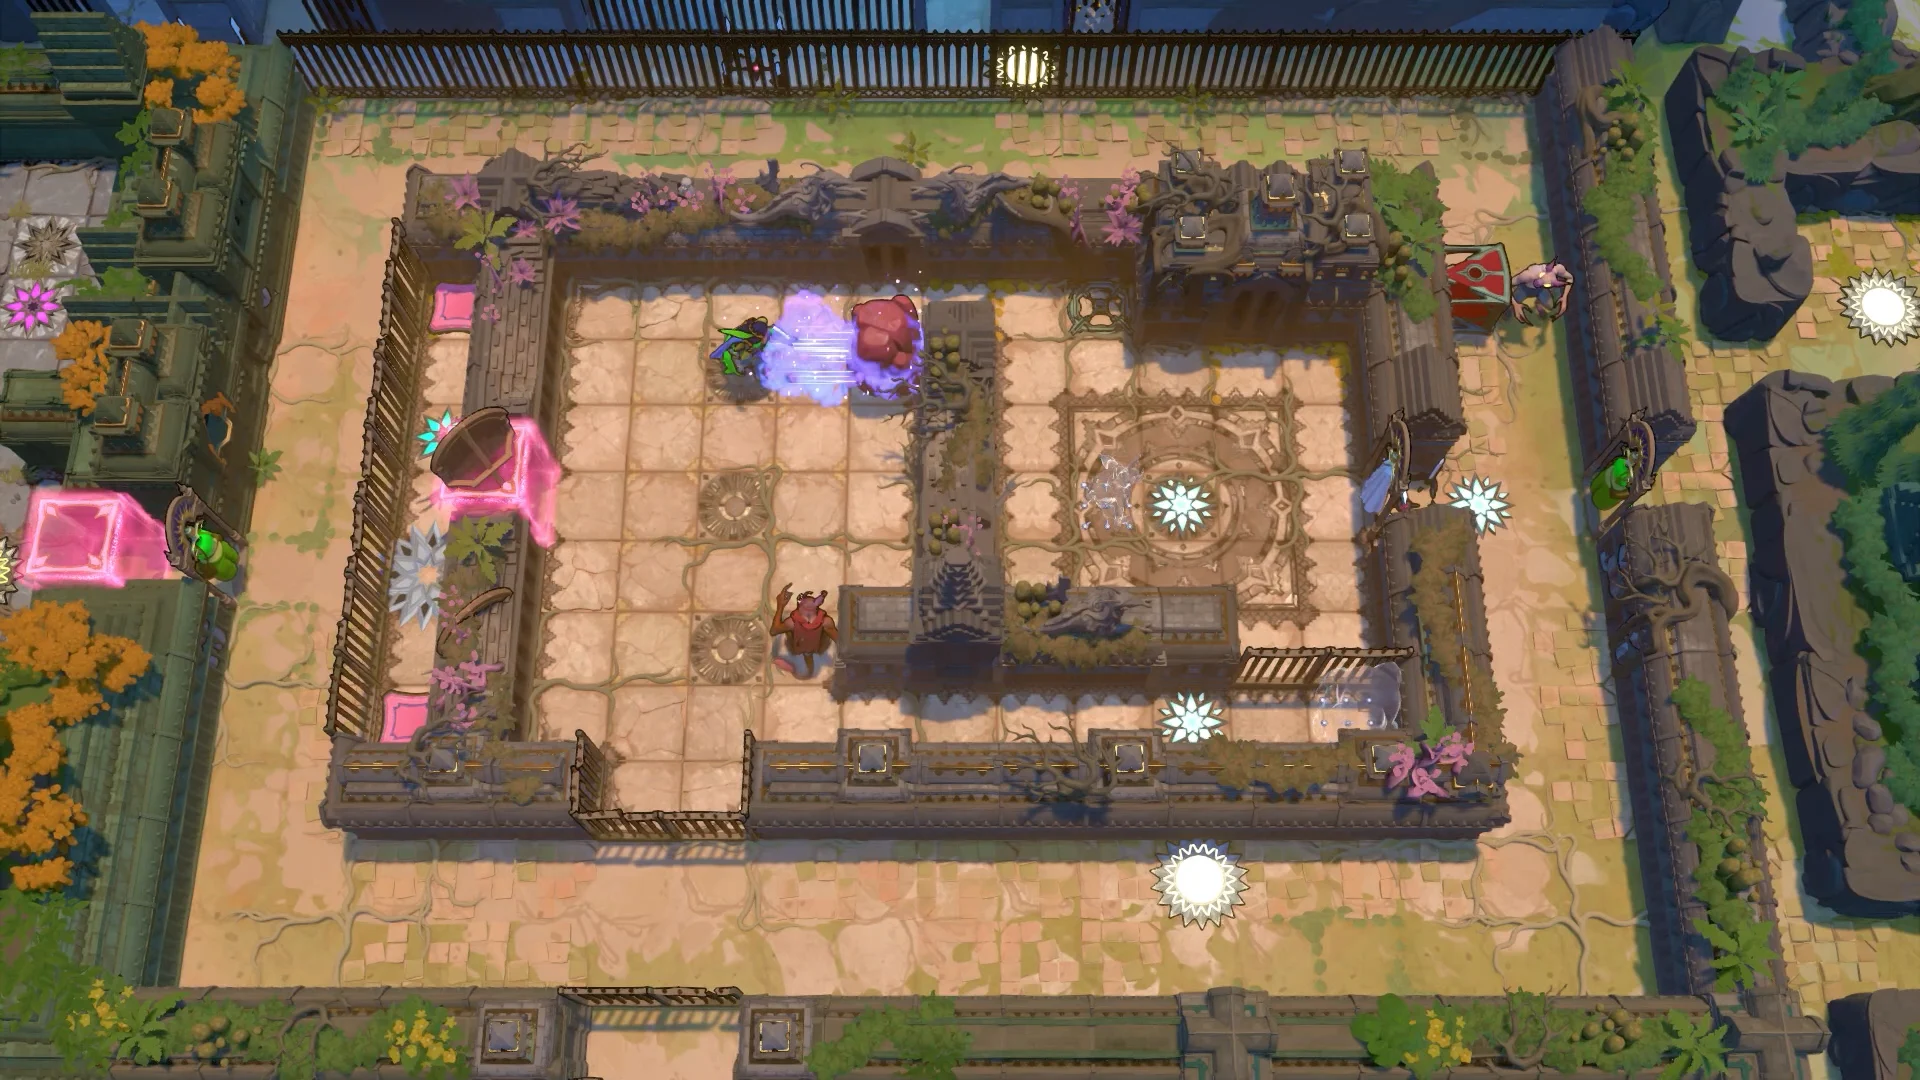
Screen 3 holds puzzles 7 through 11. Puzzle 7 pairs the Beamcaster with the Wizard and a single boulder on an 11-by-13 grid. The remaining chambers include a sentry section where you slide a dark distraction cube past a red-eyed sentry so you can pass without being spotted, and torch-lighting rooms where a spellcaster swaps across locked grates with a shadow clone. Finishing the last of these activates the final courtyard lock and opens the courtyard gate.
The water route to the final lock
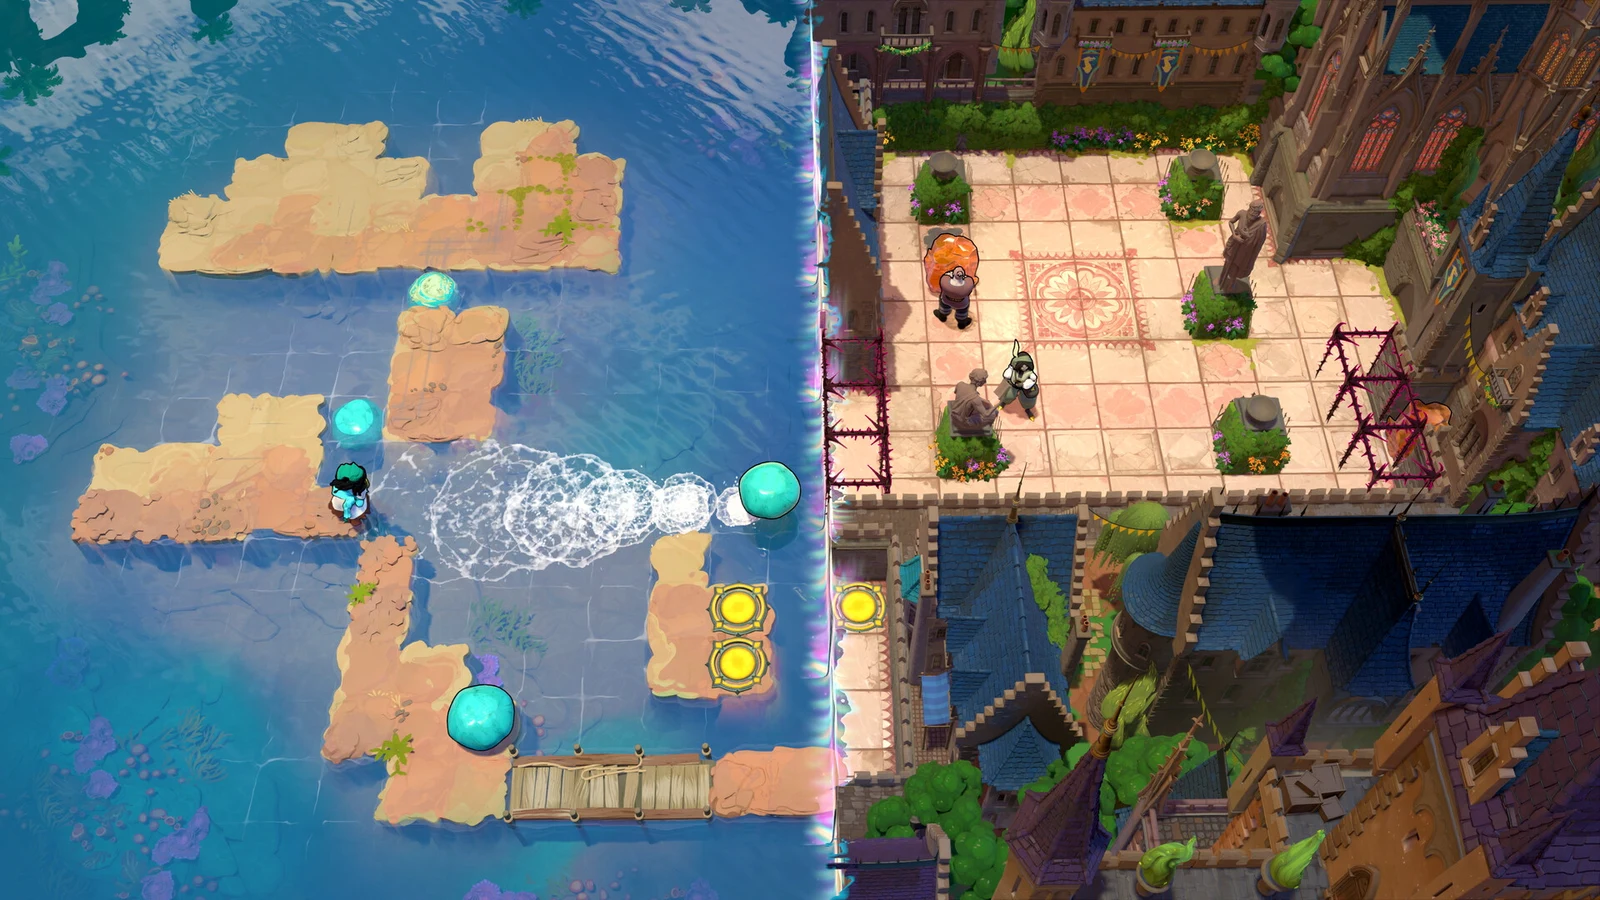
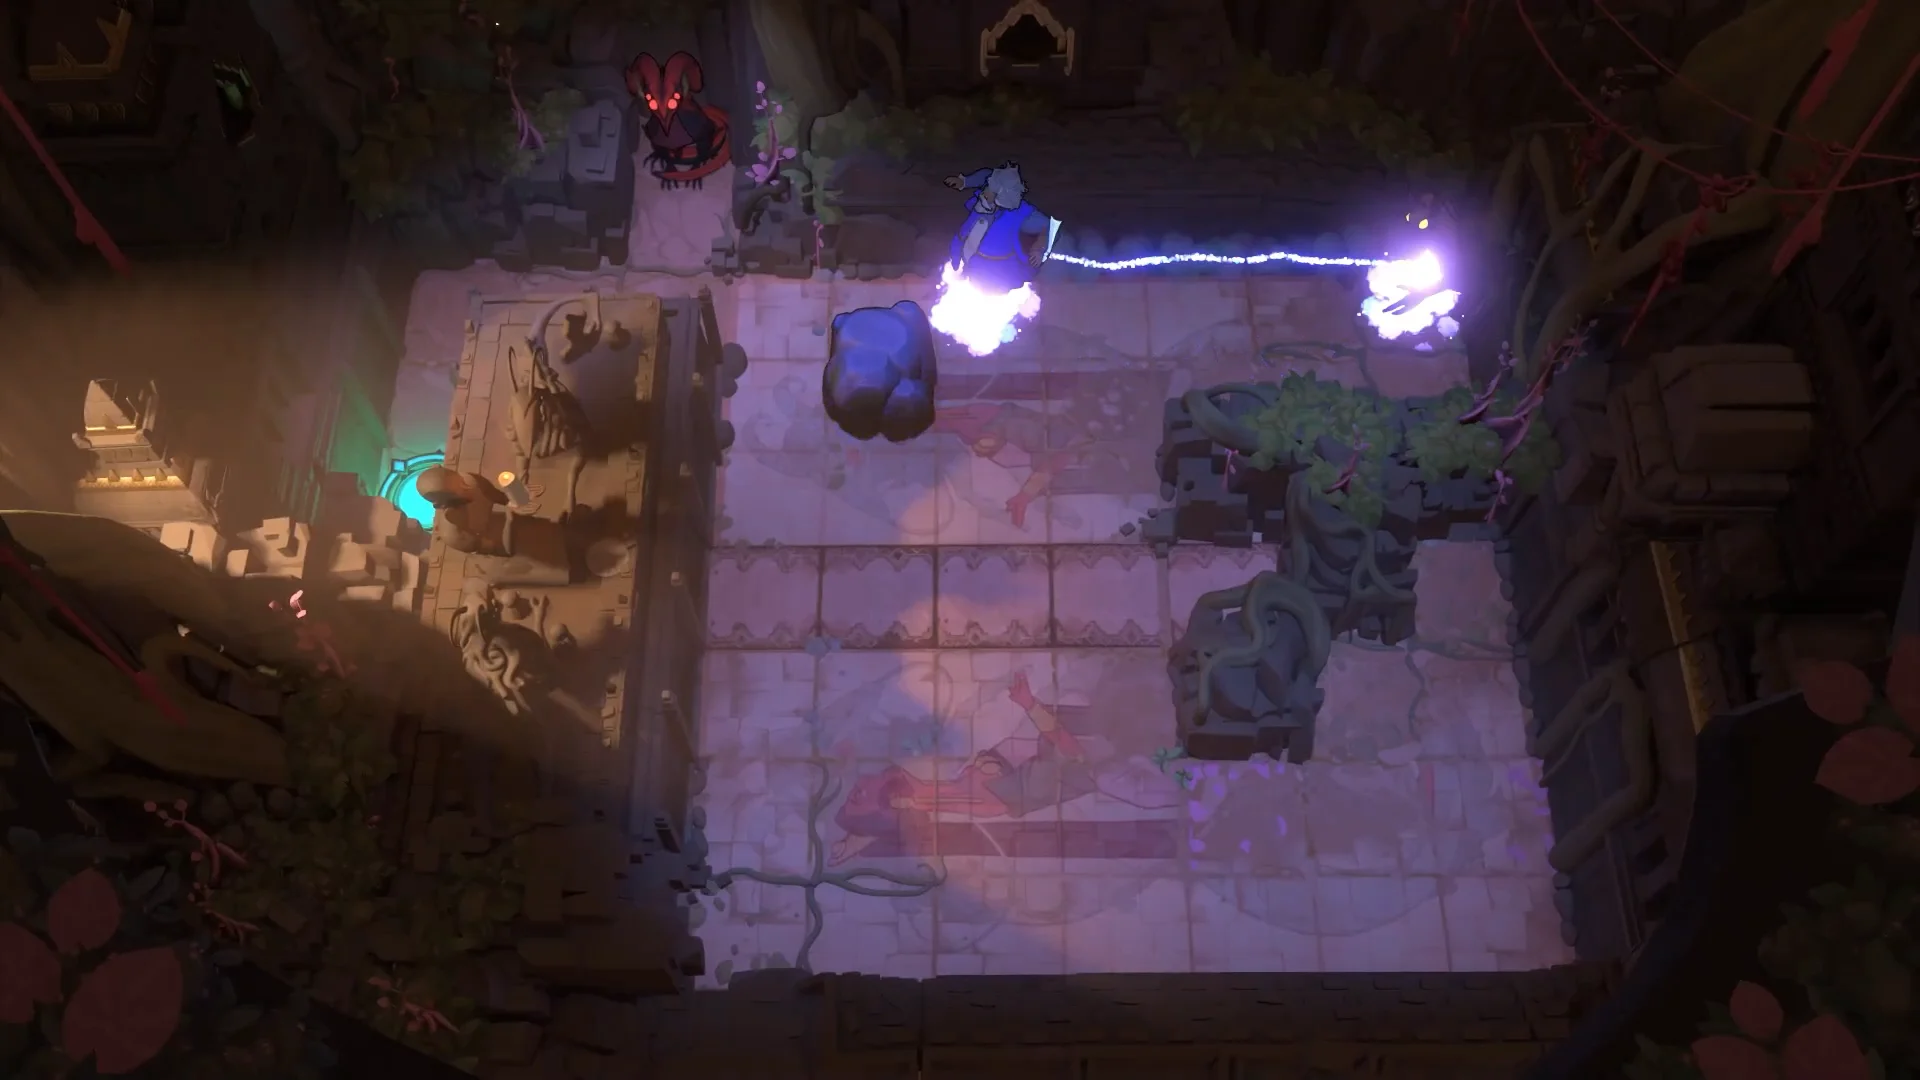
Past the courtyard gate, the puzzles move out onto rafts and flooded tiles. These stages feed the last emblems into the mechanism.
- Stepping stones: two armored characters swap and move across floating platforms to bridge the gap.
- Flower maze: steer floating green blocks around the pink blossoms to open a route through the grid.
- Stone spheres: roll heavy boulders into open water tiles to fill them, creating a walkway and a surface to set mirrors on.
- Beam alignment: push stone blocks into the water to bend the green beam toward its receptacle.
- Barrels: roll explosive barrels across the shallows into the purple crystal clusters to shatter the barriers blocking the path.
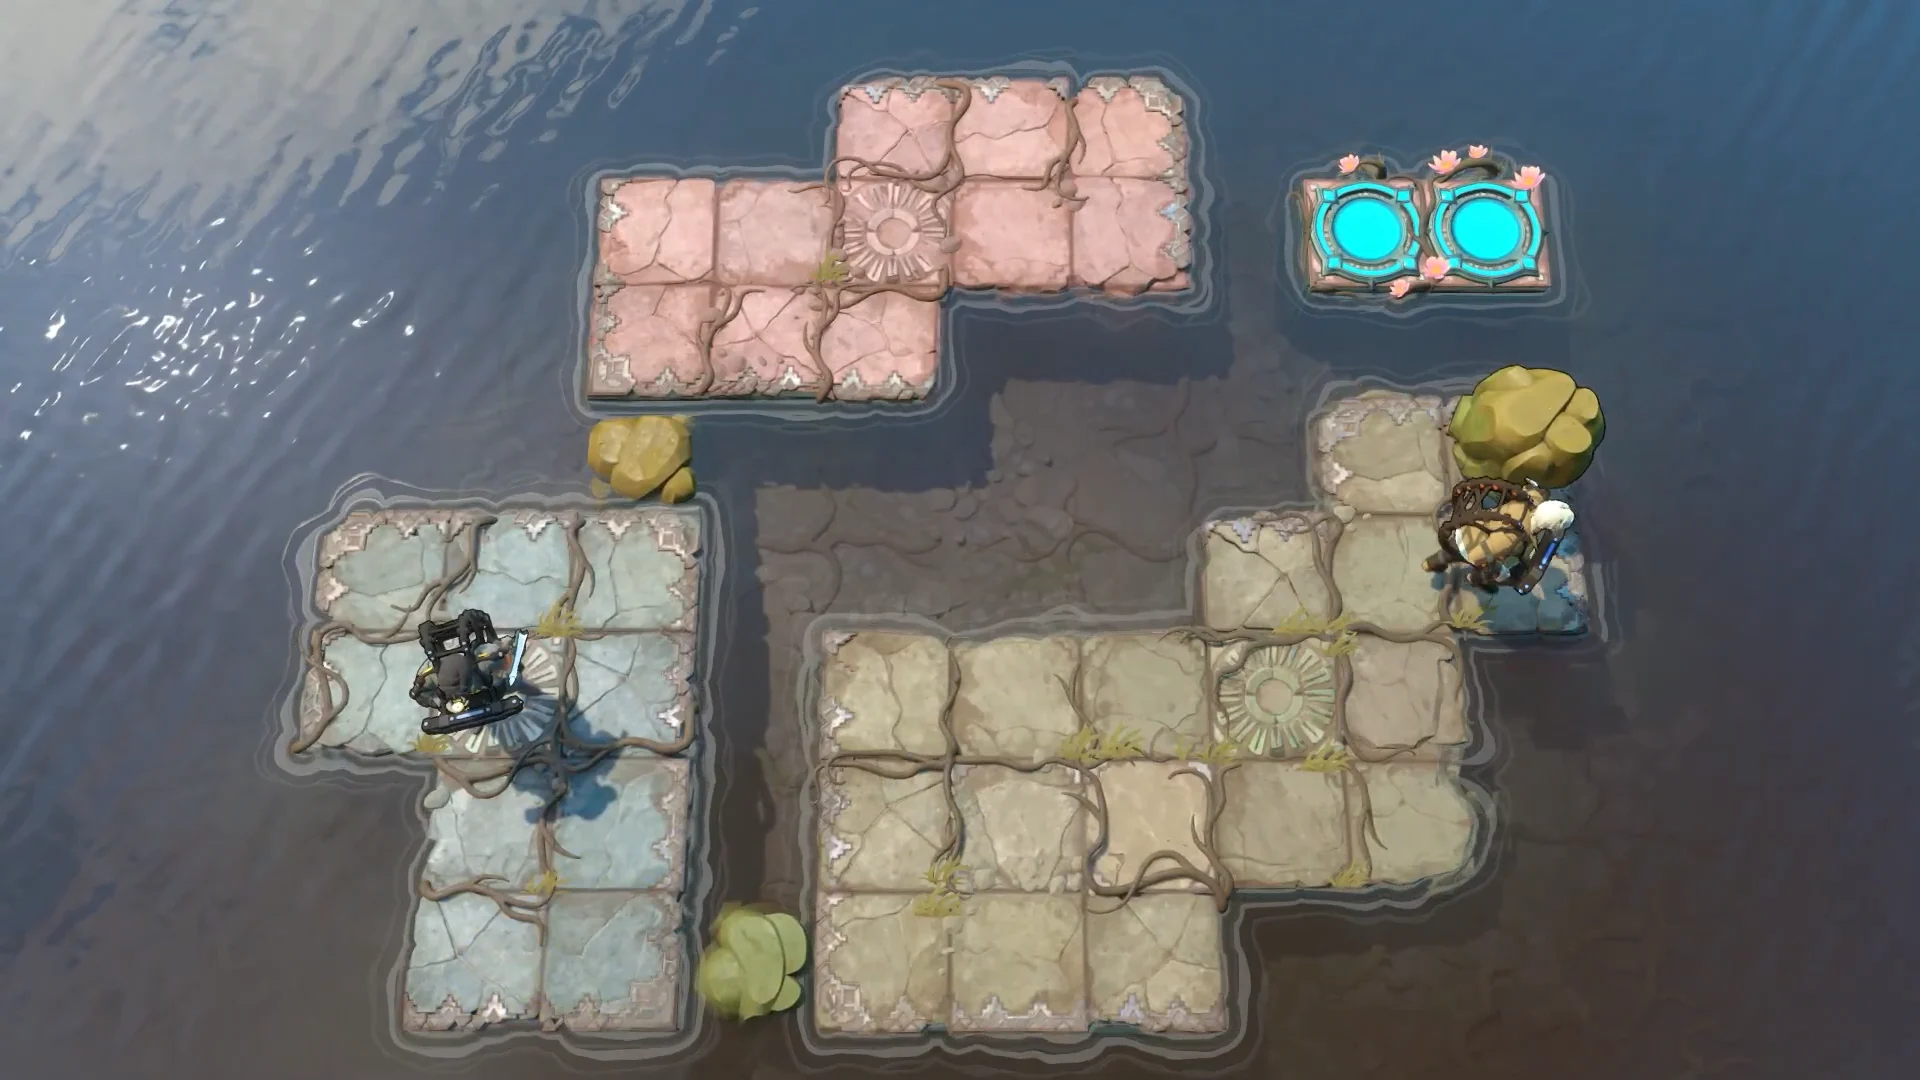
Between the water puzzles sit two raft combat trials. Take the Warrior across the disconnected wooden platforms and use the directional dash to knock the rat warriors into the water, then reach the exit portal. Clearing the second trial powers the gear-wheel device on the water overworld, which is needed before the final beam and barrel stages will complete.
How to confirm the area is complete
Each solved puzzle seats its crest and turns the sector’s lock column one step. When the last emblem clicks into place, the water barrier lowers on its own. That dropped barrier is your confirmation that every crest is active. Walk through where the barrier stood and the area title changes to Heroes and Light, marking the transition into the adjacent sector.
If the gate has not opened, a crest is still missing. Open the full map, check the Heroes and Artifacts entrances, and find the puzzle entrance that is still unlit before moving on.