The King in Check cycle of Anomaly Arbitration puts you in the Righteous Frontline stage, where a short mob wave leads into a two-phase fight against Primordial Hunger. The boss is heavily protected, it keeps pulling in reinforcements, and it speeds up in its second phase. That combination is why most successful runs lean on an Elation damage dealer or a hypercarry with real Eidolon investment behind it.
Quick answer: Strip the boss’s Blood-Brain Barrier with one large burst, clear the Seed Germs it keeps summoning, then re-break it immediately after the Phase II transition and finish with your carry’s Ultimate window.
Primordial Hunger boss mechanics in Righteous Frontline
Righteous Frontline runs with a Special Mechanism active and splits into two battles. The first is a warm-up that decides how much action value you carry into the boss. The second is the actual check.
Wave 1: Lighthouse and Acropolis Sentinel
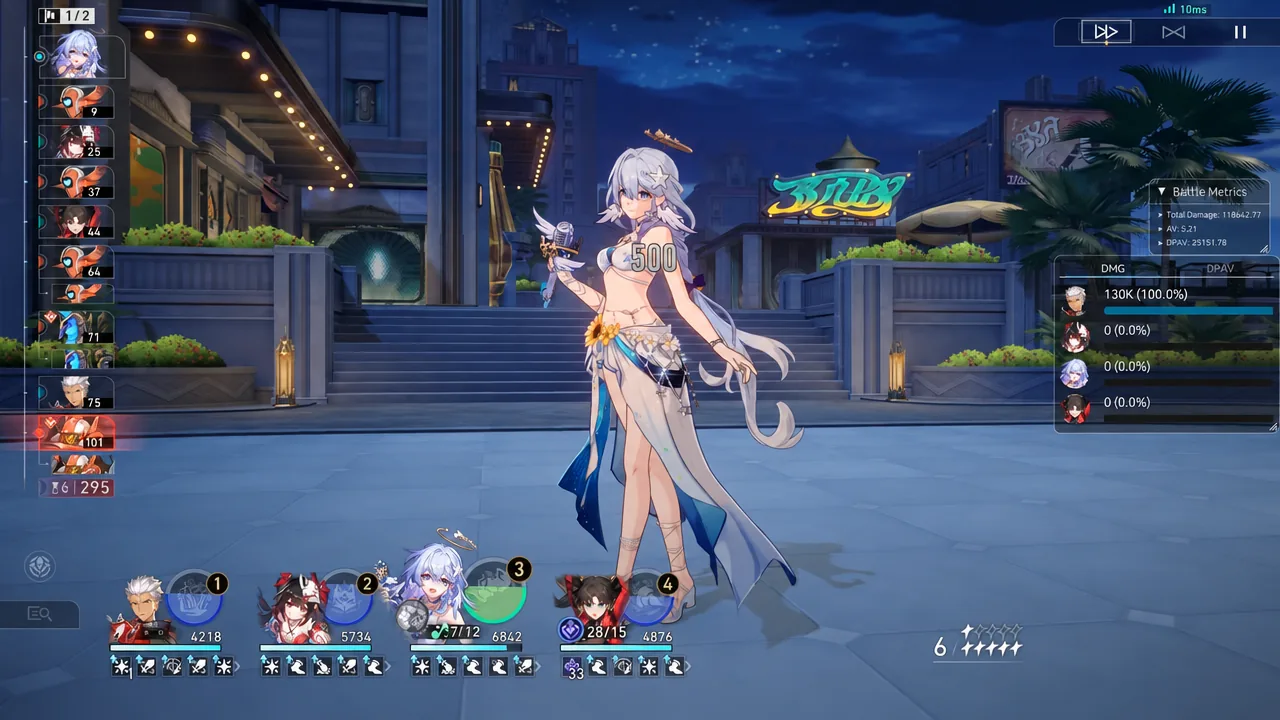
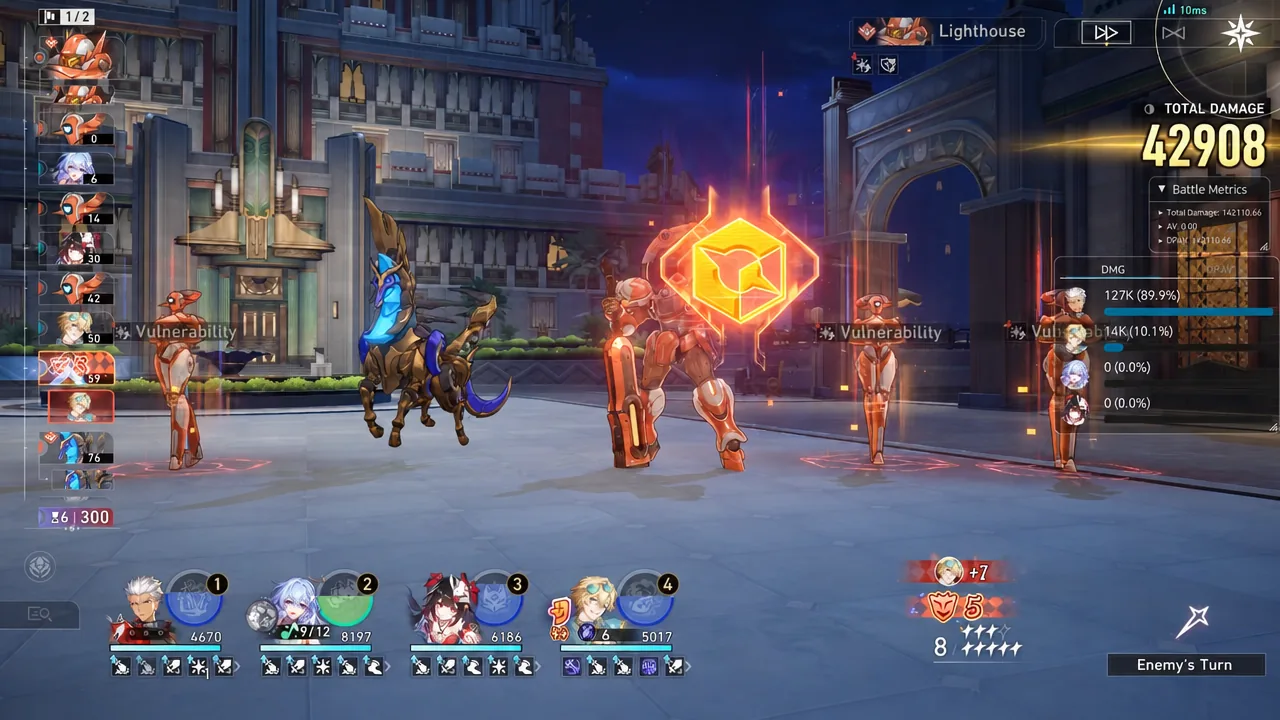
Battle 1/2 pairs a Lighthouse with an Acropolis Sentinel. Both die to a single well-buffed rotation, so the goal here is efficiency rather than survival. Open with Robin – Summeretto‘s Skill for the team-wide attack buff and action advance, push your carry forward with a second advancer, then apply Vulnerability before the big hit lands.
Wave 2: Blood-Brain Barrier, Seed Germs, and Phase II
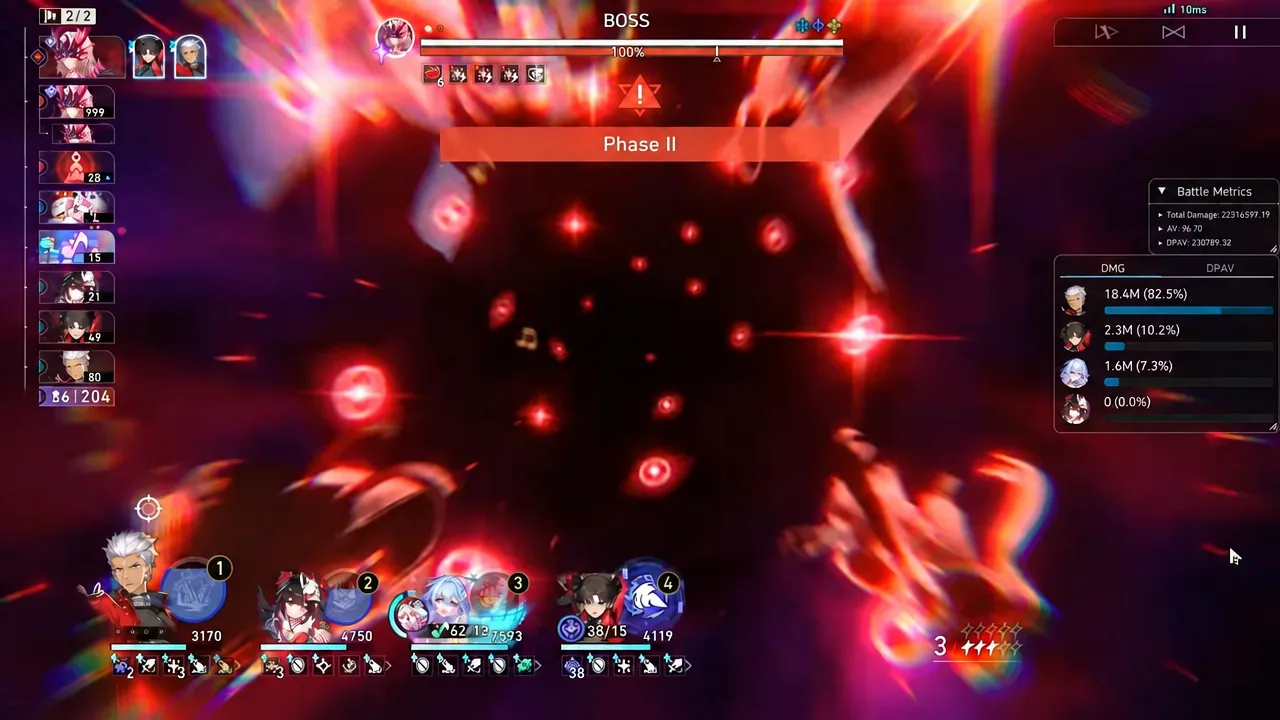
Battle 2/2 is where the fight actually begins. Primordial Hunger applies Blood-Brain Barrier as toughness protection early, keeps attracting more Frenzied Beast’s Seed Germs to the field, and spreads Hemovore onto your team. After the first health bar falls, it recovers from break, enters Phase II, and reapplies Blood-Brain Barrier with a large SPD increase attached.
| Mechanic | What it does | How to handle it |
|---|---|---|
| Blood-Brain Barrier | Toughness protection on the boss | Break it with one large burst, not chip damage |
| Frenzied Beast’s Seed Germs | Boss pulls in extra summons | Use AoE or bouncing damage to clear adds |
| Phase II | Boss recovers from break and gains SPD | Re-break immediately, before it gets extra turns |
| Hemovore | Team-wide debuff pressure | Offset it with large attack buffs |

The SPD buff attached to the second Blood-Brain Barrier is the run-killer. If you spend two or three turns grinding the barrier down, the boss acts far more often and the damage stacks up fast.
Why Aventurine – Waveflair fits this boss
Aventurine – Waveflair is a 5-star Quantum damage dealer on the Path of Elation, and he is the rare Elation unit that does not need an Elation team around him. When he is the only Elation character in the party, his Elation Skill counts as a Follow-Up ATK, and every teammate attack hands him Fervor, Punchline, and 25 SPD for Aha until the current Aha Instant ends. That is exactly why he slots into Archer, Acheron, and Himeko – Nova cores without rebuilding the whole team.
The payoff shows up as single spikes rather than steady damage. His Fervor hits 10, he fires Cheers! To Summer’s Blaze for free, and the next Elation Skill inside an Aha Instant upgrades into All In! To Summer’s Blaze, which consumes every Fervor point for extra bounces. In practice those Aha Instant hits are what strip Blood-Brain Barrier, with individual instances landing in the millions and often delivering the killing blow.
E1 adds 24% All-Type RES PEN and lets Fervor trigger at 10, 20, and 30 points. E2 raises the Fervor cap to 50, adds trigger points at 40 and 50, and grants 4 extra Fervor after each Elation Skill, which means more bounce instances per Aha window.
Aventurine – Waveflair build targets
| Slot | Pick |
|---|---|
| Relics | 4pc Ever-Glorious Magical Girl |
| Planar | 2pc Punklorde Stage Zero |
| Light Cone | Summer Rides the Surf |
| Body / Feet | CRIT Rate / SPD |
| Sphere / Rope | Quantum DMG Boost / Energy Regen |
| Stat goals | Near 100% CRIT Rate in combat, 160+ SPD |
SPD is the stat that matters most. At 140 SPD his Bonus Ability grants 30% Elation, plus another 1% per point above that threshold, so speed feeds both his turn count and his damage. His Ultimate adds 30% SPD for four turns and Summer Rides the Surf layers another 24% through Updraft, so 160 before combat turns into a much higher number during his burst. On the Planar Sphere, prioritize CRIT and SPD substats, since Elation DMG is not increased by ordinary DMG Boost effects.
He is skill-point negative and wants to use his Skill nearly every turn, so pair him with supports that do not compete for points.
King in Check clear teams
Three carry cores handle Primordial Hunger cleanly, and each one has a version with Aventurine – Waveflair in the flex slot. Robin – Summeretto appears in every setup because her action advance and attack buff cover the damage loss from Hemovore.
| Main DPS | Rest of team | Note |
|---|---|---|
| Archer | Rin Tohsaka, Robin, Sparkle | E2 Archer, no sustain |
| Archer | Rin Tohsaka, Robin, Aventurine – Waveflair | Adds Elation burst |
| Acheron | Robin, Mortenax Blade, Ashveil | Sustainless |
| Acheron | Robin, Mortenax Blade, Aventurine – Waveflair | Faster stack generation |
| Himeko – Nova | Robin, Cipher, Dan Heng – Permansor Terrae | Shielded, safer |
| Himeko – Nova | Robin, Mortenax Blade, Dan Heng – Permansor Terrae | More follow-up density |
Archer is the most investment-hungry option of the three. His enhanced Skill, Circuit Connection, delivers a stack of hits that chews through barrier toughness, and Unlimited Blade Works is the phase-ending nuke. He runs The Finale of a Lie, with Rin Tohsaka on Flickering Stars applying Vulnerability and Sparkle on A Grounded Ascent advancing him.
Acheron trades barrier-breaking hits for raw Ultimate frequency. Slashed Dream Cries in Red clears the mob wave and each boss phase, and swapping Ashveil out for Aventurine – Waveflair speeds up her stack generation through extra follow-up attacks. Along the Passing Shore and Pioneer Diver of Dead Waters remain the standard loadout, with Mortenax Blade on Reforged in Hellfire and Divine-Querying Master Smith.
Himeko – Nova is the most forgiving core because Dan Heng – Permansor Terrae covers the party with shields and attack buffs. Clears here land in the high three-million to low four-million damage range, which is enough for the fight without needing a flawless rotation.
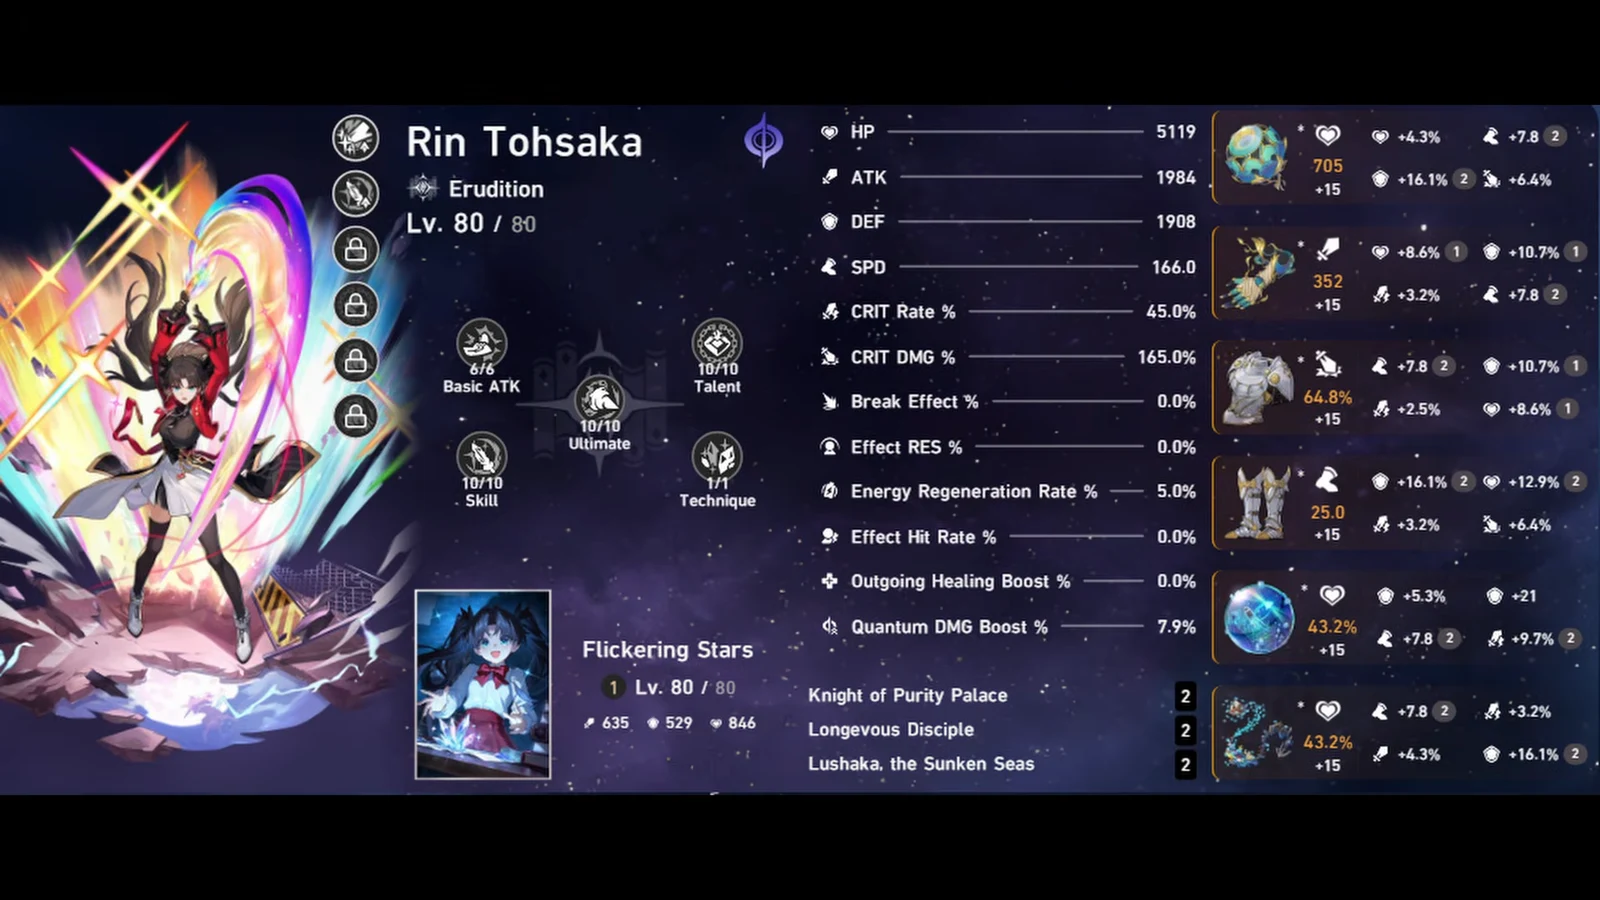
Turn order for the Archer team
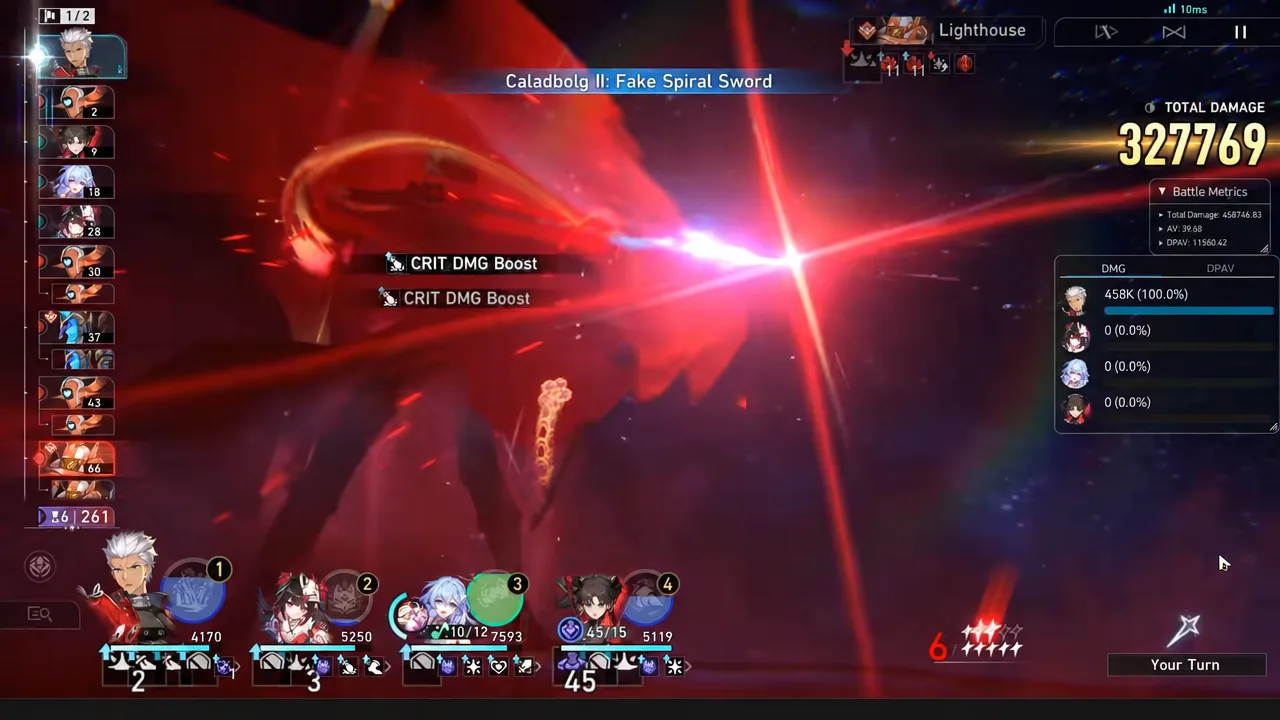
Mooncocoon and the Castorice global passive
Running this fight without a healer is possible, and the Castorice global passive is the safety net that makes it viable. When it triggers, the game tells you that Castorice protected you and applies the Mooncocoon state to the affected character instead of letting them fall.
Mooncocoon is a timer, not a save. Use HP restoration or a shield on anyone carrying it as soon as you can, which is one argument for keeping a shielder like Dan Heng – Permansor Terrae or Aventurine – Waveflair’s shielding in the party if you are not confident in the damage race.
How to confirm the clear
The fight is over when the second health bar empties and the Battle Over screen appears with your total damage logged on the right-hand panel. That number is the useful feedback loop: if you cleared but the total sits low, your burst is landing outside the barrier-broken window rather than inside it.
Do not treat a deathless run as the pass mark. The boss’s single-target move picks its target unpredictably, and a support can go untouched across a dozen attempts or eat the hit immediately, so whether everyone survives is partly down to that roll. Clean clears exist, but they come from repeating the attempt, not from a different rotation.