

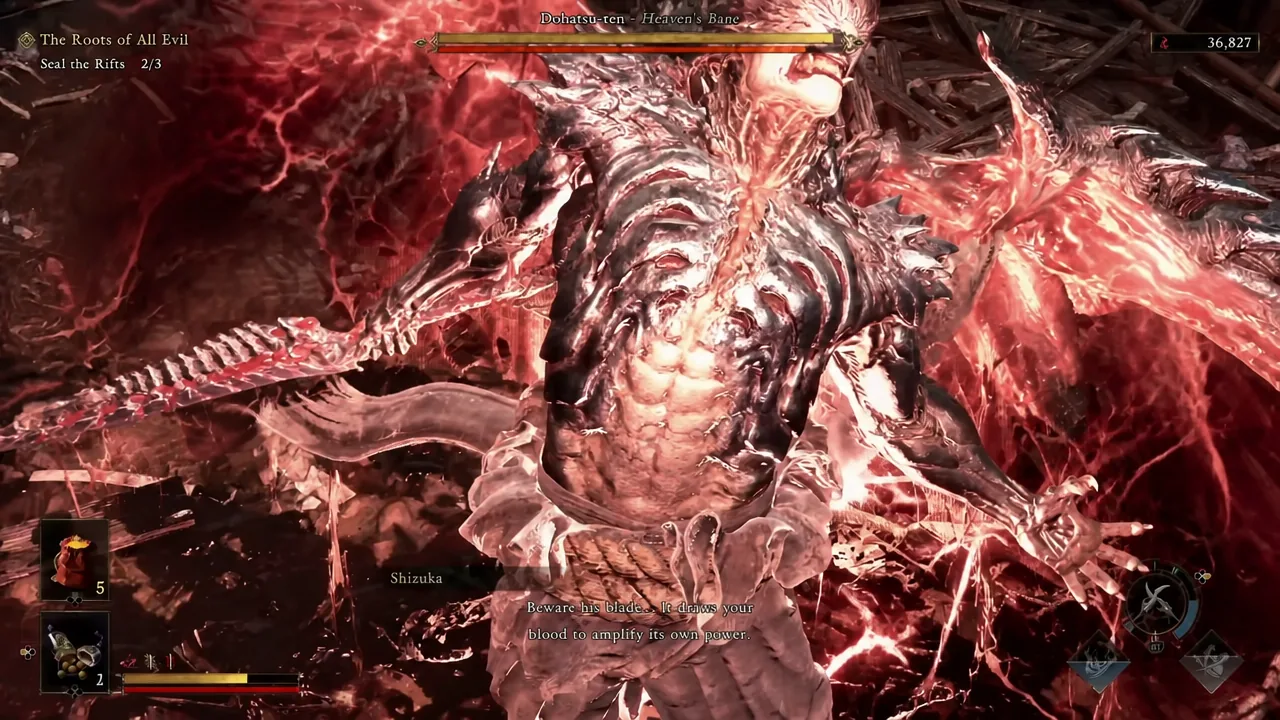
Dohatsu-ten, subtitled Heaven’s Bane, is the humanoid Genma that crawls out of a rift during the early hours of Onimusha: Way of the Sword. He is not a story boss, and he is not especially large. He is still one of the meanest things you will fight in the first stretch of the game, because he moves fast, chains attacks without pause, and gets stronger every time he connects.
Quick answer: Deflect his combos until the stamina bar under his health empties, then siphon souls and punish. Guard or dodge the launching kick instead of parrying it, parry the instant he teleports to your flank, and press Triangle + Circle to break his guard the moment your hits stop registering.
Where Dohatsu-ten appears in The Roots of All Evil
The fight triggers during the quest “The Roots of All Evil,” while the objective tracker reads “Seal the Rifts 2/3.” Approach the glowing red rift in the village and Dohatsu-ten emerges from it in a short cutscene. There is no way to skip past him. The rift stays open until he is dead, and the quest cannot advance while it is active.
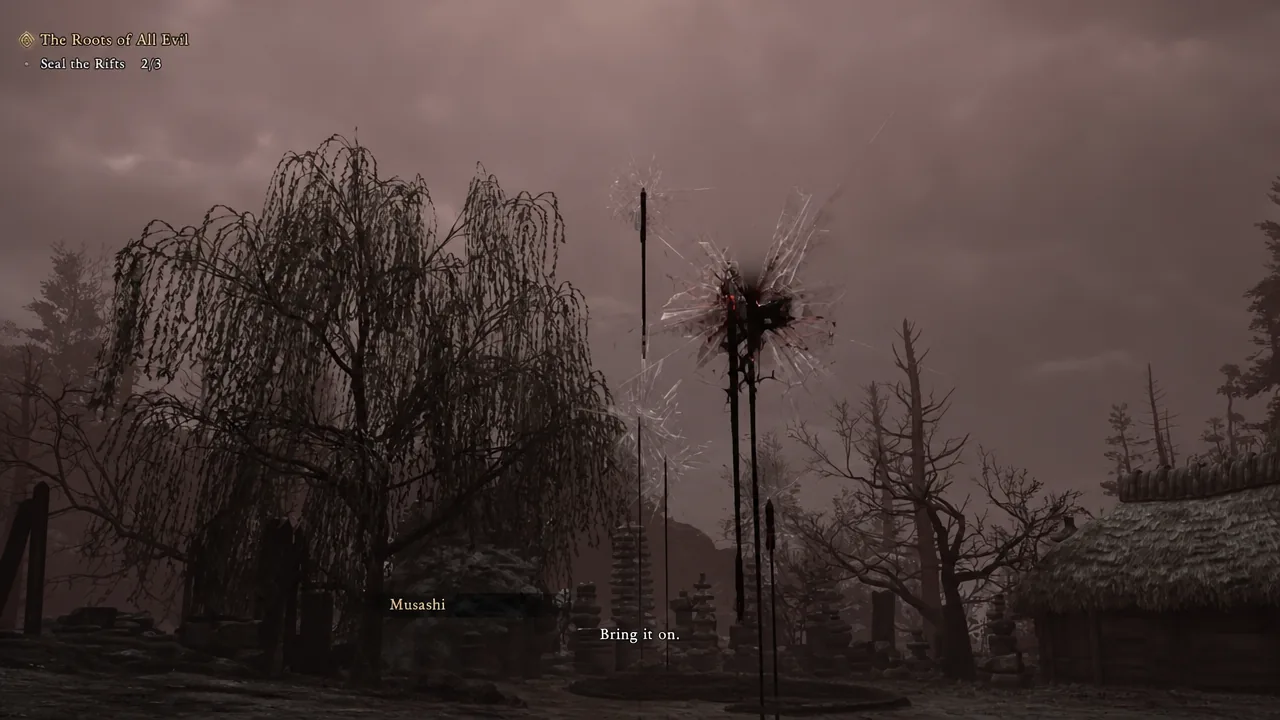
Before you walk in, check your buff timers. Talismans, Blessed Beads and Hozuki Pouch effects tick down in real time, and it is easy to burn them on the run over. Keep at least one restorative in the quick slot, since the fight runs several minutes even when it goes well.
What changes when Dohatsu-ten powers up
Dohatsu-ten has two full stages, and the second one is the reason people lose here. Every time he lands a hit, he draws blood and absorbs souls you drop, which pushes him toward his enhanced state faster. The timing is not fixed. Take a lot of damage early and he flips into the stronger version well before you expect it.
In the enhanced state his body turns red, his kick combo becomes a dash-in with two kicks capped by either a parryable thrust or a launcher, and he starts teleporting rapidly around the arena. Every one of those teleports ends in an attack, and every one of them can be deflected. If you back off too far, he closes the distance with a dash into a heavy slash, which is also deflectable.
Note: keeping your health high is not just about survival here. It directly delays the enhanced state, which makes the whole encounter shorter.
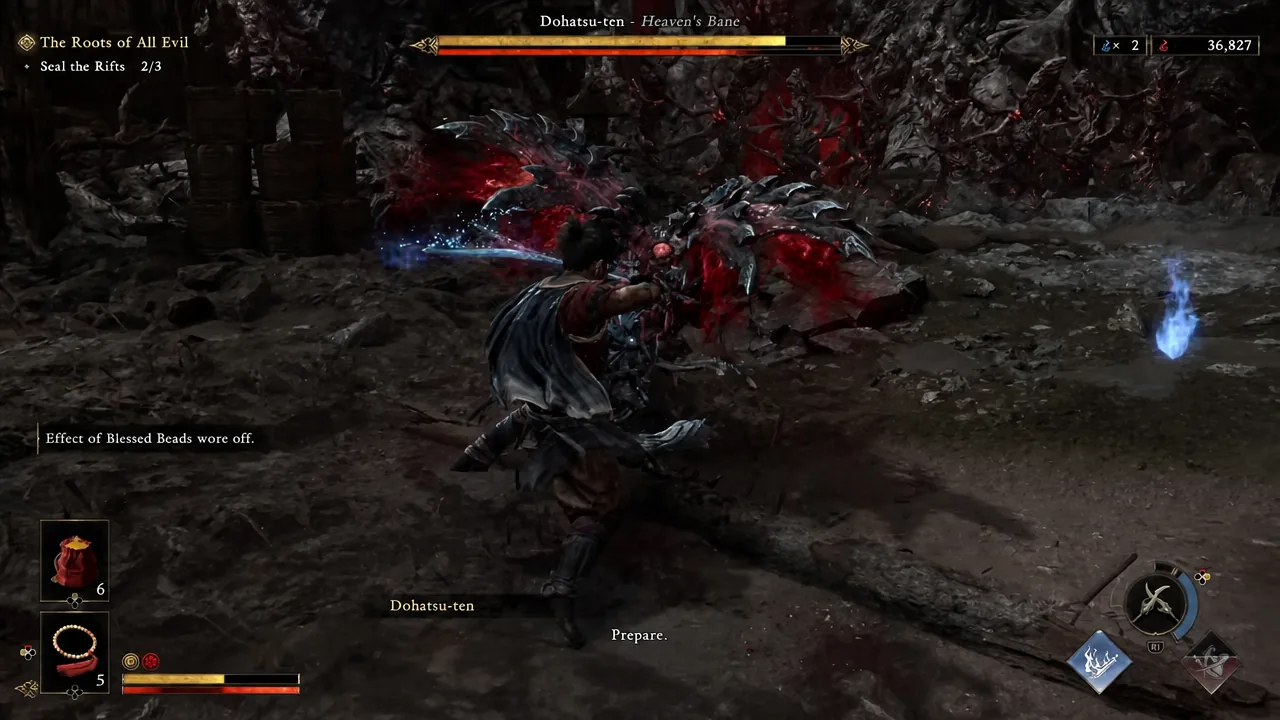
Dohatsu-ten attack list and the correct response
Nearly everything in his kit can be answered defensively. The trick is knowing which answer each move wants, because guarding the wrong attack costs you a chunk of health and feeds him souls.
| Attack | Tell | Response |
|---|---|---|
| Three-hit kick combo | Opens with kicks, ends in either a back kick or a blade slash | Guard through it, then parry only if the finisher is a thrust |
| Launching kick | Single heavy kick aimed at you | Guard or dodge. Never parry |
| 360-degree swing | Fast roundhouse sweep with a short delay | Parry as he passes the halfway point of the spin |
| Flank teleport | He vanishes and reappears at your side | Parry the moment he disappears |
| Three empowered slashes | Sword lights up, projectiles fired in sequence | Dodge the first two toward him, parry the third |
| Ranged slash | He crouches at distance; shouts “Shatter,” “Prepare” or “Perish” | Deflect to send it straight back |
| White-glowing strike | He calls out “No escape” | Parry or deflect only. It cannot be dodged |
| Jump back into leap-in | He hops away, then lunges | Parry. The window is generous |
| Thrust | Straight poke, often after a jump back | Parry |
| Guard stance | He blocks and your hits stop landing | Triangle + Circle to break his guard |
The stamina loop that actually damages him
Raw sword combos barely dent his health bar. The real damage comes from the deflect cycle, which is the same rhythm nearly every boss in the game follows. Deflect his strings, watch the stamina meter drain, then cash it in when it breaks.
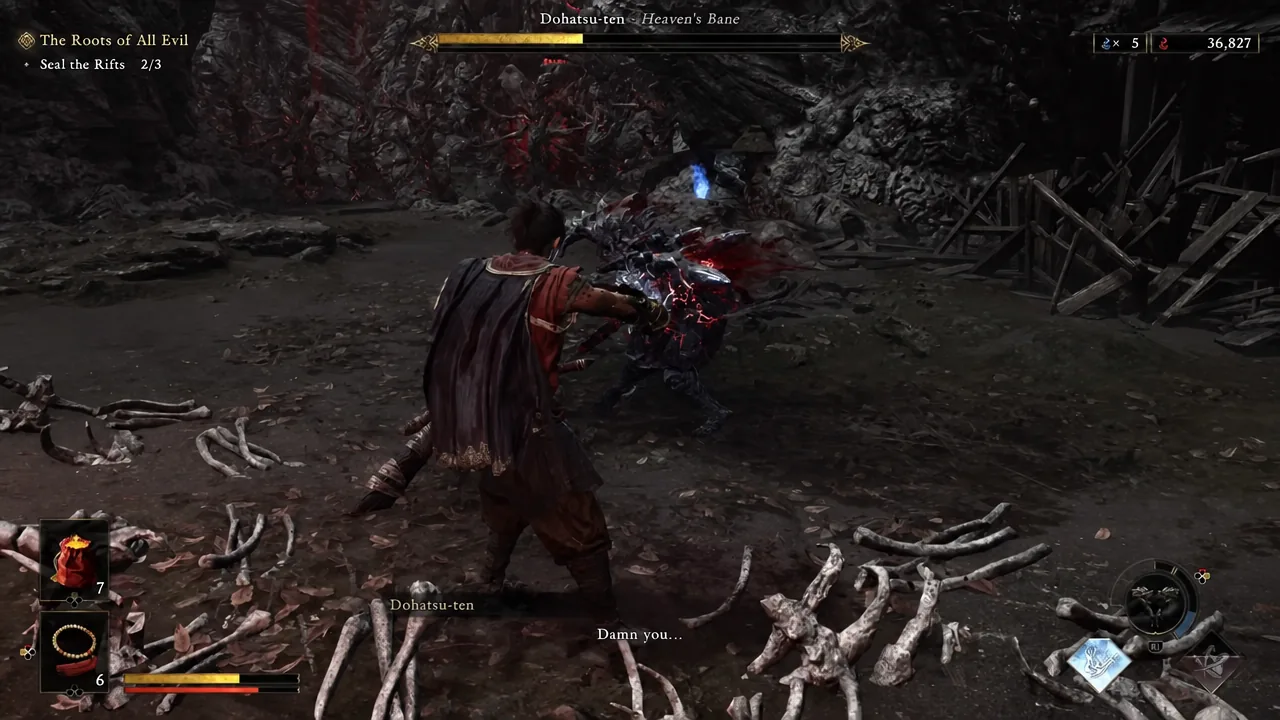
Three attacks that will kill you if you guess wrong
The 360-degree swing has no dodge answer. It comes out quickly, but the timing is readable if you stop watching his sword and watch his body instead. Parry once he is roughly halfway through the rotation. Panic-parrying on the first frame will whiff, and the hit lands hard.
The flank teleport is the scariest looking move and the easiest to solve. The attack fires almost instantly on arrival, so the input is tied to the disappearance, not the reappearance. Press parry the second he blinks out and you will catch it every time.
The launching kick is the one that produces death loops. If it connects while you are trying to parry, Musashi is thrown into the air and Dohatsu-ten follows with a heavy strike you cannot avoid. Guard it or dodge it. It also shows up bolted onto the end of the three-hit kick combo, so hold your guard through that string instead of hunting a parry.
His triple slash barrage looks like a zoning tool, but it is an opening. Skip parrying the first two projectiles, dodge into them so you close distance, and parry the third at close range. That leaves him wide open for a full punish.
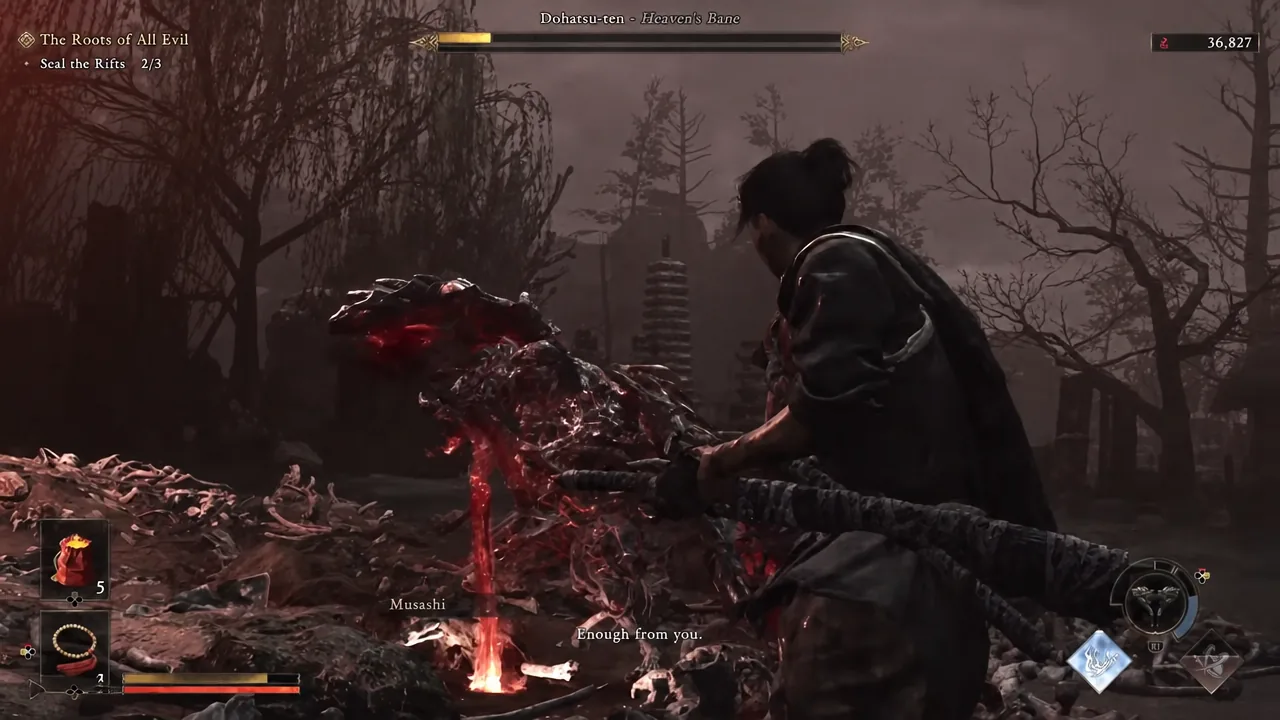
When Dohatsu-ten blocks and your hits stop landing
Because he is humanoid, Dohatsu-ten guards. Keep swinging into a raised guard and he breaks your stance and counters immediately, which usually means eating a full combo. As soon as you notice your attacks producing nothing, press Triangle and Circle together to shatter his defense and leave him open.
This is worth building into muscle memory early, because the same guard-break input carries over to other humanoid bosses later in the campaign.
Rewards and how to confirm the fight is finished
Killing him drops Dohatsu-ten’s Horn x2, an enhancement material. Once he falls, use Absorb Rift on the tear he came out of. A purification cutscene plays, the Malice clears, and the village and its residents are restored.
You know it worked when the banner “Story Complete: The Roots of All Evil” appears on screen. Clearing the area also nets Malice, Malice Mass, Tempered Iron, Fine Silk Cloth and Dirtystone, and you should see a “Ready to Enhance: Gauntlet” prompt once the materials land. Musashi then sets his sights on Gojo-ohashi Bridge, and the side quest “A Lion Dog Needs Your Help” becomes available.
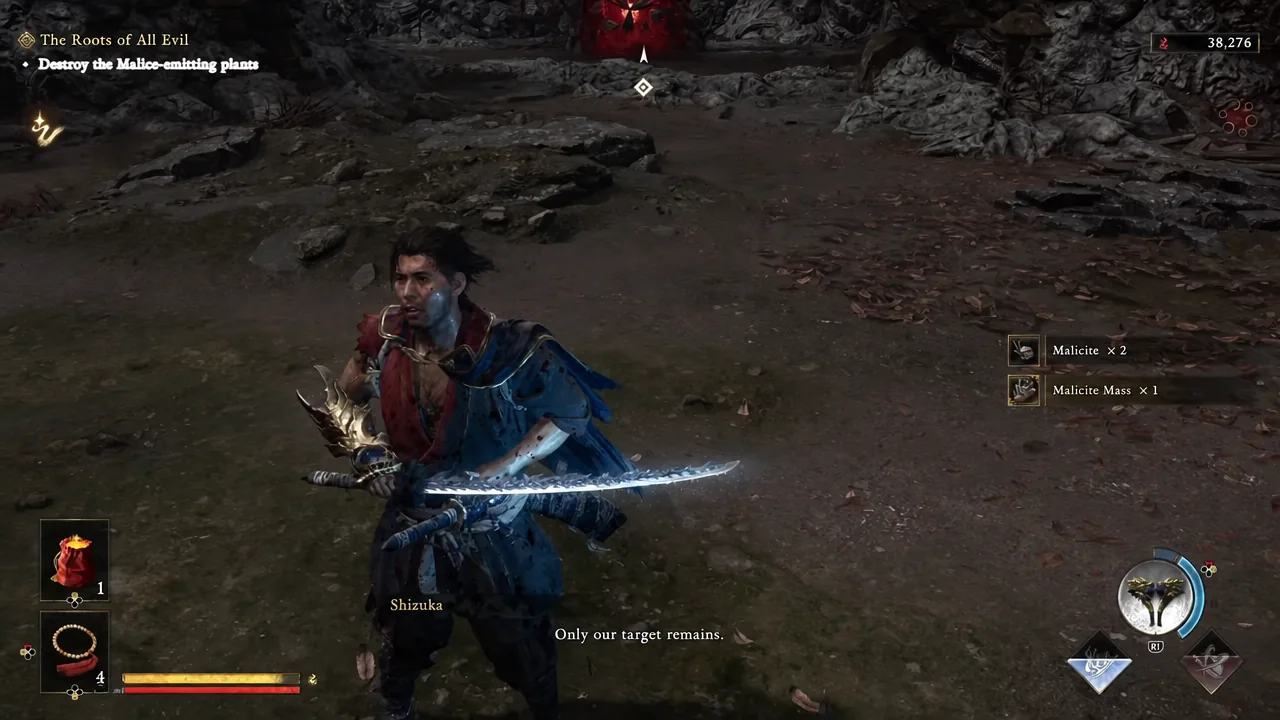
If the rift is still glowing and the quest has not ticked over, the encounter is not done. The most common causes are an unabsorbed rift after the kill, or remaining Malice-emitting plants tied to the “Destroy the Malice-emitting plants” objective in the same area. Clear both and the quest closes out.
Dohatsu-ten is effectively a tutorial in disguise. His patterns are the fastest you will have seen up to that point, and learning to hold your ground and deflect instead of rolling away is exactly the habit the rest of the game will demand. If he keeps beating you, resist the urge to fight more aggressively. Fight more patiently, and let the stamina bar do the work.





