
Bored with the default font on Windows 10 and want to spice things up with some creative and appealing font? You can do it, but the process is not the same as it used to.
In the earlier version of Windows, users could easily change the font style but that isn’t the case with Windows 10. Some major modifications have been made and one can only change the font style by making changes to the registry. Windows 10 has ‘Segoe UI’ as the default font and you can change it to any of the available fonts in ‘Settings’.
You should be aware that making erroneous changes in the registry can severely harm your computer and cause irreversible damage. Therefore, you should not experiment with it and follow the steps mentioned in the article as is.
Changing Default Font
Before you change the font, you must know the exact name which can be found in the system ‘Settings’.
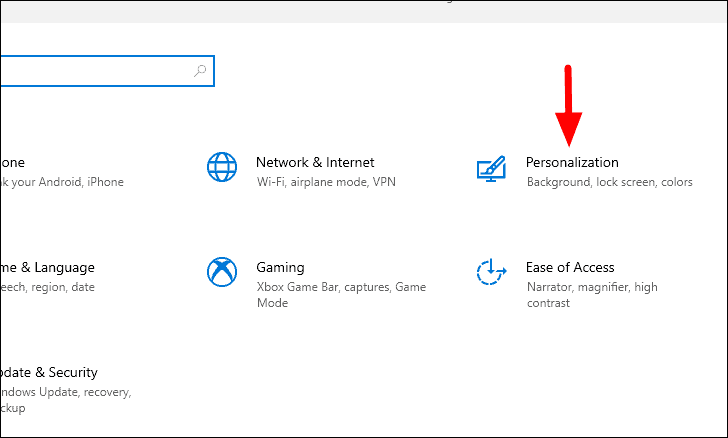
Press WINDOWS + I to open the ‘Settings’ and then select ‘Personalization’ from the options.
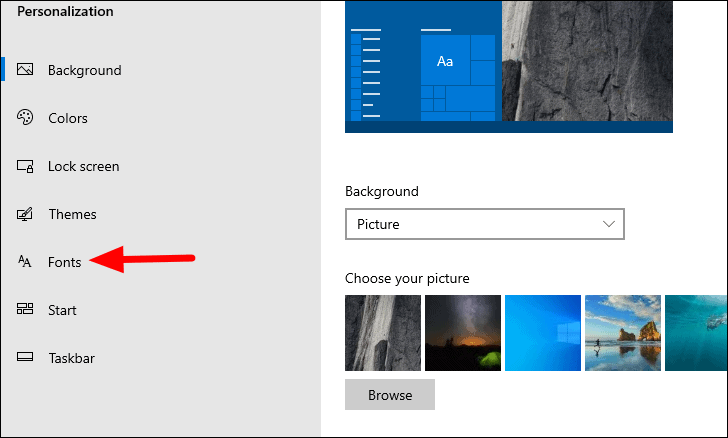
In ‘Personalization’ settings, you will see various tabs on the left. Select the ‘Fonts’ tab to check the various available fonts that you can switch to.
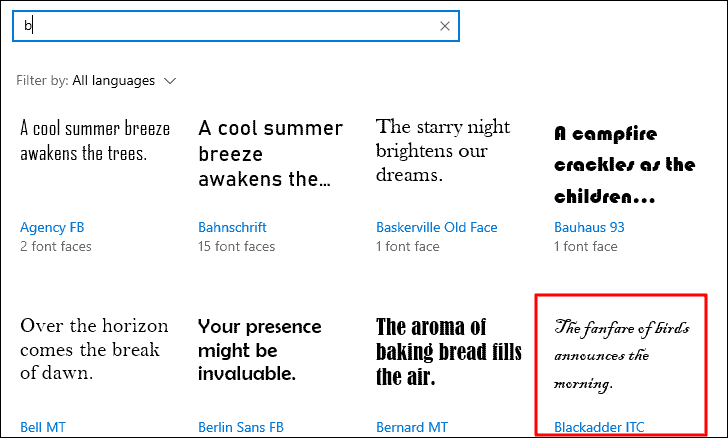
Chose a font of your preference from the list. For this article, we will choose ‘Blackadder ITC’, however, you can choose any of the available options. Just remember the font name or jot it down somewhere so that you can use it in the following steps.
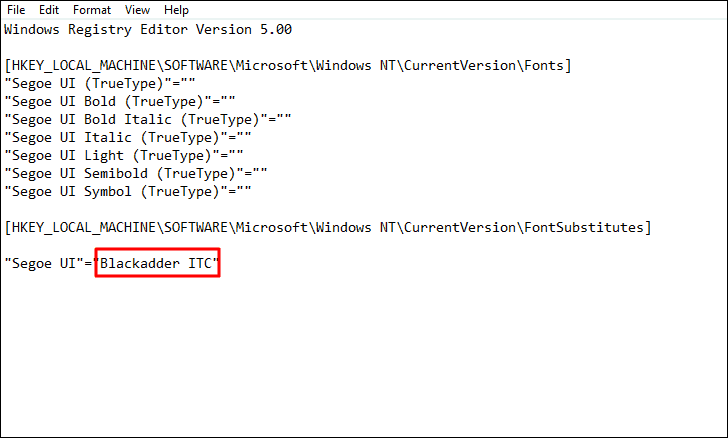
After you have selected a font, open the notepad and paste the following code in it.
Windows Registry Editor Version 5.00

[HKEY_LOCAL_MACHINE\SOFTWARE\Microsoft\Windows NT\CurrentVersion\Fonts]
"Segoe UI (TrueType)"=""
"Segoe UI Bold (TrueType)"=""
"Segoe UI Bold Italic (TrueType)"=""
"Segoe UI Italic (TrueType)"=""
"Segoe UI Light (TrueType)"=""
"Segoe UI Semibold (TrueType)"=""
"Segoe UI Symbol (TrueType)"=""

[HKEY_LOCAL_MACHINE\SOFTWARE\Microsoft\Windows NT\CurrentVersion\FontSubstitutes]

"Segoe UI"="NEW-FONT-NAME"
Now, replace the “NEW-FONT-NAME” in the last of the code with the one you chose earlier. In this case, it’s ‘Blackadder ITC’.
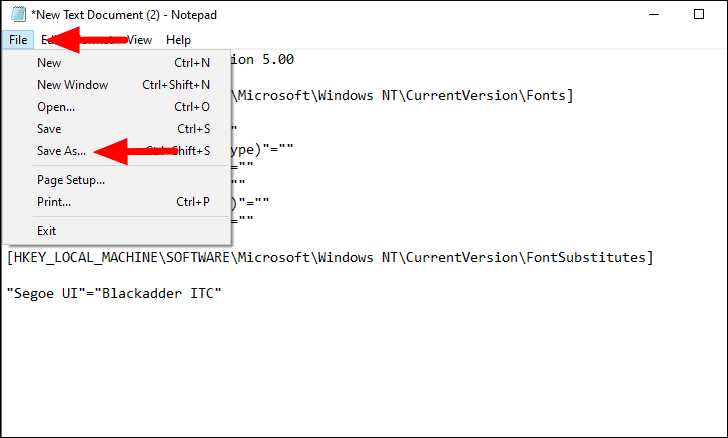
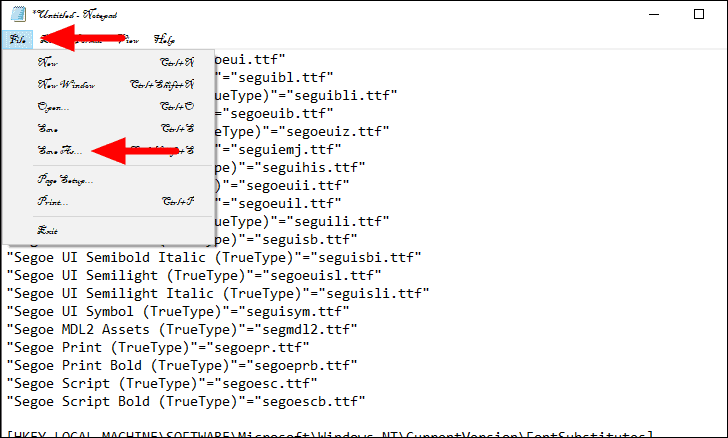
The file is now ready, all that is left is to save it in the right format. To save, click on the ‘File’ menu at the top and then select ‘Save As’ from the drop-down menu.
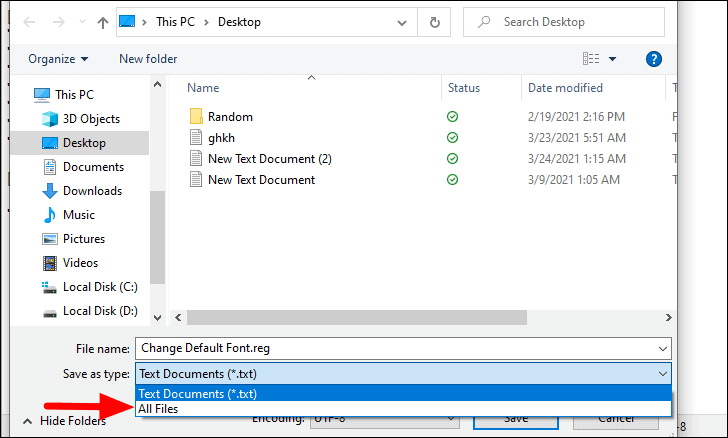
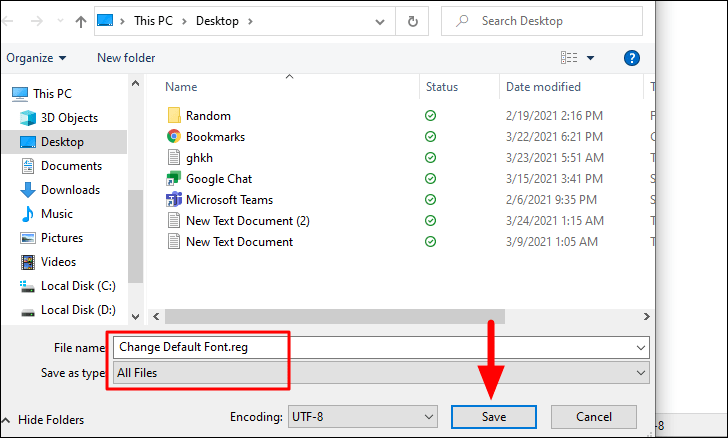
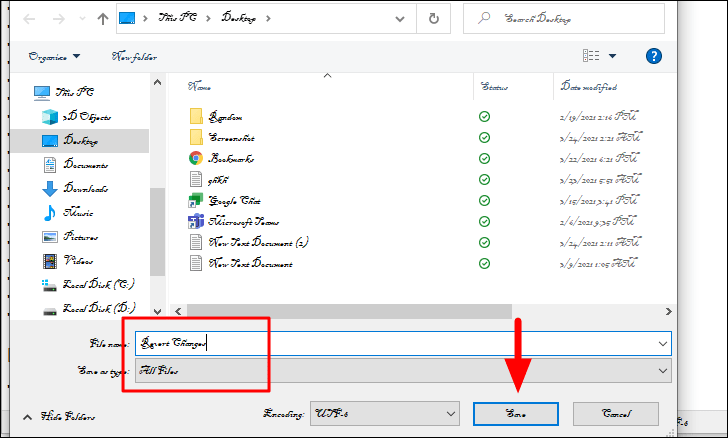
Use an appropriate name for the file and add the ‘.reg’ extension at the end. Now, you have to change the file type by clicking on the ‘Save as type’ section and then selecting ‘All Files’ from the drop-down menu.
Once done, click on ‘Save’ at the bottom.
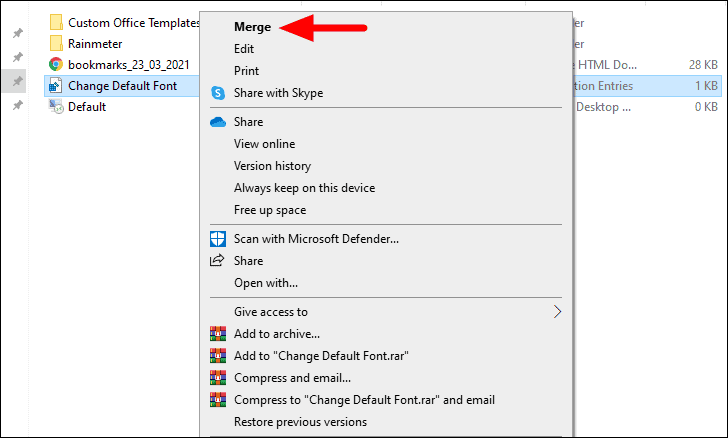
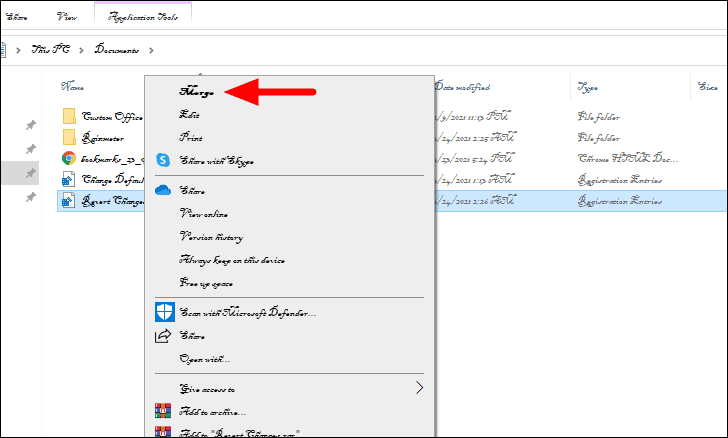
Next, right-click on the file you created earlier and select ‘Merge’, the first option in the context menu.
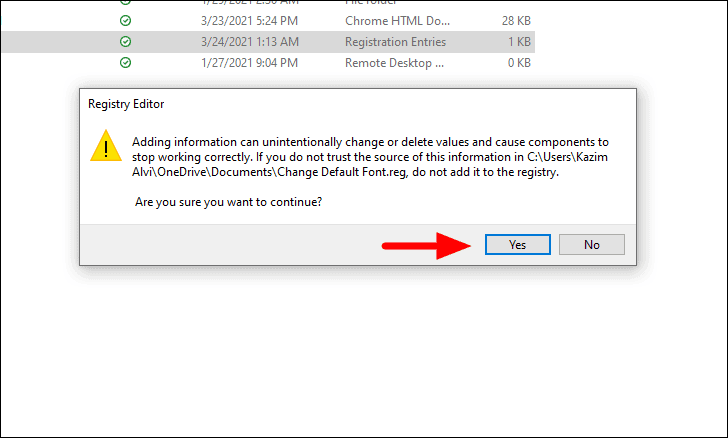
You will now be asked to confirm the change, click on ‘Yes’ to proceed.
You will now receive a confirmation from Registry Editor that the changes have been applied. Click on ‘OK’ to close the dialog box.

The changes have been made but you still can’t see any change in the font on your desktop or programs. This is because you have to restart your computer for the changes to be visible. Once you restart the computer, you will see that the font has changed to the desired one on the desktop itself, as is evident in the picture below.

Reverting Back to the Default Font
Did the change not be as cool and effective as you thought it would be? No worries, you can always revert to the default font settings. This process is very similar to the one discussed above with some changes in the code.
Open a notepad and paste the following code in it, just like you did earlier.
Windows Registry Editor Version 5.00

[HKEY_LOCAL_MACHINE\SOFTWARE\Microsoft\Windows NT\CurrentVersion\Fonts]
"Segoe UI (TrueType)"="segoeui.ttf"
"Segoe UI Black (TrueType)"="seguibl.ttf"
"Segoe UI Black Italic (TrueType)"="seguibli.ttf"
"Segoe UI Bold (TrueType)"="segoeuib.ttf"
"Segoe UI Bold Italic (TrueType)"="segoeuiz.ttf"
"Segoe UI Emoji (TrueType)"="seguiemj.ttf"
"Segoe UI Historic (TrueType)"="seguihis.ttf"
"Segoe UI Italic (TrueType)"="segoeuii.ttf"
"Segoe UI Light (TrueType)"="segoeuil.ttf"
"Segoe UI Light Italic (TrueType)"="seguili.ttf"
"Segoe UI Semibold (TrueType)"="seguisb.ttf"
"Segoe UI Semibold Italic (TrueType)"="seguisbi.ttf"
"Segoe UI Semilight (TrueType)"="segoeuisl.ttf"
"Segoe UI Semilight Italic (TrueType)"="seguisli.ttf"
"Segoe UI Symbol (TrueType)"="seguisym.ttf"
"Segoe MDL2 Assets (TrueType)"="segmdl2.ttf"
"Segoe Print (TrueType)"="segoepr.ttf"
"Segoe Print Bold (TrueType)"="segoeprb.ttf"
"Segoe Script (TrueType)"="segoesc.ttf"
"Segoe Script Bold (TrueType)"="segoescb.ttf"

[HKEY_LOCAL_MACHINE\SOFTWARE\Microsoft\Windows NT\CurrentVersion\FontSubstitutes]

"Segoe UI"=-
After you have entered the code, click on ‘File’ menu and select ‘Save As’ from the menu. In some cases, the new font might not be very clear, therefore you will have to use your experience and trust your instinct while toggling through the system.
In the ‘Save as’ window, enter a name for the file and then add the ‘.reg’ extension at the end. Also, change the file type to ‘All files’ just as you did earlier, and then click on ‘Save’ at the bottom-right corner.
Locate the folder in which you saved the file and then right-click on it. Now, select ‘Merge’, which is the top option in the context menu.
Restart your system after merging the file and the font will be reverted to the default, i.e., Segoe UI.
Similarly, you can change the font to any of those in the ‘Settings’ and make your experience delightful. However, as mentioned earlier, be extra cautious when making any changes to the registry as a minor fault at your end could have serious repercussions that you might regret.


