
Changing the default PDF viewer on Windows 11 allows you to use your preferred application for viewing and managing PDF files. Whether you need advanced features like annotation, splitting, merging PDFs, or simply want to open PDFs with a different browser or application, Windows 11 makes it easy to set your default choice.
Changing the Default PDF Viewer from Settings
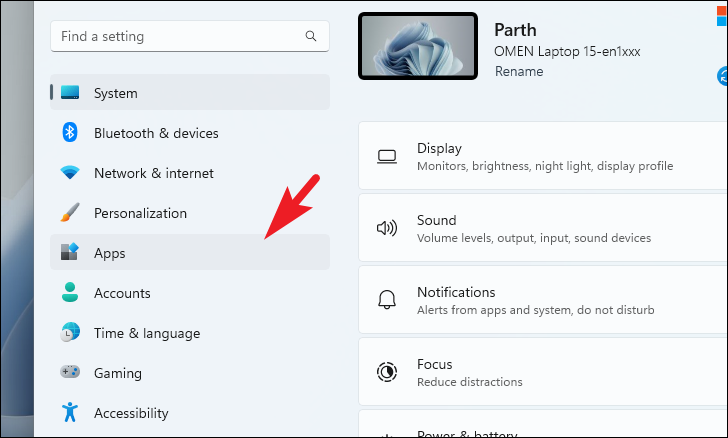
Adjusting the default PDF viewer is straightforward through the Settings app on your Windows 11 device.
Start menu and select the Settings app from the pinned apps section. Alternatively, you can search for “Settings” in the Start menu search bar.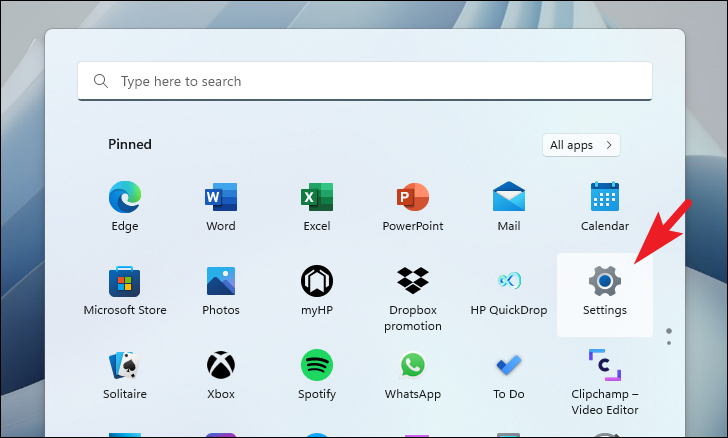
.pdf. Click on the .pdf search result that appears below to change its default app.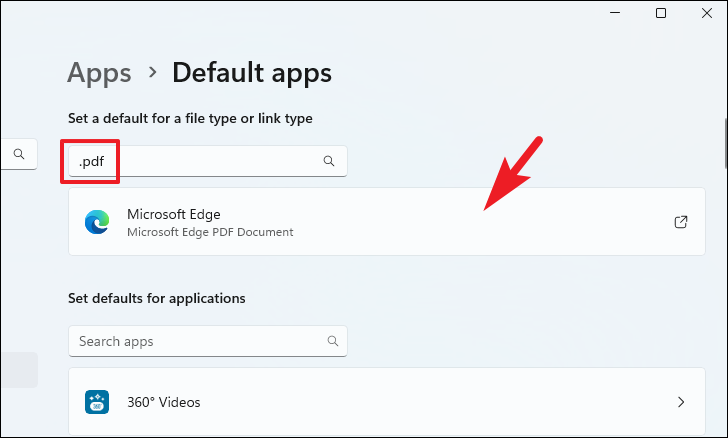
More apps to expand the list. Once selected, click OK to set it as the default.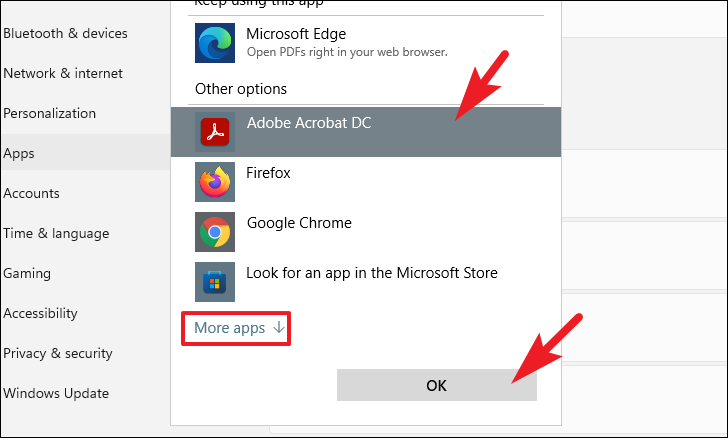
Your PDF files will now open with the application you’ve chosen.
Alternative Method Using App Settings
You can also set the default PDF viewer by selecting your preferred application and configuring it to open PDF files.
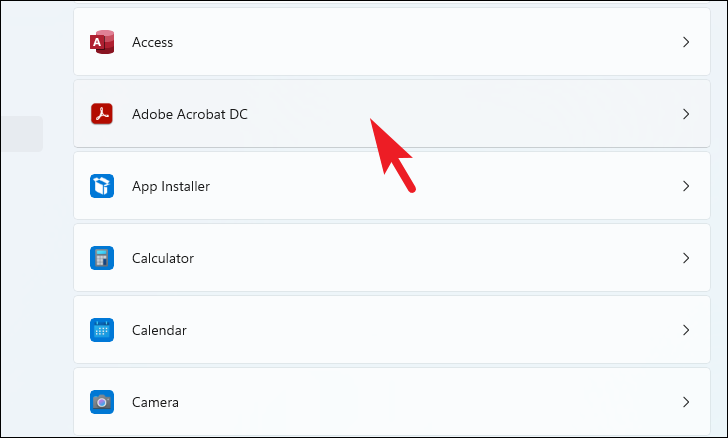
Default apps settings, scroll down to the “Set defaults for applications” section. Use the search bar to find your preferred PDF application or manually scroll to locate it.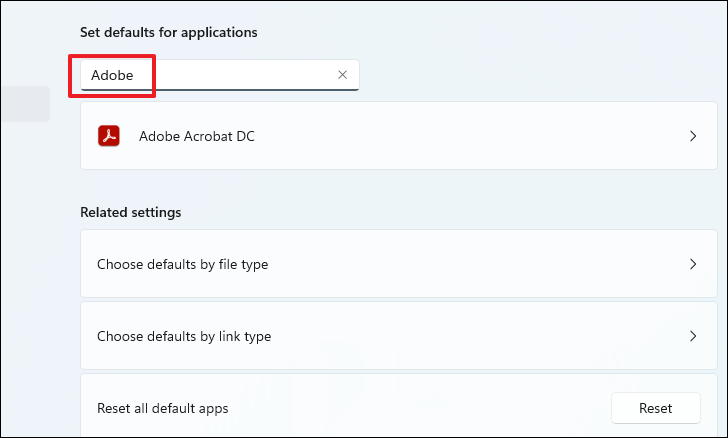
.pdf file type. Click on the current default app listed under it.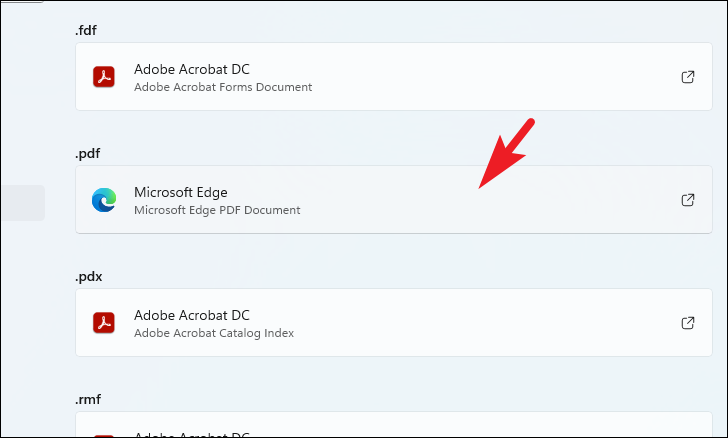
More apps to find it. Then, click OK to confirm.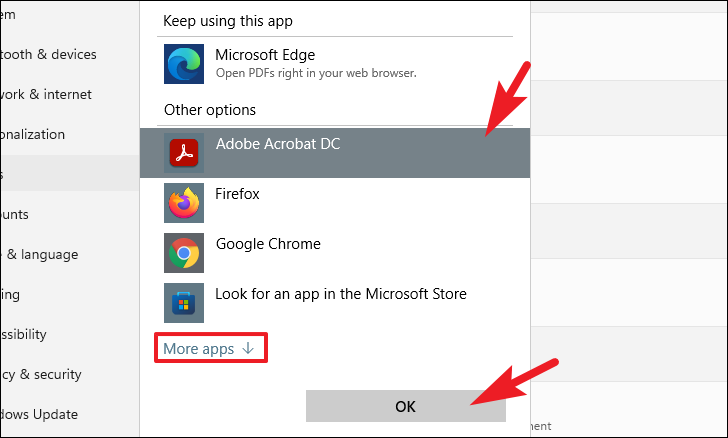
Your default PDF viewer has now been changed to your selected application.
Changing the Default PDF Viewer from File Context Menu
If you prefer a quicker method without navigating through the Settings app, you can change the default PDF viewer directly from the file itself.
File Explorer by clicking the File Explorer icon on the taskbar or pressing Windows + E on your keyboard. Navigate to a folder containing a PDF file.
Open with, and then click on Choose another app.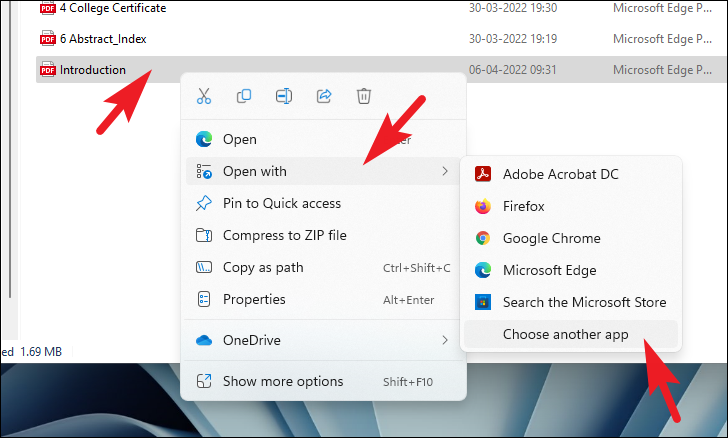
More apps to see additional options.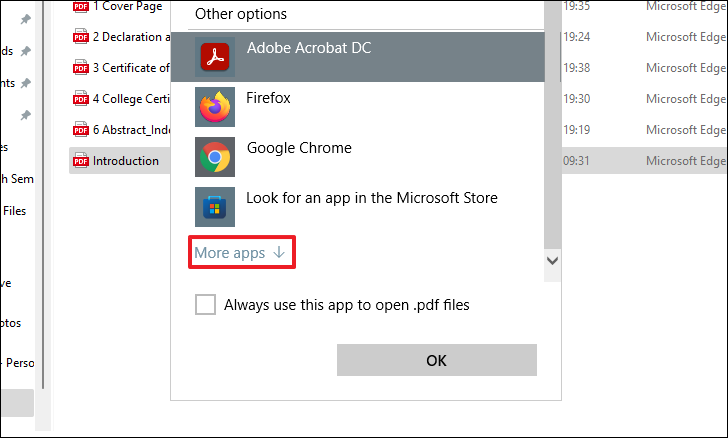
Always use this app to open .pdf files. Click OK to set the new default PDF viewer.
By following these steps, you can easily change the default PDF viewer on your Windows 11 system to better suit your needs.


