
Many a time, users are not comfortable reading the text on their screens. There is nothing more exasperating than having to squint at your screens, trying to decipher the text.
Say, you upgrade to a larger display for your system, and the font size seems too small or the exact opposite. In such cases, it would be difficult for you to work on your system. When you are used to working on a determined text or font size and style, suddenly changing it may make work less interesting and tiresome. Also, people with visual impairment may need a bigger font size to be able to work efficiently.
Windows 10 offers the option of changing the font size. It’s a straightforward process that does not take more than a couple of minutes. In this article, we will see how to change the text/font size in Windows 10.
Changing Text/Font Size
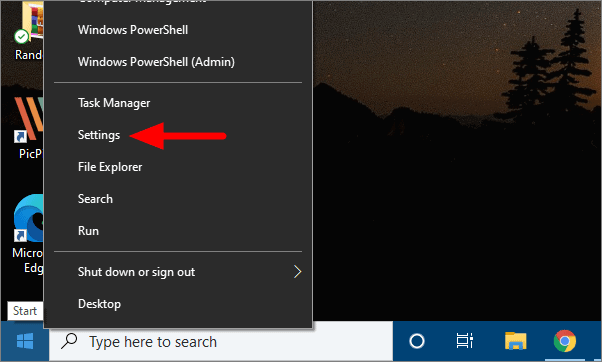
Right-click on the Start button at the extreme left of the Taskbar and then select ‘Settings’ from the Quick Access Menu.
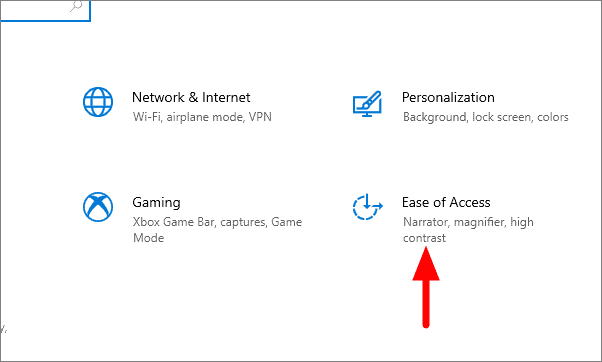
In this window, a lot of options are displayed to change the various system settings. Click on ‘Ease of Access’.
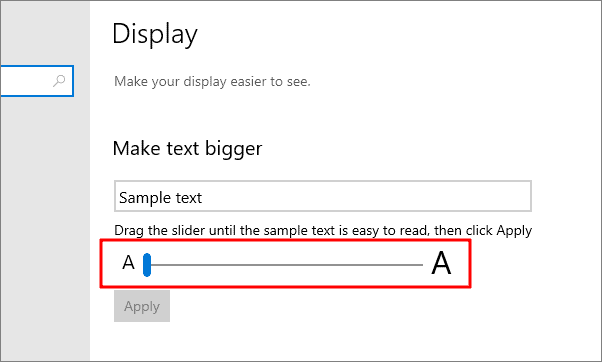
Drag and move the slider to the right to increase the font size and to the left to decrease it. The slider is to the extreme left, and that is the default text size. Slowly move the slider to the right and see the size of the text in the box above that says ‘Sample Text’.
After choosing the optimal text size for display, click on ‘Apply’ just underneath the slider.
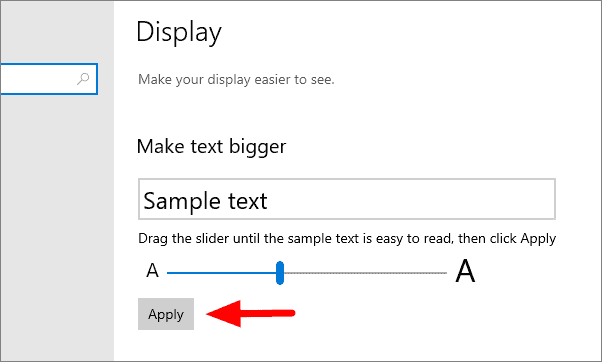
Once you click on apply, a blue screen will appear with ‘Please wait’ written in the middle. The blue screen will disappear in a couple of seconds, and the changes made in text size will be applied.


