
Understanding how to check the RAM on your Windows 11 PC is essential for managing system performance, troubleshooting issues, or planning an upgrade. Here are several methods to help you find out how much RAM is installed on your computer.
Check RAM Using Task Manager
The Task Manager provides real-time statistics of your system’s RAM usage along with other performance metrics.
- Press Ctrl+Shift+Esc to open the Task Manager. Alternatively, you can right-click the Start button and select Task Manager.
- Click on the Performance tab.
- Select Memory from the left sidebar.
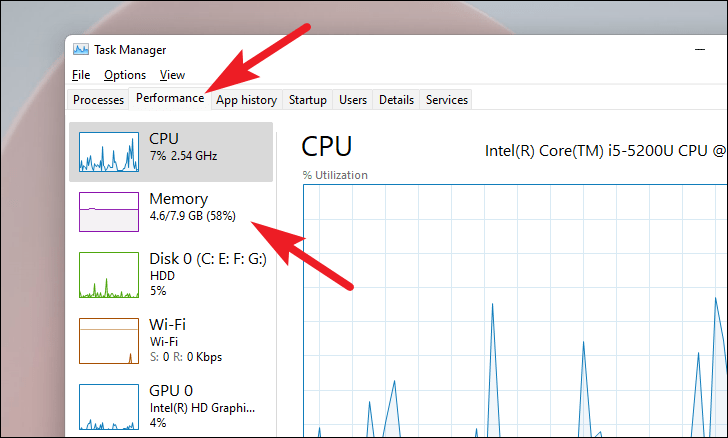
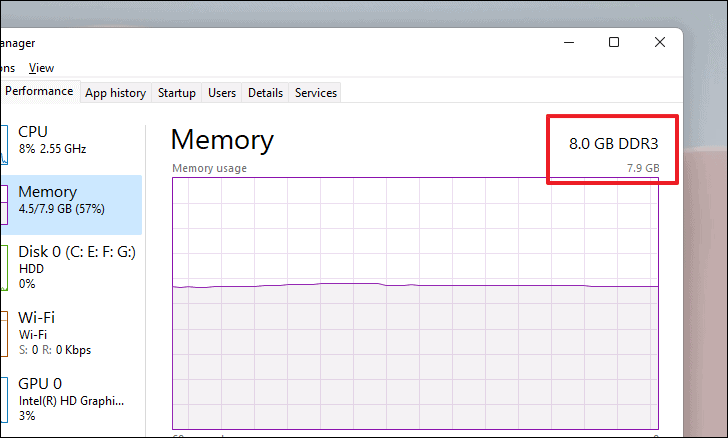
- View the total available RAM and RAM type in the upper-right corner.
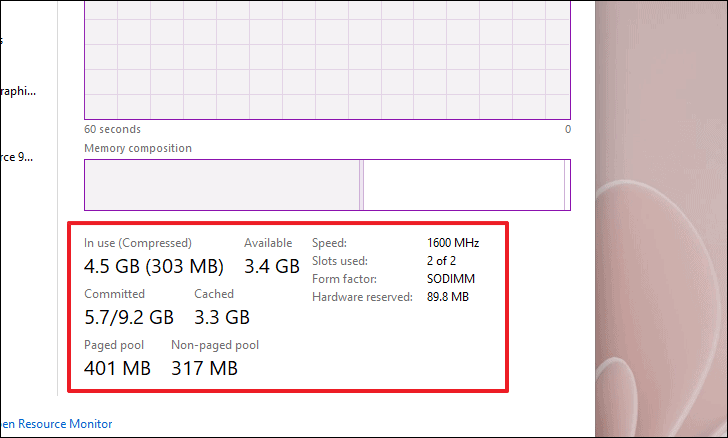
In the lower-right section, you can see additional details like In Use, Available RAM, Speed, Slots used, Form factor, and Hardware reserved memory.
Check RAM Using System Settings
You can quickly check the installed RAM through the system settings.
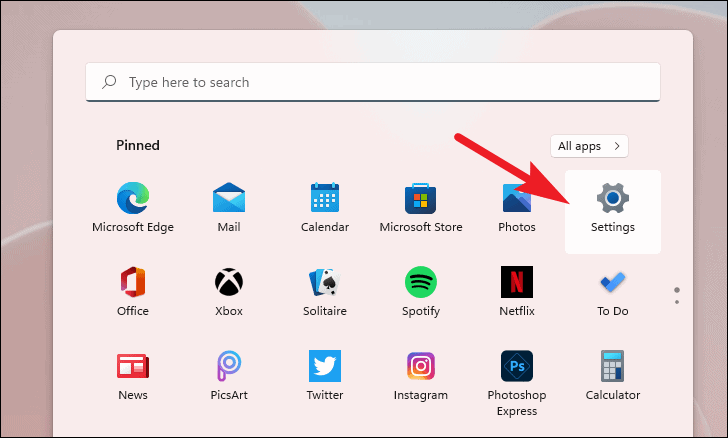
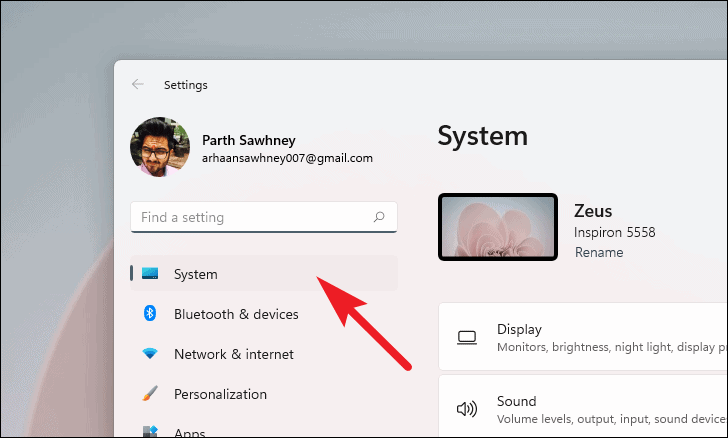
- Click on the Start button and select Settings.
- In the Settings window, select System from the left sidebar.
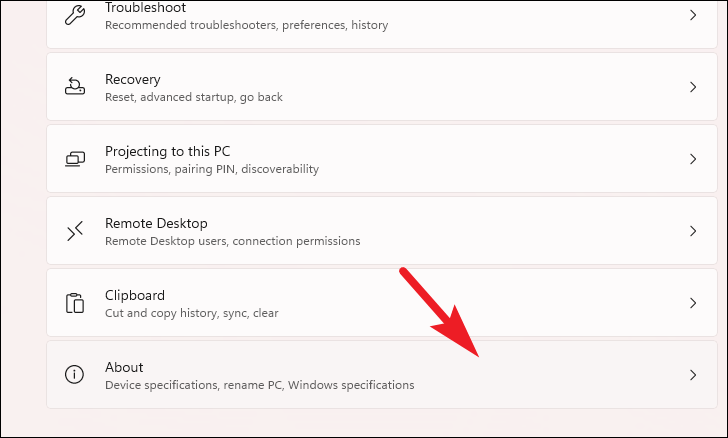
- Scroll down and click on About.
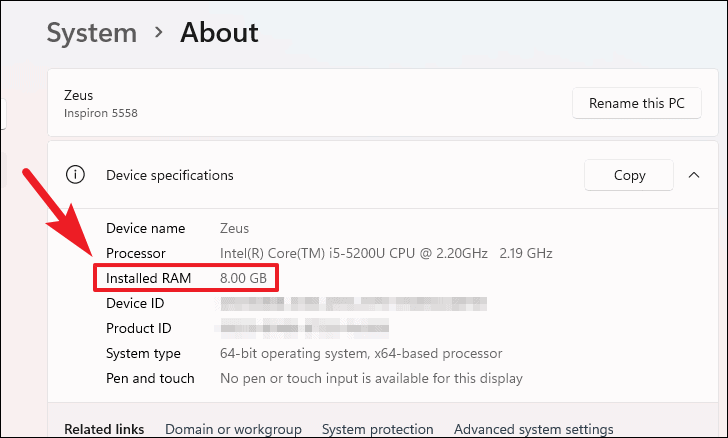
- Under the Device specifications section, find the Installed RAM information.
Check RAM Using System Information
For more detailed information about your RAM, you can use the System Information tool.
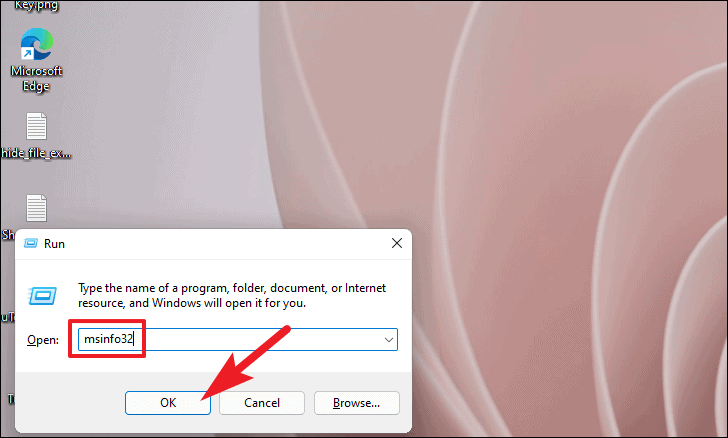
- Press Windows+R to open the Run dialog.
- Type msinfo32 and click OK.
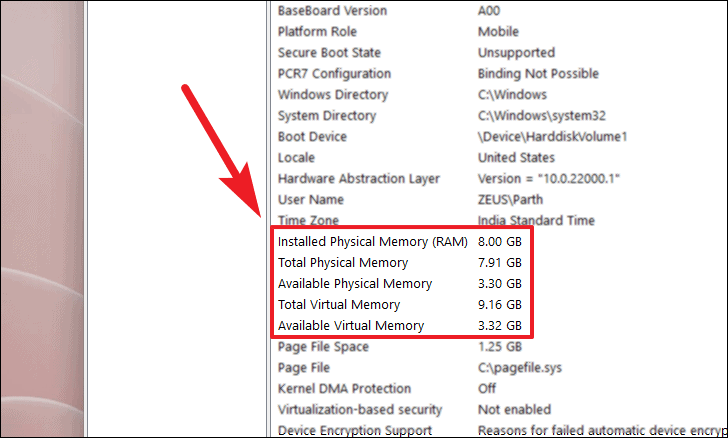
- In the System Information window, locate the Installed Physical Memory (RAM) entry.
You can also find other RAM-related details such as Total Physical Memory, Available Physical Memory, Total Virtual Memory, and Available Virtual Memory.
Check RAM Using Command Prompt
If you prefer using the Command Prompt, you can find detailed RAM information using specific commands.
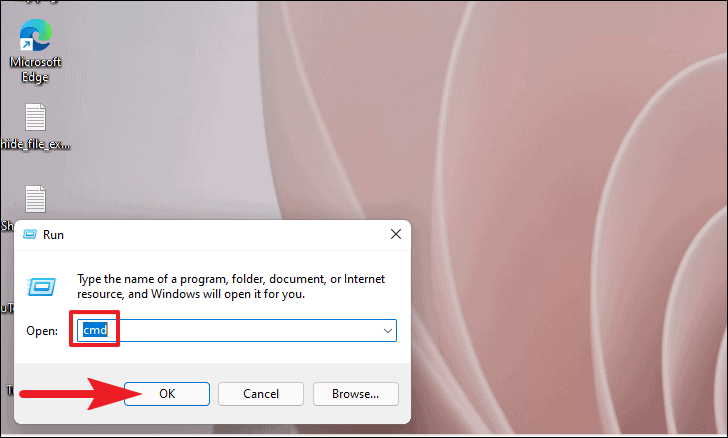
- Press Windows+R to open the Run dialog.
- Type cmd and click OK to open the Command Prompt.
- To check total physical memory, type the following command and press Enter:
systeminfo | findstr /C:"Total Physical Memory"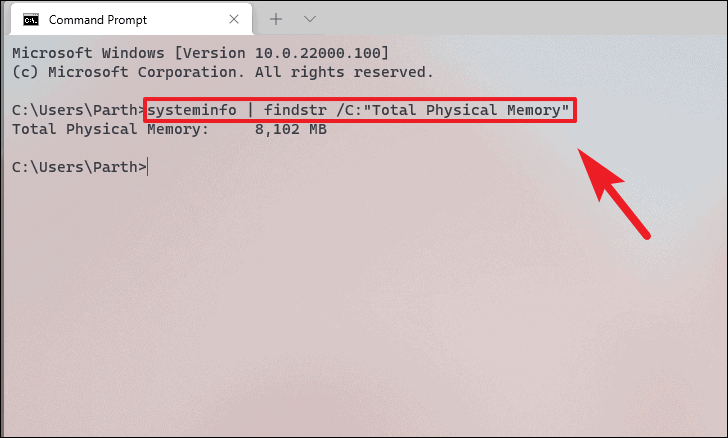
- To find out the memory speed, type:
wmic memorychip get devicelocator, speed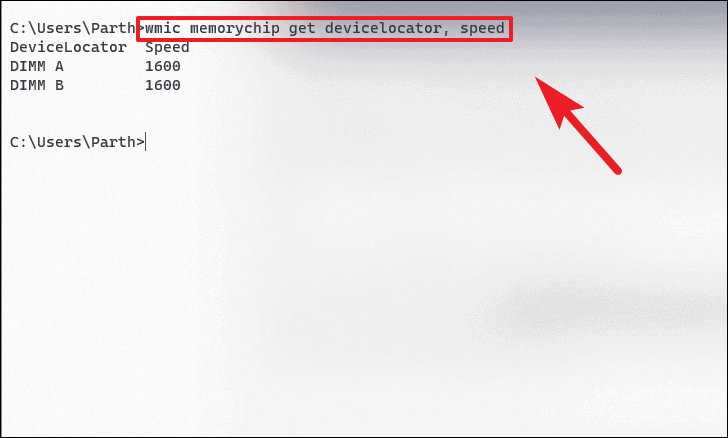
- To check the memory type, use the command:
wmic memorychip get devicelocator, memorytypeThe MemoryType value corresponds to a specific type of RAM. For example:
- 20: DDR
- 21: DDR2
- 24: DDR3
- 26: DDR4

- To get detailed information about each memory module, type:
wmic memorychip list full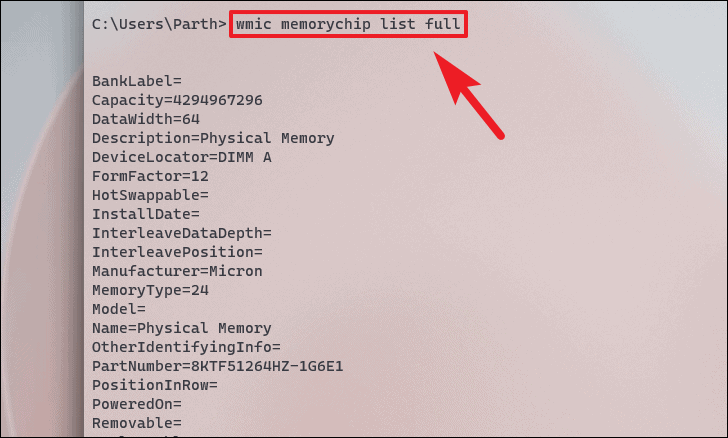
By using these methods, you can easily check the RAM specifications on your Windows 11 PC and make informed decisions regarding system performance and upgrades.


