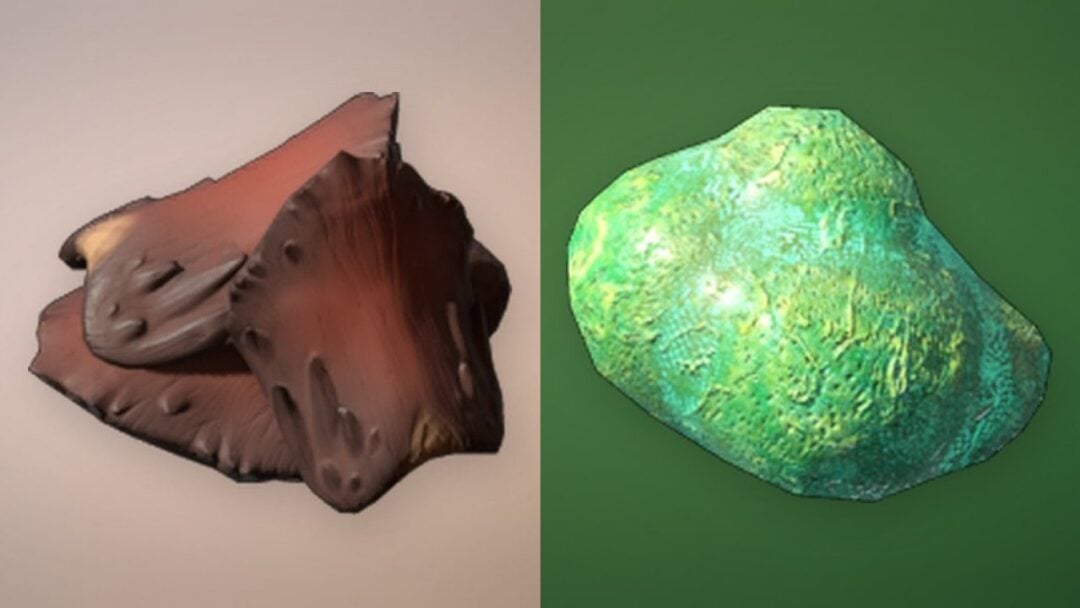
Enshrouded 1.0 opens with you waking in the Cinder Vault at the southern tip of the Springlands, and the first real decision is where to plant a Flame Altar. The game nudges you toward the open ground just north of the vault, and that works for a few hours. It is not where you want to sink your main build. Picking the right spot is less about scenery and more about fast travel coverage, nearby resources, and how much terrain you can grow into.
Quick answer: Drop your first Flame Altar on the open ground north of the Cinder Vault near Longkeep, build only what you need, then relocate to a more central spot like northeast of Mistbury Catacombs once you have explored further.
How the Flame Altar decides where you can build
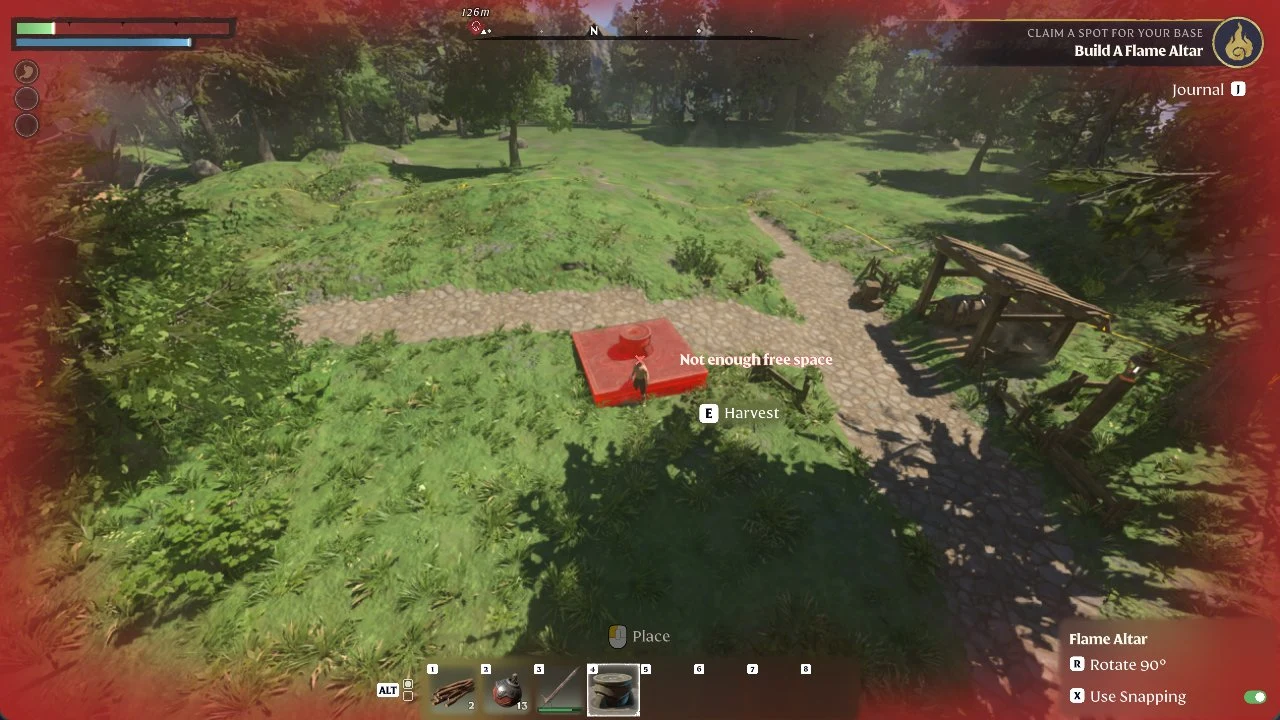
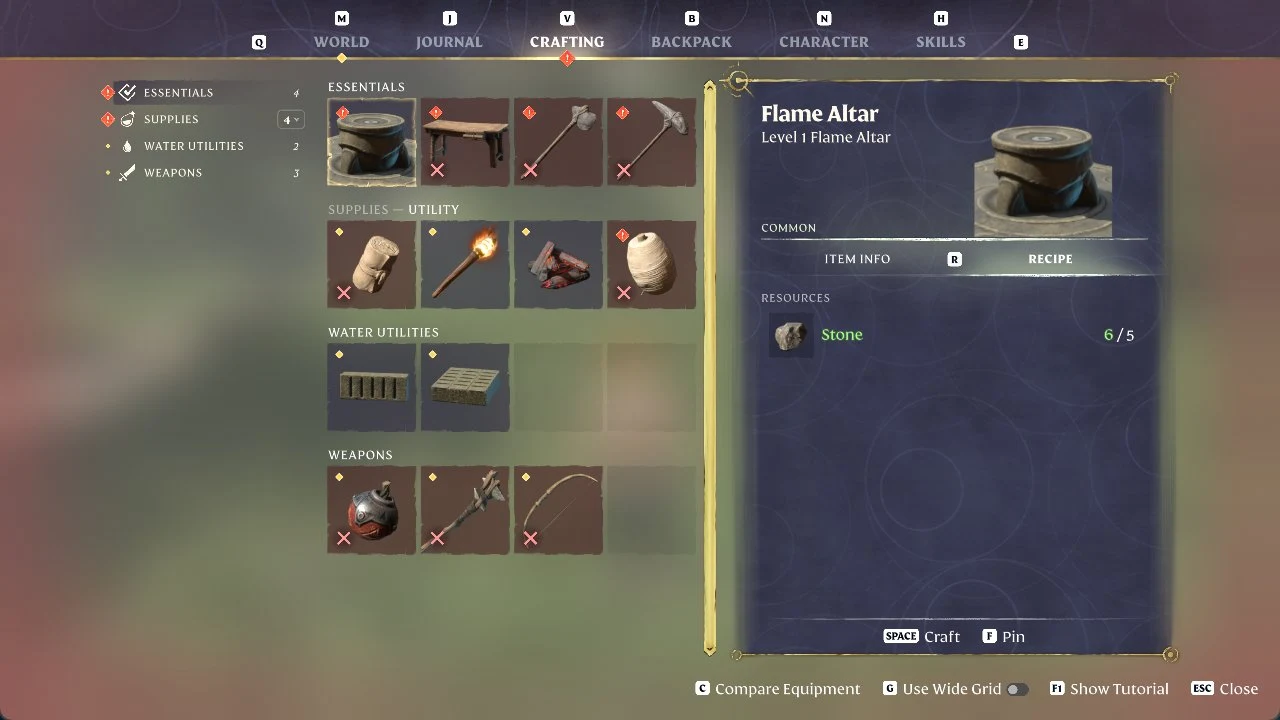
A Flame Altar marks your home and defines the zone you are allowed to build in. You place it above the Shroud, and everything you construct has to sit inside the ring around it. The Construction Hammer only functions within that range, and you need to be player level 2 or higher before you can use it at all.
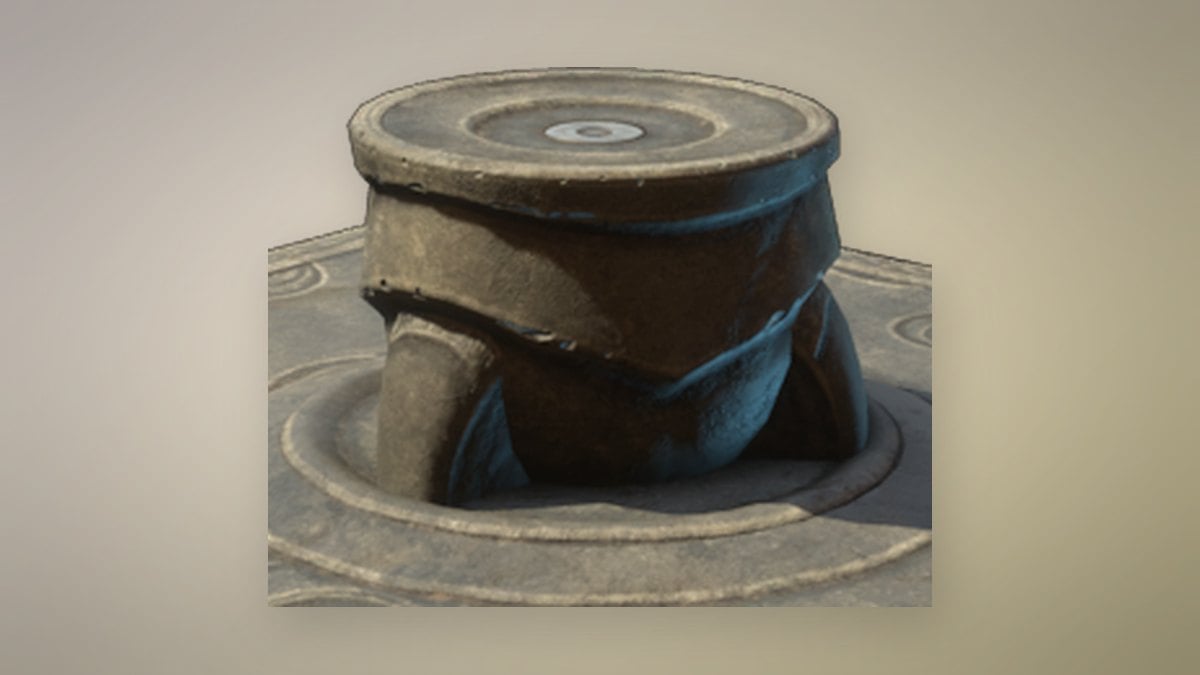
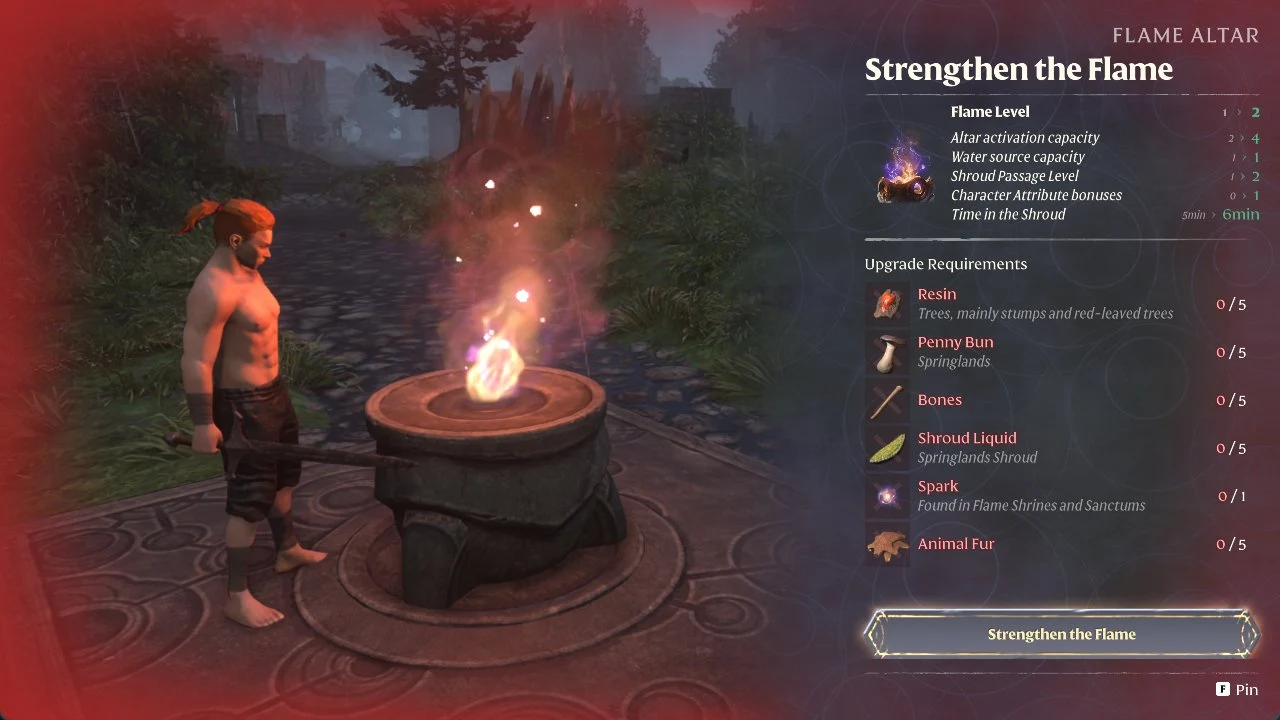
You start with the ability to run two Flame Altars. That cap rises as you raise your Flame level, which is why altar placement doubles as fast travel planning. Each altar is also a fast travel point, so dropping two of them right next to each other wastes a slot you will want later in a distant region.
A Flame Altar gives Comfort – Flame 1, and a simple Fireplace adds Comfort – Hearth 1 plus Frost Resistance 3 once you reach level 5. Stacking comfort furniture is what extends the Rested buff you carry on expeditions.
What 1.0 changed about picking a site
Several launch changes widen where a base can go and how it behaves once it is up. Factor these in before you commit a Flame Altar.
- Most of the old no-build zones can be built on now, so Shroud-adjacent ground is fair game.
- A new brick renderer keeps large builds detailed from a distance, which rewards a site people can see across the map.
- Airborne Architect, a new skill, lets you build in free-flying mode.
- Chests can be upgraded in place and named, and custom map markers can be named.
- Every HUD element can be hidden, which helps when you want clean build screenshots.
- The early game is reworked with more chests in the Springlands and Revelwood, clearer roads, and less recipe grind.
In practice, you don’t need a plot that’s both perfectly level and completely secure. Choose adjoining terrain that you can incorporate into your build, such as a slope, ruins, or the margin of a clearing. Before placing the altar, walk the entire site and assess the inclines, nearby paths, water, and usable space within reach.
The first base: Longkeep starter plains
The land just north of the Cinder Vault, around Longkeep, is the safest opening pick. A small patch of Shroud sits southeast of Longkeep, giving you a gentle introduction to the mechanic without the deeper, nastier Shroud you hit further north. The Scavenger camp to the west supplies Torn Cloth and Metal Scraps, two early materials you will lean on, and you can smash boxes in Longkeep for more. The Saline Quarry in the larger Shroud pocket to the southeast covers salt, and flint nodes stud the surrounding cliffs.
Build only enough here to get moving. The starter plains sit almost on top of the Cinder Vault, which is already a fast travel point, so turning this into your permanent hub stacks two fast travel anchors right next to each other. Keep it light, gather your first Survivors, work toward Flame level 2, and be ready to move the altar once you have scouted north.
Build several storage chests early and hoard your materials rather than dumping them. Most early-game resources feed recipes you unlock later, and recipes come thick and fast.
Three move-in-ready settlements to claim on day one
If you would rather skip hours of wall-raising, several standing structures can be claimed simply by dropping a Flame Altar nearby. The existing buildings fall inside your zone, and you repair and furnish instead of building from bare ground.
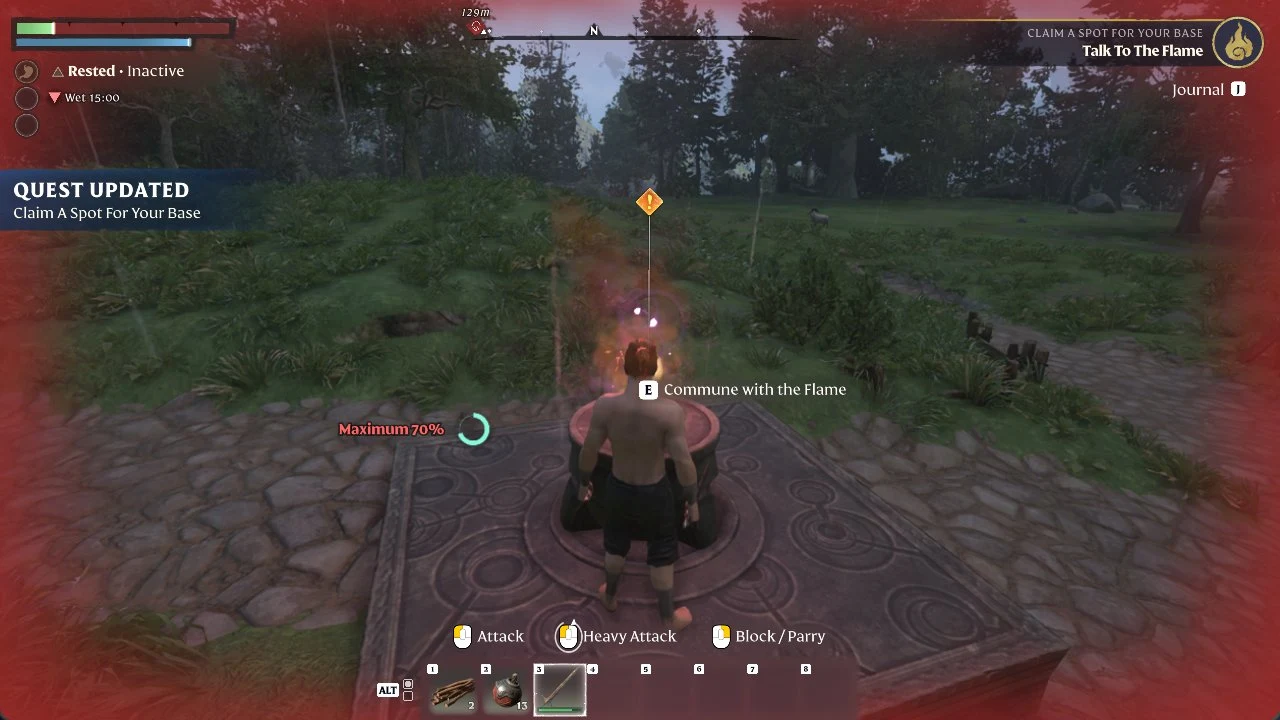
Longkeep ruins
Enter the Longkeep ruins north of spawn and establish a Flame Altar atop a slab to bring the neighboring buildings under your control. The claimed area comes with a well, a roofed shelter, a working fireplace, and a bed. Being near the Cinder Vault fast travel point is an advantage but also a drawback, making this a quick, inexpensive starter home rather than a permanent base.
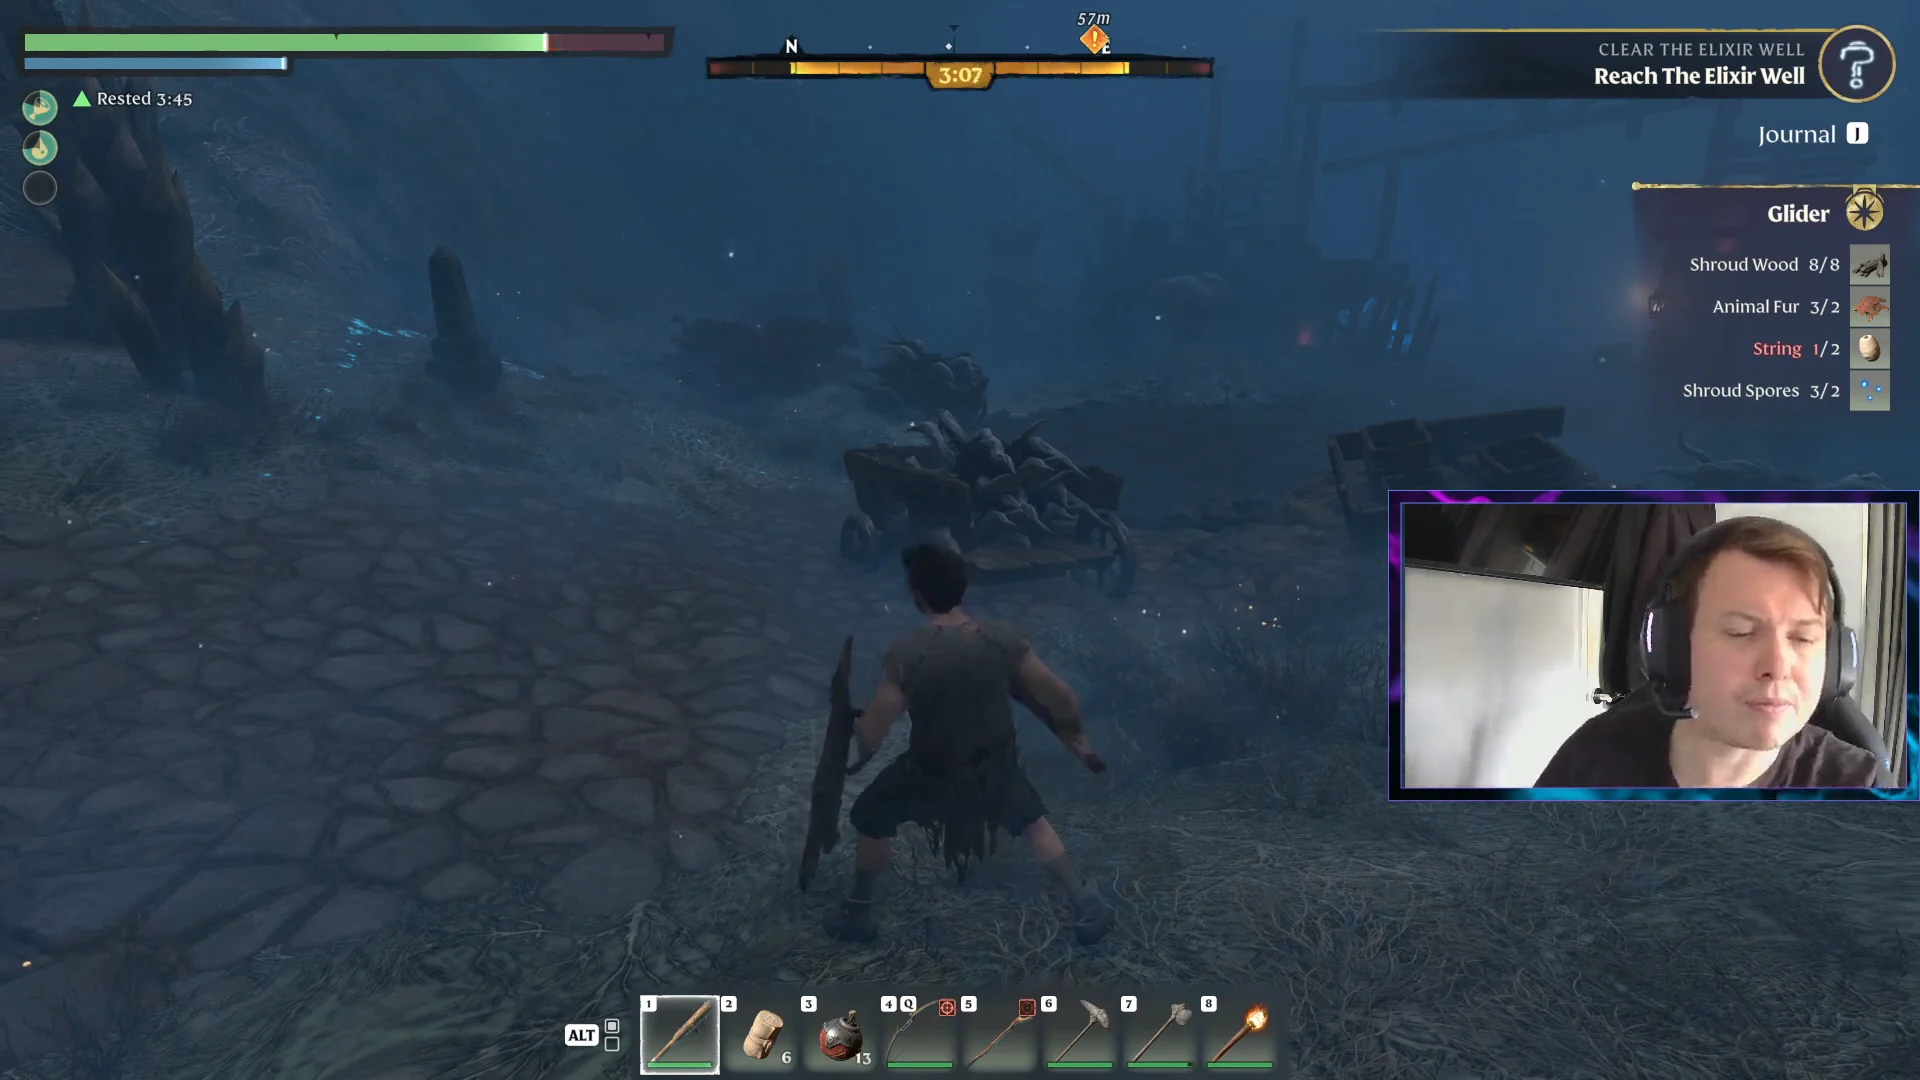
Harvest Homestead
Harvest Homestead sits west of Braelyn Bridge, reachable with a short glide from the Springlands Ancient Spire. Set the altar beside the main two-story house and you inherit a ground-floor fireplace, a kitchen, a large basement with a secret compartment, and an upstairs bedroom. Raising your Flame level pushes the boundary outward toward the nearby farming fields and Woodgard, so this one scales into a working homestead with crops, livestock, and NPC rooms.
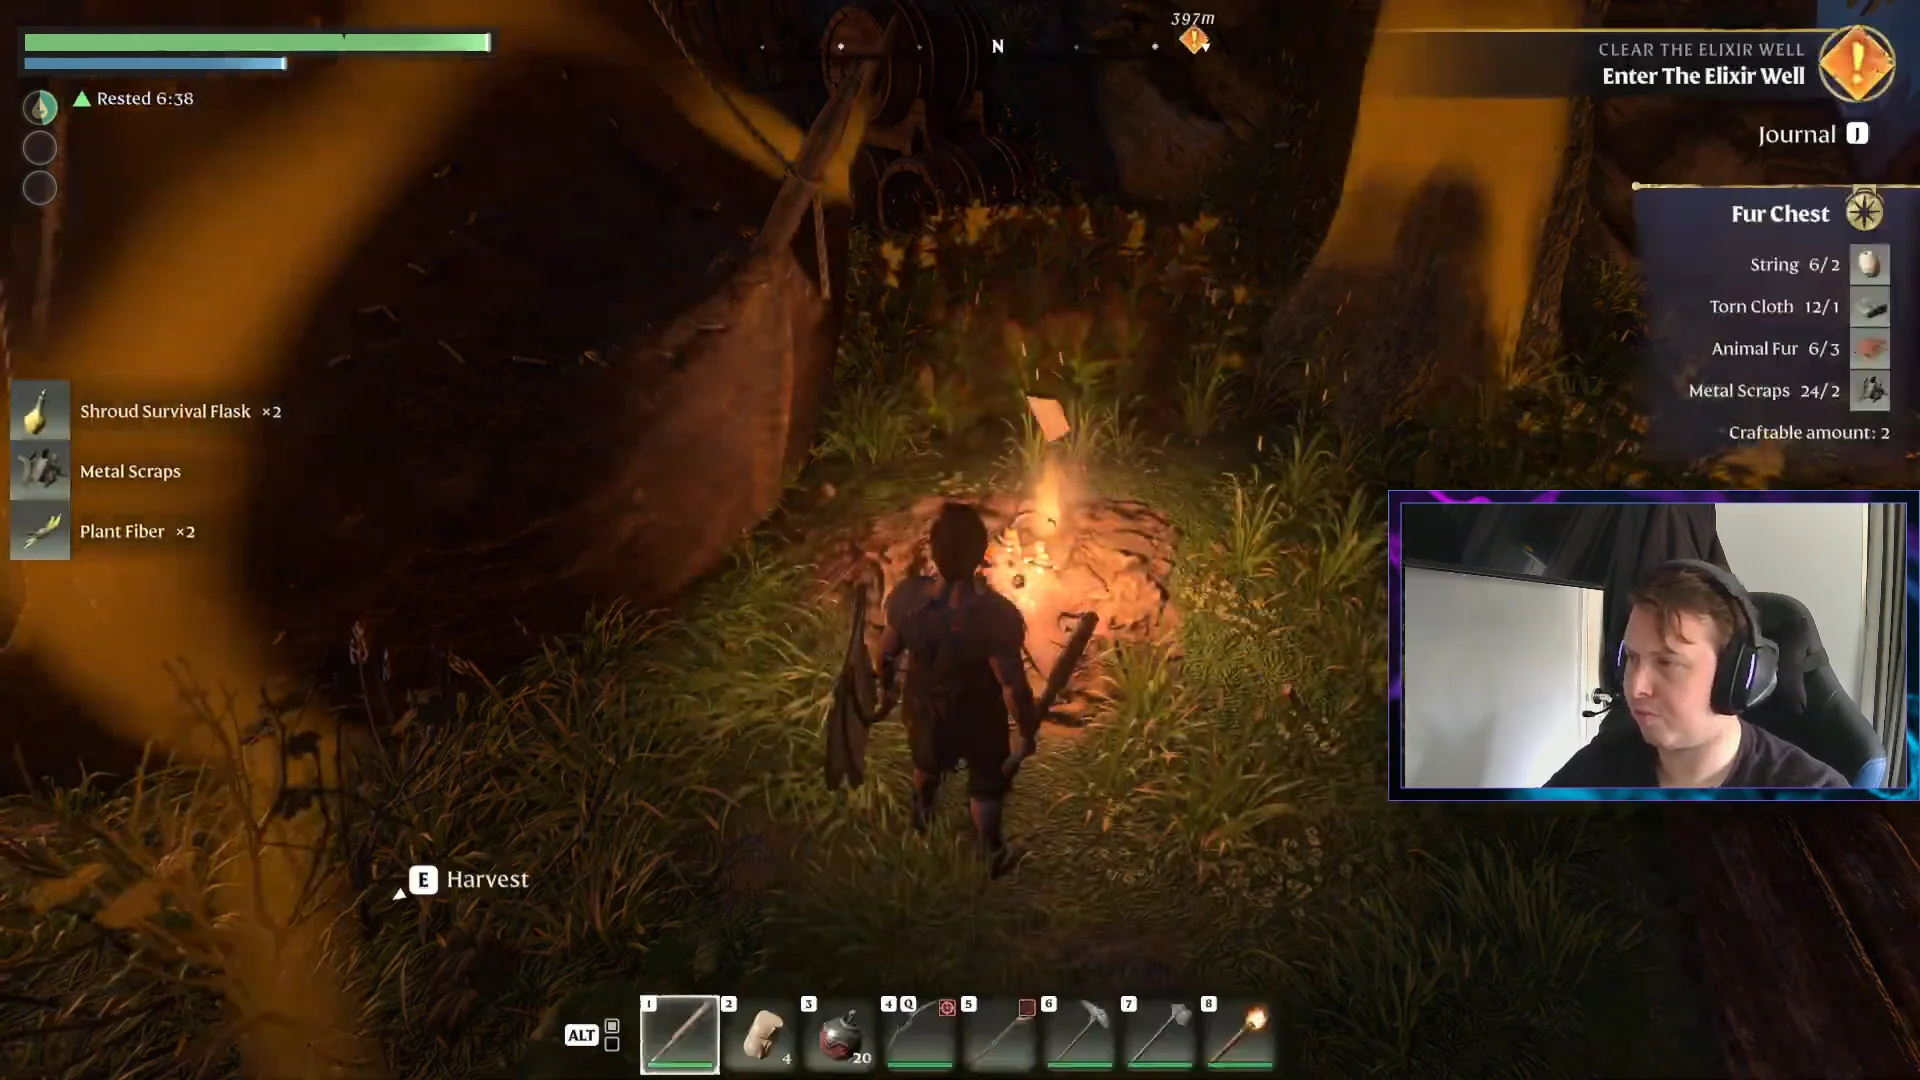
Woodgard cottage
Run north through the Harvest Homestead barn and over a wooden bridge to reach southern Woodgard. An intact stone cottage there takes a Flame Altar at its front door and gives you a front-room fireplace, a stone basement, and an upstairs living area with multiple working beds. The spot is close to fishing, clean water, flint, and salt mines, which keeps your early resource runs short.

Where to relocate as you expand
Once you have cleared the opening quests and have altars to spare, move your main hub to ground that pulls more of the map within easy reach.
Northeast of Mistbury Catacombs
A lush patch of grassland just northeast of the Mistbury Catacombs is the most central spot in the early game. The catacombs reset whenever you relog, and the area carries a healthy number of Flame Shrines and Flame Sanctums. Shroud pockets to the north, east, and south feed Shroud Roots and Shroud resources, with clay farming just east. The Hill of Scavengers is a short sprint southwest for Metal Scraps and Torn Cloth, the Glimmer Rock Mine sits northwest, and the Gate to the Pillars of Creation, your route into the Nomad Highlands, is not far off.
South of Pikemead’s Reach
For a first base in the Revelwood, build directly south of Pikemead’s Reach. A huge wall of Shroud sits south and southwest of the Revelwood capital, and it is a pain to cross or skirt. An altar on the near side spares you that trek every time you return, and enemies in this region run hotter, so a convenient anchor matters more. Grab the Revelwood Ancient Spire in the western reaches, east of the Mark of Sameth mine, as soon as you arrive for free coverage of the northwest.
Region reference for planning altar coverage
Because altars double as fast travel anchors and your slots are limited, it helps to know how much of the world each region covers and what it holds. The Springlands dominates the map, which is why a central Springlands hub reaches so much, while the later regions are smaller slices you anchor one altar into as you arrive.
| Region | Share of world | Sample quest |
|---|---|---|
| Springlands | 28.8% | Fortified |
| Kindlewastes | 13.4% | The Oasis |
| Revelwood | 8.6% | The Spiral |
| Veilwater Basin | 8.6% | Lord Vorgoth’s Throne Room |
| Nomad Highlands | 6.0% | A Cursed Catch |
| Blackmire | 4.4% | — |
When journeys beyond the Springlands become routine, use a plateau in the Nomad Highlands as a regional hub. Its elevation provides access south into the Springlands and west toward Revelwood, while the edge offers a quick glide down to lower ground. At a later stage, the expansive shores of the Veilwater Basin are a good fit for a water-focused build, once your Flame level is high enough and you have time to clear the nearby enemies first.
You don’t need one base to meet every need throughout your save. Use an early settlement for everyday crafting and farming; as you reach new regions, establish a travel hub or a scenic late-game home where the terrain suits your next project. Each site then has a distinct purpose, and your Flame Altars can expand as you progress instead of restricting you.