Credential Guard isolates sensitive sign-in secrets such as NTLM password hashes and Kerberos tickets inside a virtualization-based security (VBS) container, keeping them out of reach even from local administrators. That protection is useful, but it also breaks a handful of everyday tasks. Turning it off requires disabling VBS, clearing two registry flags, and, on systems with a UEFI lock, confirming the change during boot.
Quick answer: Set Turn On Virtualization Based Security to Disabled in Group Policy, set both LsaCfgFlags registry values to 0, then reboot. If a UEFI lock is active, run the SecConfig.efi boot entry and press F3 at startup to confirm.
Why turn off Credential Guard
Credential Guard is enabled automatically on compatible hardware running Windows 11 22H2 or later in the Enterprise or Education editions, with some components also available in Pro. Devices need a TPM 1.2 or 2.0 module, Secure Boot, a 64-bit CPU with SLAT, and the Hyper-V hypervisor platform. Once active, it blocks several common workflows.
| What breaks | Reason |
|---|---|
| Saving RDP passwords | Reusable credentials are not stored when NTLM authentication is used. |
| VMware Workstation / VirtualBox | Third-party VMs fail with a “Device/Credential Guard are not compatible” error. |
| Wi-Fi and VPN sign-in | MSCHAPv2 protocols, including PEAP-MSCHAPv2 and EAP-MSCHAPv2, stop authenticating. |
| Legacy authentication | Apps relying on NTLMv1 or unconstrained Kerberos delegation no longer work. |
| Remote Desktop Services SSO | Single Sign-On fails on the RDS host. |
Running Credential Guard on domain controllers is not recommended, since it adds no security benefit there and can cause compatibility problems with third-party software.
Check whether Credential Guard is running
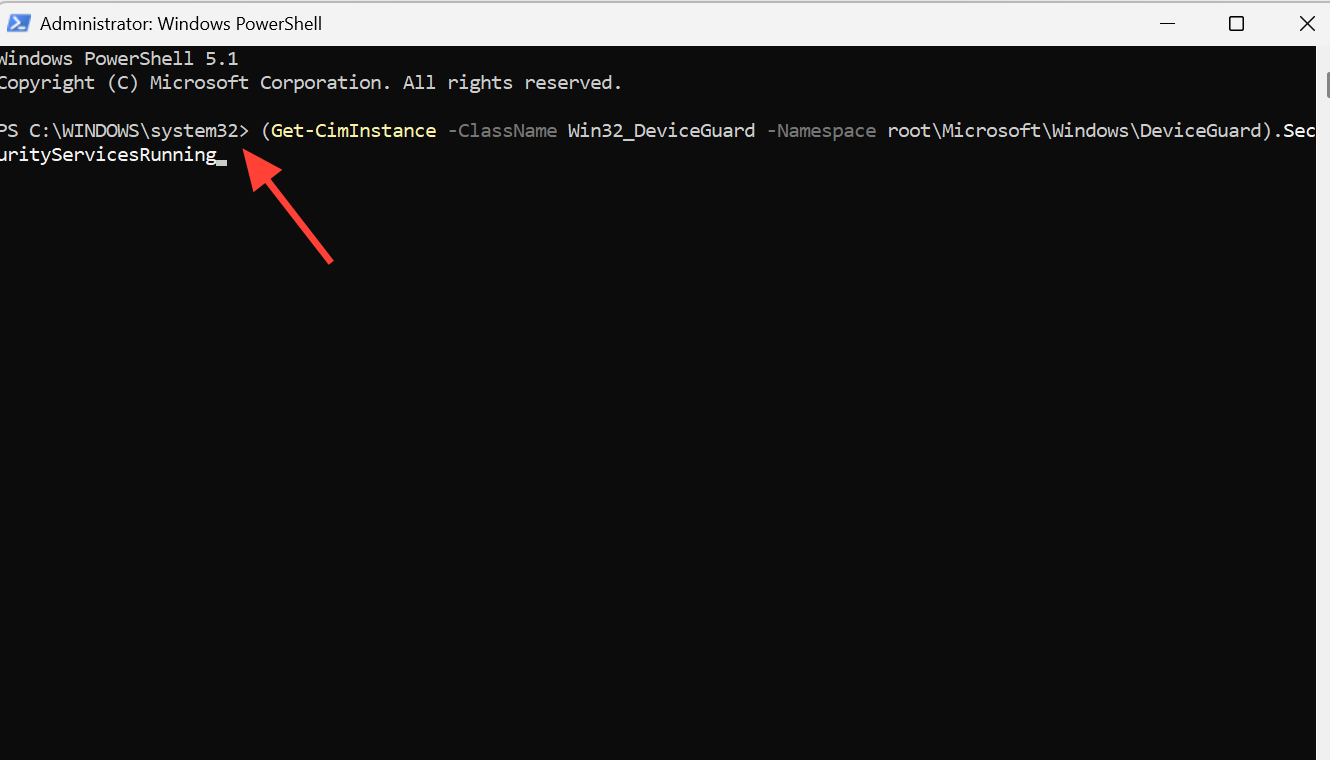
Before changing anything, confirm the current state from an elevated PowerShell window. The command returns the list of active security services.
(Get-CimInstance -ClassName Win32_DeviceGuard -Namespace rootMicrosoftWindowsDeviceGuard).SecurityServicesRunningA value of 1 means Credential Guard is enabled. A value of 0 means it is already off.
Disable Credential Guard with Group Policy and the registry
This is the standard path on systems without a UEFI lock. It switches off VBS and clears the LSA configuration flags that keep credential isolation running.
Win + R, type gpedit.msc, and open the Local Group Policy Editor. Browse to Computer Configuration → Administrative Templates → System → Device Guard.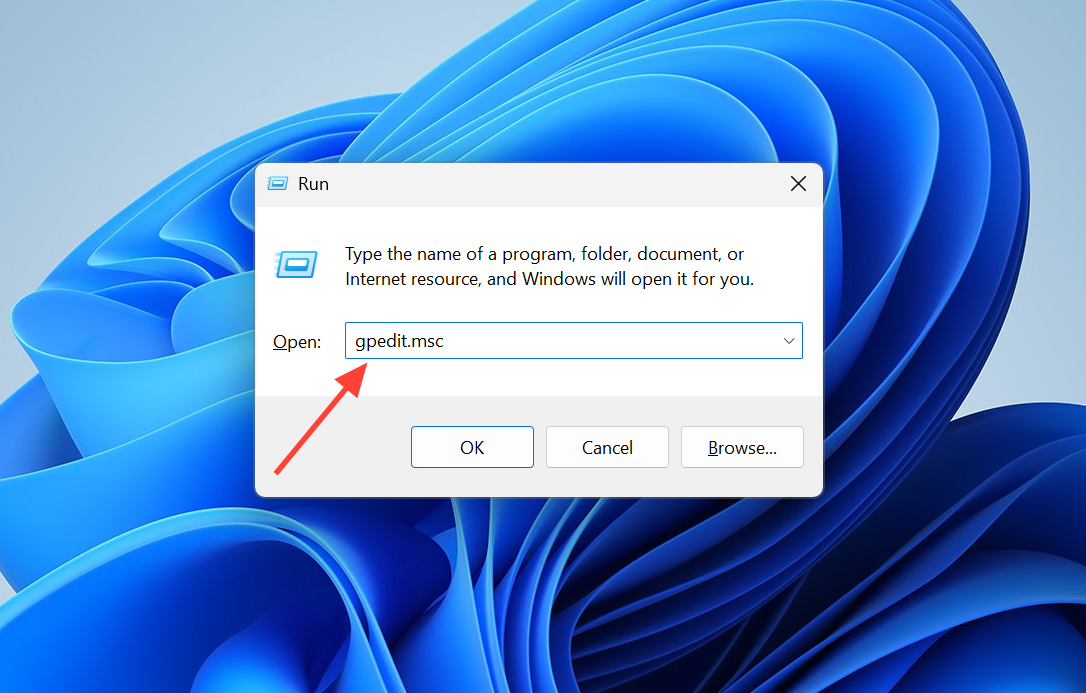
Turn On Virtualization Based Security and set it to Disabled. If it currently shows “Not Configured,” change it explicitly to Disabled so the policy is enforced, then click OK.reg add HKLMSYSTEMCurrentControlSetControlLsa /f /v LsaCfgFlags /t REG_DWORD /d 0
reg add HKLMSOFTWAREPoliciesMicrosoftWindowsDeviceGuard /f /v LsaCfgFlags /t REG_DWORD /d 0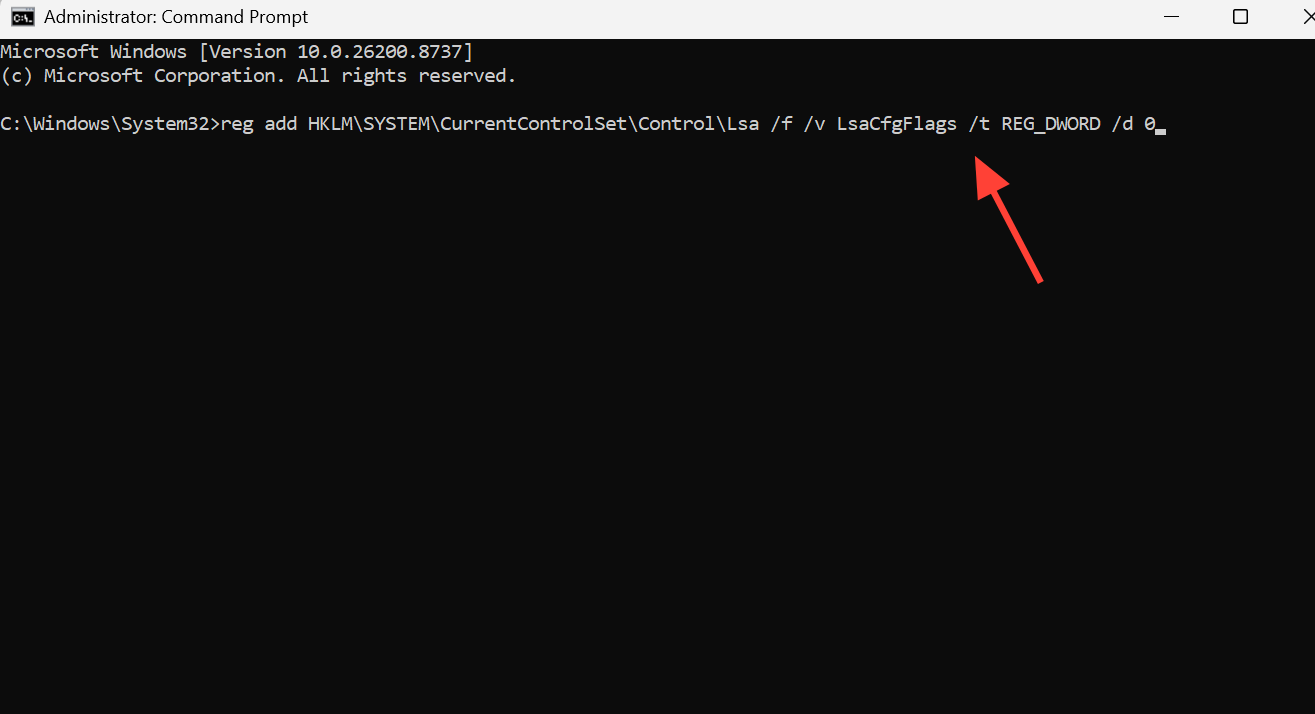
You can also set EnableVirtualizationBasedSecurity to 0 under HKLMSYSTEMCurrentControlSetControlDeviceGuard to force VBS off. Back up the registry before editing it.
Remove Credential Guard when a UEFI lock is enabled
If the UEFI lock protects the firmware from being changed by software, the registry edits alone are not enough. You need to stage a temporary boot entry that launches with credential isolation turned off, then confirm the change at the console during boot.
mountvol X: /s
copy %WINDIR%System32SecConfig.efi X:EFIMicrosoftBootSecConfig.efi /Y
bcdedit /create {0cb3b571-2f2e-4343-a879-d86a476d7215} /d "DebugTool" /application osloader
bcdedit /set {0cb3b571-2f2e-4343-a879-d86a476d7215} path "EFIMicrosoftBootSecConfig.efi"
bcdedit /set {bootmgr} bootsequence {0cb3b571-2f2e-4343-a879-d86a476d7215}
bcdedit /set {0cb3b571-2f2e-4343-a879-d86a476d7215} loadoptions DISABLE-LSA-ISO
bcdedit /set {0cb3b571-2f2e-4343-a879-d86a476d7215} device partition=X:
mountvol X: /d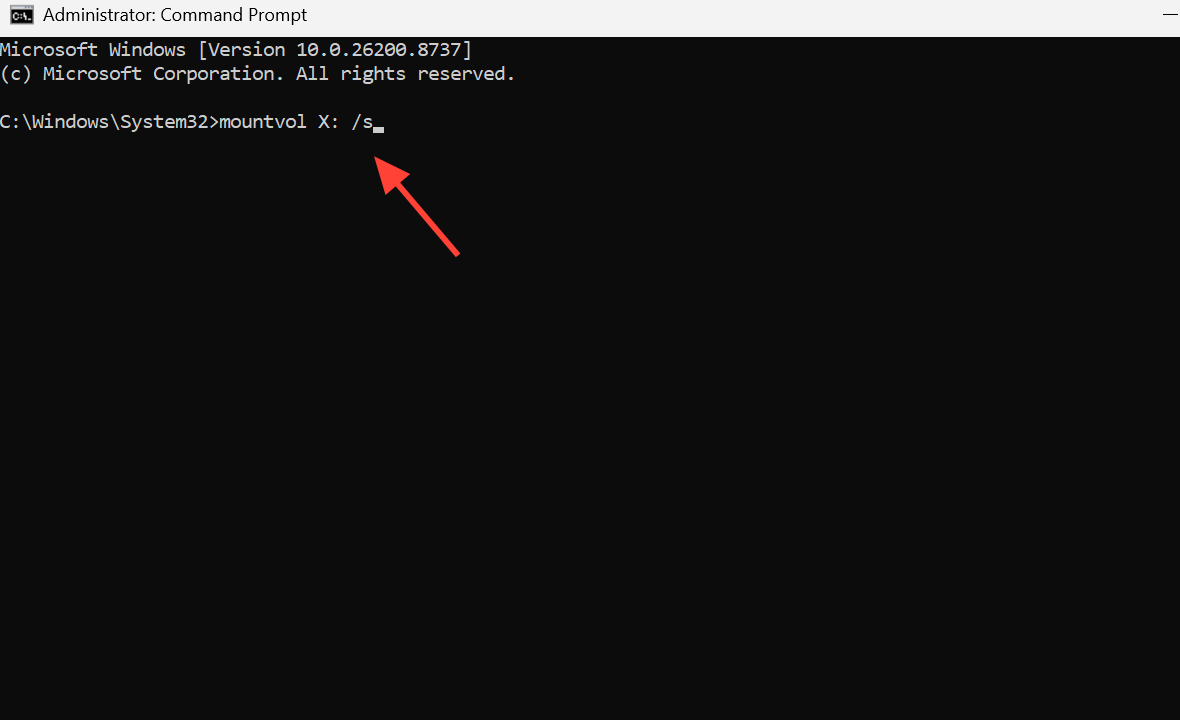
To also switch off virtualization-based security through the same entry, you can extend the load options and disable the VSM launch type before rebooting.
bcdedit /set {0cb3b571-2f2e-4343-a879-d86a476d7215} loadoptions DISABLE-LSA-ISO,DISABLE-VBS
bcdedit /set vsmlaunchtype off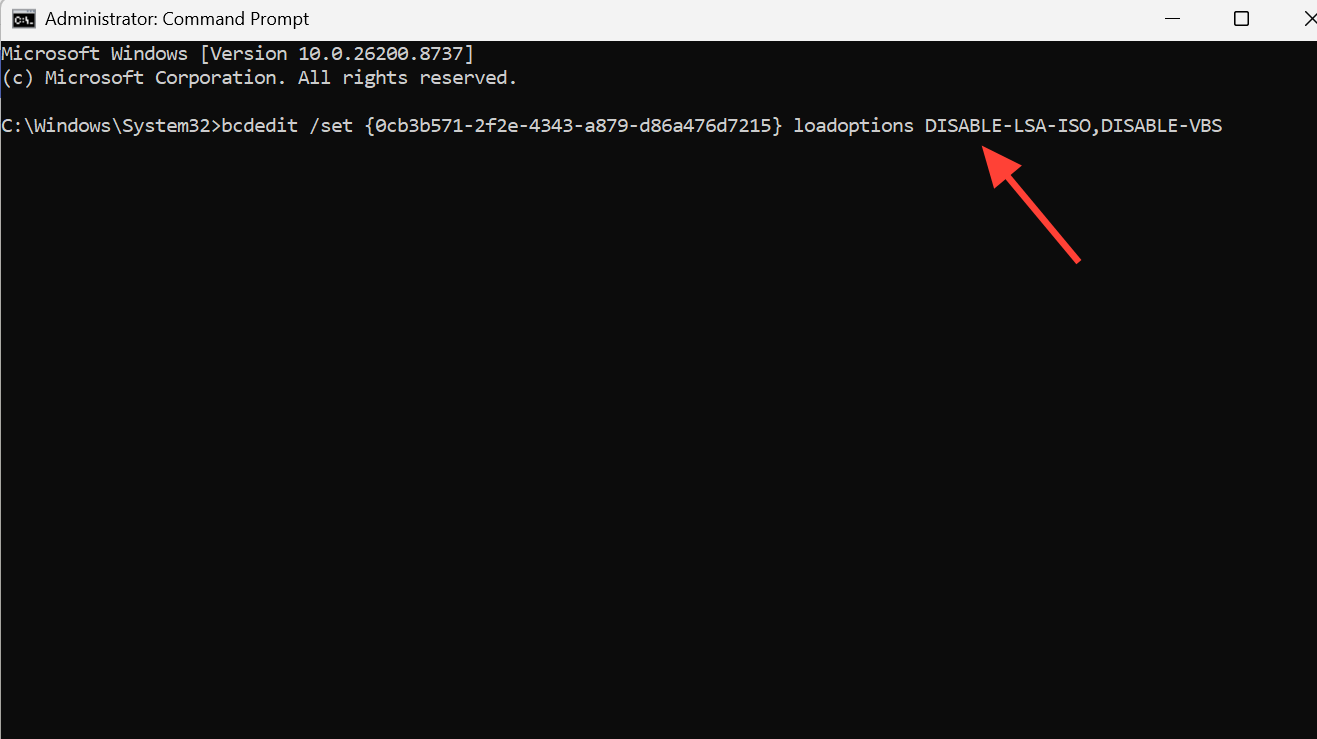
Use the Device Guard and Credential Guard readiness tool
Microsoft publishes a PowerShell script that can report on and toggle these features on supported devices. It is a convenient alternative to editing the boot loader by hand.
dgreadiness_v3.6.zip from the official Device Guard and Credential Guard hardware readiness tool page and extract it to a local folder, then change into that directory.cd C:PSdgreadiness_v3.6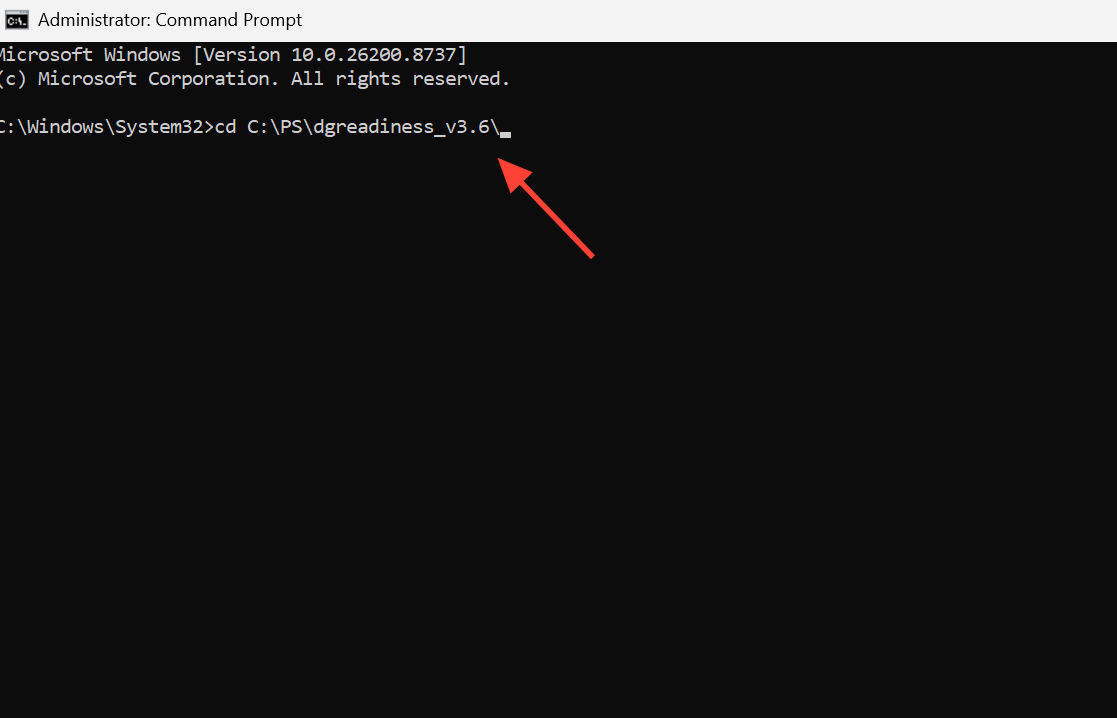
Set-ExecutionPolicy -Scope Process RemoteSigned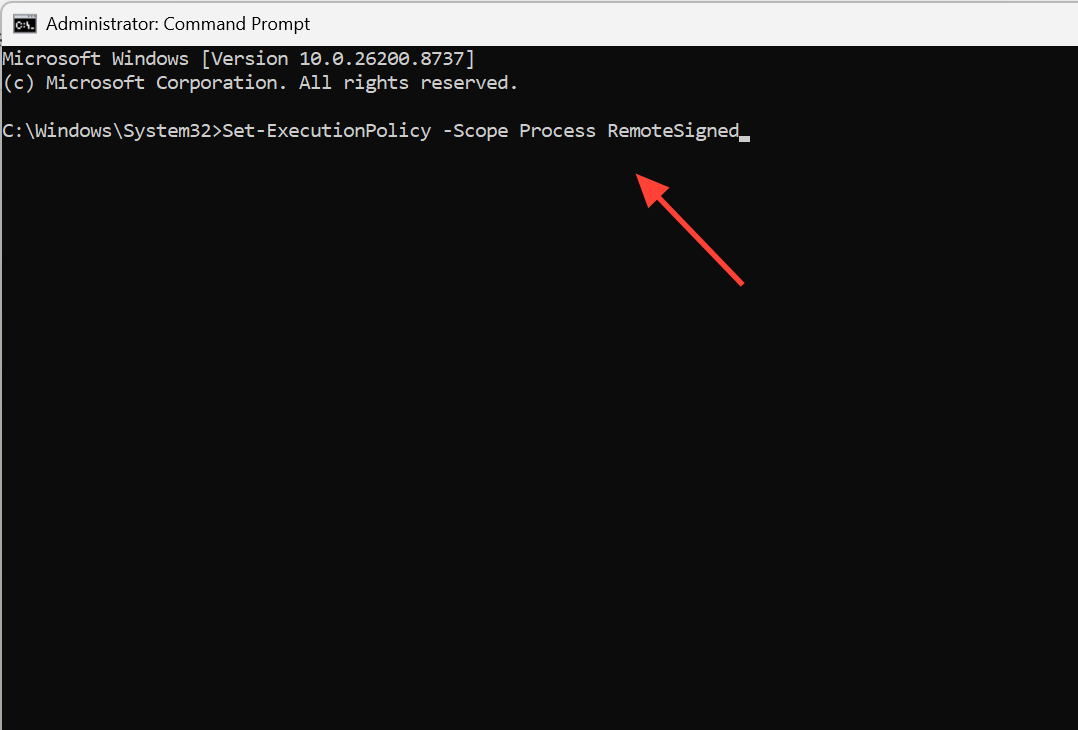
DG_Readiness_Tool_v3.6.ps1 -Ready
DG_Readiness_Tool_v3.6.ps1 -Disable -CG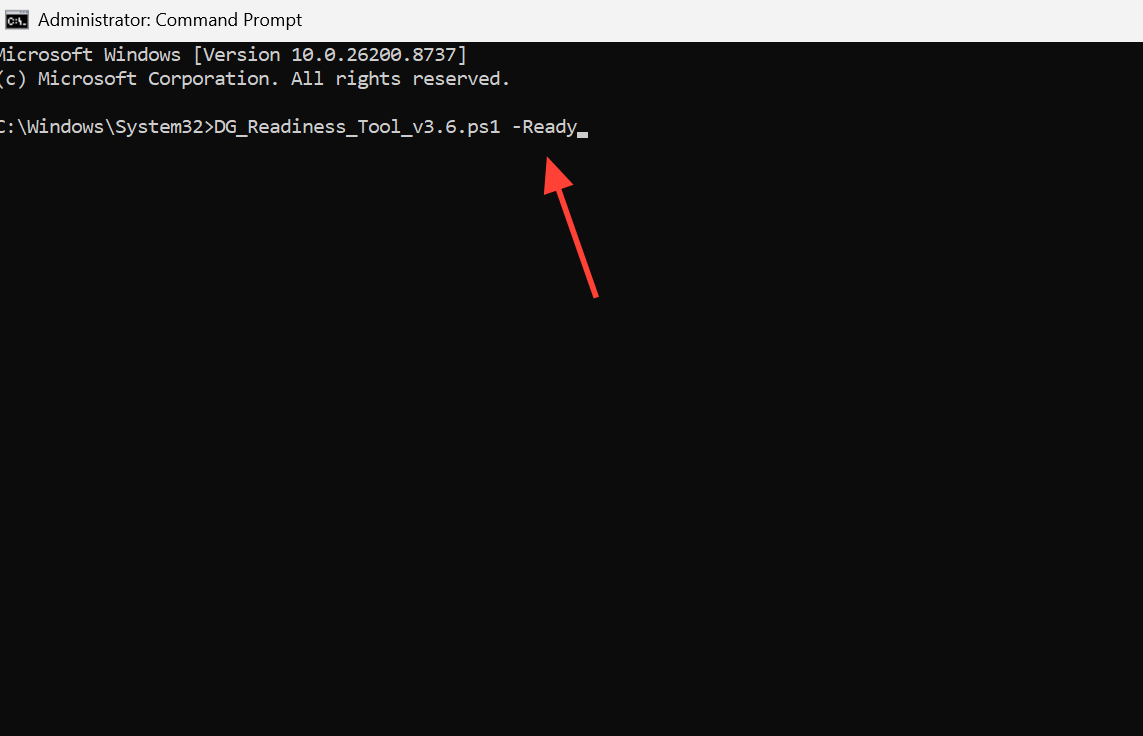
Confirm the change worked
After the reboot, run the same PowerShell check again. When it returns 0, Credential Guard is no longer running. You can also test the practical result by opening mstsc.exe, entering a server address, and confirming that the “Allow me to save credentials” option now stores the password.
If the value still reads 1, the most common causes are a skipped F3 confirmation during boot, a Group Policy setting left on “Not Configured” instead of “Disabled,” or a firmware-level Credential Guard option still enabled in BIOS/UEFI. On devices that expose Virtualization-Based Security or Credential Guard directly in firmware, set those options to Disabled and reboot. Where virtualization features such as Hyper-V are no longer needed, removing the hypervisor platform closes the last dependency VBS relies on.