
While the Lock Screen in Windows 11 offers an added layer of security and displays helpful information, you might prefer to disable it for quicker access to your desktop. If you’d like to bypass the Lock Screen when starting your computer or waking it from sleep, here are two effective methods to do so.
Turn off lock screen using Group Policy Editor
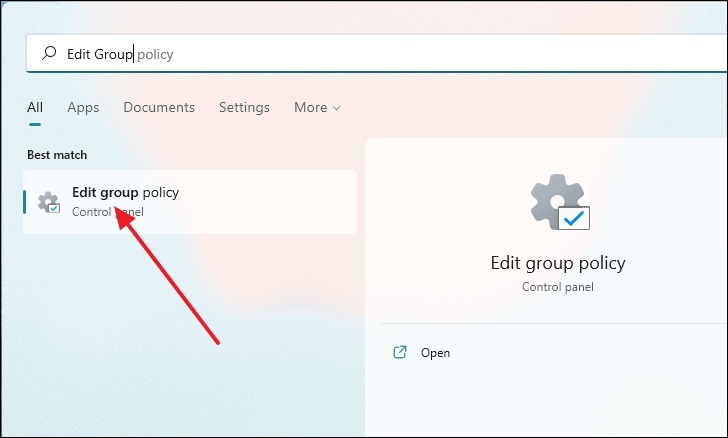
- Open the Group Policy Editor by typing
Edit Group Policyin the Start Menu search and selecting it from the results.
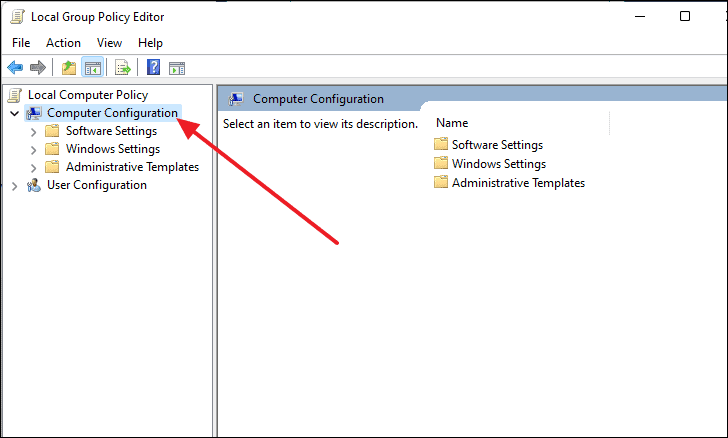
- In the Local Group Policy Editor window, double-click on Computer Configuration in the left panel to expand it.
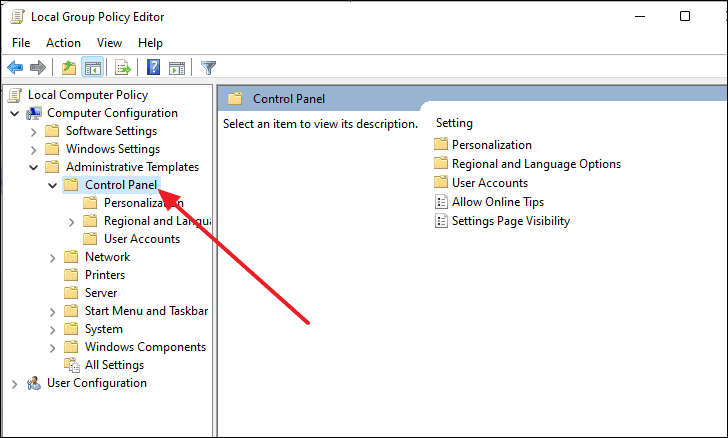
- Double-click on Administrative Templates under Computer Configuration to expand it further.

- Next, double-click on Control Panel to open its contents.
- Select Personalization from the left panel, then double-click on the policy named Do not display lock screen in the right panel.
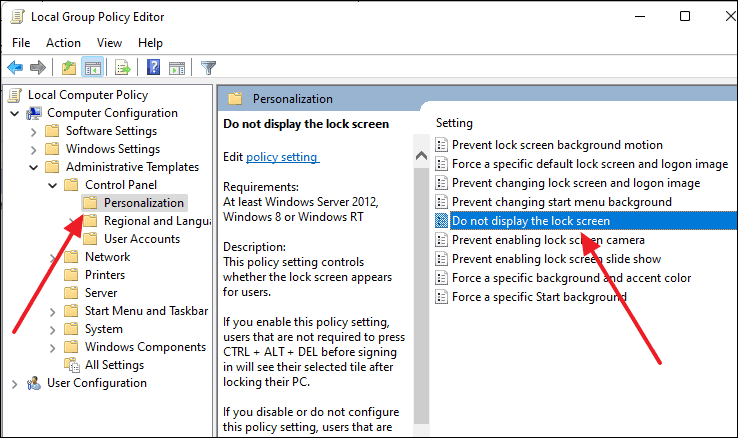
- In the new window that appears, set the option to Enabled and click OK.
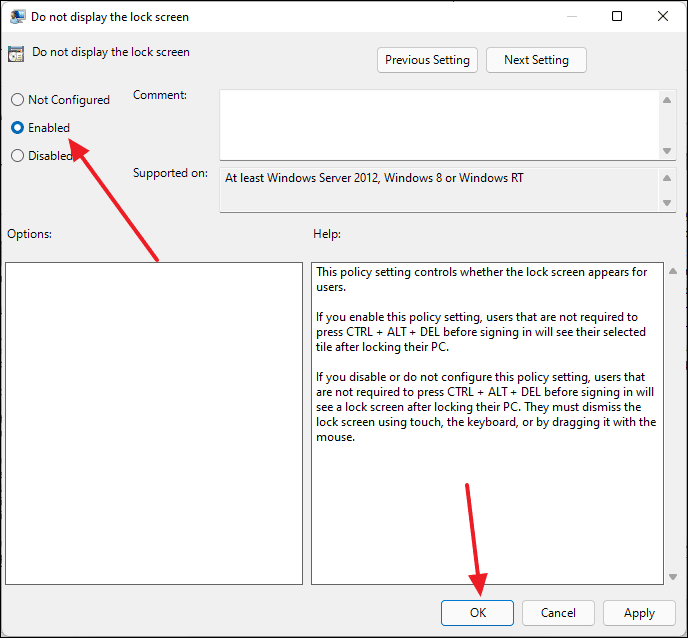
- Restart your computer to apply the changes.
Disable lock screen using Registry Editor
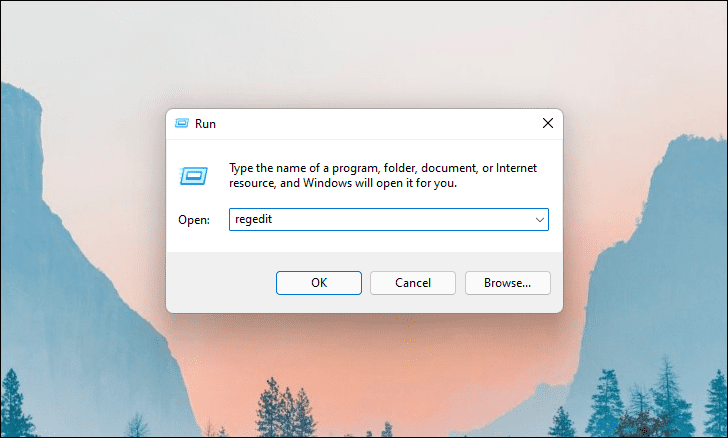
- Press
Windows+Ron your keyboard to open the Run dialog box. Typeregeditand pressEnterto launch the Registry Editor.
- In the Registry Editor window, copy and paste the following path into the address bar and press
Enter:
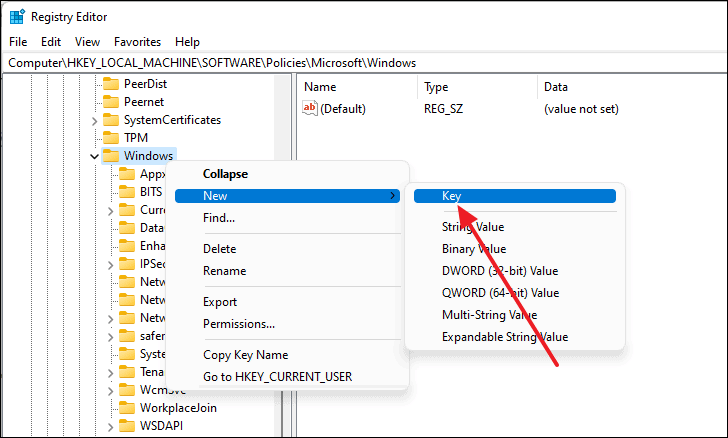
Computer\HKEY_LOCAL_MACHINE\SOFTWARE\Policies\Microsoft\Windows
- Right-click on the Windows key in the left panel, select New, then click on Key.
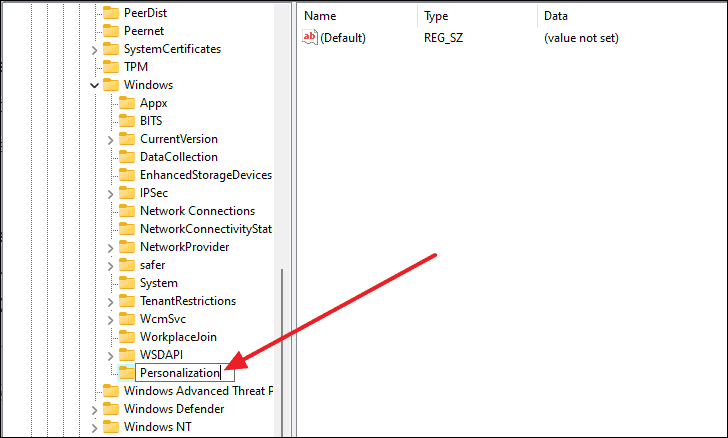
- Rename the new key to
Personalization.
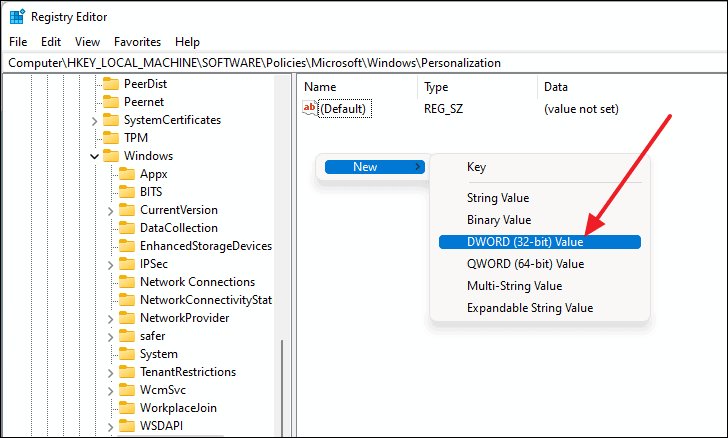
- With the
Personalizationkey selected, right-click in the right panel, choose New, and select DWORD (32-bit) Value.
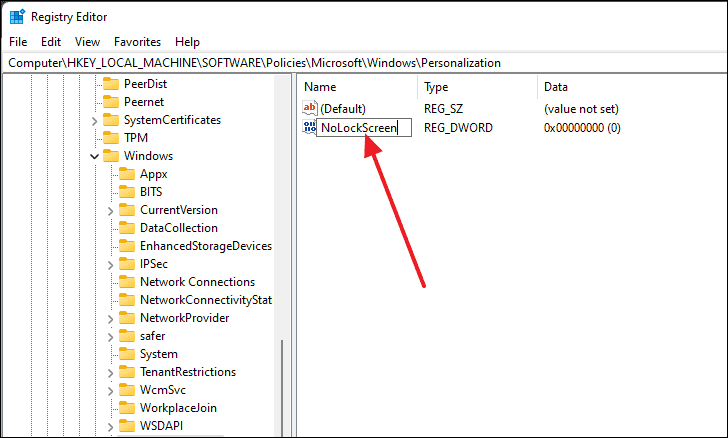
- Name the new DWORD value as
NoLockScreen.
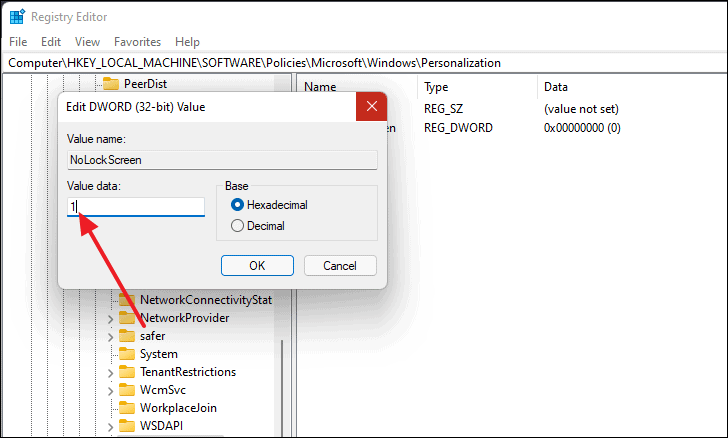
- Double-click on
NoLockScreen, set the Value data to1, and click OK.
- Restart your computer to apply the changes.
Disabling the Lock Screen can speed up access to your desktop, but it also removes an extra layer of security. You can re-enable the Lock Screen at any time by reversing these steps.


