
Windows Studio Effects enhance your video and audio quality during calls and recordings on Windows 11. Leveraging advanced AI and machine learning, these effects help you present yourself professionally, whether you’re in a virtual meeting or creating content.
What are Windows Studio Effects?
Windows Studio Effects are a collection of video and audio enhancements available in Windows 11 version 22H2 and later. These AI-powered effects aim to improve your experience during video calls and recordings. They are available on devices equipped with a Neural Processing Unit (NPU), such as the Surface Pro 9 5G model.
The suite includes four effects:
1. Background Blur
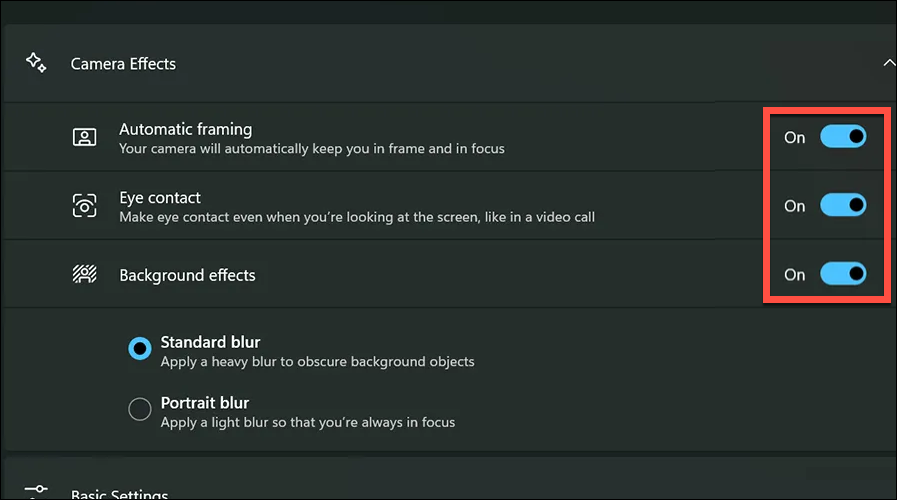
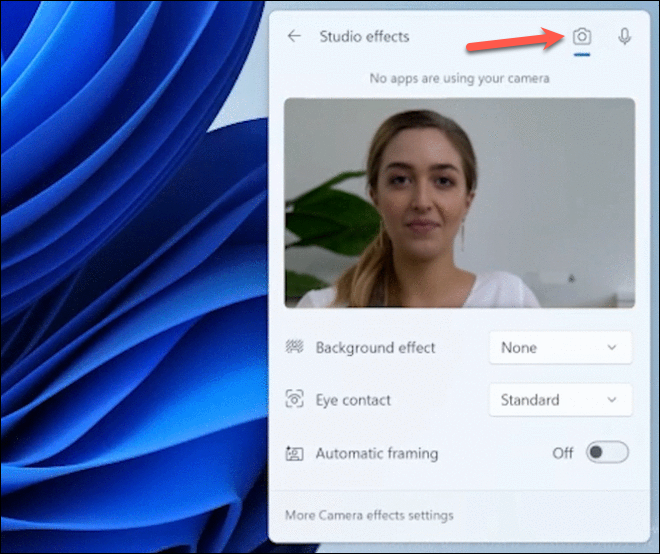
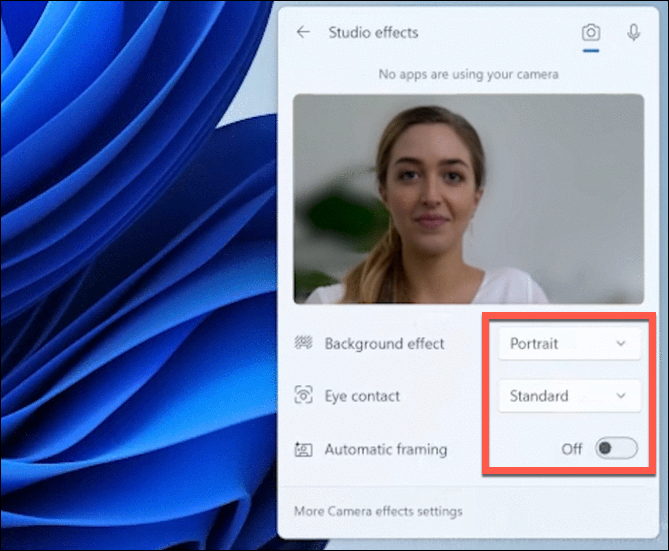
The Background Blur effect keeps the focus on you by blurring your background during video calls. Unlike app-specific solutions that may produce inconsistent results, Windows Studio Effects provide a uniform blur across all applications. You can choose between two levels: Standard Blur for a heavier blur and Portrait Blur for a lighter effect.
2. Eye Contact
The Eye Contact feature adjusts your gaze to simulate direct eye contact with the camera. This effect compensates for the natural tendency to look at the screen rather than the camera during video calls, helping you appear more engaged and attentive to your audience.
3. Auto Framing
Auto Framing keeps you centered in the frame, even if you move around or if your camera is at an angle. By using machine learning algorithms, it adjusts the cropping and zoom of your camera feed to ensure you remain prominently visible.
4. Voice Focus
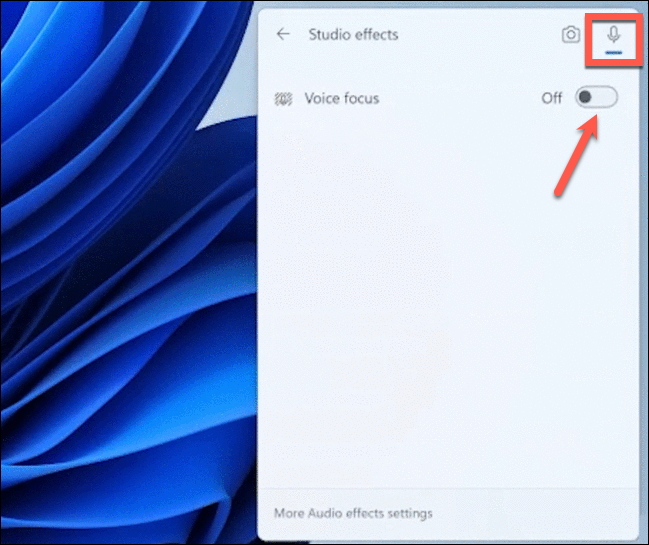
Voice Focus is an audio effect that reduces background noise from your microphone. Utilizing AI noise suppression, it ensures your voice remains clear and crisp, even in noisy environments. This is especially useful during meetings where ambient sounds could distract other participants.
How to Enable and Use Windows Studio Effects
If you have a compatible device running Windows 11 version 22H2 or later, you can easily enable and use Windows Studio Effects. The effects apply system-wide and remain active until you disable them.
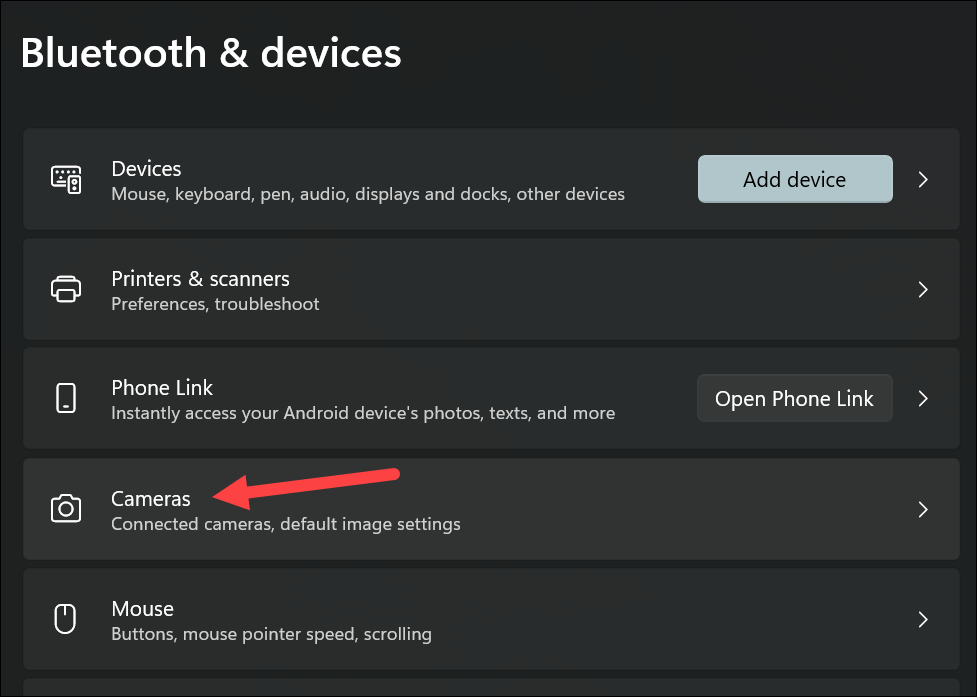
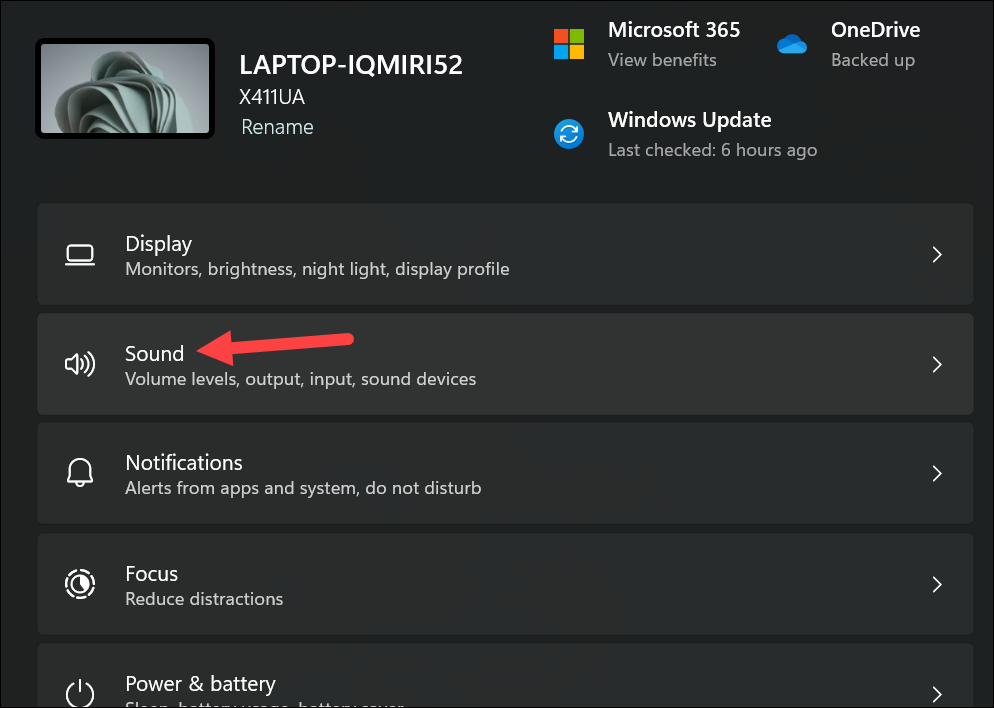
Enabling Video Effects
Windows + I on your keyboard.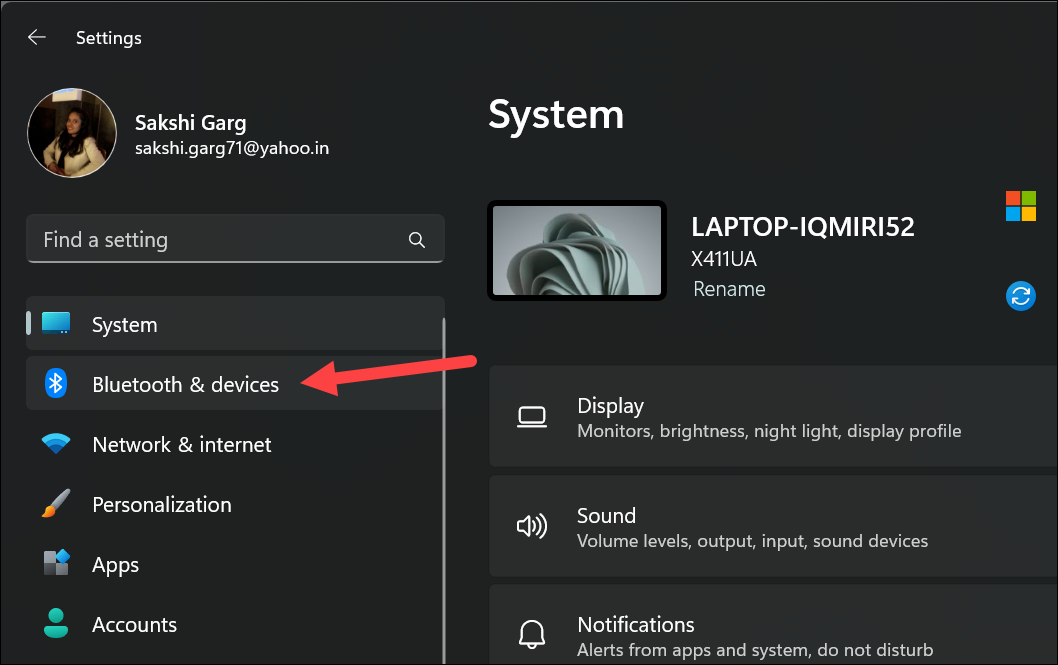

Note: Enabling camera effects might impact your device’s performance and battery life, especially on some devices.
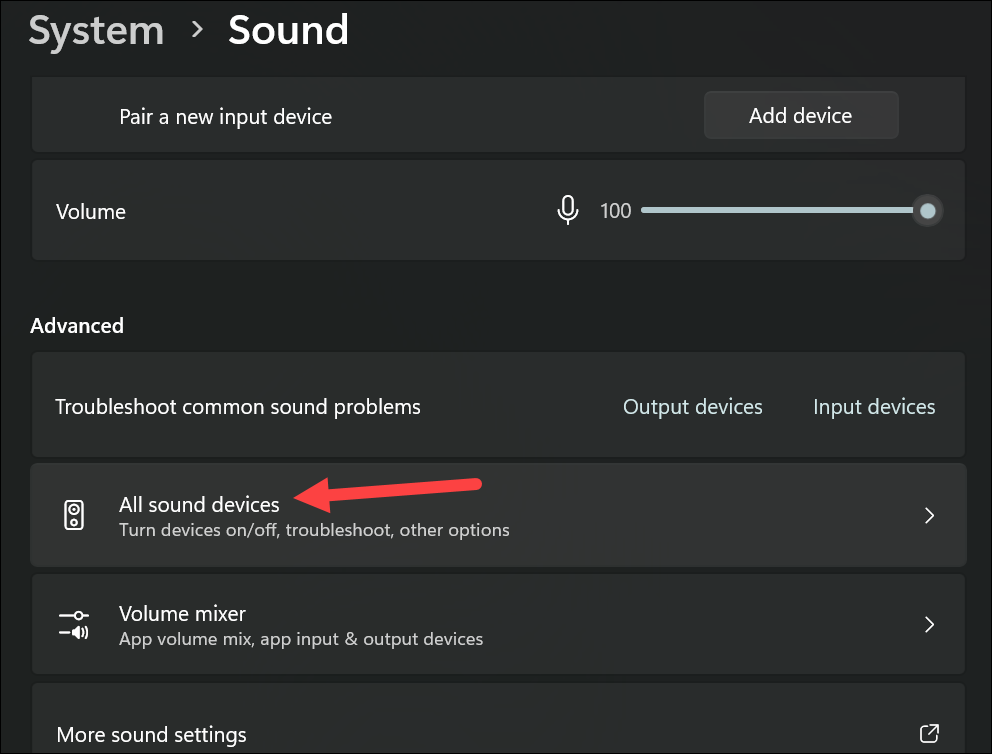
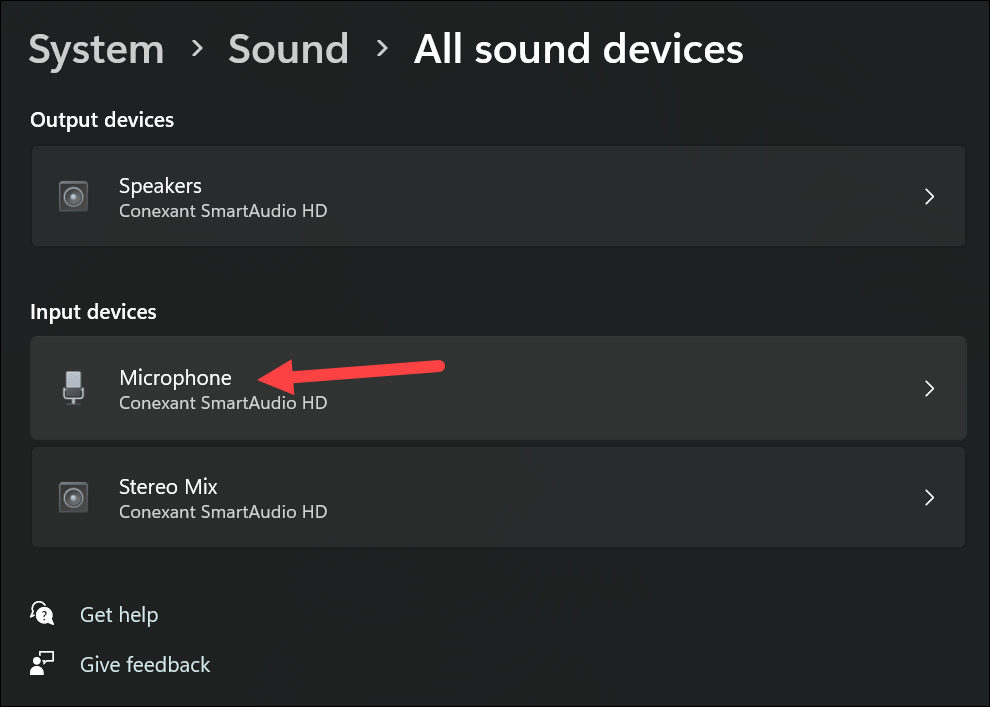
Enabling the Audio Effect
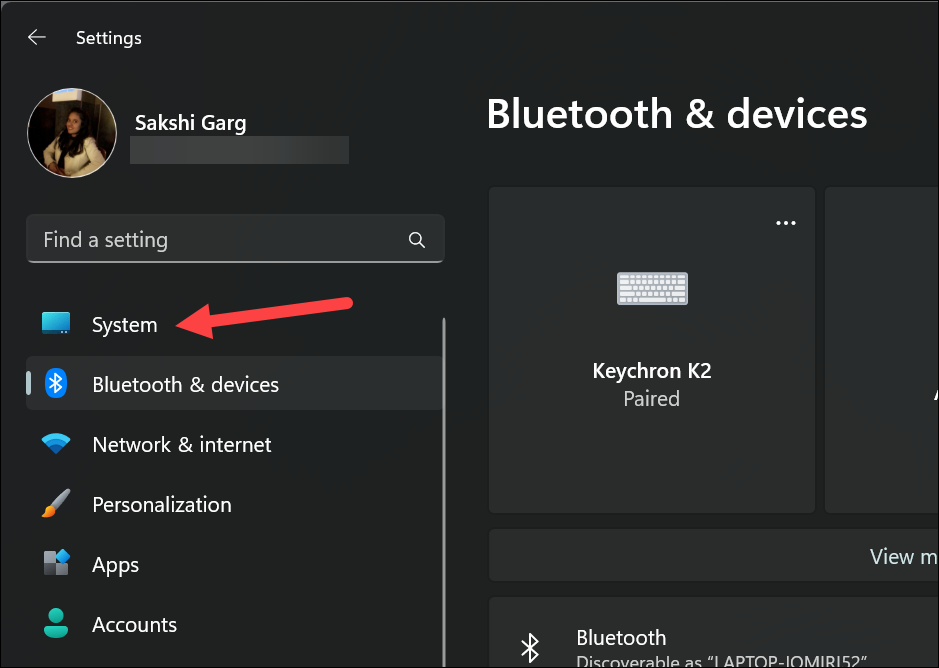

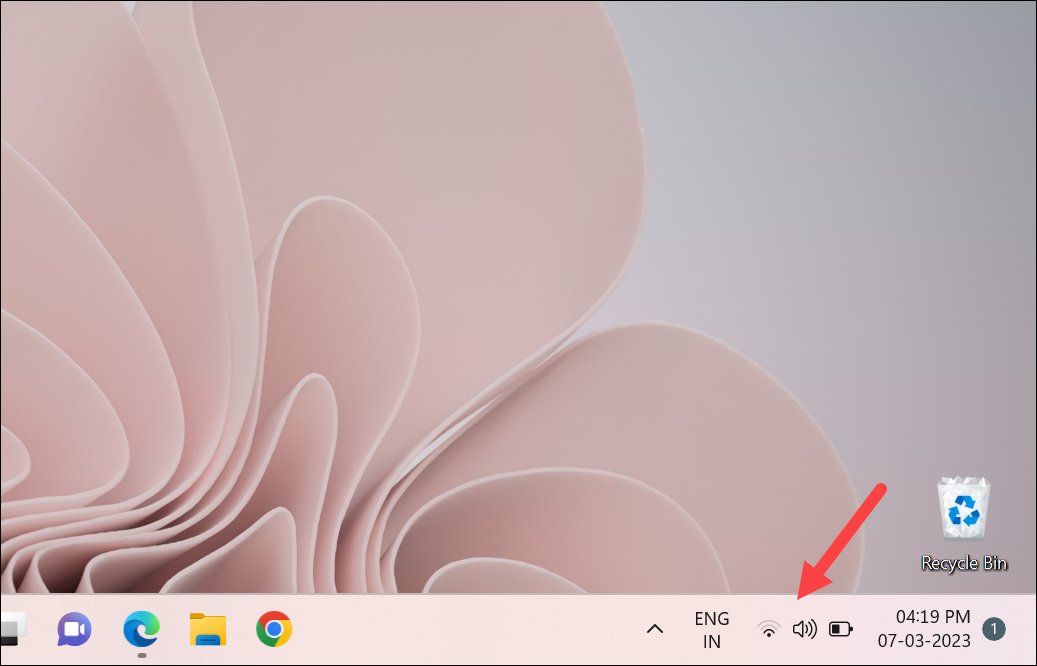
Enabling Studio Effects from the Quick Settings Panel
For users in the Windows Insider Program on the Dev or Beta channels, Windows Studio Effects can be accessed directly from the Quick Settings panel for easier control.

Windows Studio Effects provide powerful tools to enhance your video and audio during online interactions. By utilizing these features on a compatible device, you can ensure you always present yourself at your best.


