Encountering the error message “There was a problem resetting your PC ” in Windows 11 can be frustrating, especially when you’re trying to resolve persistent system issues. Fortunately, there are several methods you can use to fix this problem and successfully reset your PC.
1. Repair the Windows Recovery Environment (WinRE) Image
Corrupted or damaged WinRE images can prevent the reset process from completing. Repairing the WinRE image might resolve the issue.
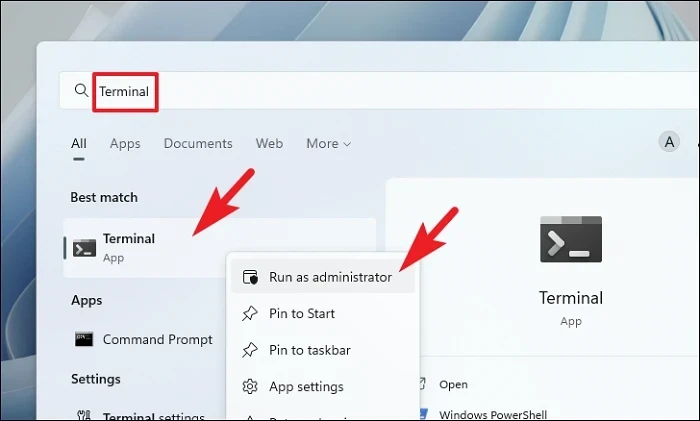
1 Open the Start Menu and type Terminal in the search bar. Right-click on the Terminal app and select Run as administrator .
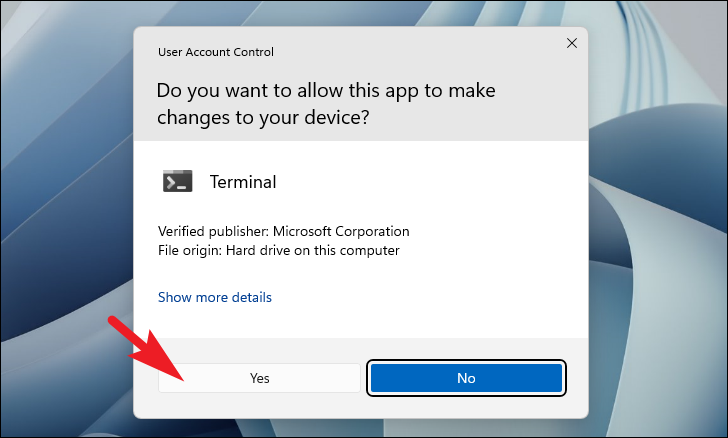
2 If prompted by User Account Control (UAC), click Yes to grant administrative privileges.
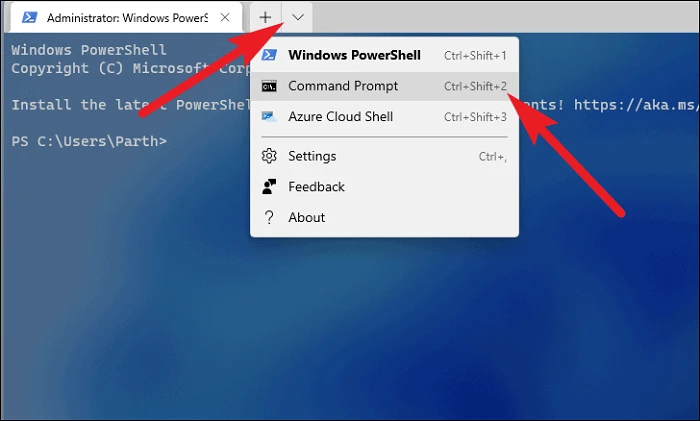
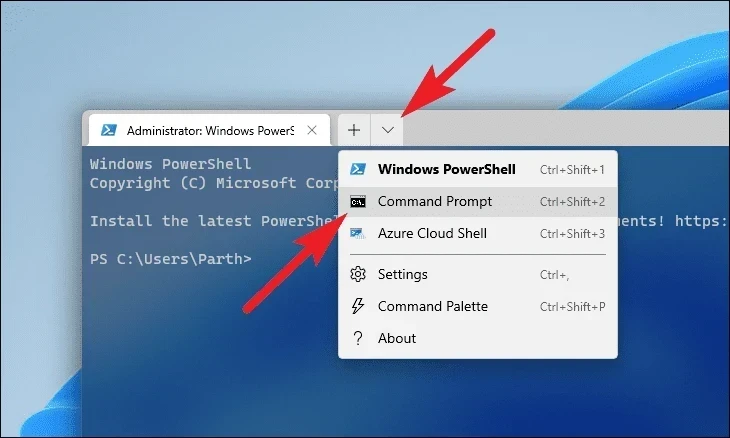
3 In the Terminal window, click the down arrow icon and select Command Prompt from the menu.
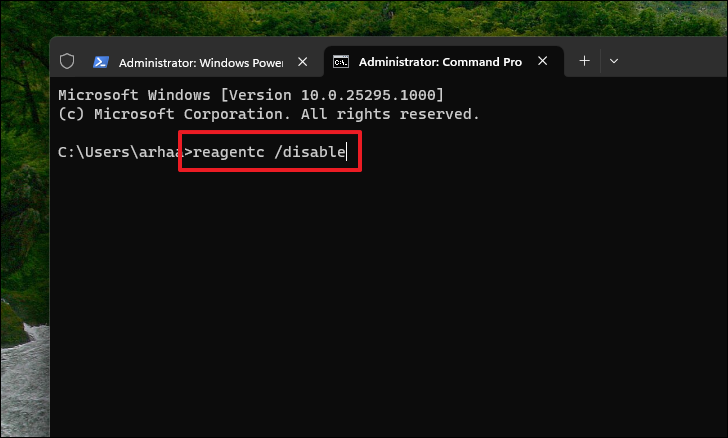
4 Type or copy and paste the following command, then press Enter to disable WinRE:
reagentc /disable6 After the restart, open the Terminal as an administrator again (refer to Steps 1 and 2).
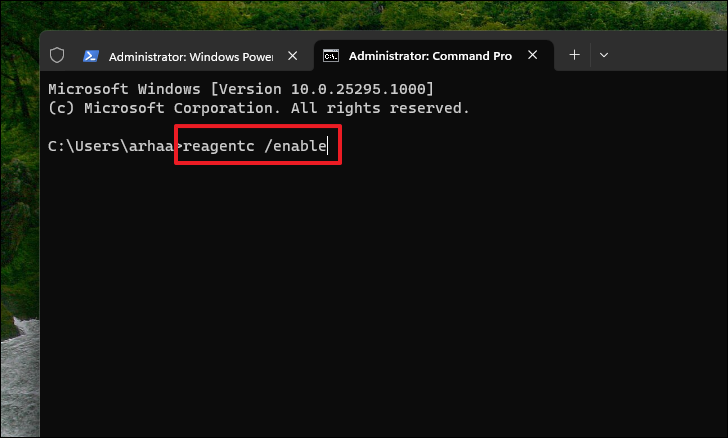
7 In the Command Prompt, type or copy and paste the following command and press Enter to re-enable WinRE:
reagentc /enableAfter completing these steps, try resetting your PC again to see if the issue is resolved.
2. Run SFC and DISM Scans
Running System File Checker (SFC) and Deployment Image Servicing and Management (DISM) scans can repair corrupted system files that might be causing the reset error.
1 Open the Start Menu and search for Terminal. Right-click on the Terminal app and choose Run as administrator .
2 Click Yes in the UAC prompt to allow administrative access.
3 In the Terminal window, click the down arrow and select Command Prompt .
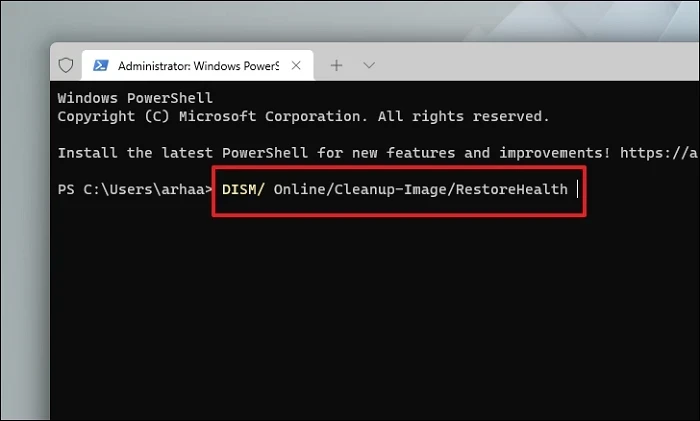
4 Enter the following command and press Enter to run the DISM scan:
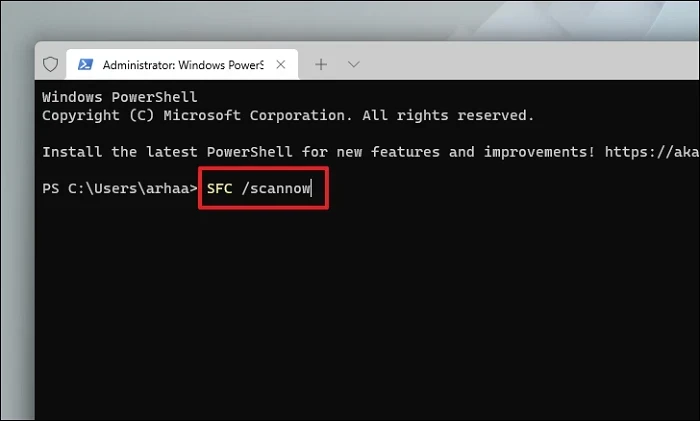
DISM /Online /Cleanup-Image /RestoreHealth5 After the DISM scan completes, type the following command and press Enter to run the SFC scan:
sfc /scannow6 Once the scan completes, restart your computer and attempt to reset your PC again.
3. Run Automatic Repair
The Automatic Repair tool can fix boot-related issues and may resolve the reset problem.
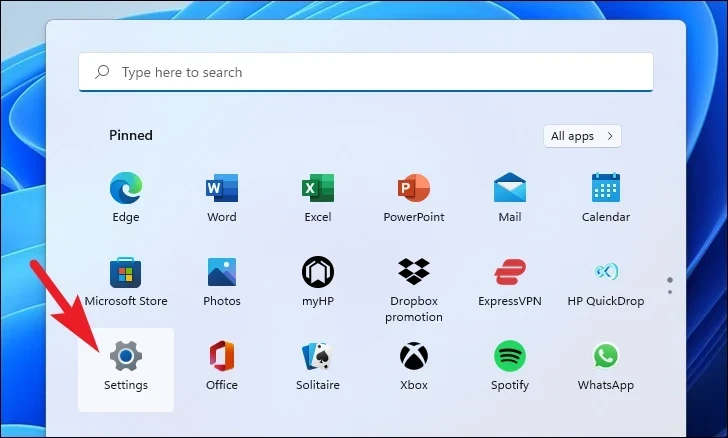
1 Open the Start Menu and click on Settings .
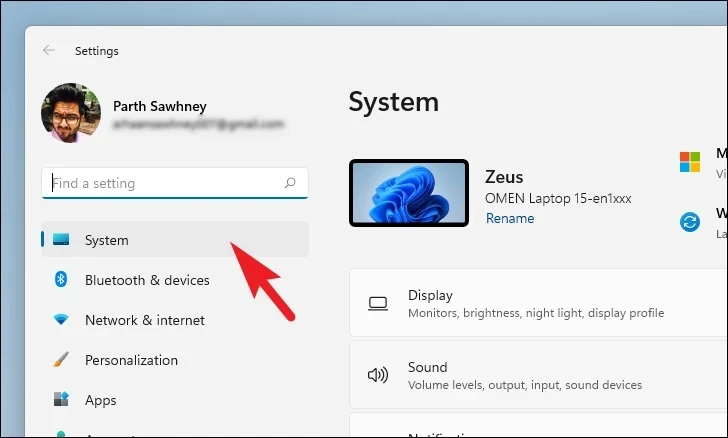
2 In the Settings window, ensure the System tab is selected.
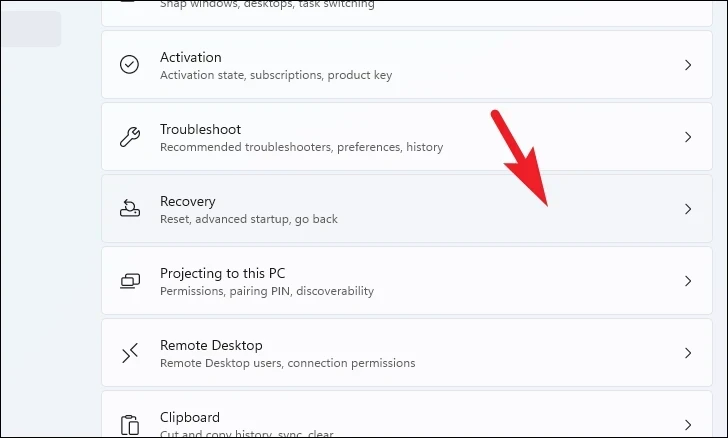
3 Scroll down and click on Recovery .
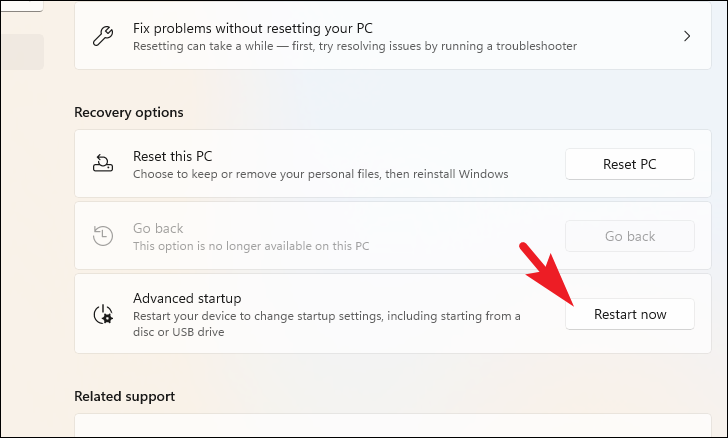
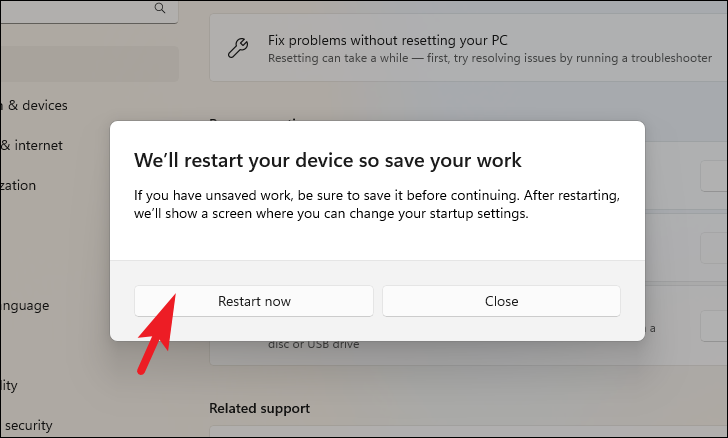
4 Under Advanced startup , click Restart now .
5 Confirm by clicking Restart in the prompt.
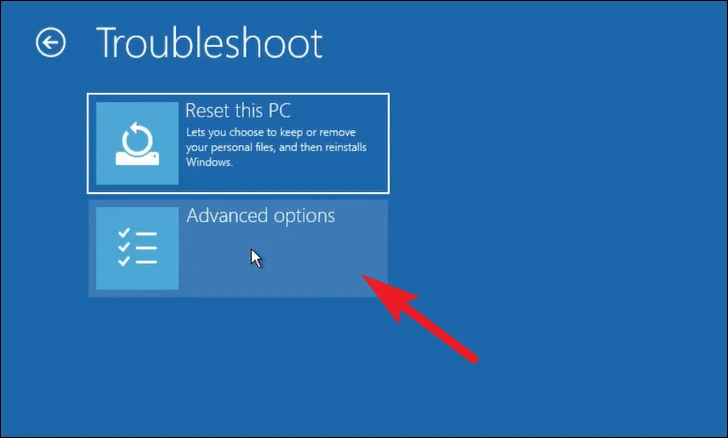
6 After restarting, select Troubleshoot from the options.
7 Click on Advanced options .
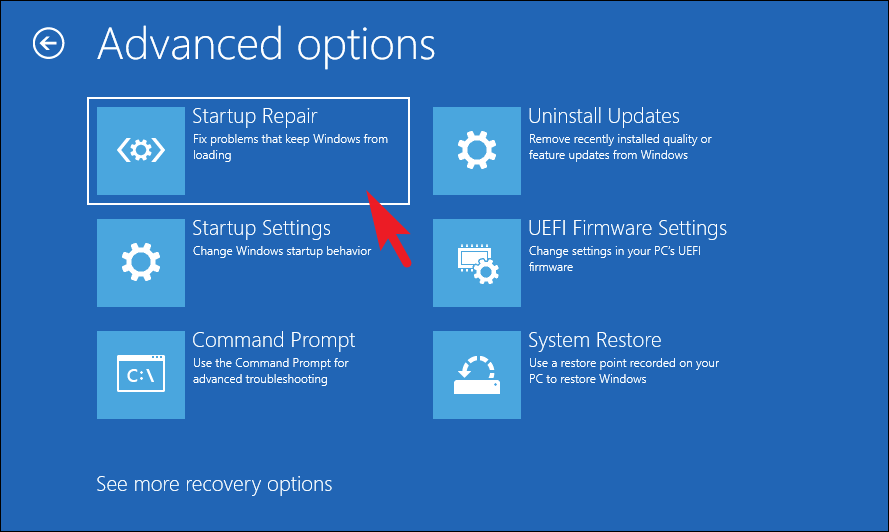
8 Select Startup Repair to commence the repair process.
Your system will restart and attempt to diagnose and fix issues automatically. Follow any on-screen instructions that appear.
Performing a clean boot can eliminate software conflicts that might be causing the reset error.
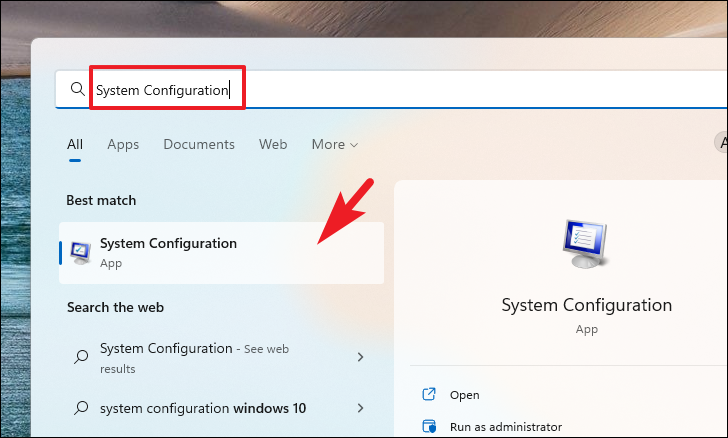
1 Open the Start Menu, type System Configuration, and select it from the results.
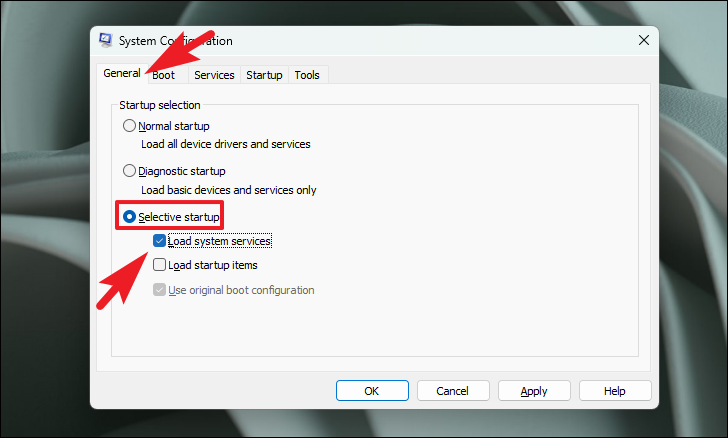
2 In the System Configuration window, go to the General tab and select Selective startup . Check the box for Load system services .
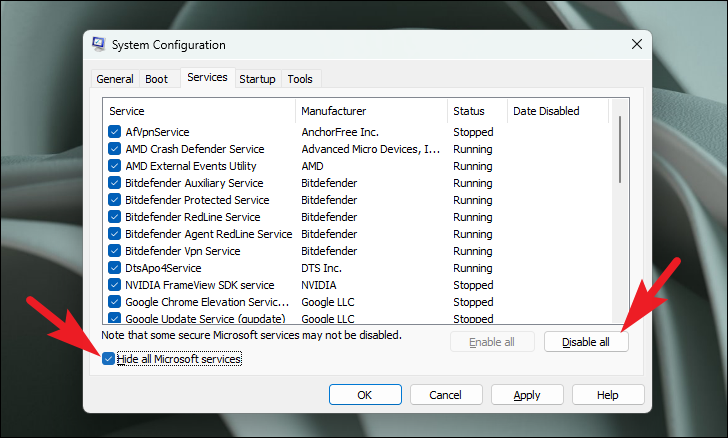
3 Navigate to the Services tab, check Hide all Microsoft services , and then click Disable all .
4 Click Apply and then OK to save changes.
5 Restart your computer. After the restart, attempt to reset your PC again.
5. Use System Restore
Using a restore point can revert your system to a previous state before the error occurred.
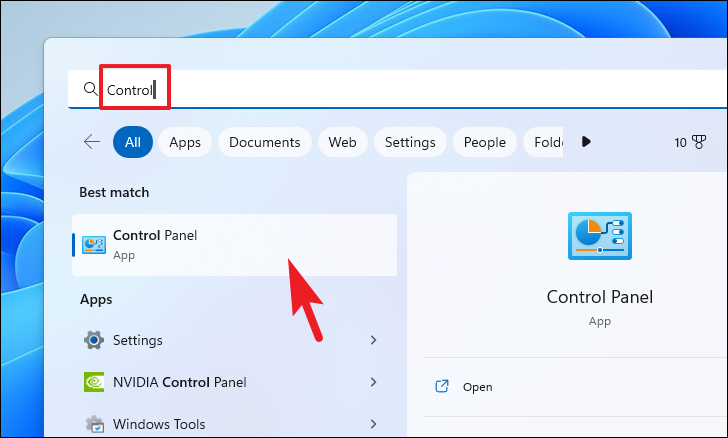
1 Open the Start Menu and type Control Panel. Click on the Control Panel app in the results.
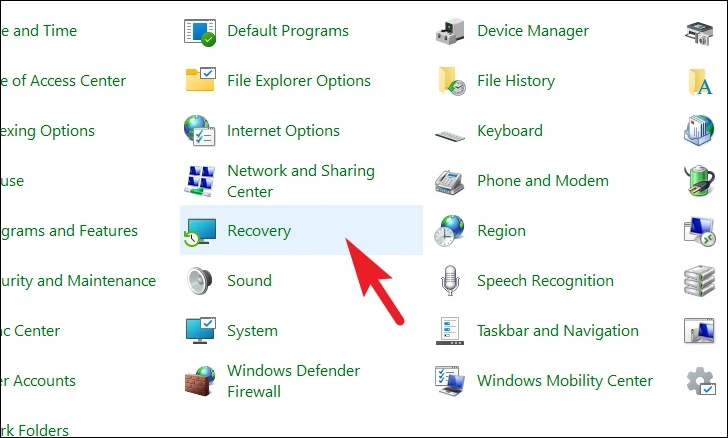
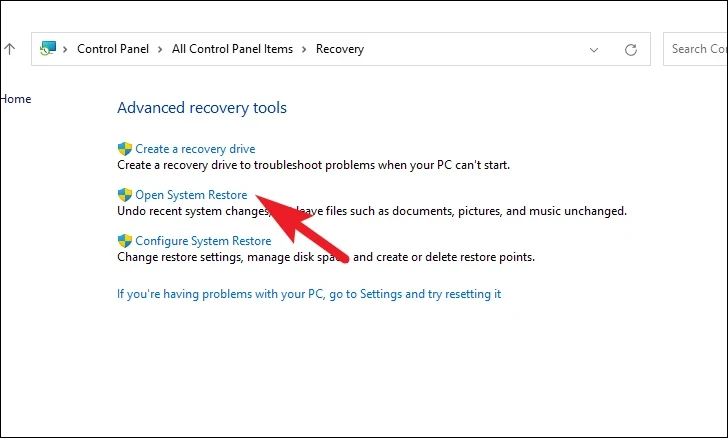
2 In Control Panel, click on Recovery .
3 Click on Open System Restore .
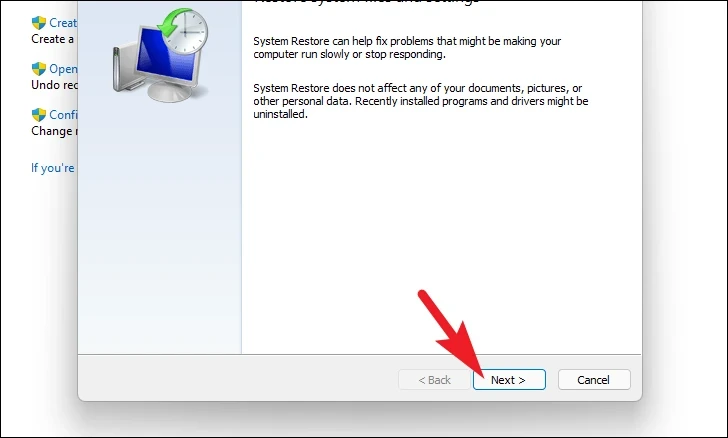
4 In the System Restore window, click Next .
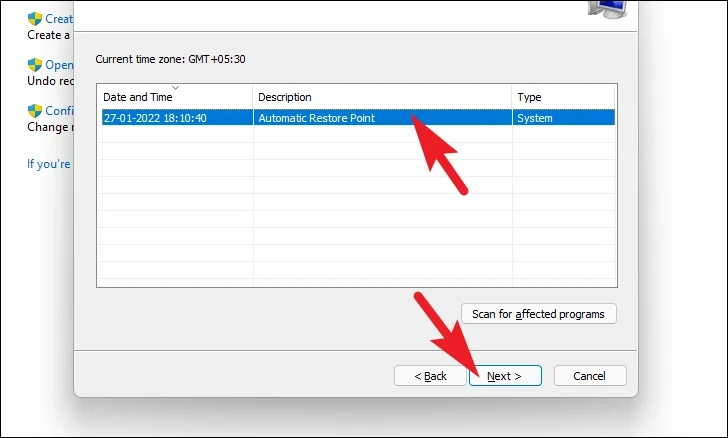
5 Select a restore point and click Next .
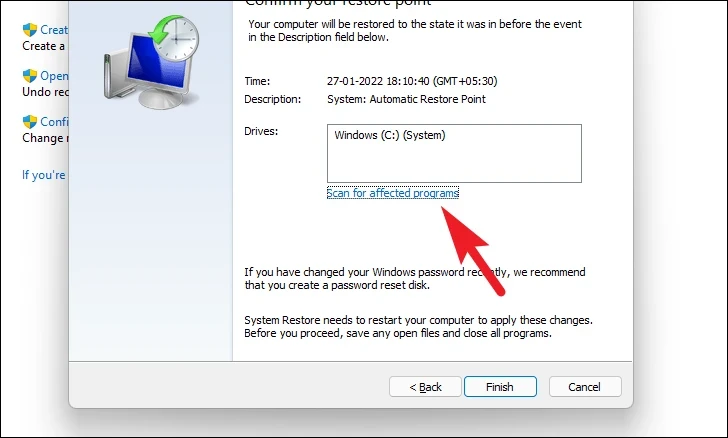
6 To check which programs will be affected, click Scan for affected programs . Review the list and click Close when done.
7 Click Finish to start the restoration process.
Your computer will restart and restore to the selected point. After completion, try resetting your PC again.
If all else fails, performing a fresh installation of Windows 11 can resolve the issue by replacing all system files.
1 Download the Windows 11 ISO file from the official Microsoft website.
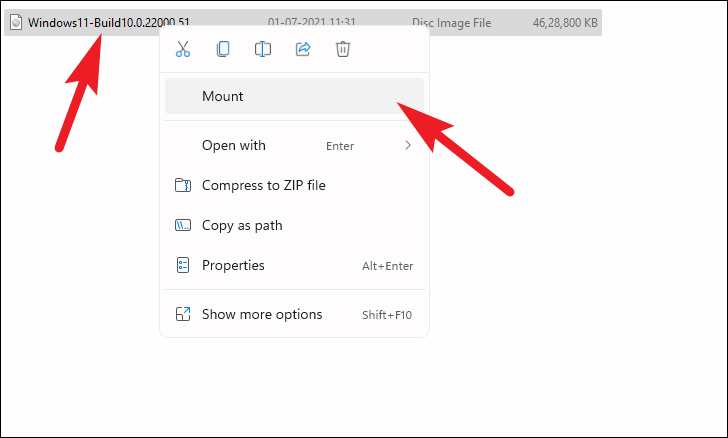
2 Locate the downloaded ISO file, right-click on it, and select Mount .
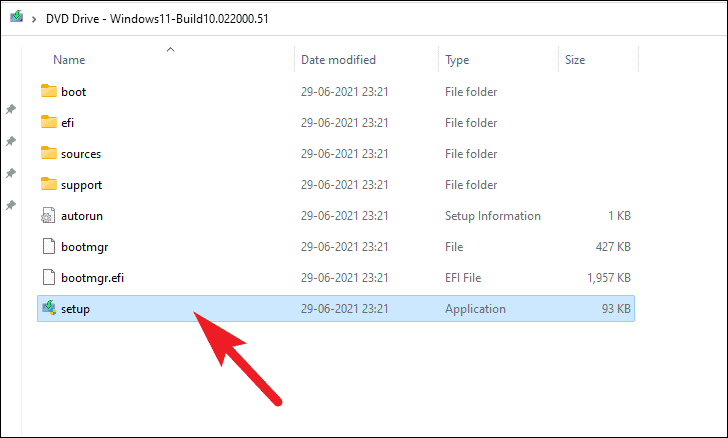
3 Open the mounted drive and double-click on setup.exe to start the installer.
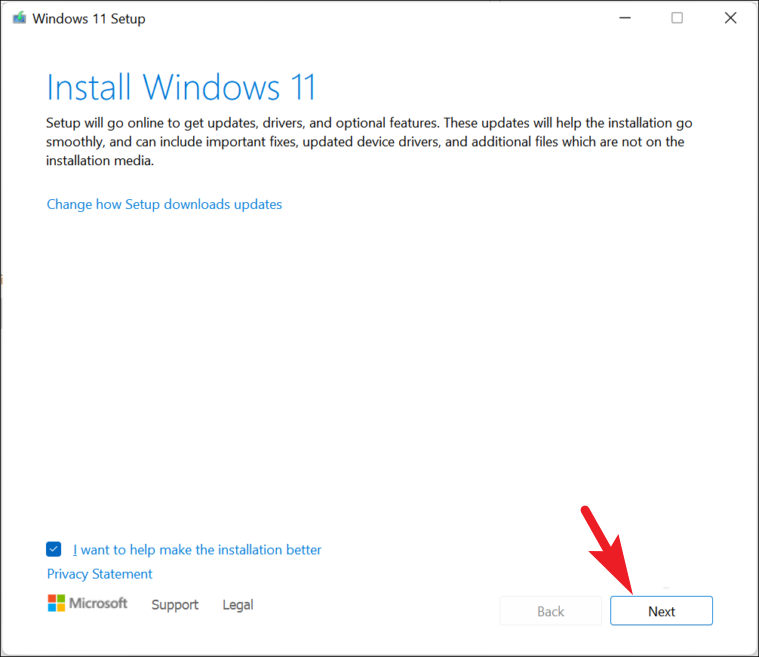
4 Click Next on the installer window.
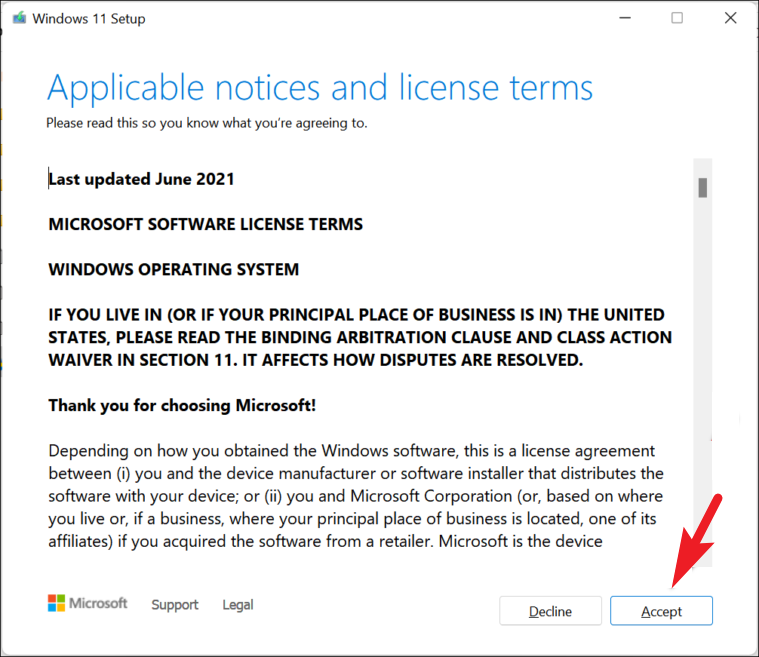
5 Read the End User License Agreement and click Accept .
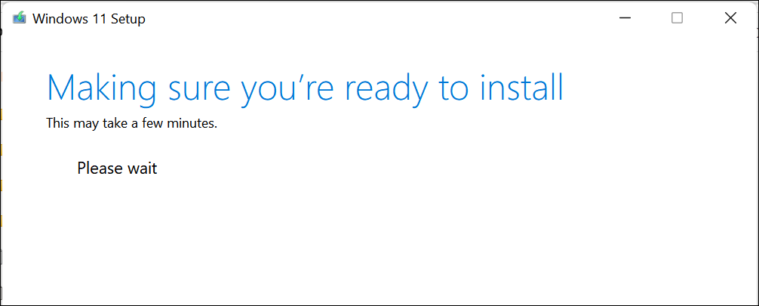
6 The installer will prepare your PC. This might take some time.
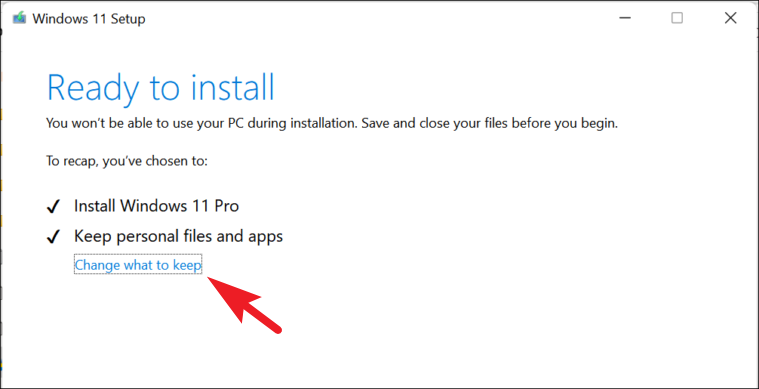
7 Click on Change what to keep to choose your installation preferences.
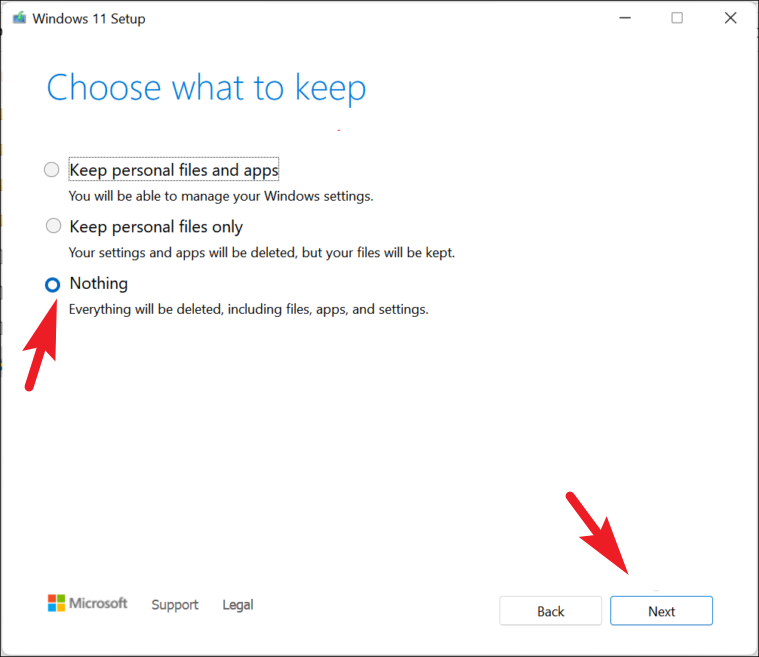
8 Select Nothing to perform a clean installation, then click Next .
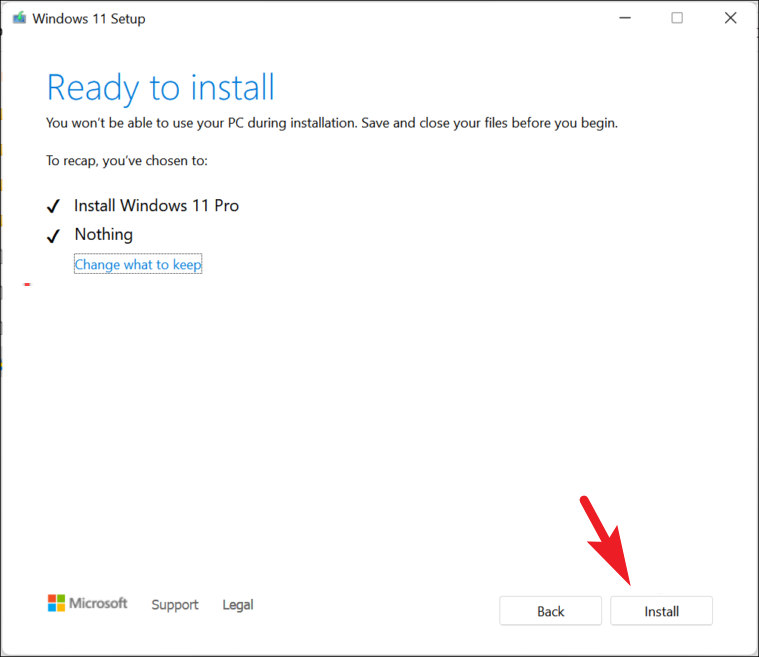
9 Click Install to begin the installation.
10 After installation, you will go through the Out of Box Experience (OOBE) setup. Follow the on-screen instructions to complete the setup.
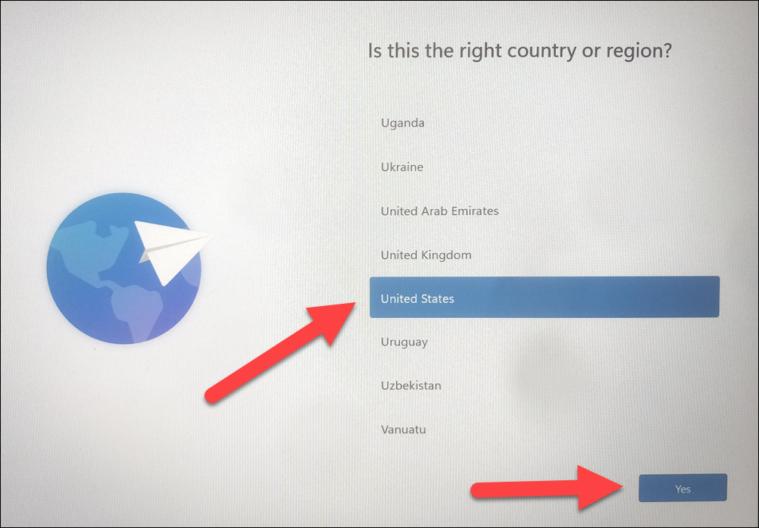
11 Select your region and click Yes .
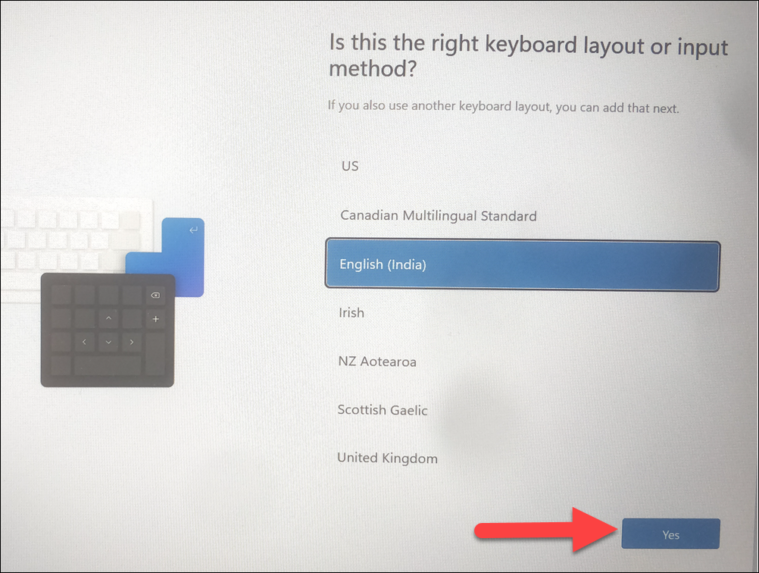
12 Choose your keyboard layout and click Yes .
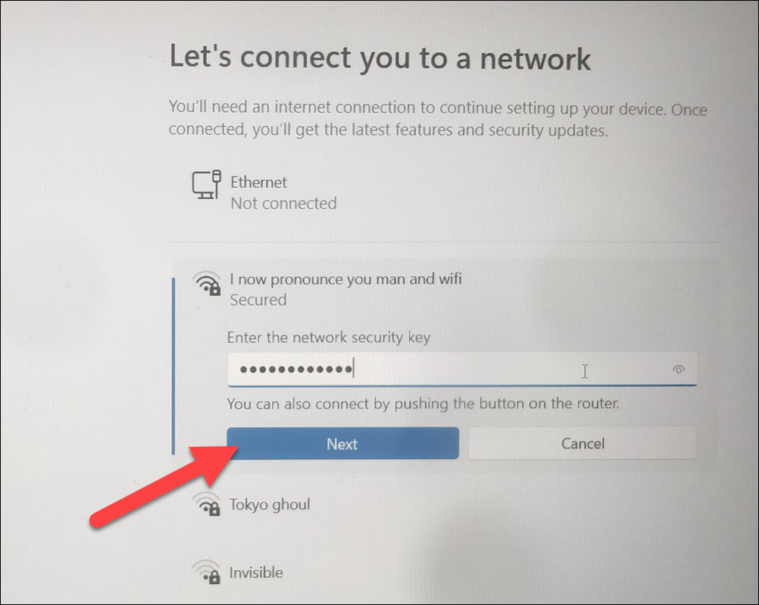
13 Connect to a Wi-Fi network or click I don’t have internet to proceed without one.
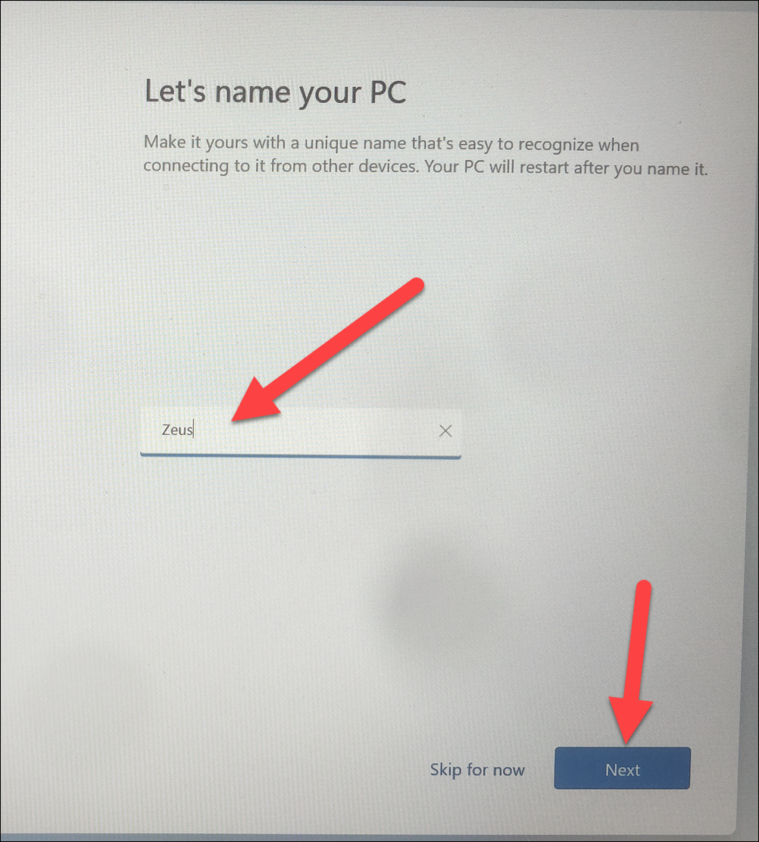
14 Provide a name for your PC and click Next .
15 Set up your Microsoft account or choose offline account options as desired.
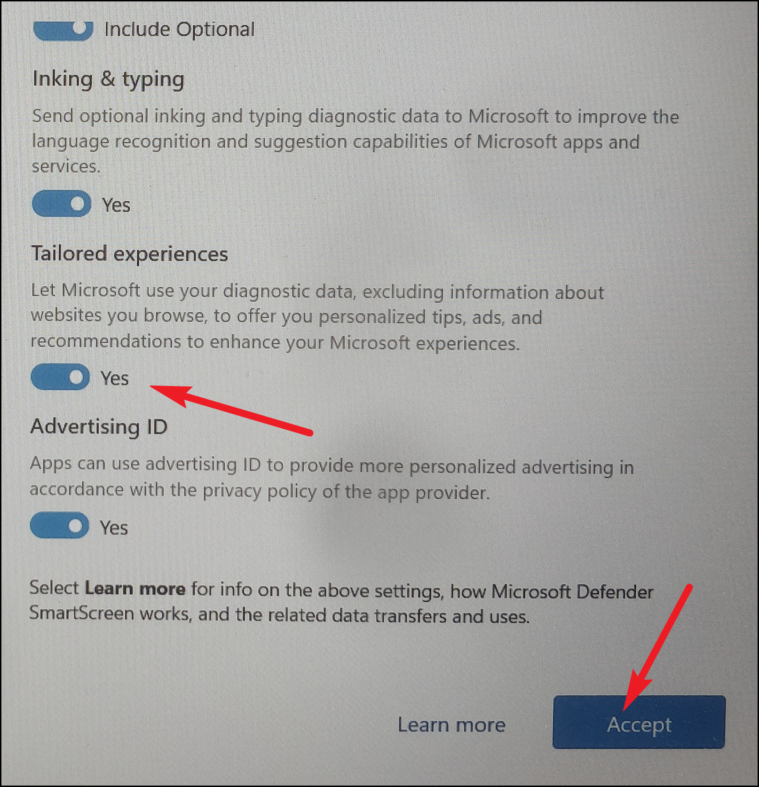
16 Adjust privacy settings according to your preference and click Accept .
After completing the setup, your PC will be ready with a fresh installation of Windows 11, and you should no longer encounter the reset error.
By following these methods, you can resolve the reset error in Windows 11 and restore your PC to normal functionality.