Microsoft requires that certain hardware features are enabled on your PC to upgrade to Windows 11, and one of the features that might be unfamiliar is ‘Secure Boot’. While many computers support Secure Boot, it’s not always enabled by default. If you’re unsure whether your system supports Secure Boot or need to enable it, this guide will help you through the process.
What is Secure Boot?
To understand Secure Boot, it’s important to know about BIOS (Basic Input/Output System) and UEFI (Unified Extensible Firmware Interface). These are both firmware interfaces that initialize hardware during the booting process before handing control over to the operating system.
UEFI is the modern successor to the legacy BIOS system, bringing improvements such as support for larger hard drives (over 2.1 TB), faster startup times, a graphical user interface with mouse support, and enhanced security features like Secure Boot.
Secure Boot is a security protocol within the UEFI firmware that ensures only software and operating systems trusted by the Original Equipment Manufacturer (OEM) can boot. When your computer starts, Secure Boot checks the digital signatures of the boot loaders and drivers. If they’re valid and trusted, the system boots up normally. If not, Secure Boot can prevent the system from booting, protecting it from malware that could load before the operating system.
To achieve this, operating systems and boot loaders are signed with cryptographic keys recognized by the UEFI firmware. Windows 10 includes a certificate that is recognized by Secure Boot, allowing it to boot securely when Secure Boot is enabled.
Now that we understand what Secure Boot is, let’s see how to check if it’s enabled on your Windows 10 PC.
How to Check if Secure Boot Is Enabled in Windows 10
You can quickly check the status of Secure Boot on your computer.
- Press Windows+R to open the Run dialog box. Type
msinfo32in the text field and click OK.

- The System Information window will appear.
- In the right pane, locate the BIOS Mode field. If it says UEFI, your system supports Secure Boot. If it says Legacy, Secure Boot isn’t supported on your computer.
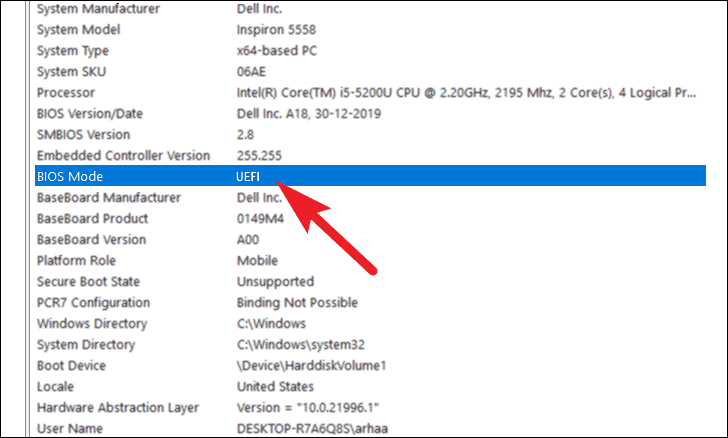
- Scroll down to find the Secure Boot State entry. If it displays Off, Secure Boot is disabled, and you’ll need to enable it in your UEFI firmware settings.

How to Enable Secure Boot from BIOS Settings
Note: The hotkeys mentioned here are specific to Dell systems. Different manufacturers use different keys to access and navigate the BIOS menu. Please consult your PC’s manual or the manufacturer’s website for the correct keys for your system.
To enable Secure Boot, you’ll need to access your computer’s BIOS settings.
- Shut down your computer completely.
- Turn your computer back on, and as soon as the boot logo appears, press the F12 key repeatedly to enter the boot menu. You may see a prompt indicating that the system is entering BIOS Setup.
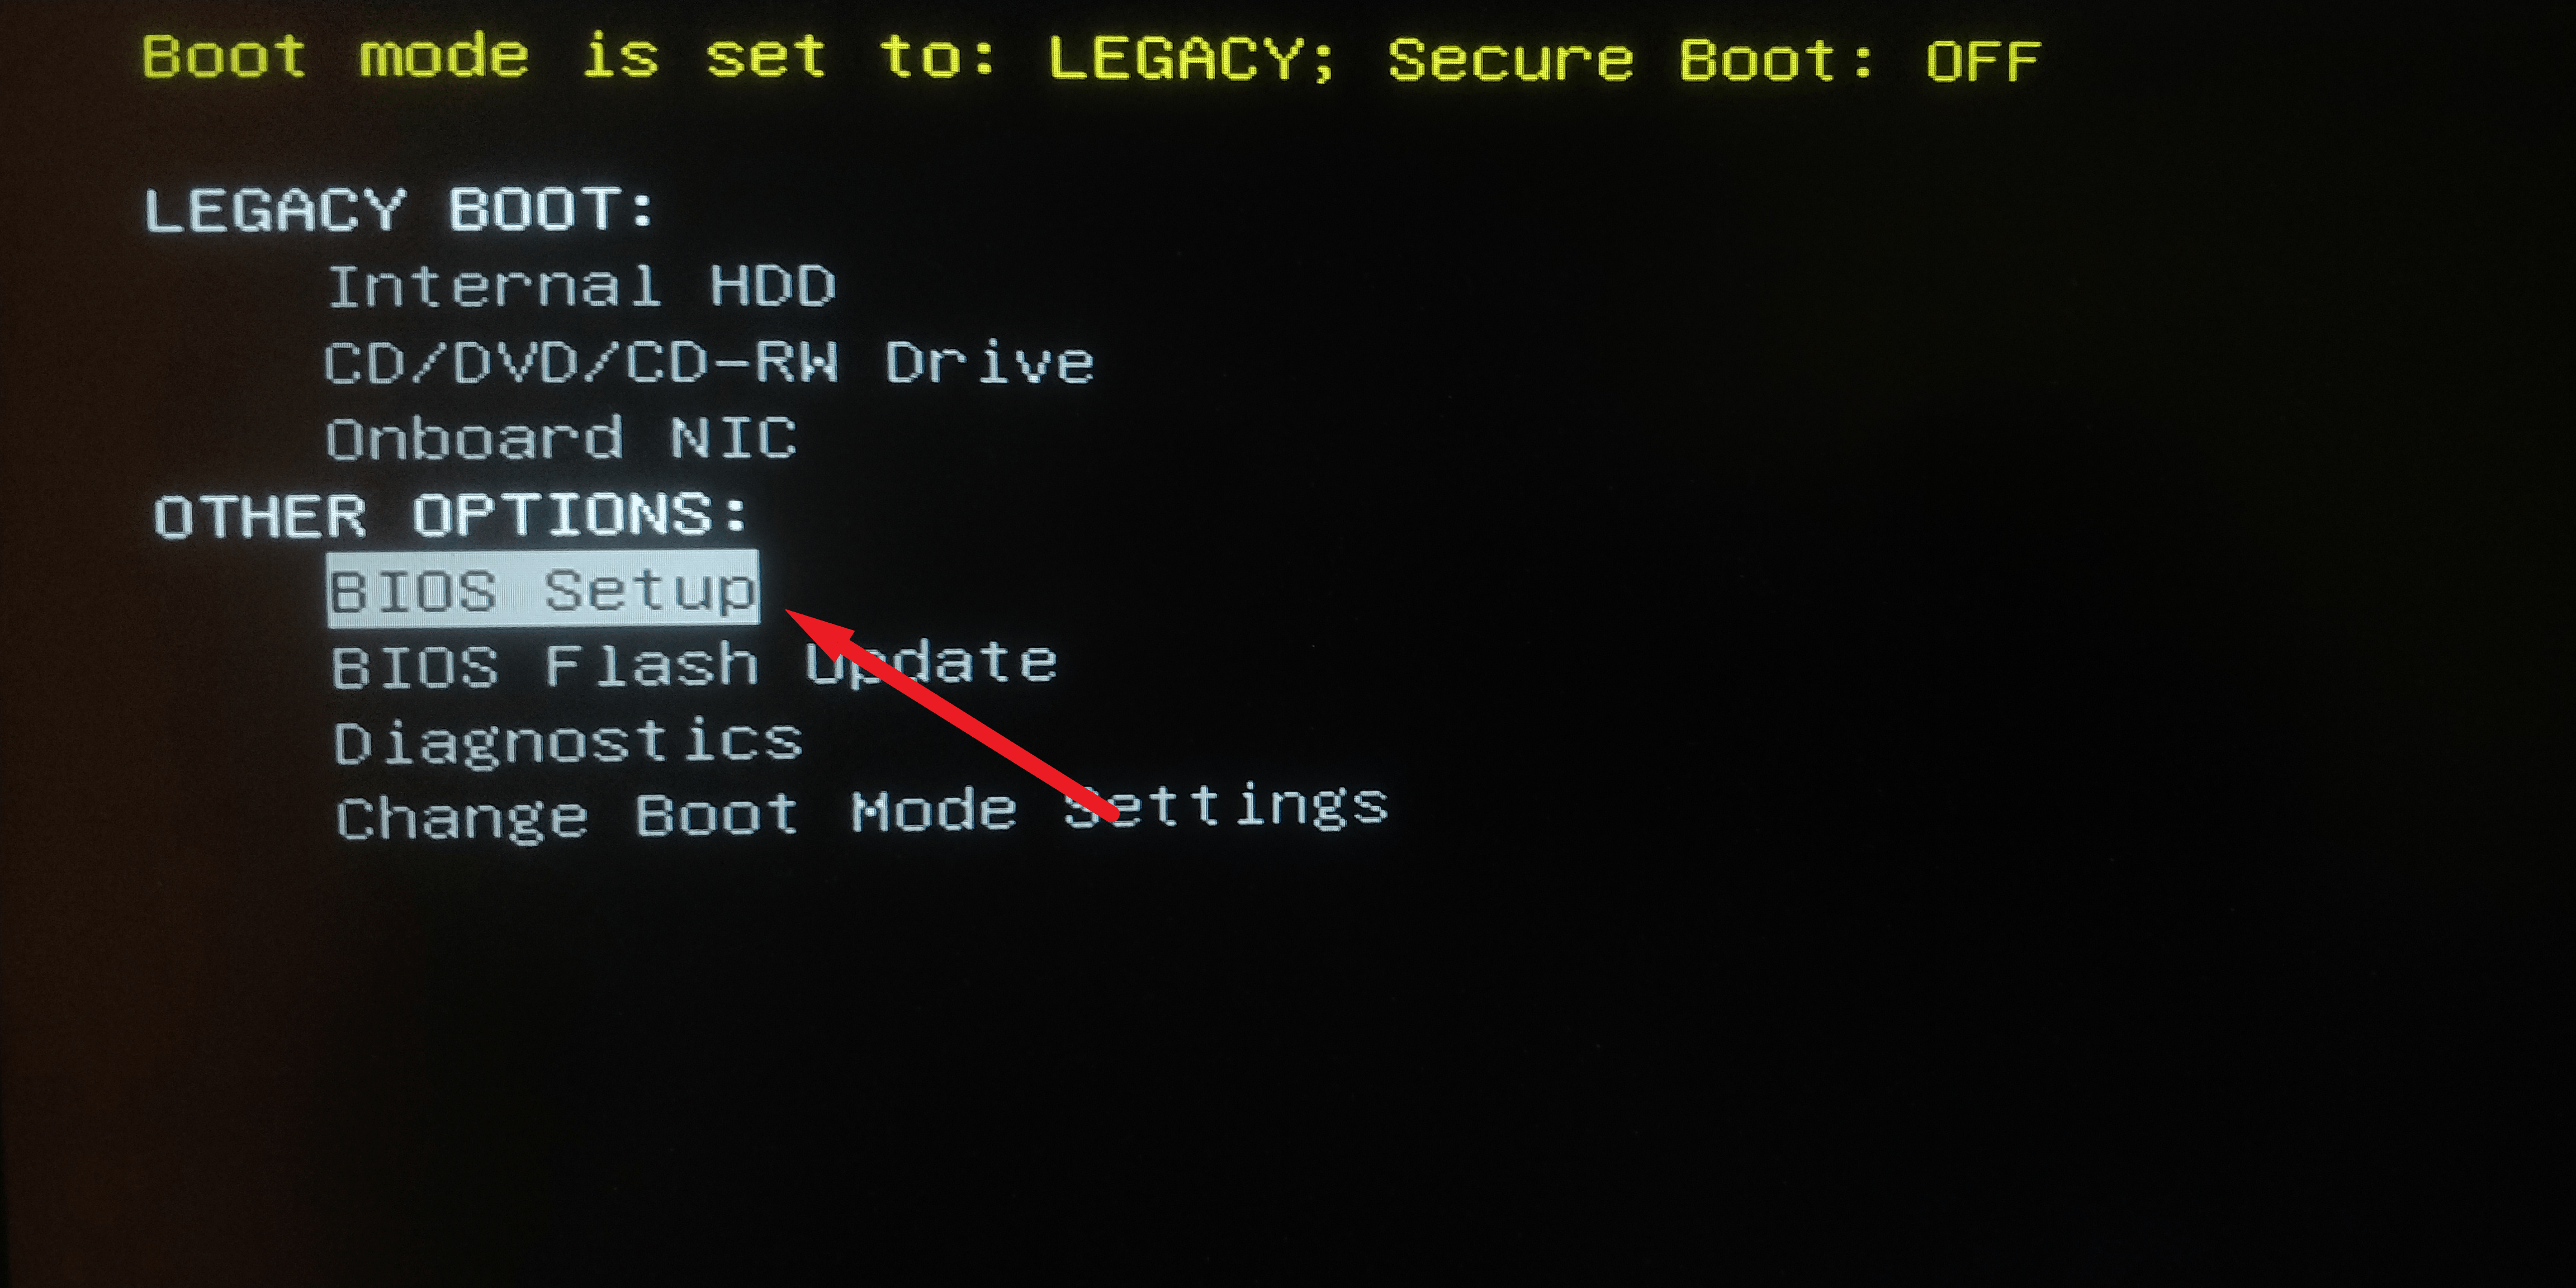
- In the boot menu, select BIOS Setup using the arrow keys and press Enter.
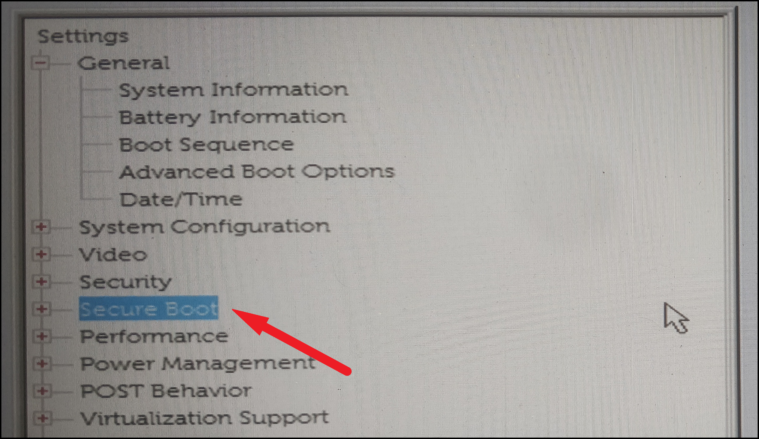
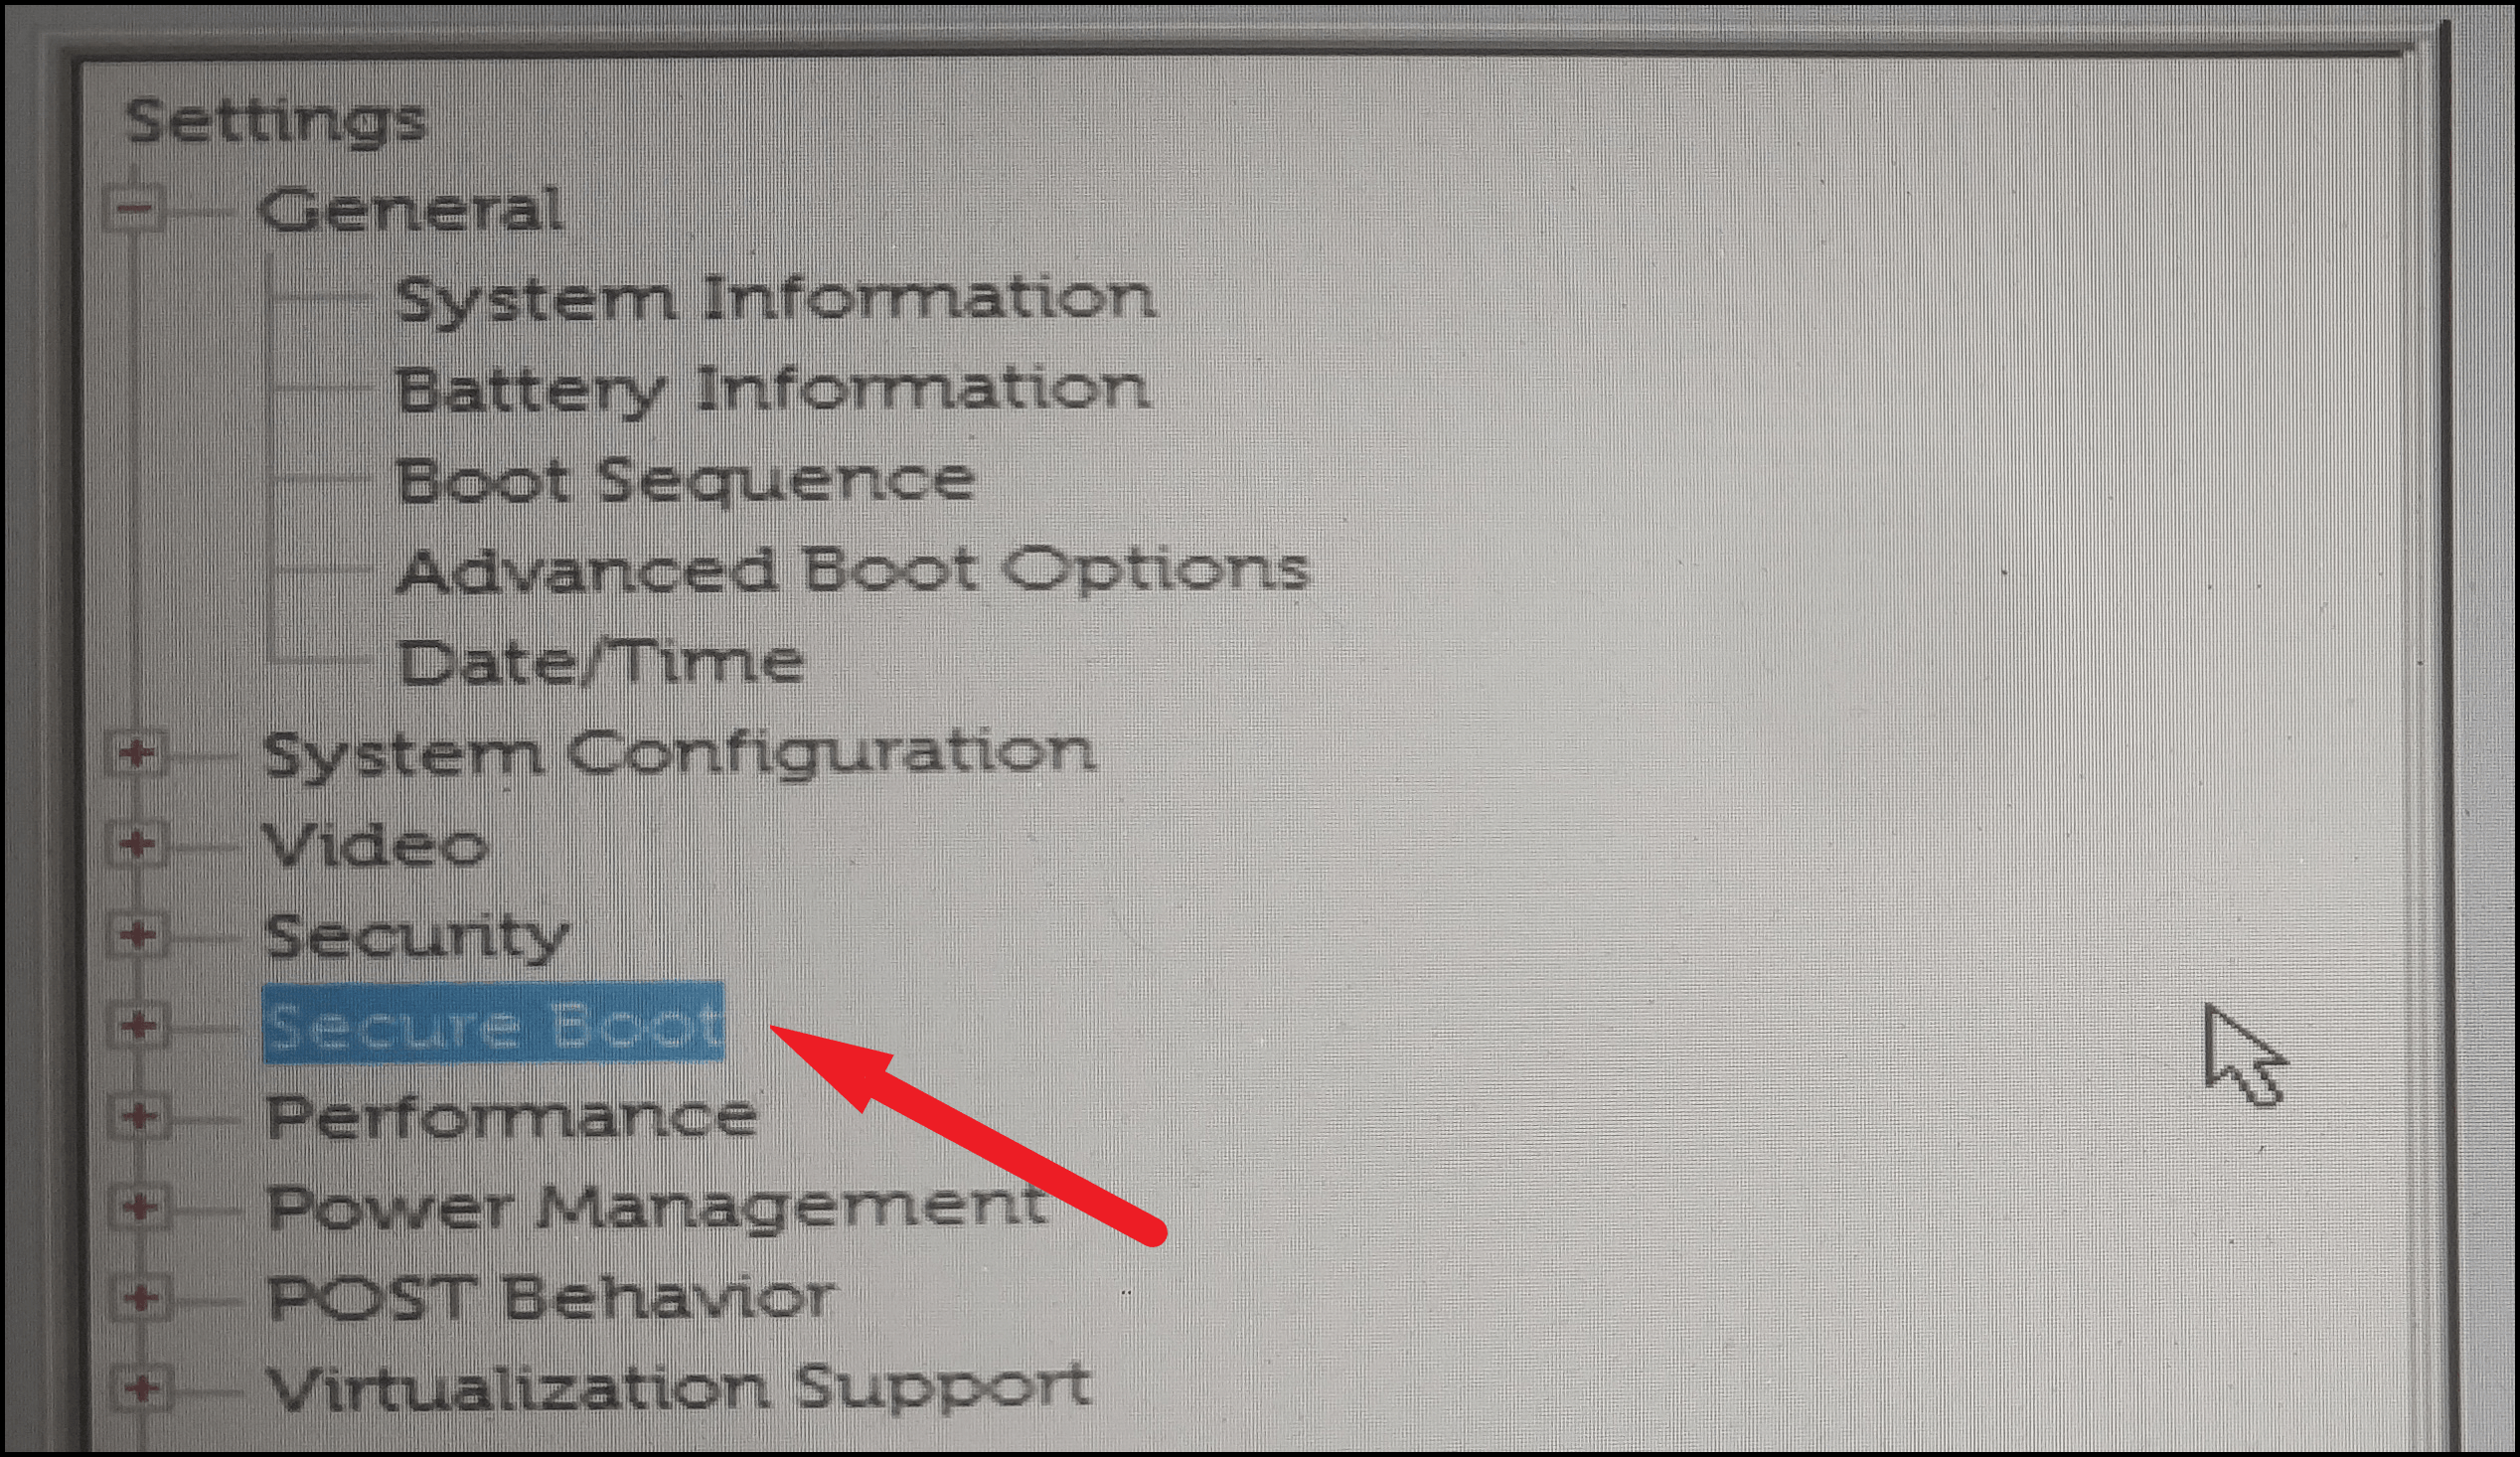
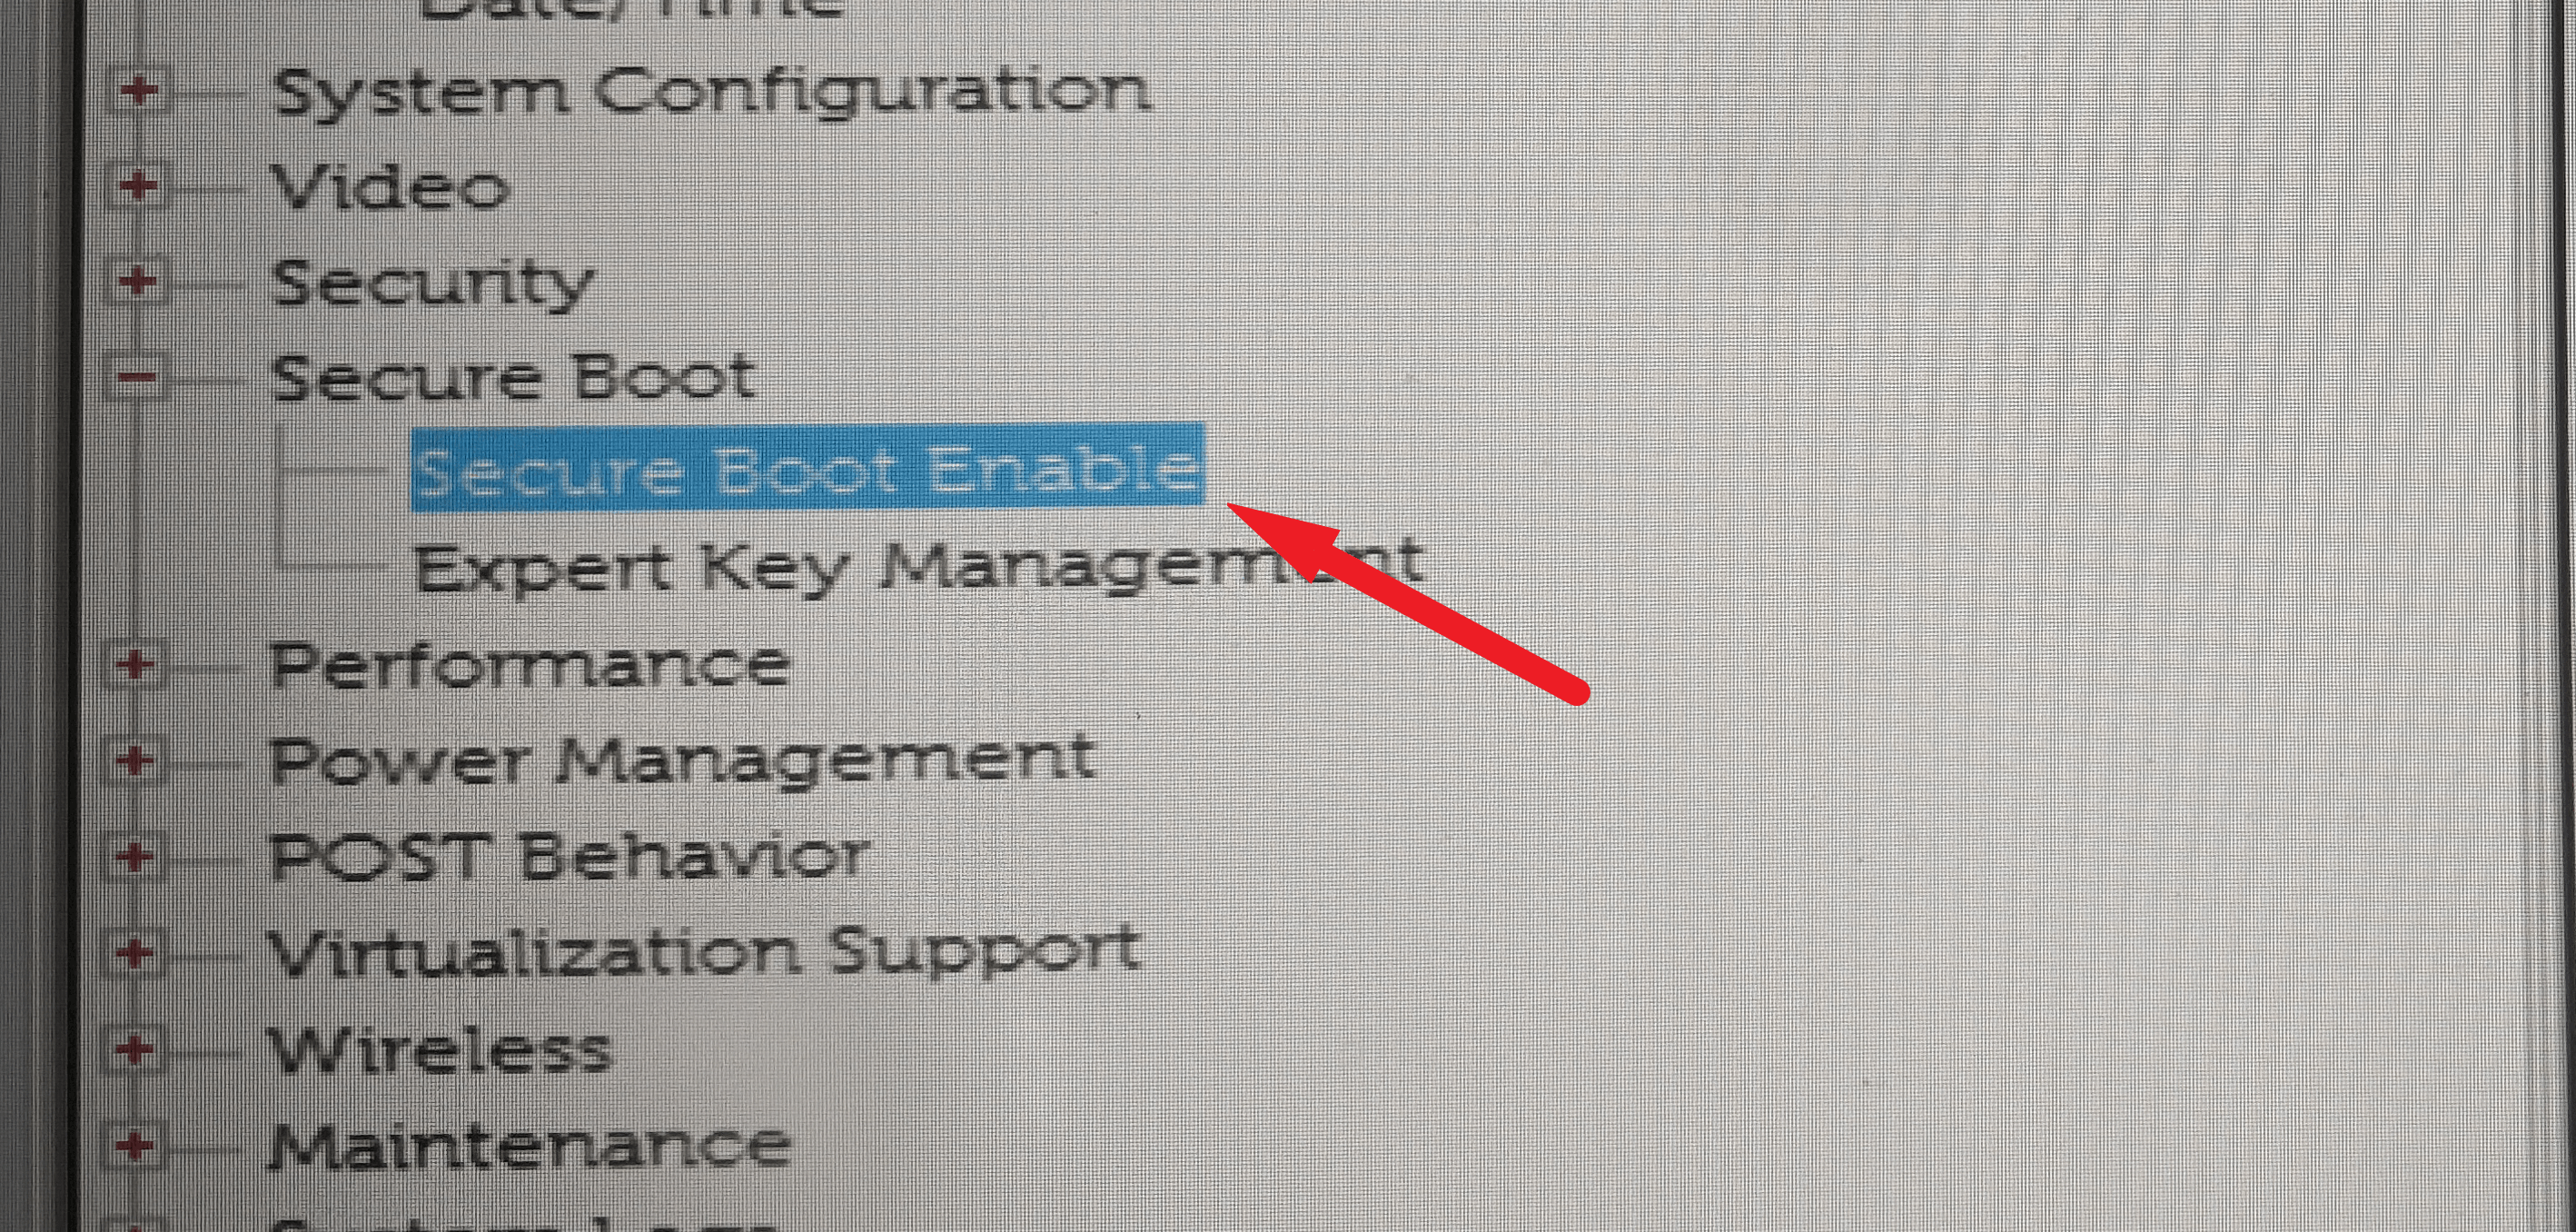
- Once in the BIOS Setup, navigate to the Secure Boot option. Use the arrow keys to move through the menu if mouse input isn’t available.
- Select the Secure Boot Enable option.
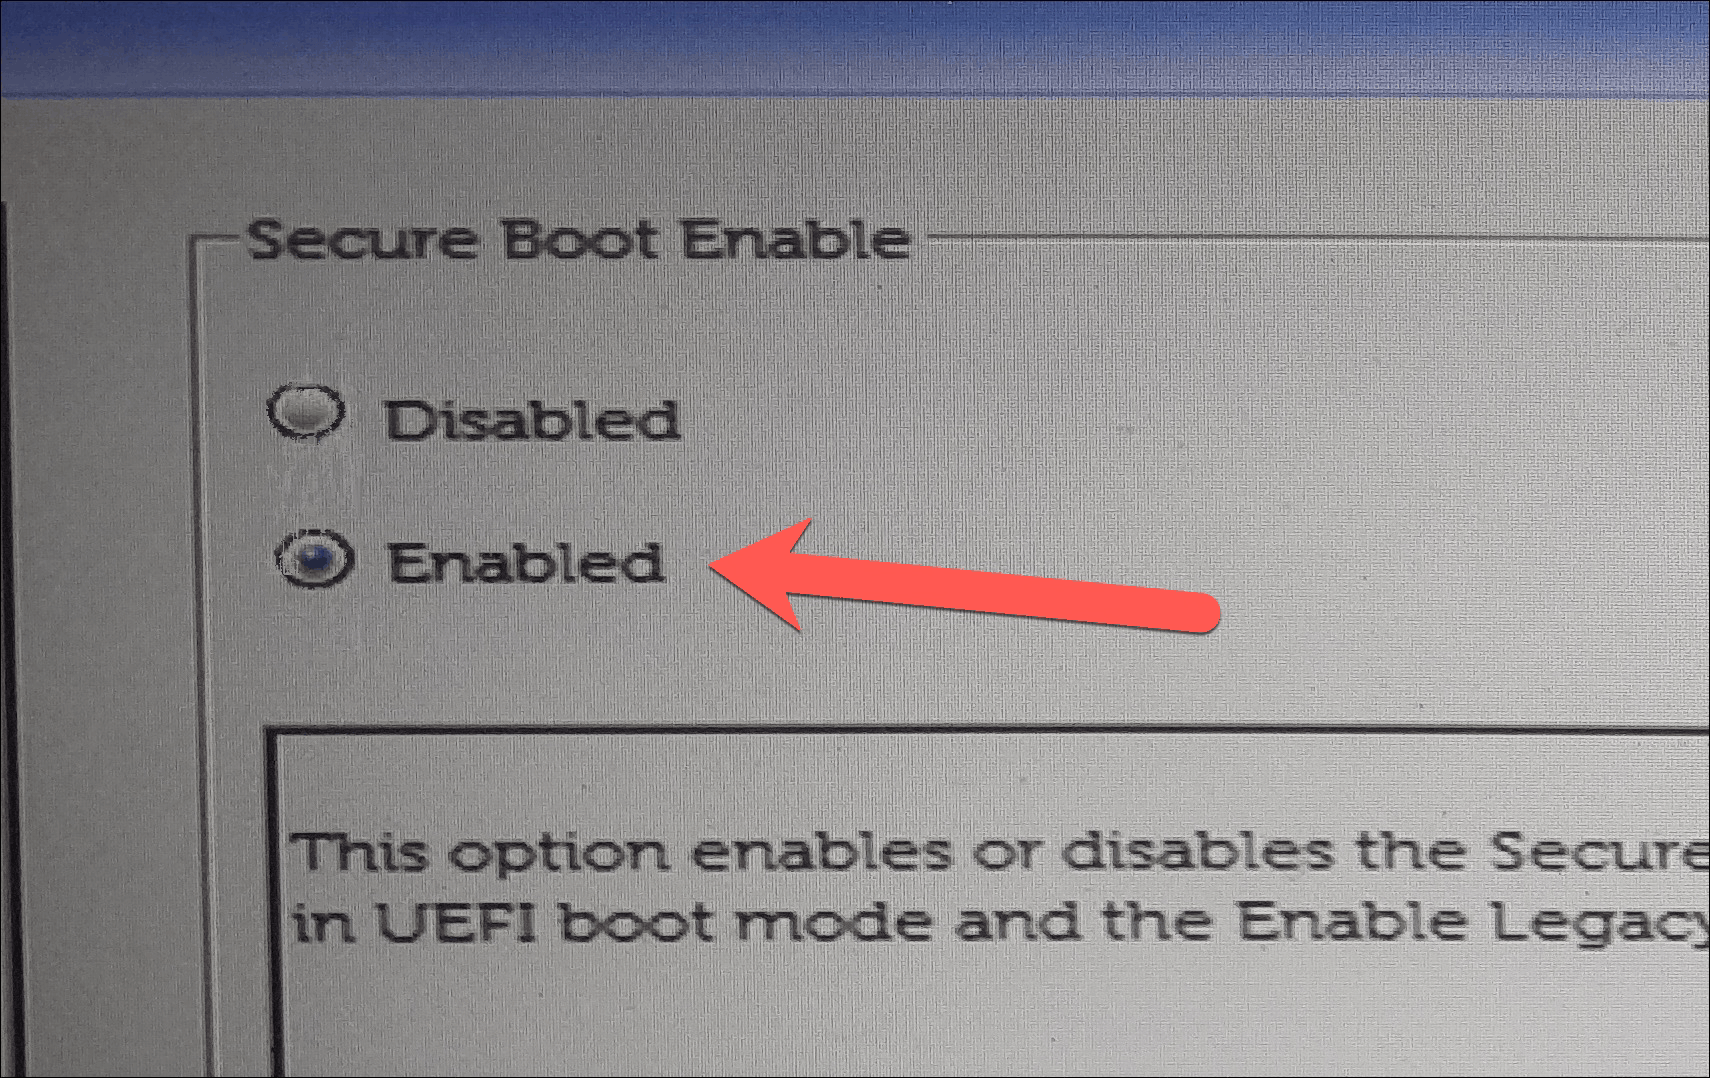
- On the Secure Boot Enable screen, choose the Enabled option. Navigate to it using the arrow keys and select it by pressing Spacebar.
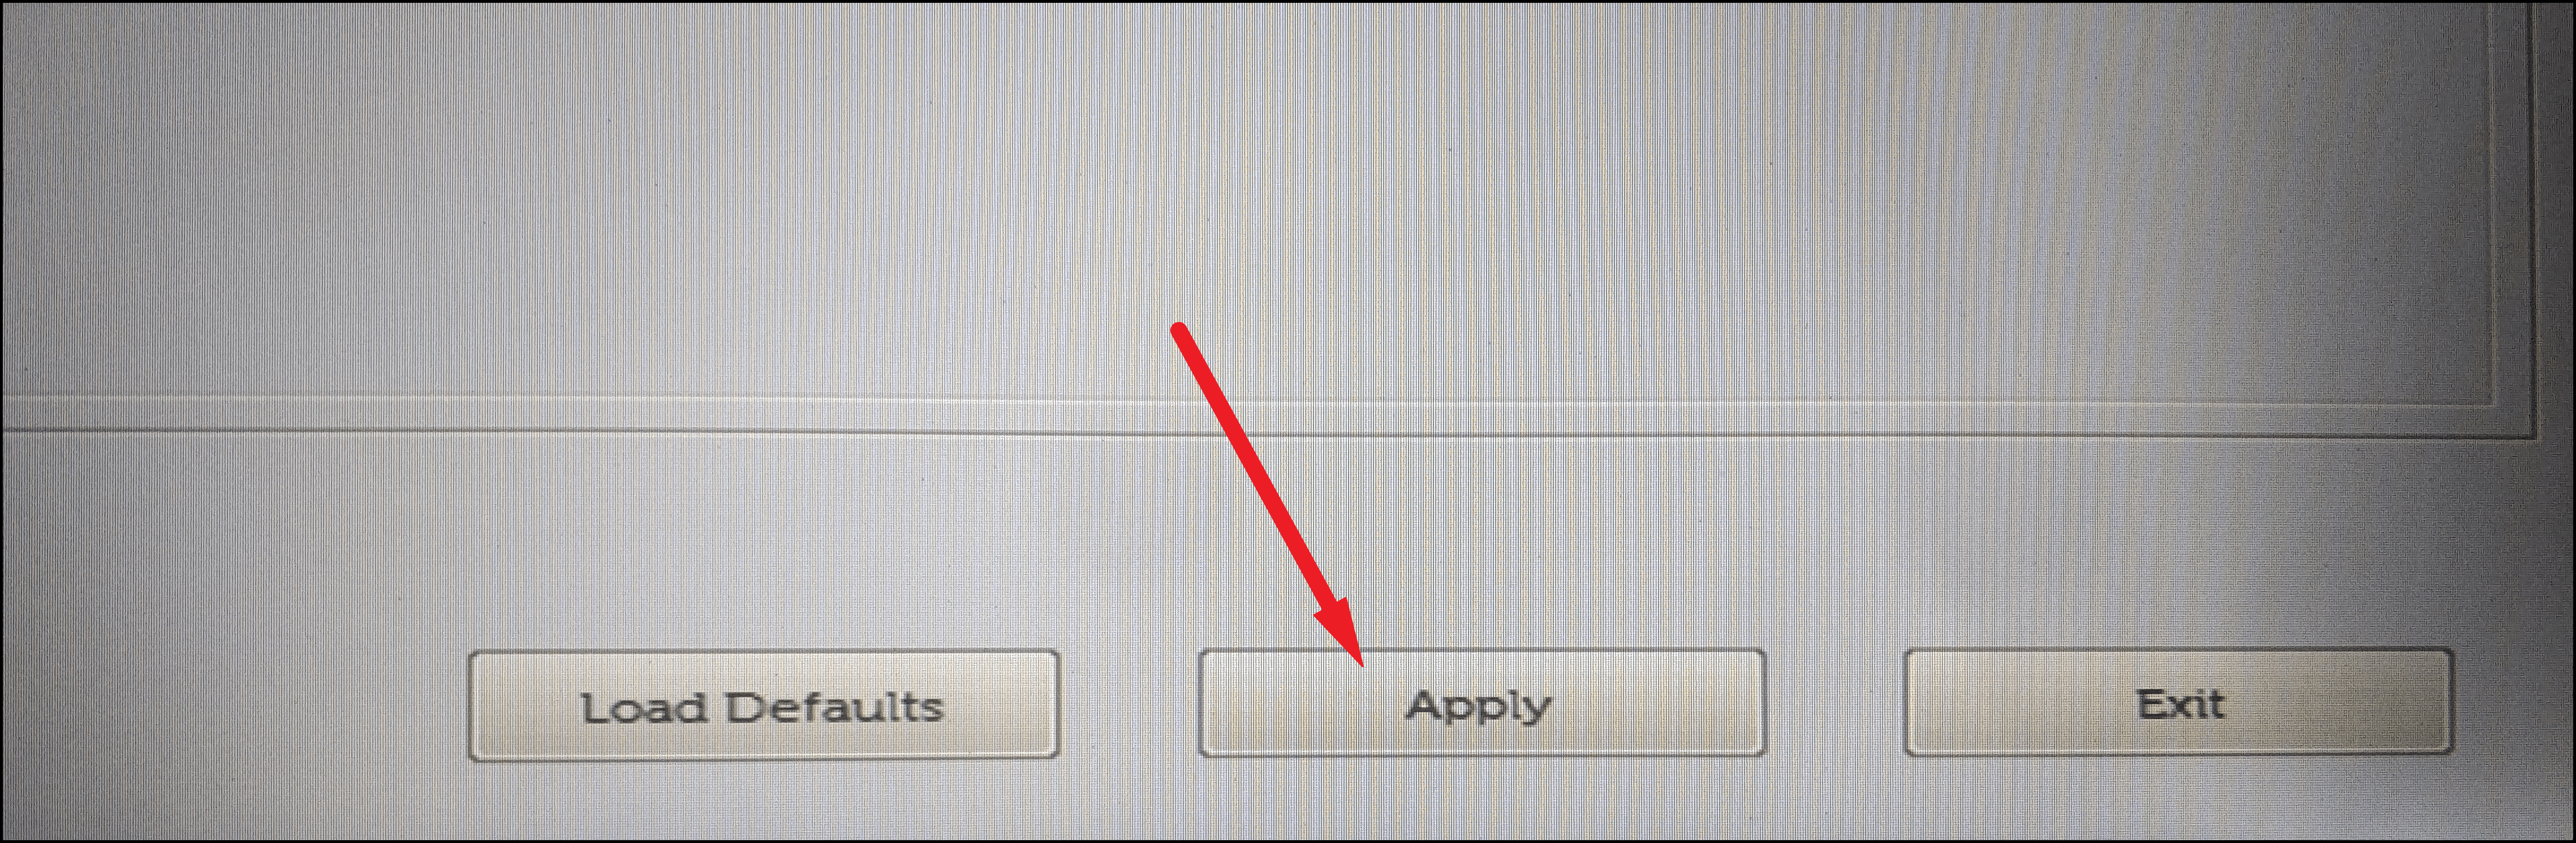
- After enabling Secure Boot, select the Apply button to save your changes. Navigate to it using the arrow keys and press Enter to confirm.
- Finally, choose the Exit option to leave the BIOS Setup. Your computer will restart with Secure Boot enabled.
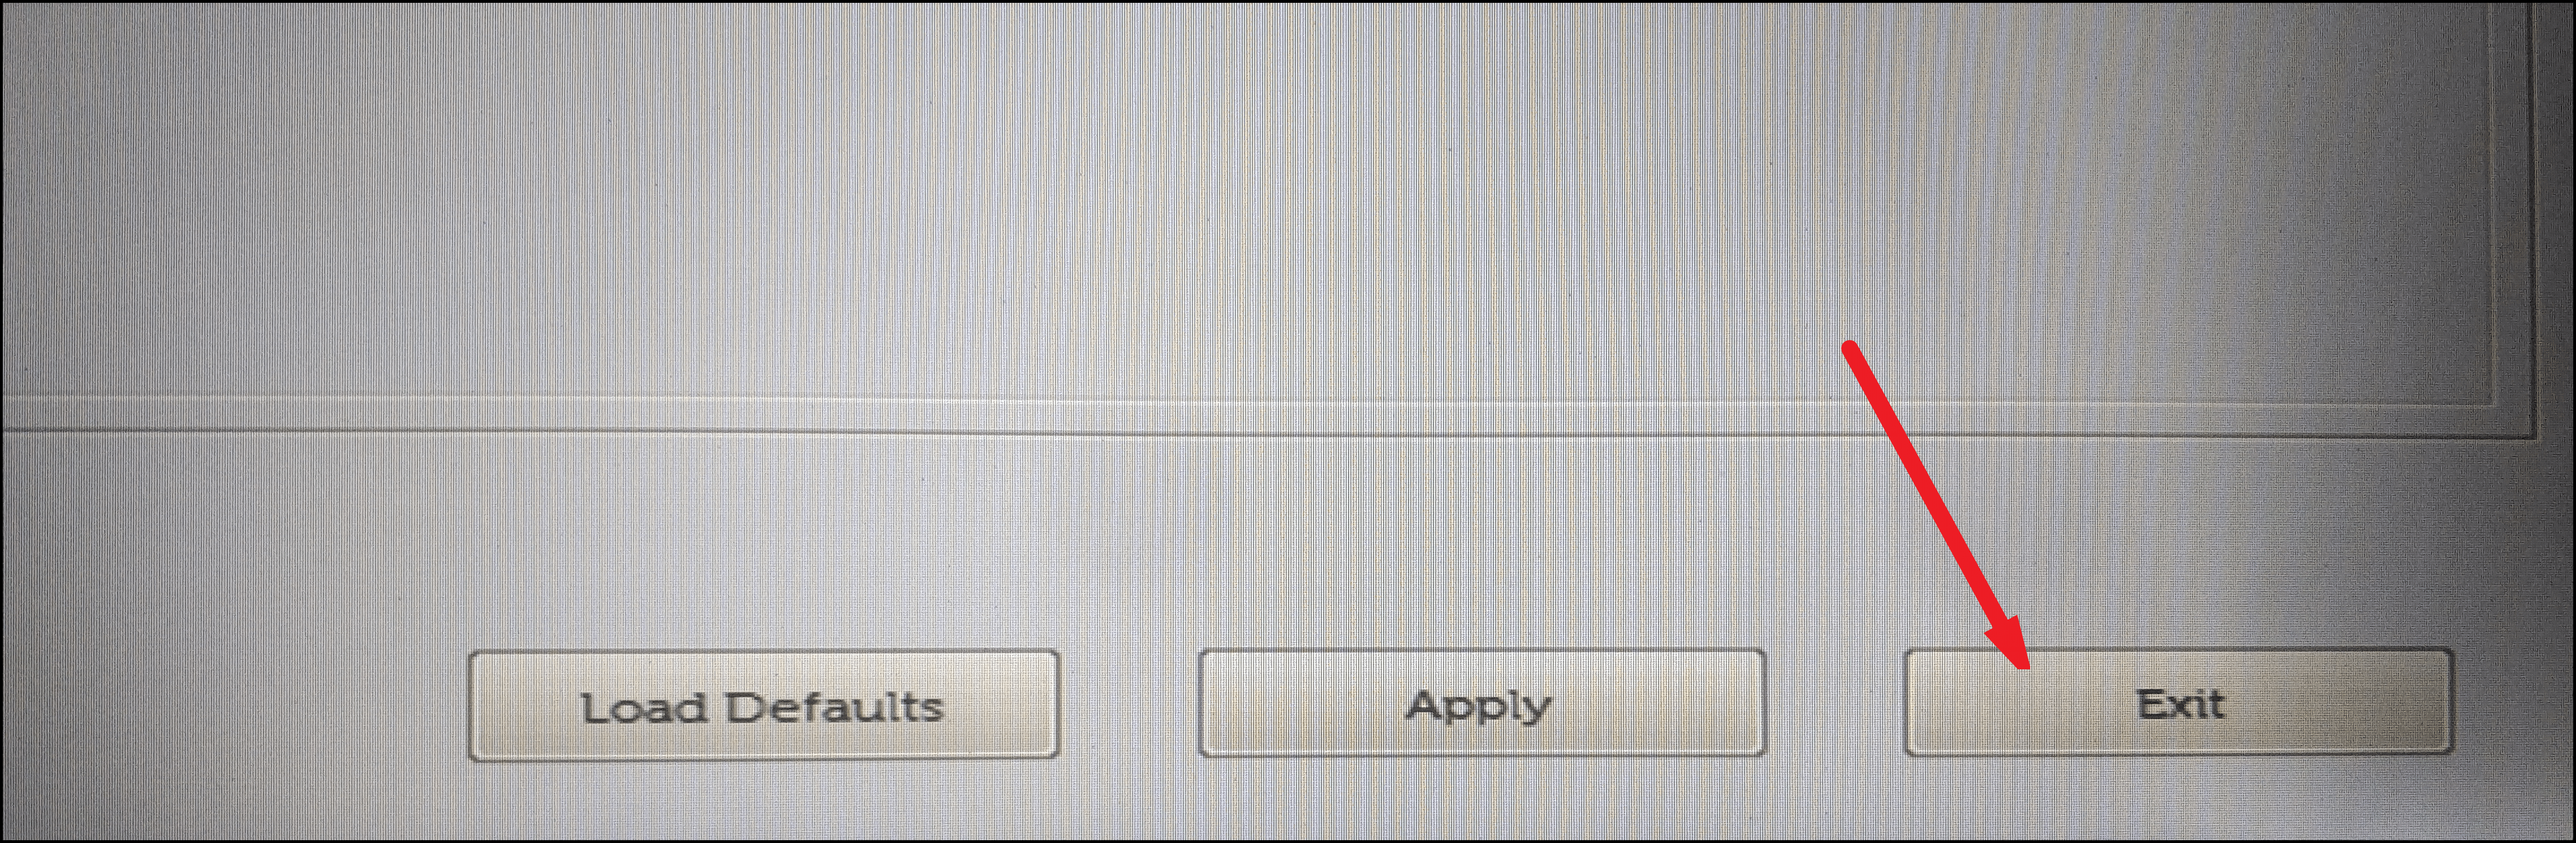
After exiting the BIOS, your system will boot into Windows 10 with Secure Boot activated.
Enabling Secure Boot enhances your system’s security by ensuring that only trusted software can boot on your computer. With Secure Boot enabled, you’re better protected against malware that can load before your operating system starts.