
Windows 11 users may occasionally encounter an issue where their PC gets stuck on the “Updates are underway” screen. This can be frustrating as it prevents you from logging in and using your computer normally. Fortunately, there are several methods you can try to resolve this problem. This guide will walk you through the most effective solutions, starting with the ones most likely to fix the issue.
Boot into Safe Mode
Before attempting any fixes, you’ll need to boot your PC into Safe Mode to access troubleshooting options:
- Power on your system and at the first sign of boot up, press and hold the power button for 10 seconds to force a shutdown.
- Repeat this process three times.
- On the fourth boot, let your PC start up normally to enter the Windows Recovery Environment.
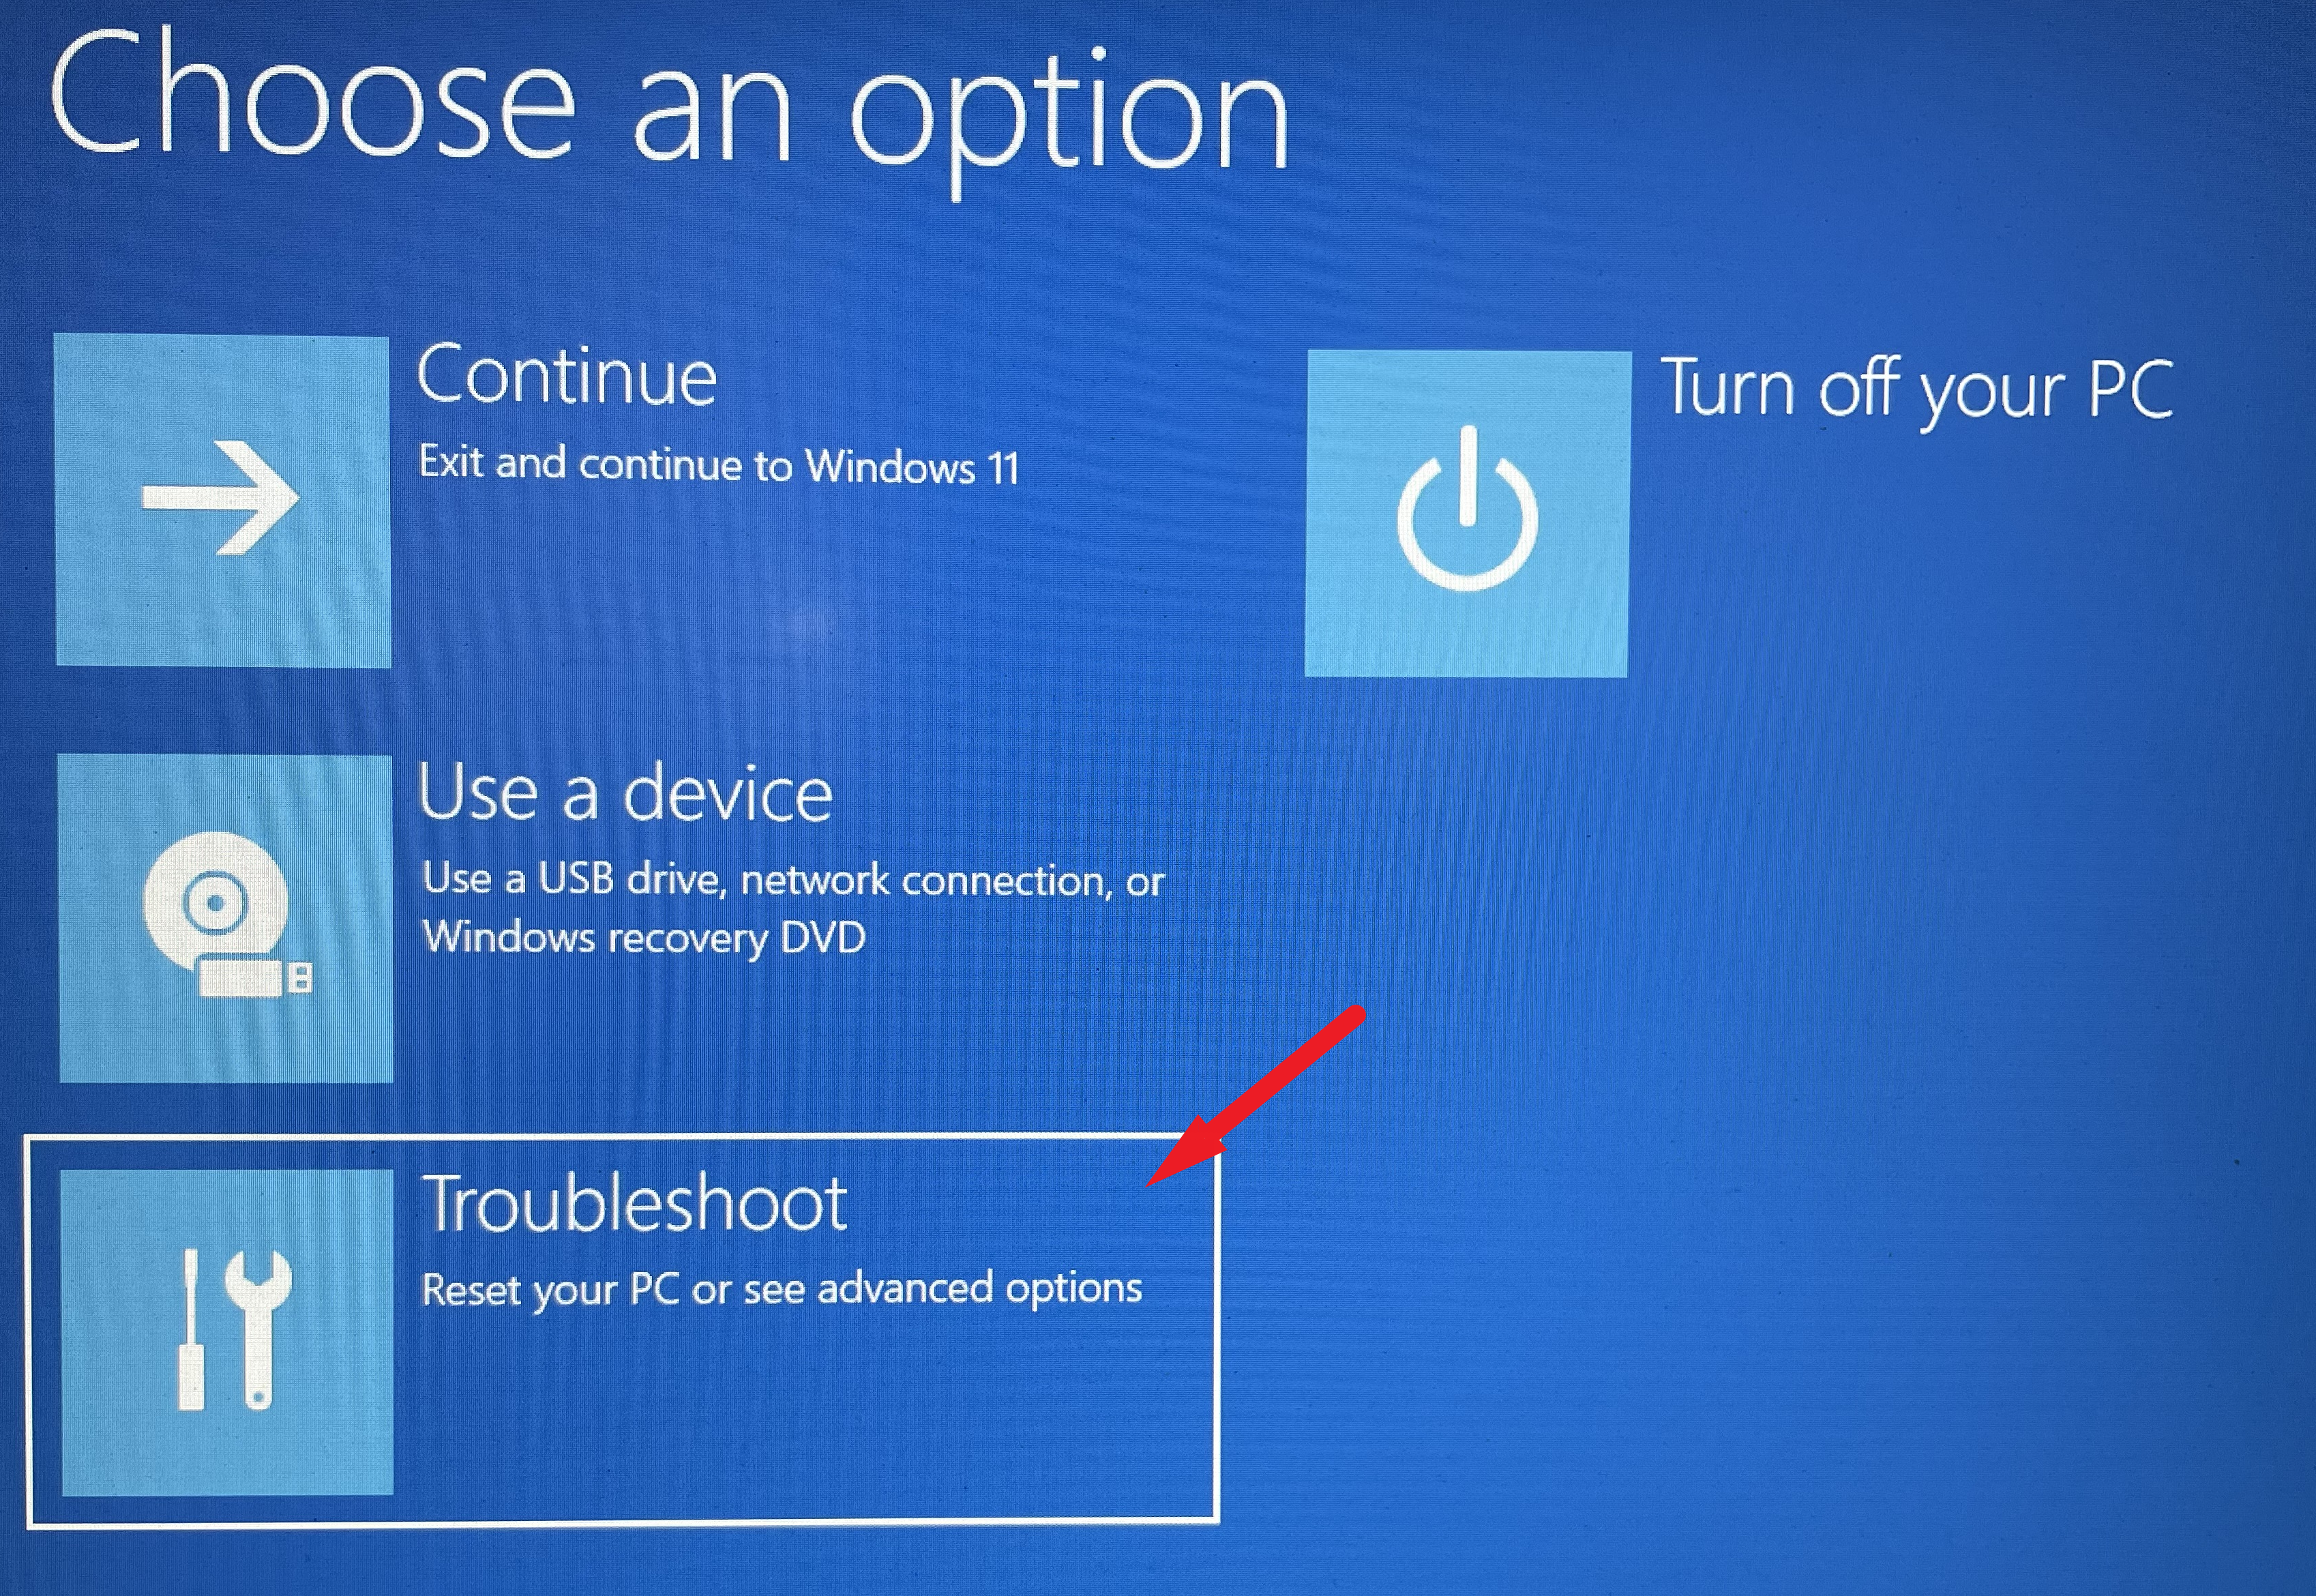
- Click “Troubleshoot” on the “Choose an option” screen.
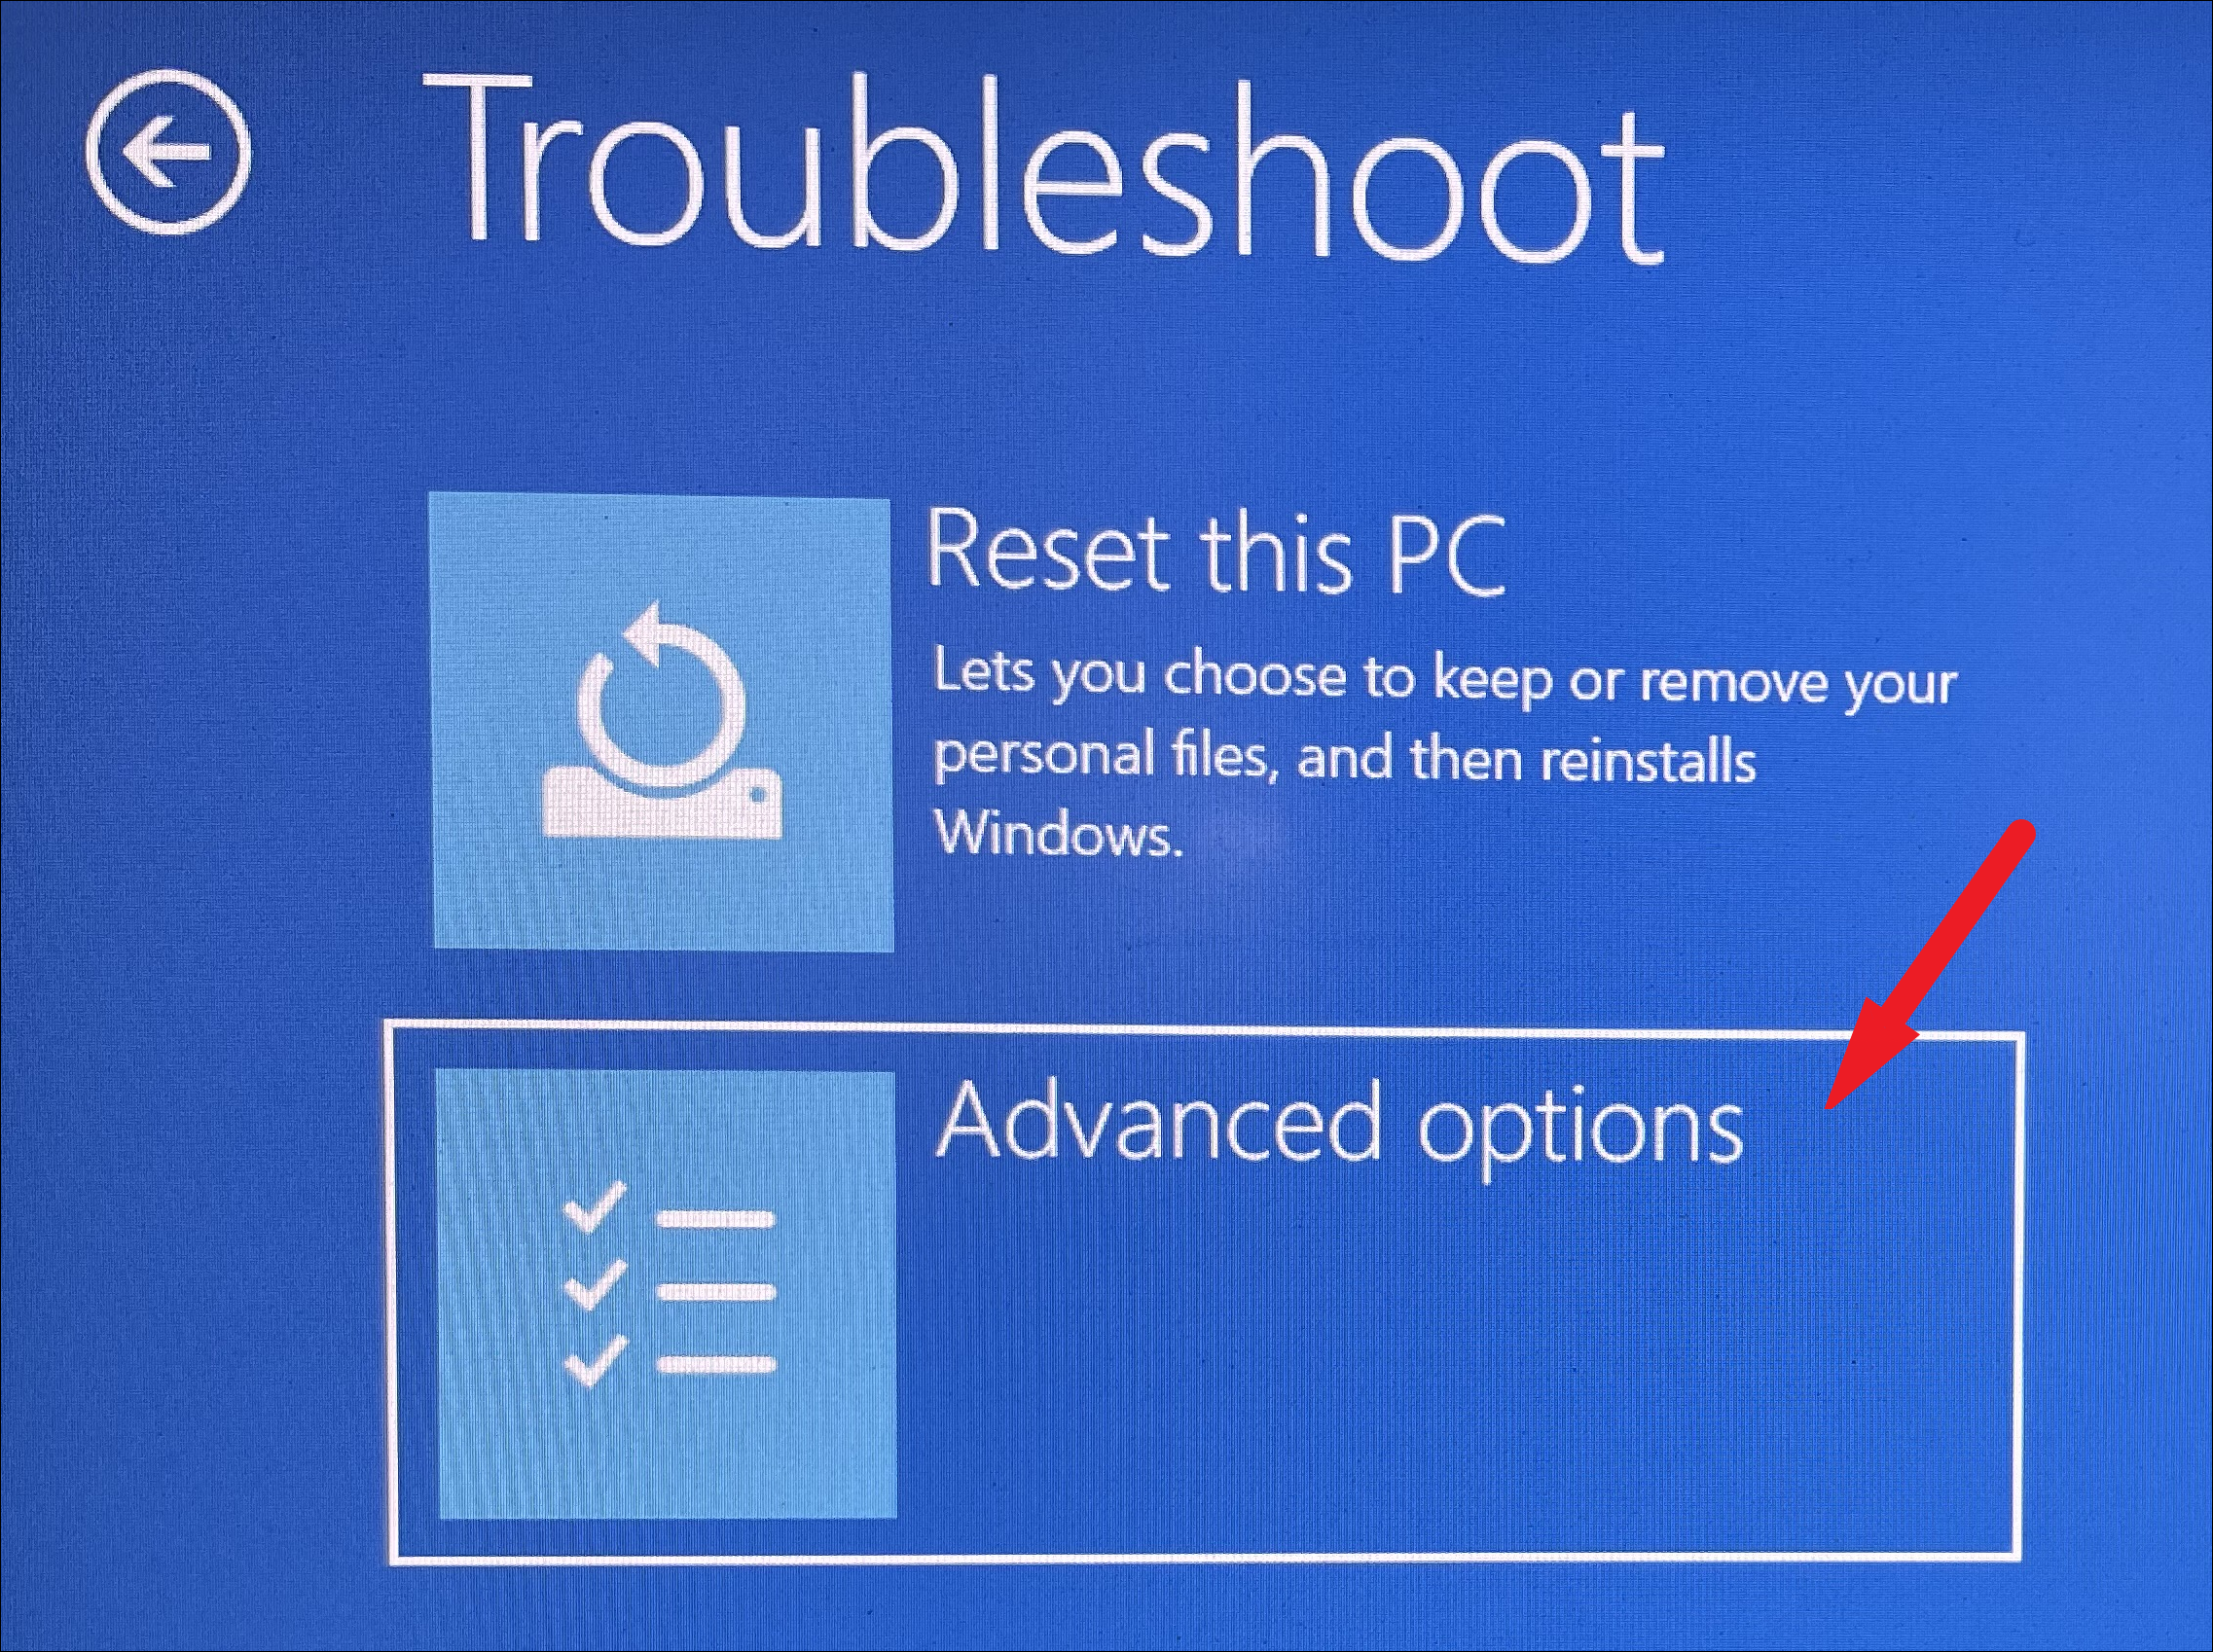
- Select “Advanced options”.
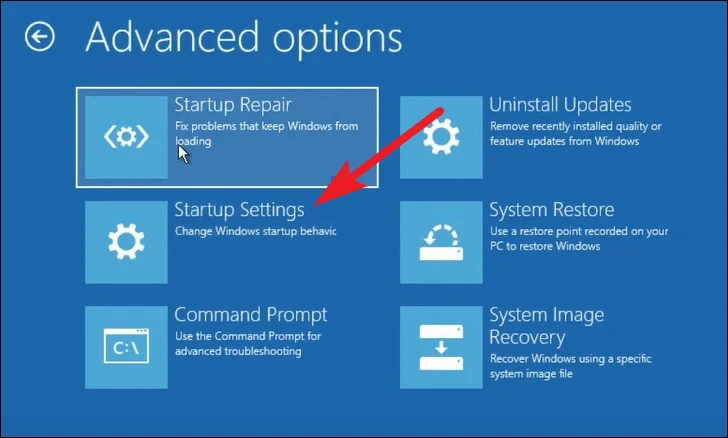
- Choose “Startup Settings”.
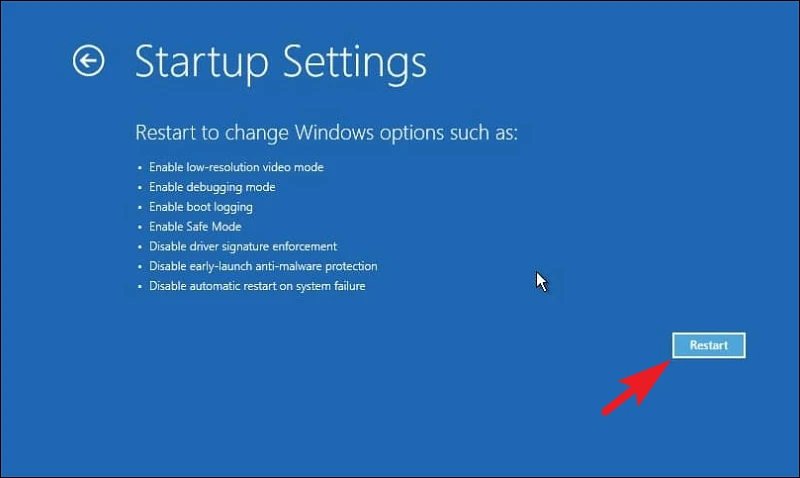
- Click “Restart”.
- When your PC restarts, press the number key for “Safe Mode” or “Safe Mode with Networking”.
Run the Windows Update troubleshooter
The built-in Windows Update troubleshooter can often resolve update-related issues automatically:
- Open the Settings app from the Start menu.
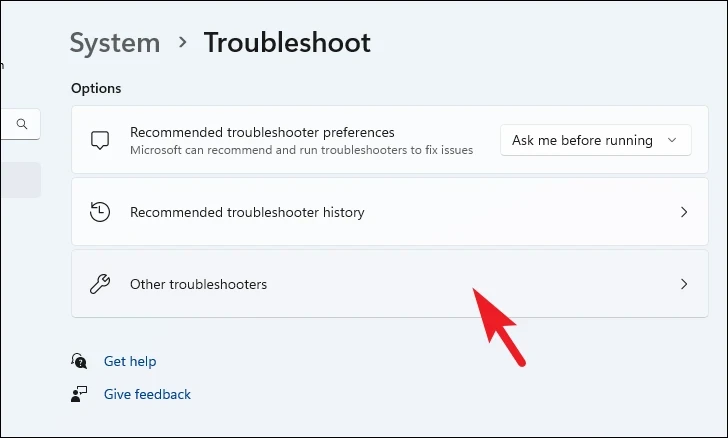
- Navigate to System > Troubleshoot > Other troubleshooters.
- Find “Windows Update” and click “Run”.
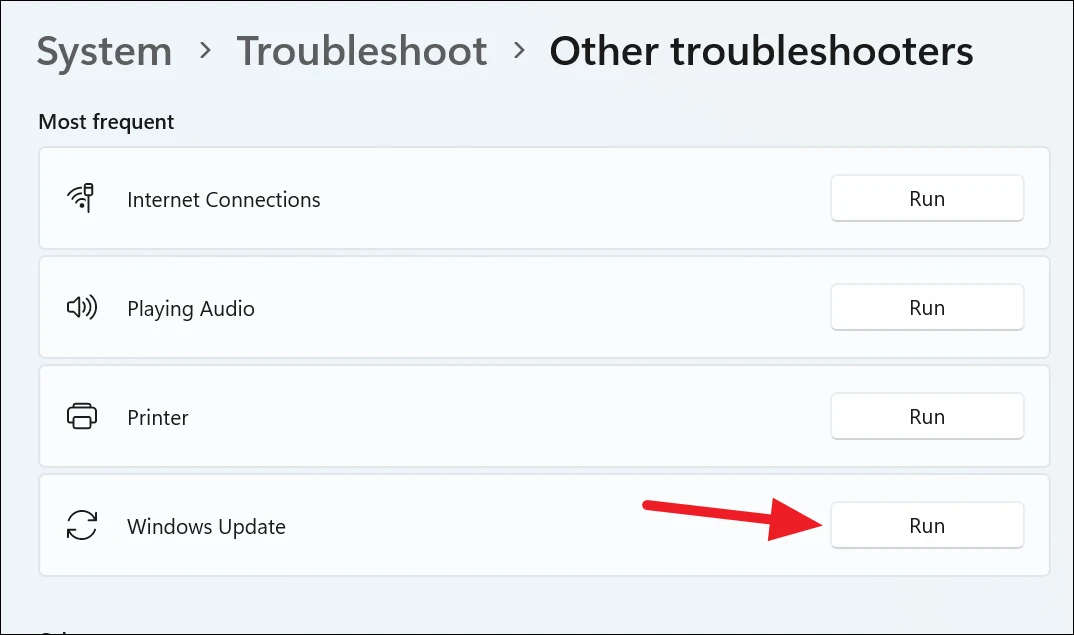
- Follow the on-screen instructions to complete the troubleshooting process.
Clear the Software Distribution folder
Corrupted update files can cause issues. Clearing the Software Distribution folder can help:
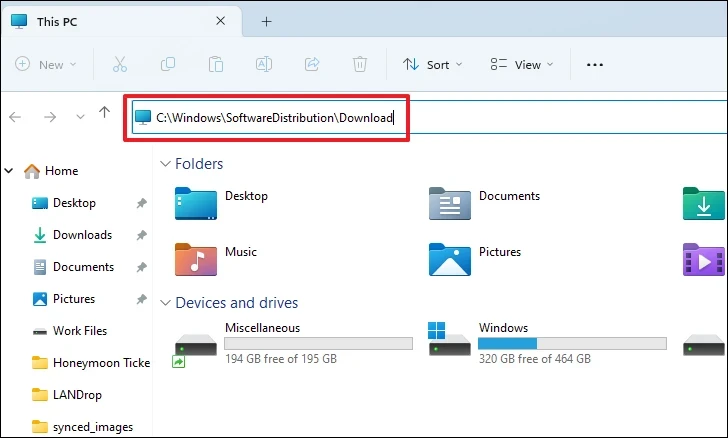
- Open File Explorer (
Windows+E). - Navigate to C:\Windows\SoftwareDistribution\Download.
- Select all files (
Ctrl+A) and delete them permanently (Shift+Delete).

- Restart your PC and attempt to update again.
Restart Windows Update services
Restarting Windows Update services can resolve issues with the update process:
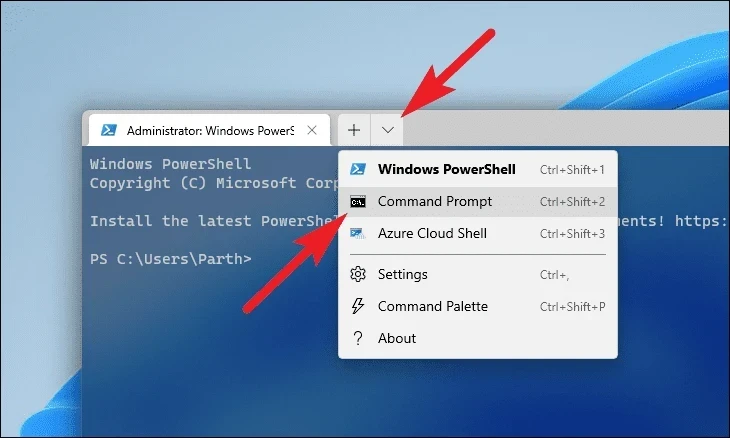
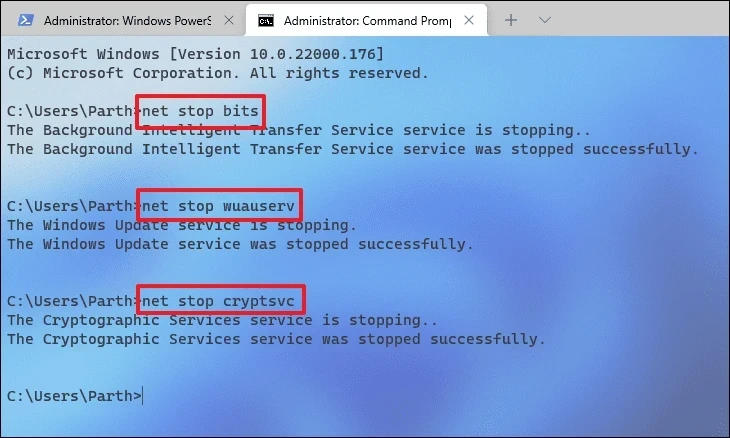
- Open Command Prompt as administrator.
- Enter these commands, pressing
Enterafter each:net stop bitsnet stop wuaservnet stop cryptsvc
- Delete the contents of
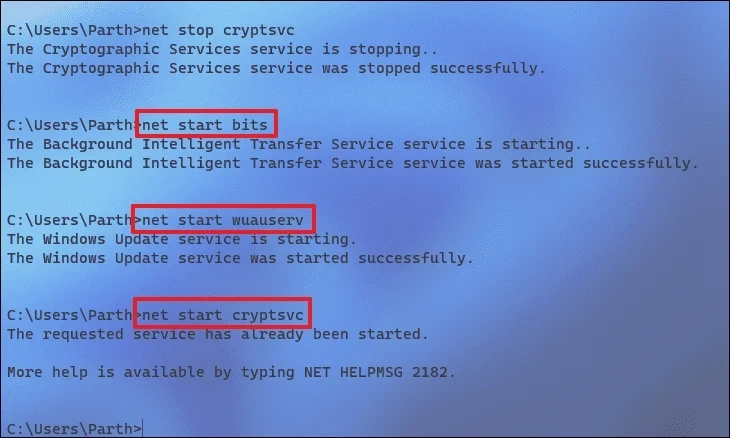
C:\Windows\SoftwareDistribution\DataStore. - Restart the services with these commands:
net start bitsnet start wuaservnet start cryptsvc
- Restart your PC and check if the issue is resolved.
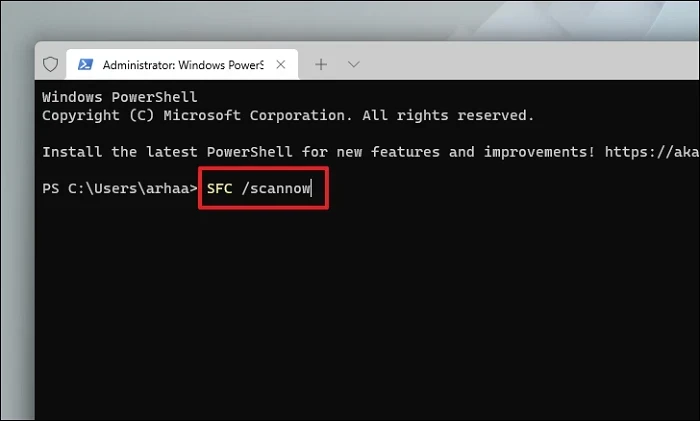
Run SFC and DISM scans
System File Checker (SFC) and Deployment Image Servicing and Management (DISM) can repair corrupted system files:
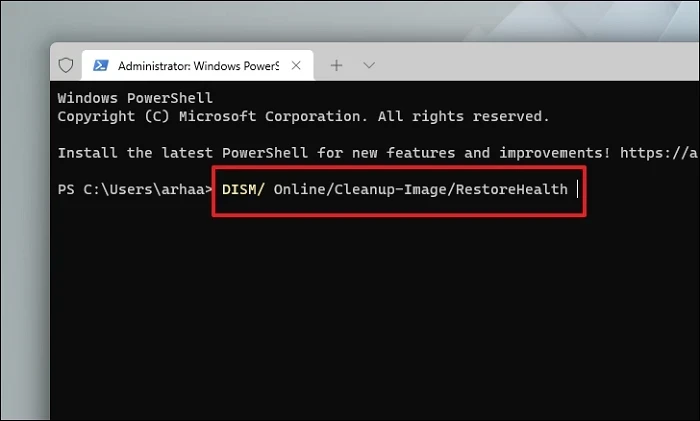
- Open Command Prompt as administrator.
- Run DISM with this command:
DISM /Online /Cleanup-Image /RestoreHealth
- After DISM completes, run SFC:
SFC /scannow
- Restart your PC after the scans complete.
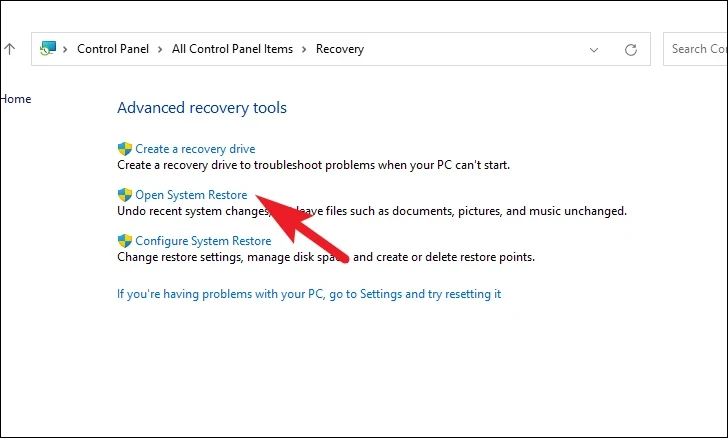
Perform a system restore
If you have a system restore point, reverting to it may resolve the issue:
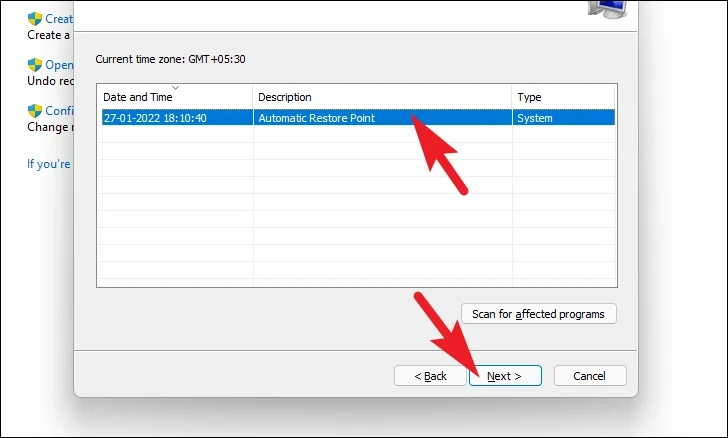
- Open Control Panel and navigate to Recovery > Open System Restore.
- Choose a restore point and follow the on-screen instructions.
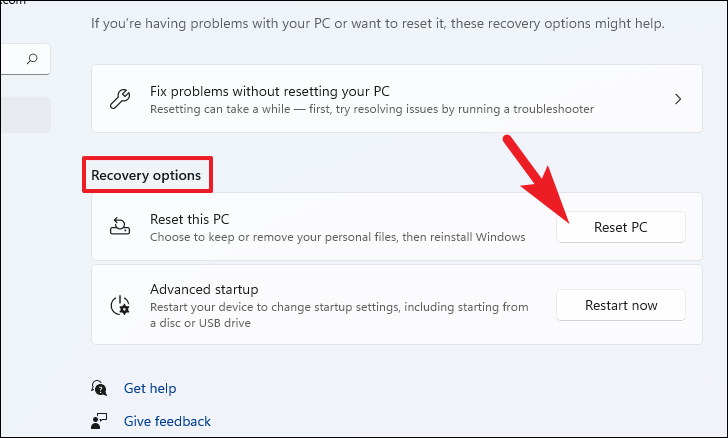
Reset your PC
As a last resort, you can reset your PC while keeping your personal files:
- Go to Settings > System > Recovery.
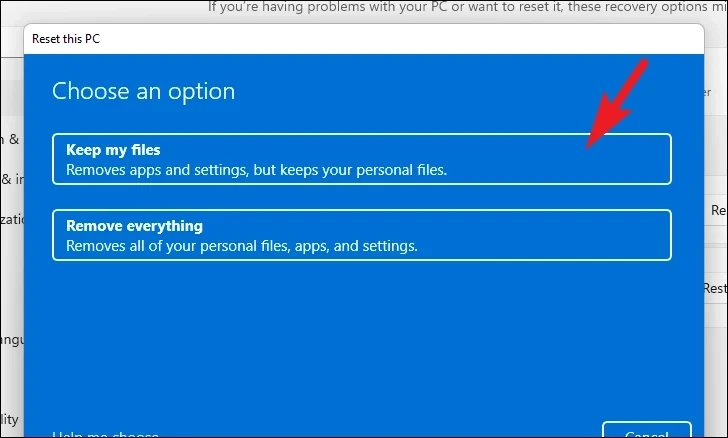
- Under “Reset this PC”, click “Reset PC”.
- Choose “Keep my files”.
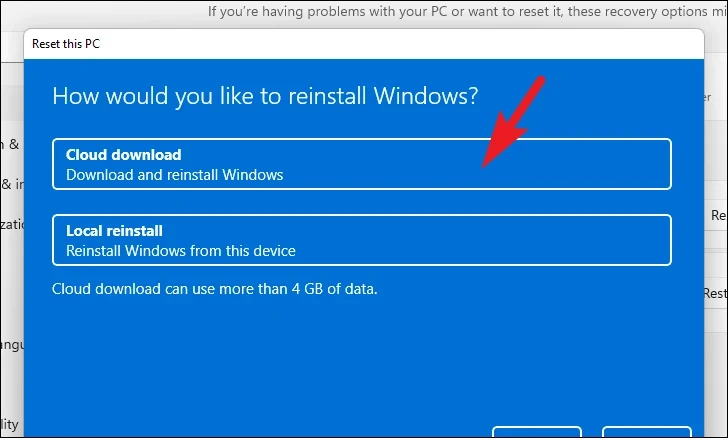
- Select “Cloud download” for a fresh Windows installation.
- Review the settings and click “Reset” to begin the process.
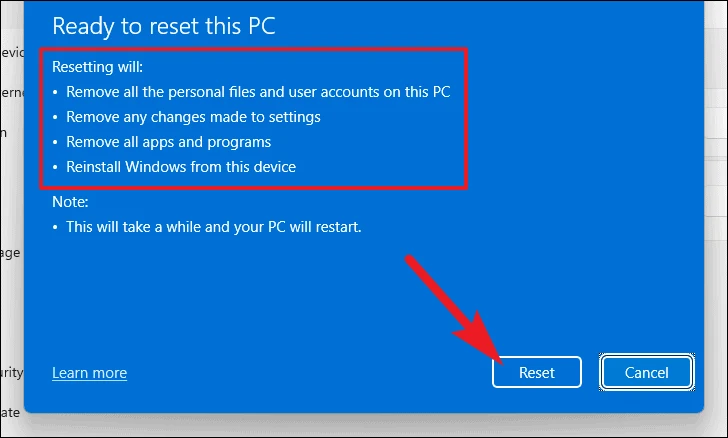
Your machine may restart several times, which is completely normal. It may take several minutes, depending on your computer and the settings for resetting the PC.


