
Windows 11 has brought many improvements to Microsoft’s operating system, but it isn’t without its flaws. A common issue that users encounter is the disk usage suddenly spiking to 100%, causing the system to become unresponsive or sluggish. If you’ve noticed your PC slowing down, programs taking longer to open, or frequent freezing, you’re likely experiencing this disk usage problem. Thankfully, there are several solutions to address this issue.
Identify the Cause of High Disk Usage
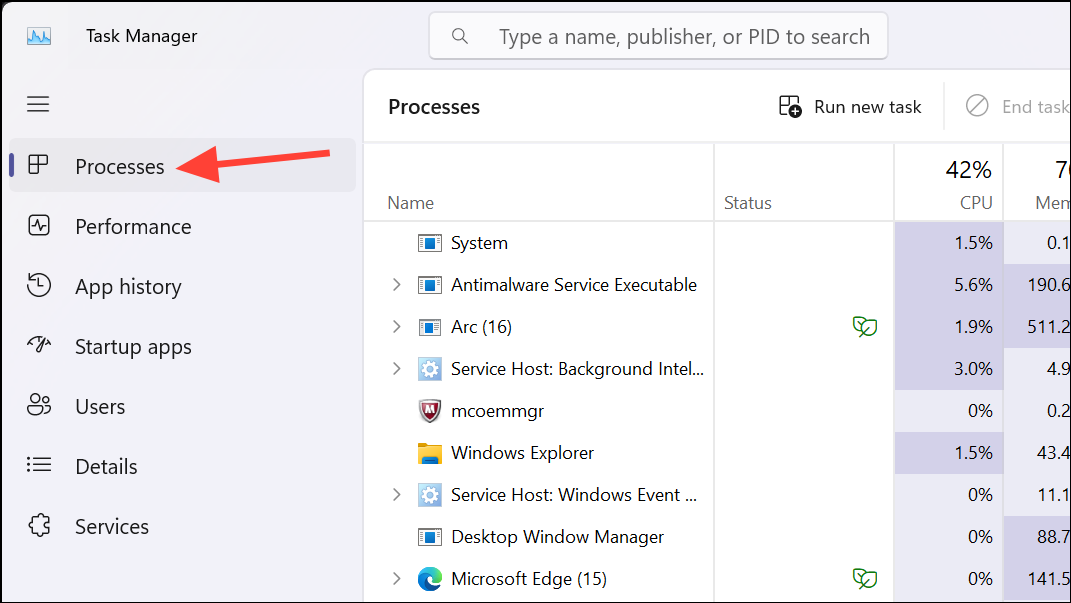
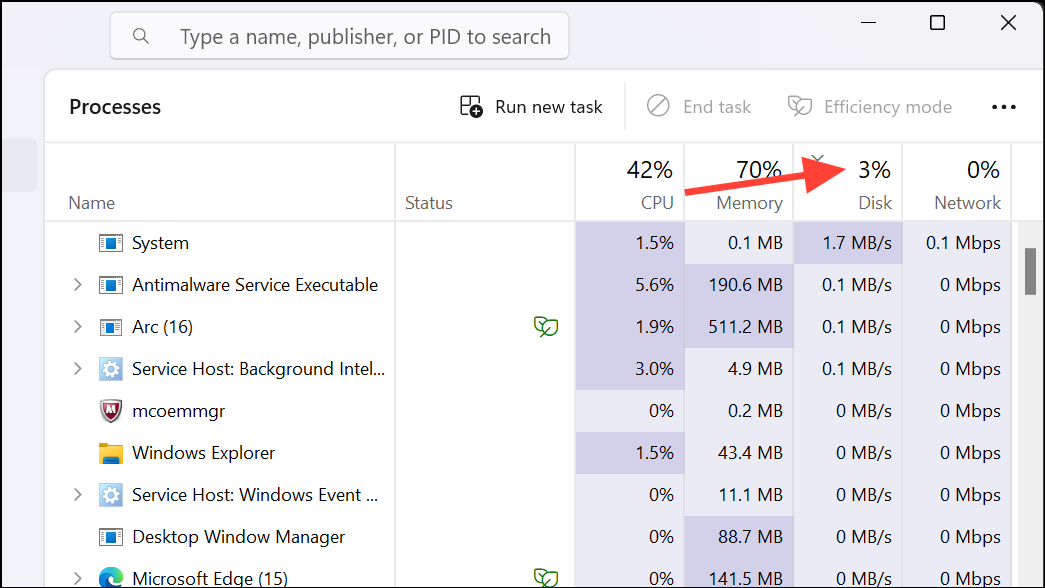
Before attempting any fixes, it’s crucial to pinpoint what’s causing the 100% disk usage. Often, a specific process or application excessively reads or writes to the disk. You can use the Task Manager to identify such culprits.
If you manage to identify and resolve the issue by ending resource-hungry applications, you might not need to proceed further. However, if the disk usage remains high without any obvious culprits, try the following methods.
Common Causes of 100% Disk Usage
Several factors can lead to excessive disk usage on Windows 11:
- Outdated or faulty drivers
- Windows services like SysMain (Superfetch) or Windows Search malfunctioning
- Background applications running without your knowledge
- Malware or viruses infecting the system
- Intensive antivirus scans
- Hardware issues with the hard drive
Solutions to Fix 100% Disk Usage on Windows 11
Since the exact cause can vary, you may need to try several methods to fix the high disk usage issue. Below are some effective solutions.
1. Restart Your Computer
Sometimes, a simple restart can resolve temporary glitches causing high disk usage. If you haven’t restarted your PC recently, give it a try and check if the disk usage returns to normal after booting up.
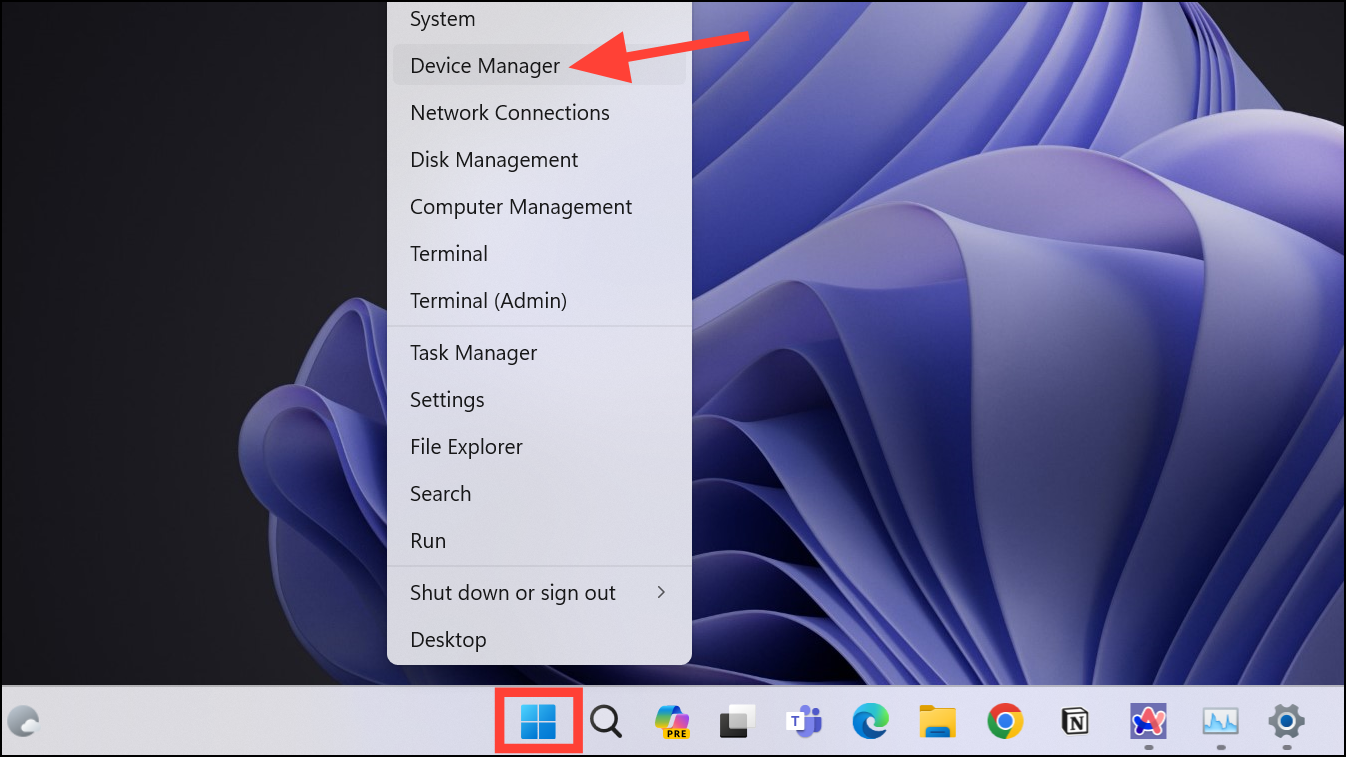
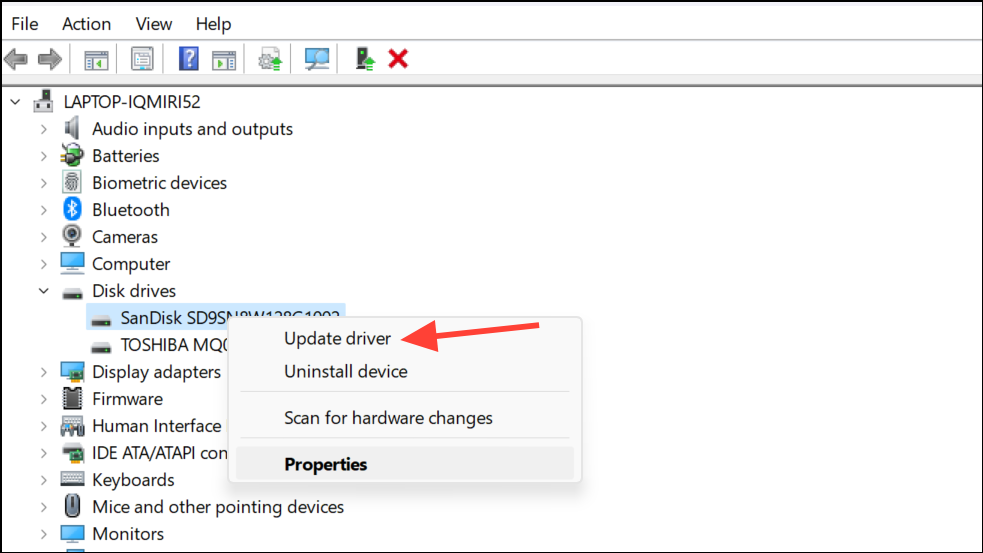
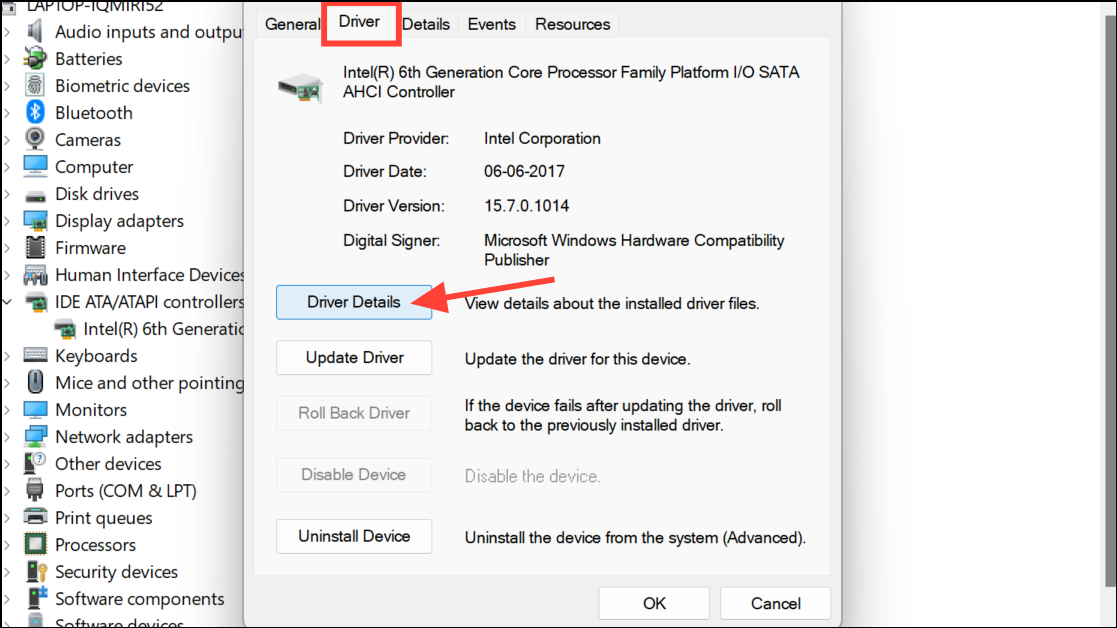
2. Update Storage Drivers
Outdated or corrupt storage drivers can lead to disk performance issues. Updating them can help alleviate high disk usage.
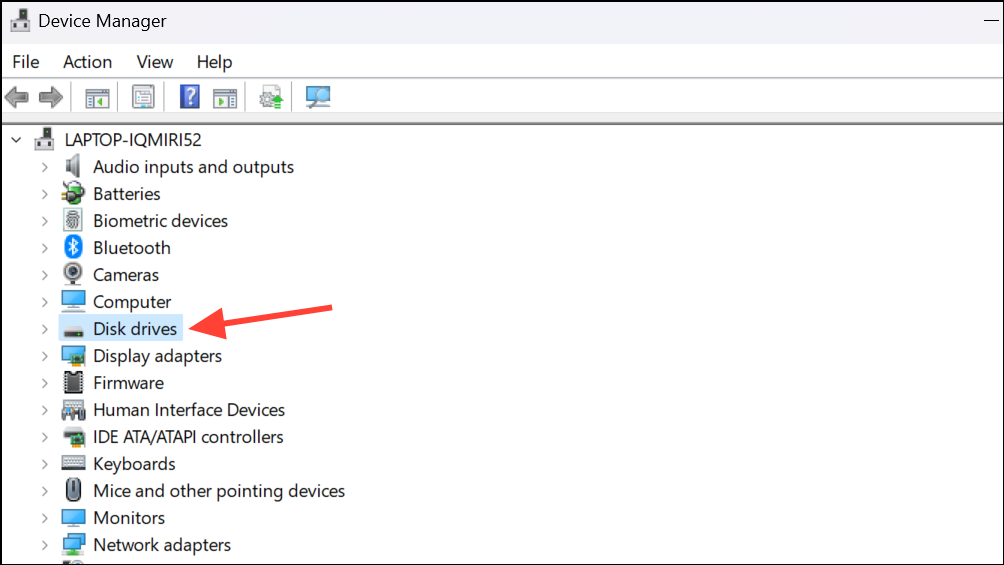
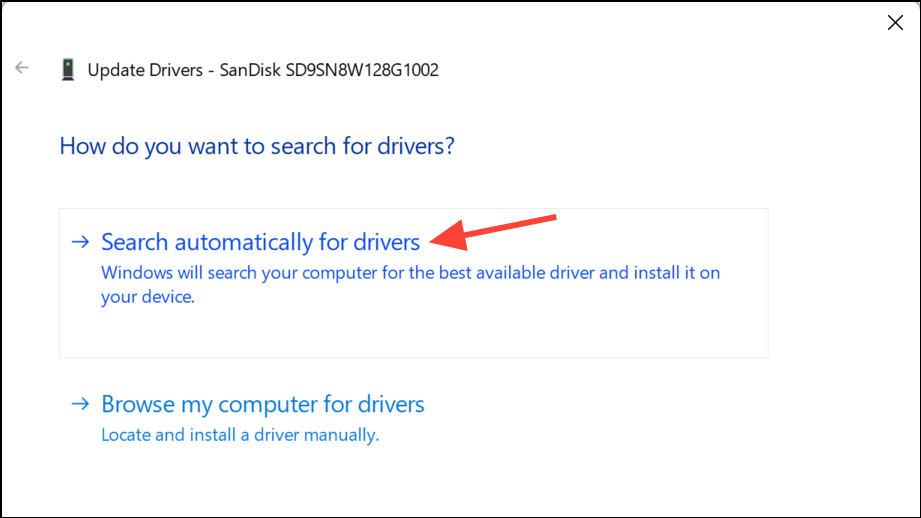
After the update process completes, restart your PC and check if the disk usage has improved.
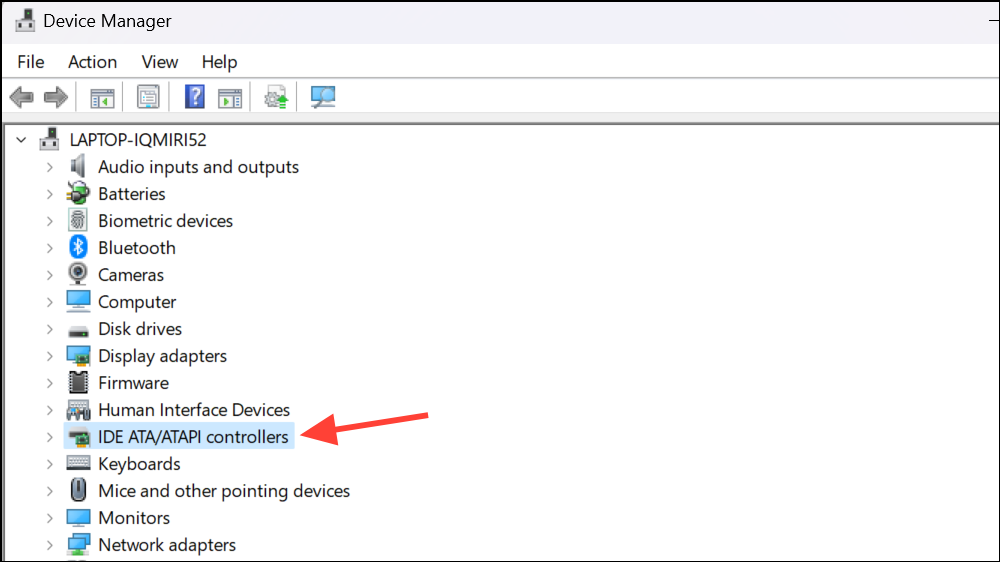
3. Disable MSI Mode
In some systems, particularly those using AHCI PCIe controllers with certain drivers, a firmware incompatibility can cause high disk usage. Disabling the Message Signaled Interrupt (MSI) mode for these devices can help.
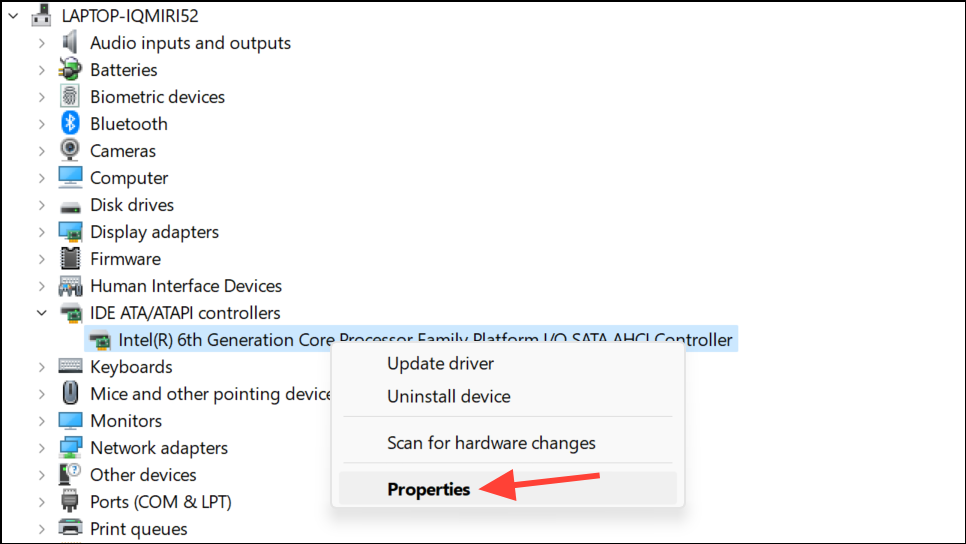
storahci.sys, proceed to the next steps. If not, this method may not apply to your system.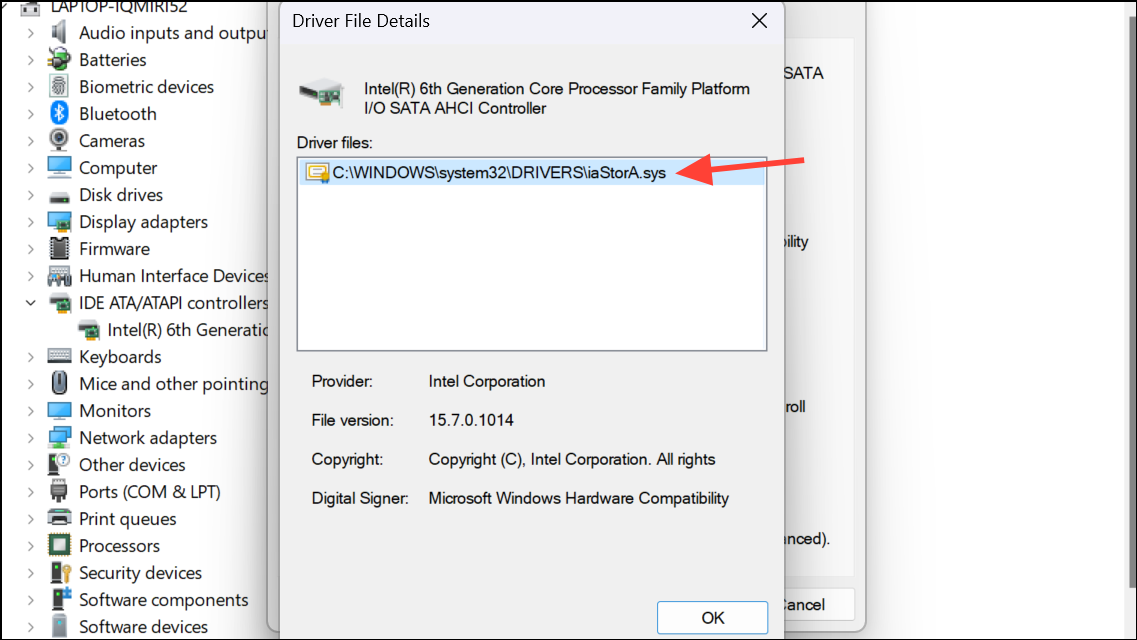
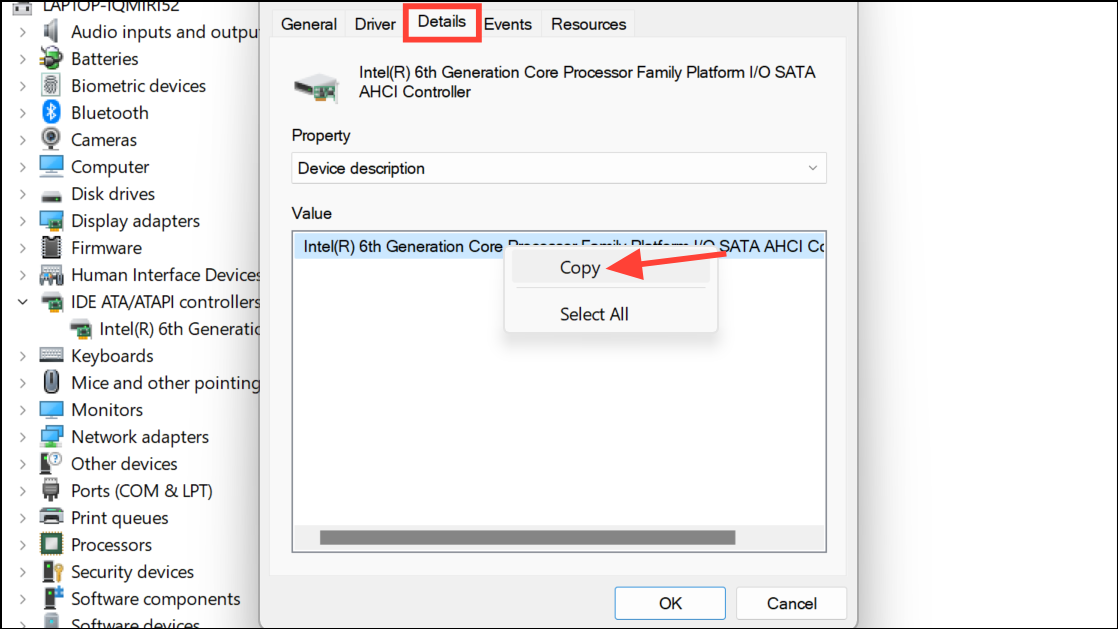
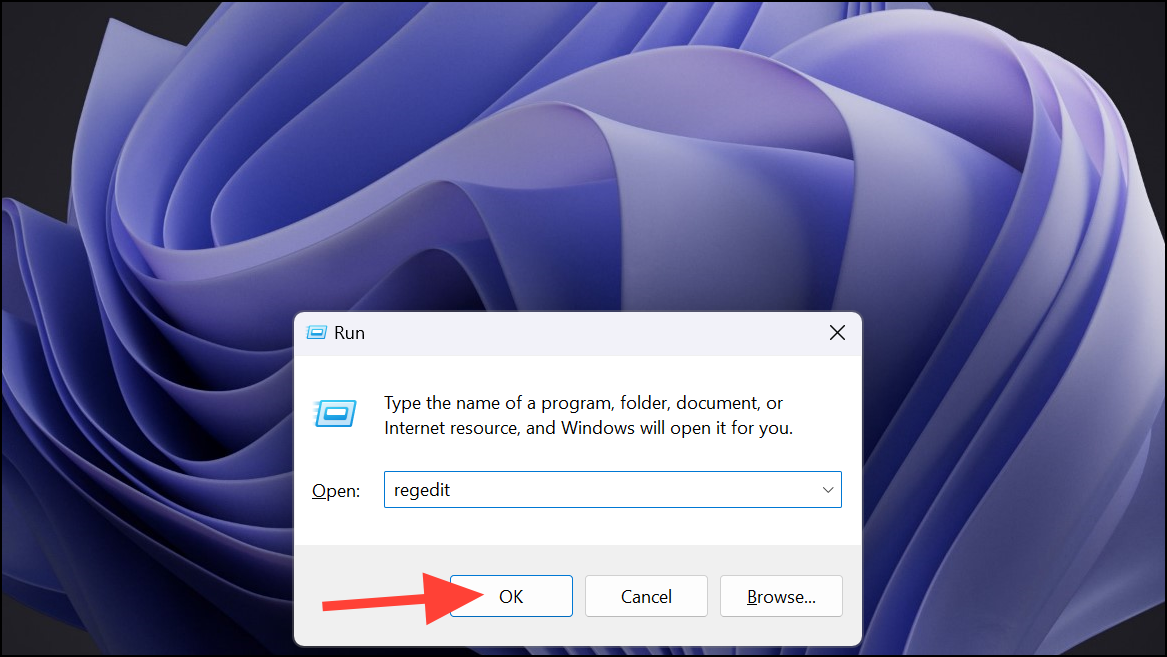
Now, you’ll need to modify a registry entry. Be cautious when editing the registry, and consider backing it up first.
Device Parameters > Interrupt Management > MessageSignaledInterruptProperties.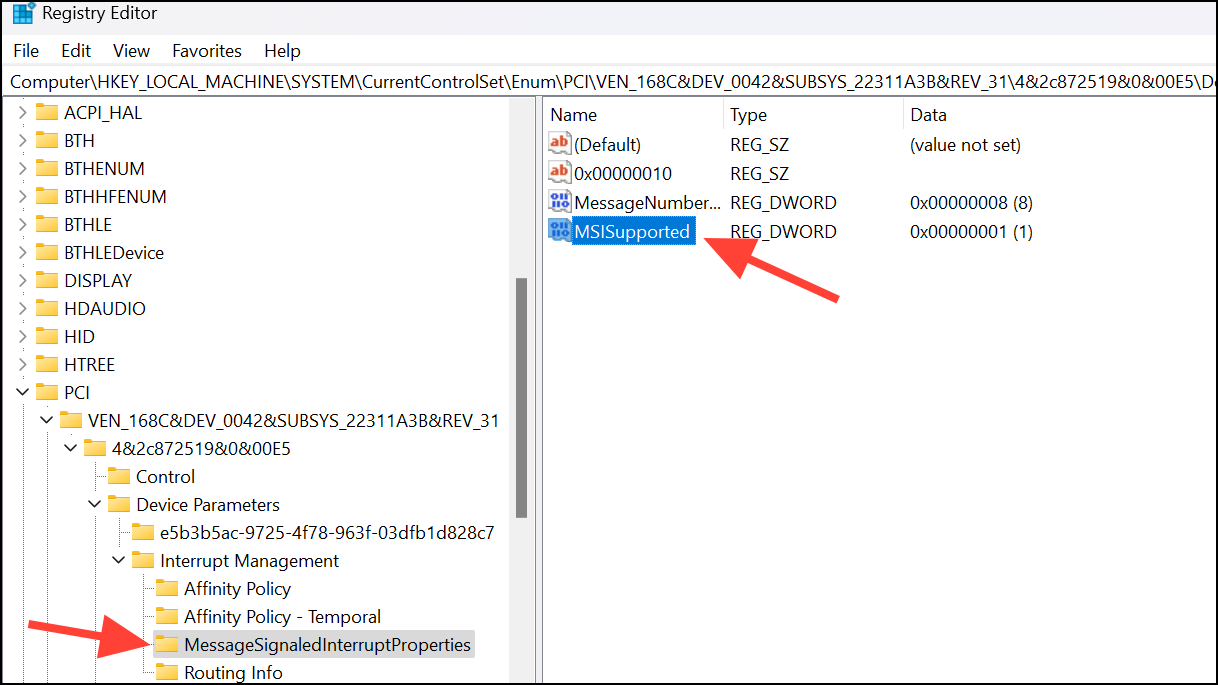
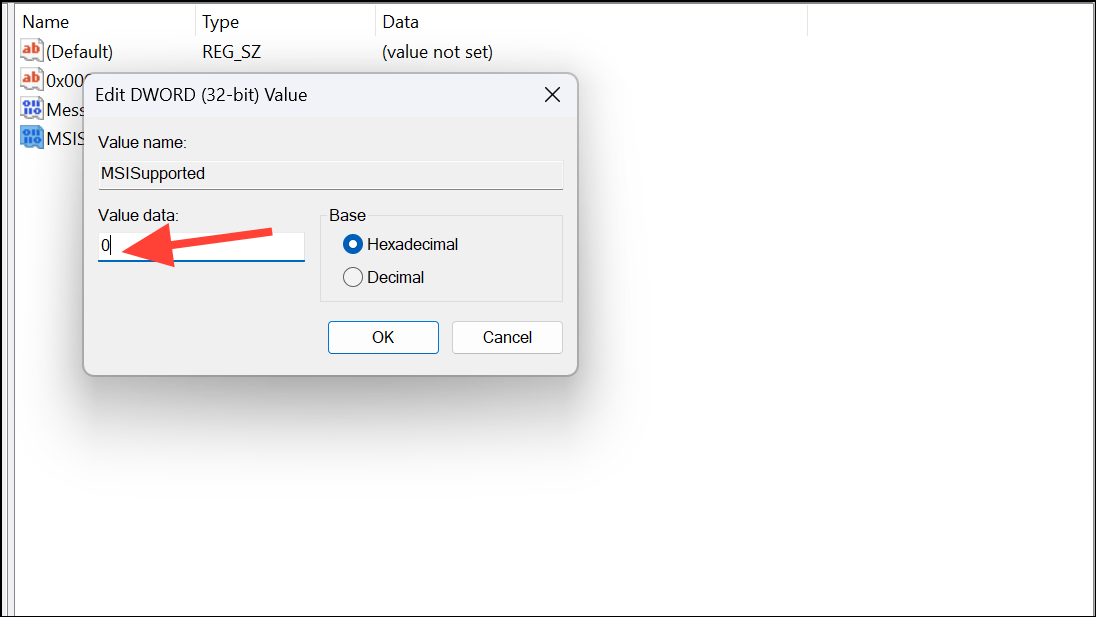
Close the Registry Editor and restart your computer. Check if the disk usage has returned to normal levels.
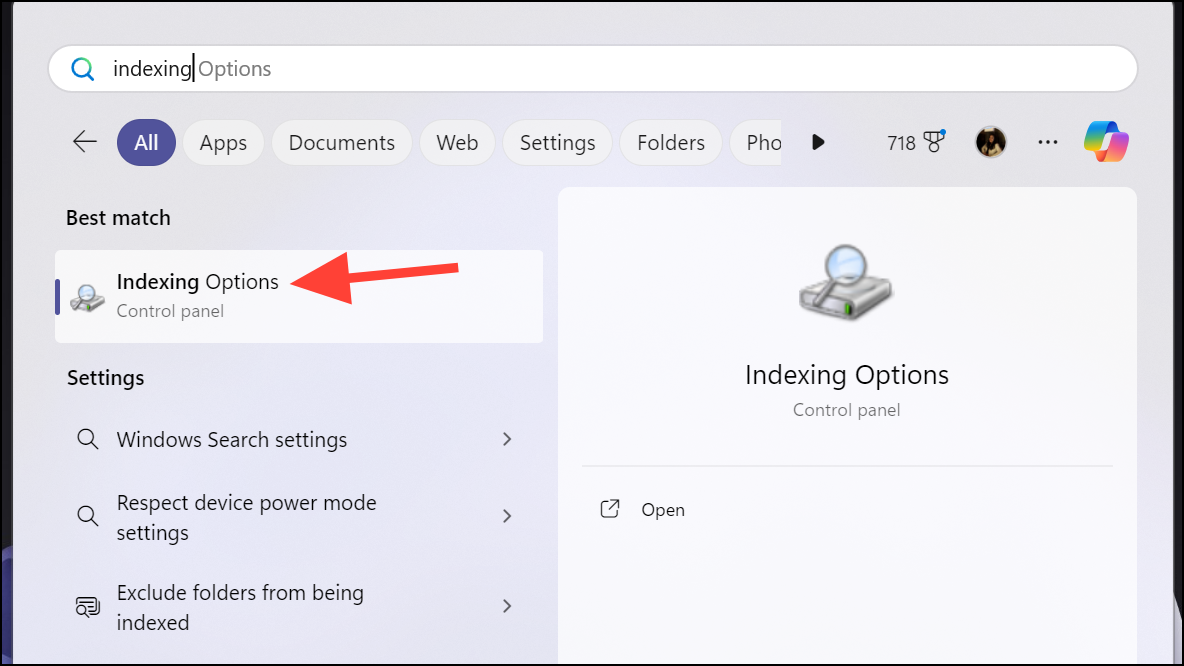
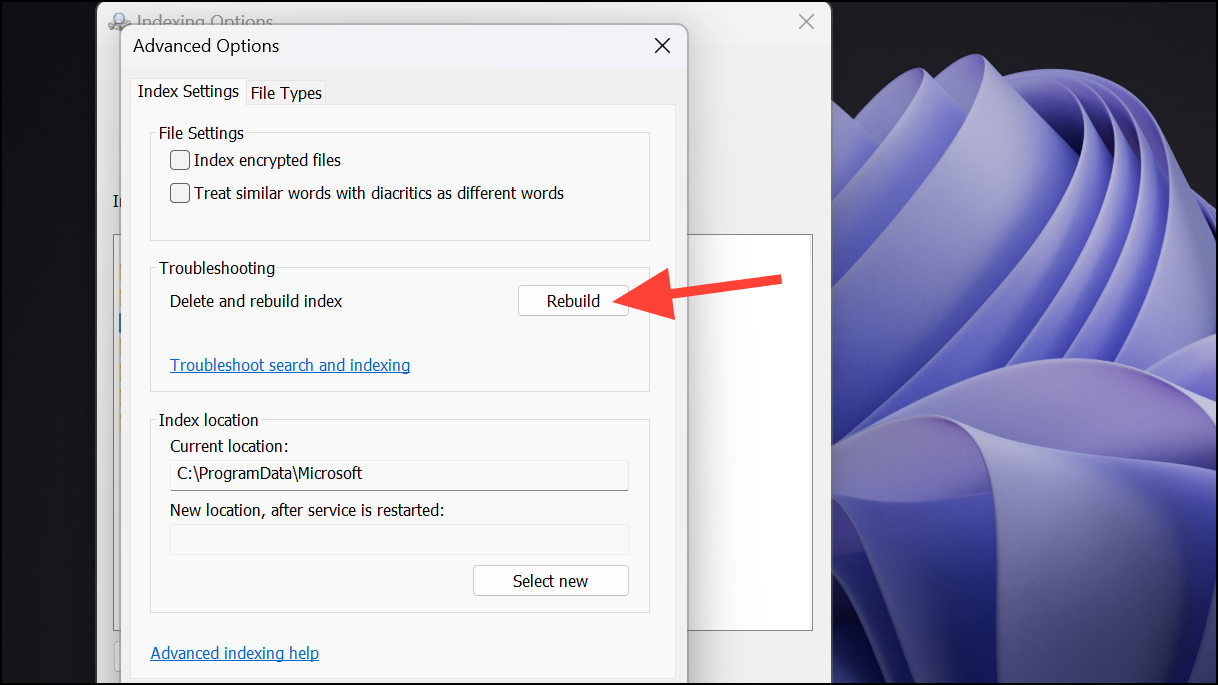
4. Rebuild the Search Index and Disable Windows Search
Windows Search can sometimes malfunction, causing high disk usage due to constant indexing. Rebuilding the search index may resolve temporary issues.
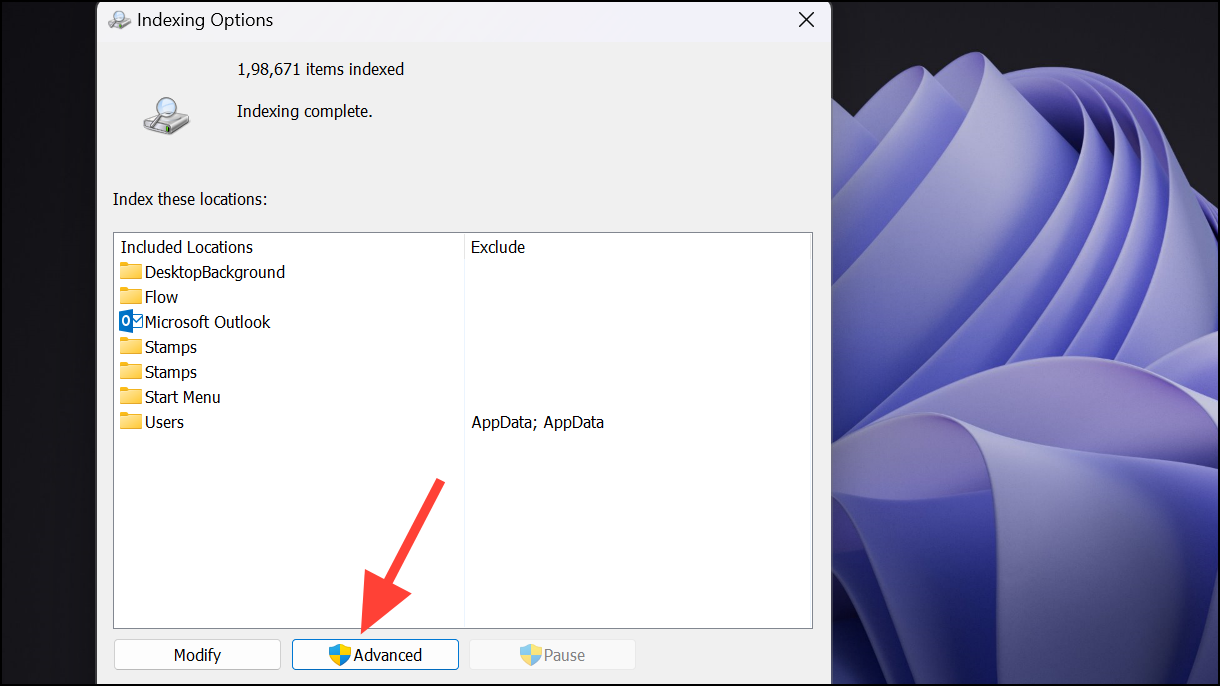
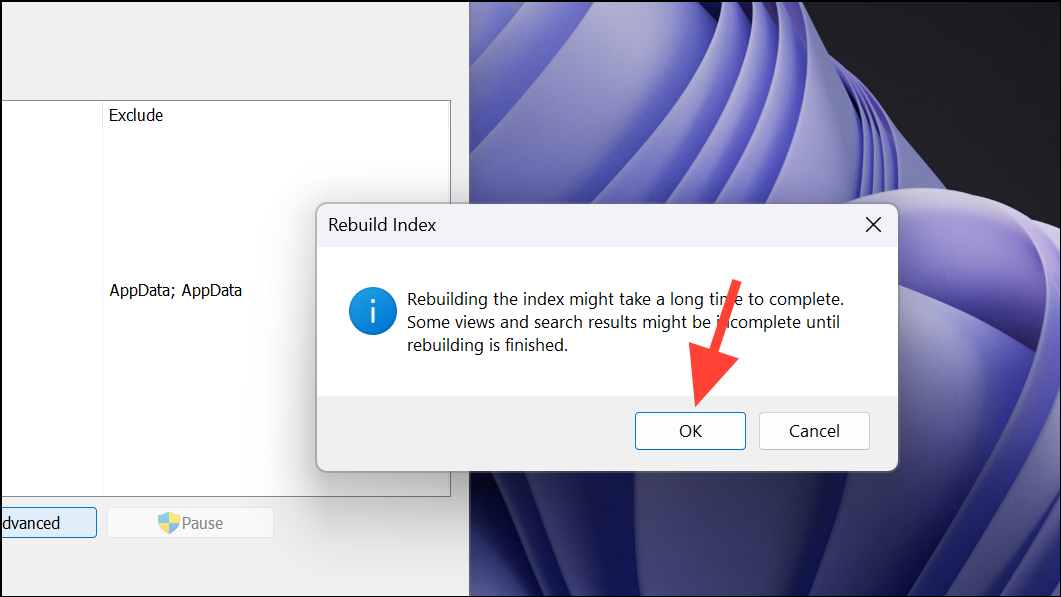
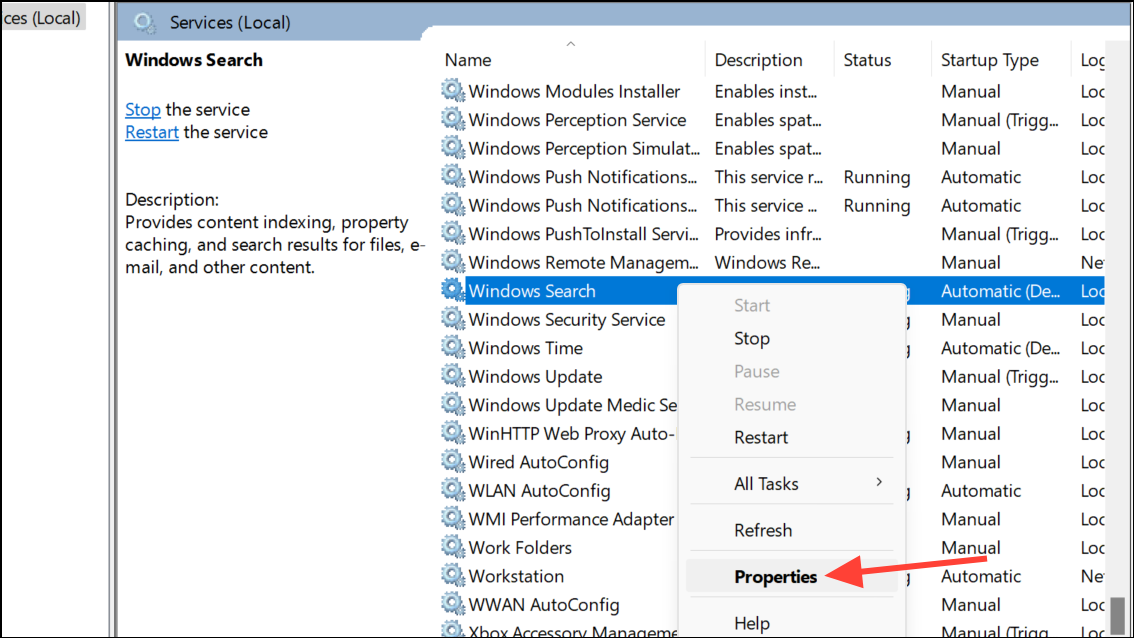
After the index has been rebuilt, monitor your disk usage to see if the issue persists. If high disk usage returns after a reboot, you may need to disable Windows Search entirely.
To disable Windows Search:
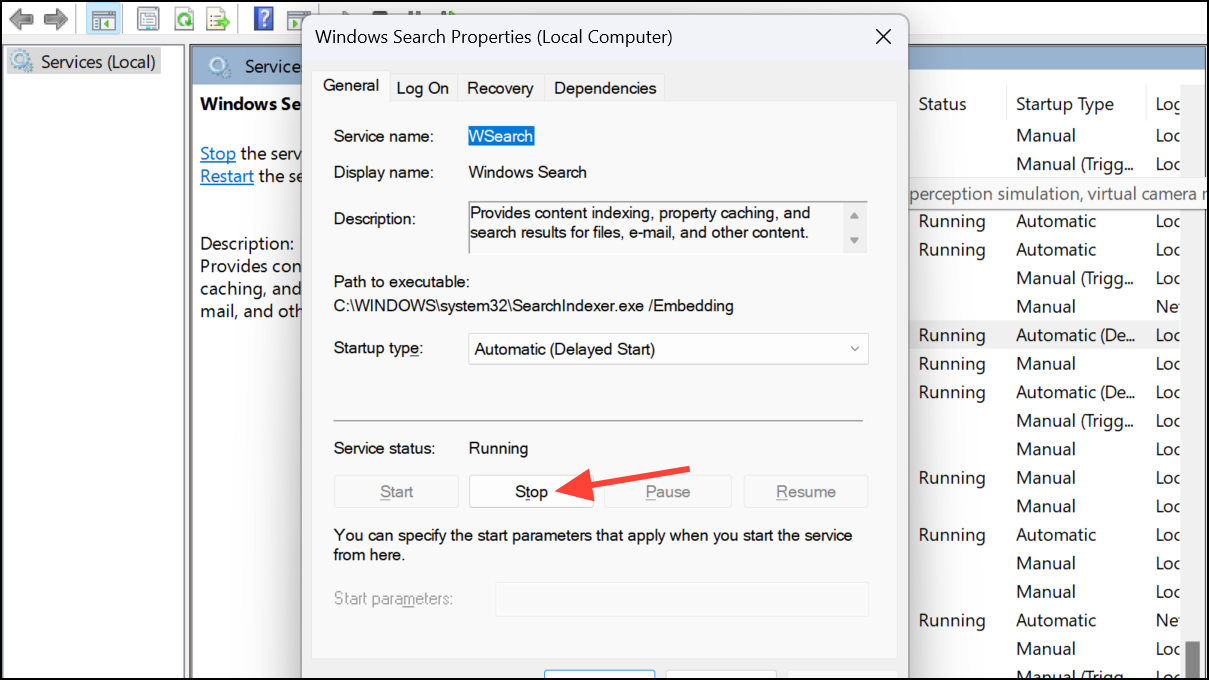
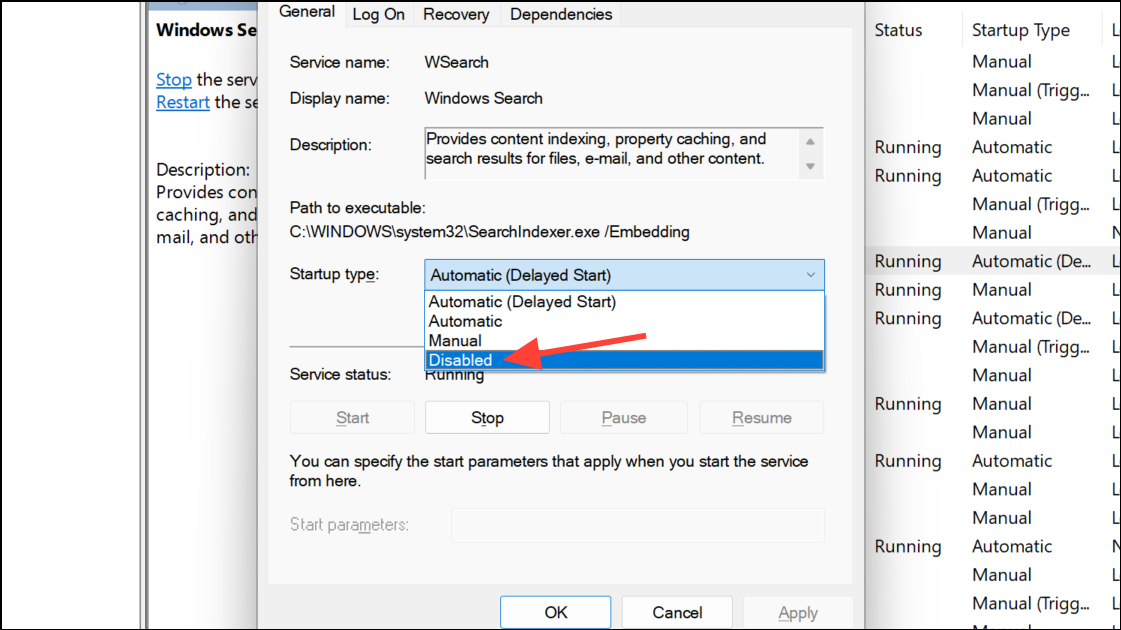
Click ‘Apply’ and ‘OK’ to save the changes. Check if the disk usage has decreased.
5. Disable SysMain (Superfetch) Service
SysMain, previously known as Superfetch, is a service that preloads frequently used apps into memory. While intended to improve performance, it can sometimes lead to high disk usage.

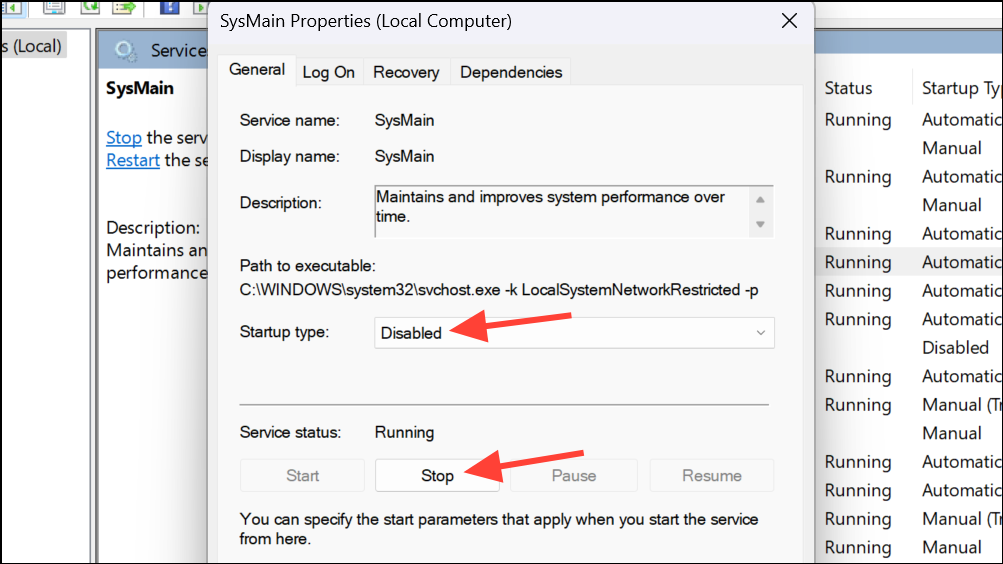
After disabling SysMain, observe your system’s performance and disk usage. If there’s no improvement, you can re-enable the service as it is generally beneficial for system performance.
6. Disable Connected User Experiences and Telemetry Service
This service collects diagnostic data and sends it to Microsoft, which can sometimes cause high disk usage. Disabling it may help reduce disk activity.


7. Manage Startup Applications
Having too many programs launch at startup can strain your disk. Managing these applications can help reduce disk usage.
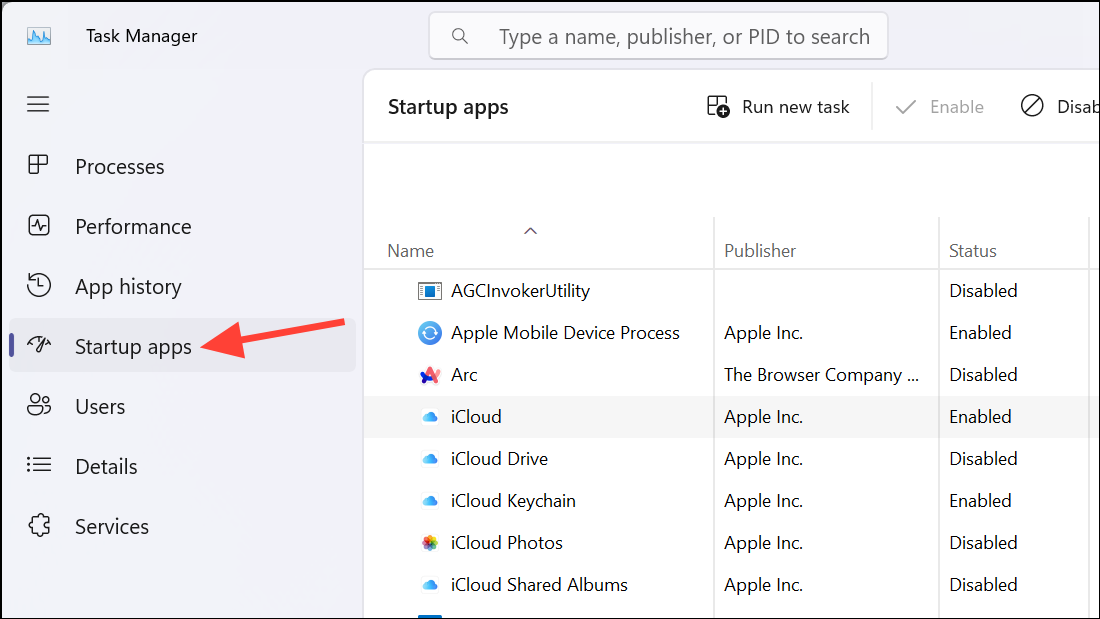
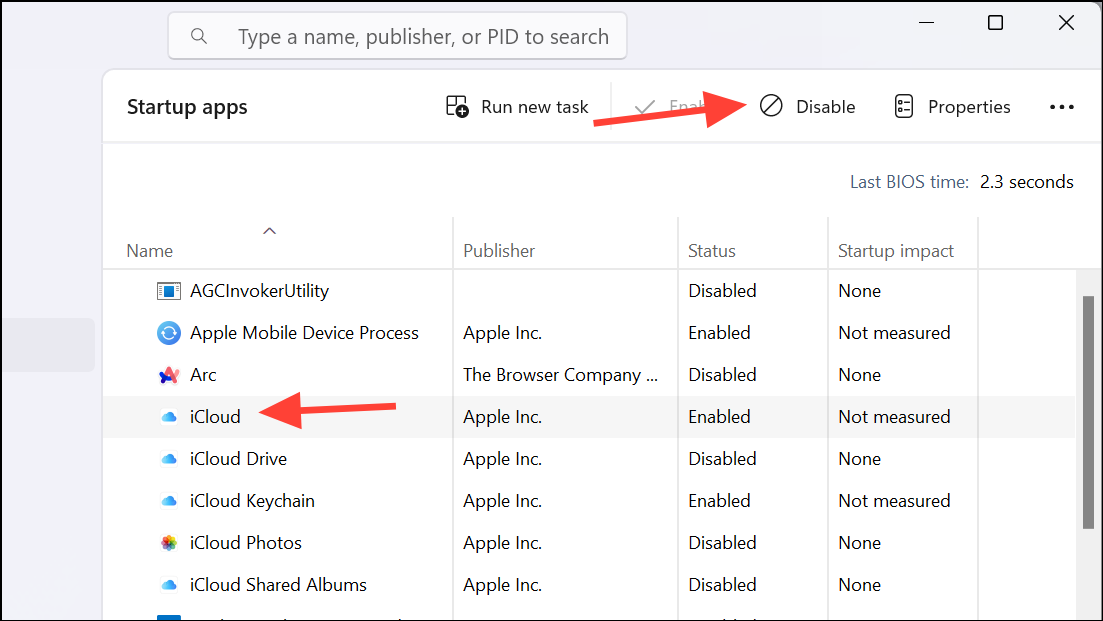
You can also manage startup applications by going to Settings > Apps > Startup.
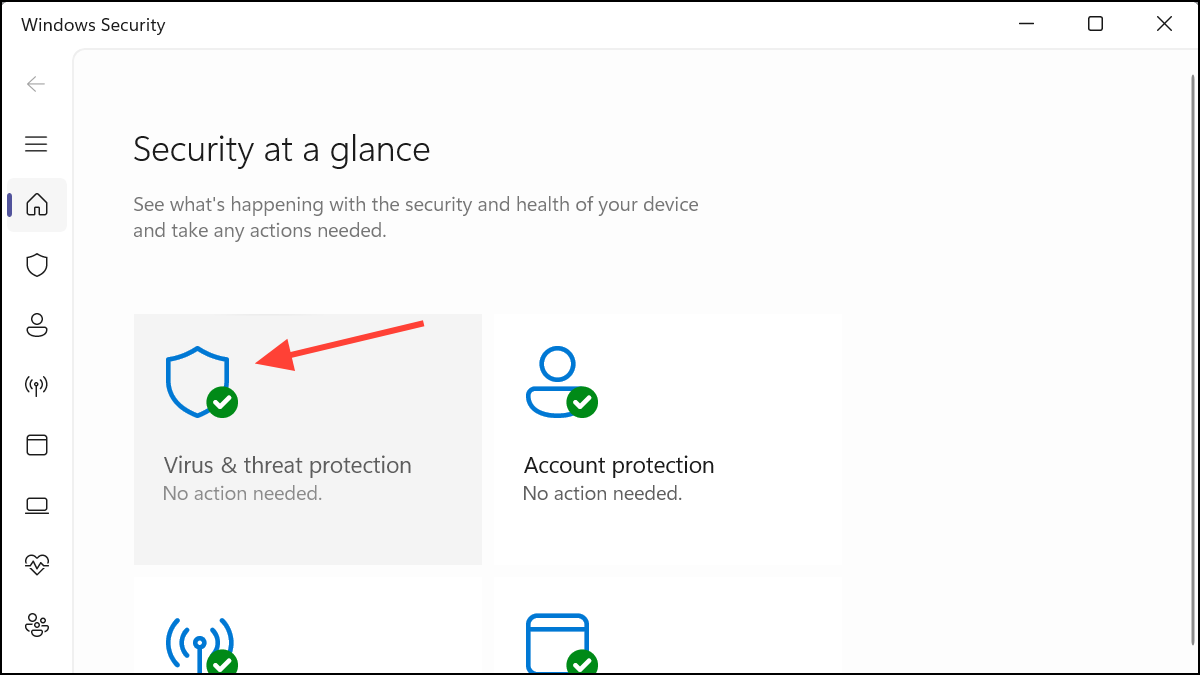
8. Scan for Malware
Malware can cause various system issues, including high disk usage. Running a full system scan can detect and remove malicious software.
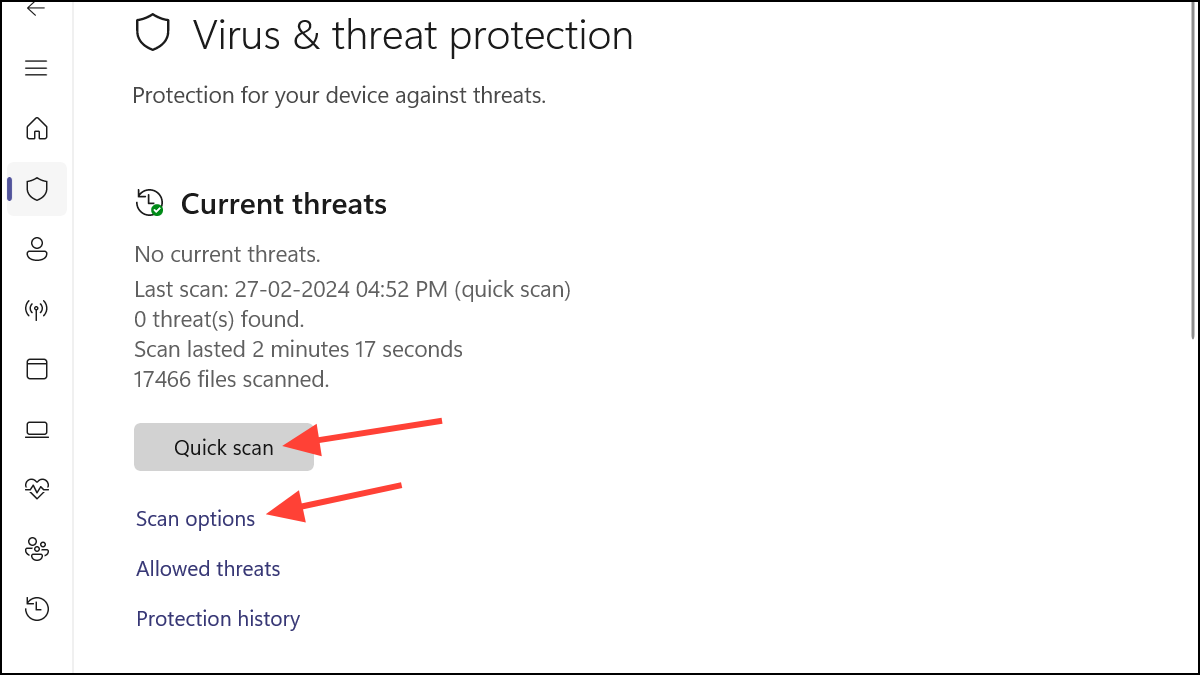

Wait for the scan to complete and follow any recommendations to remove detected threats.
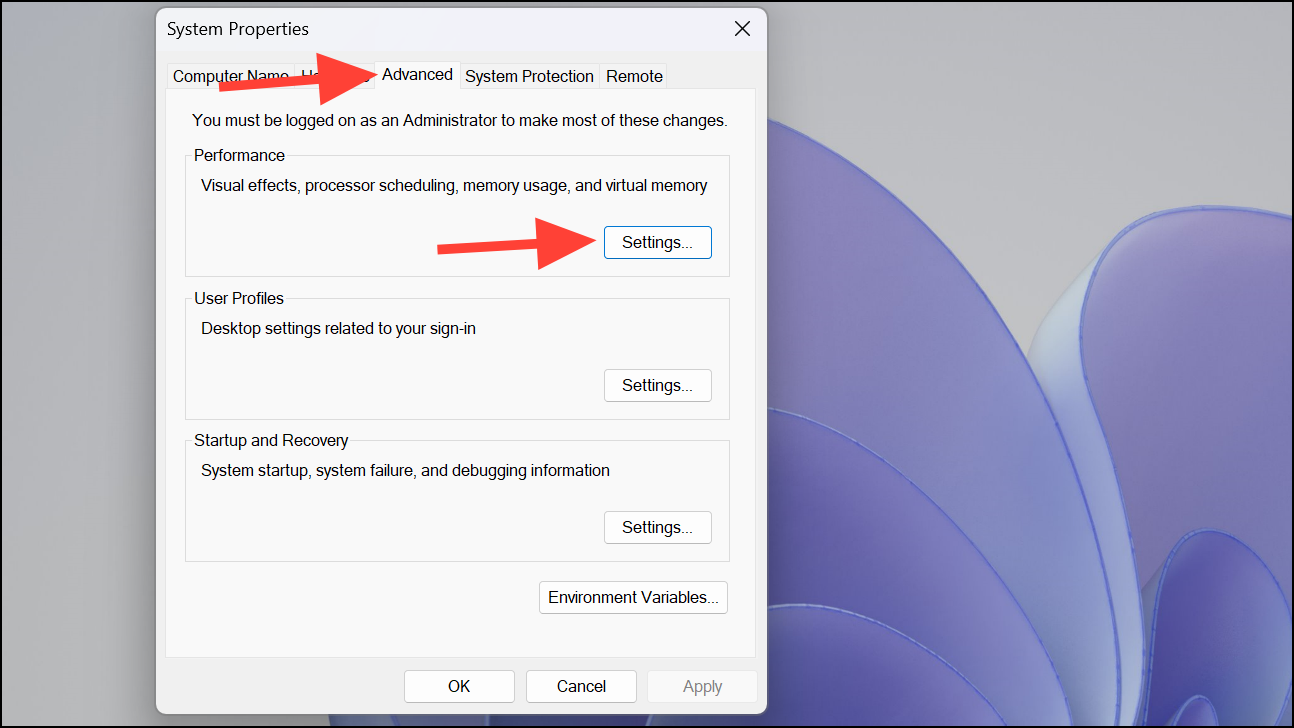
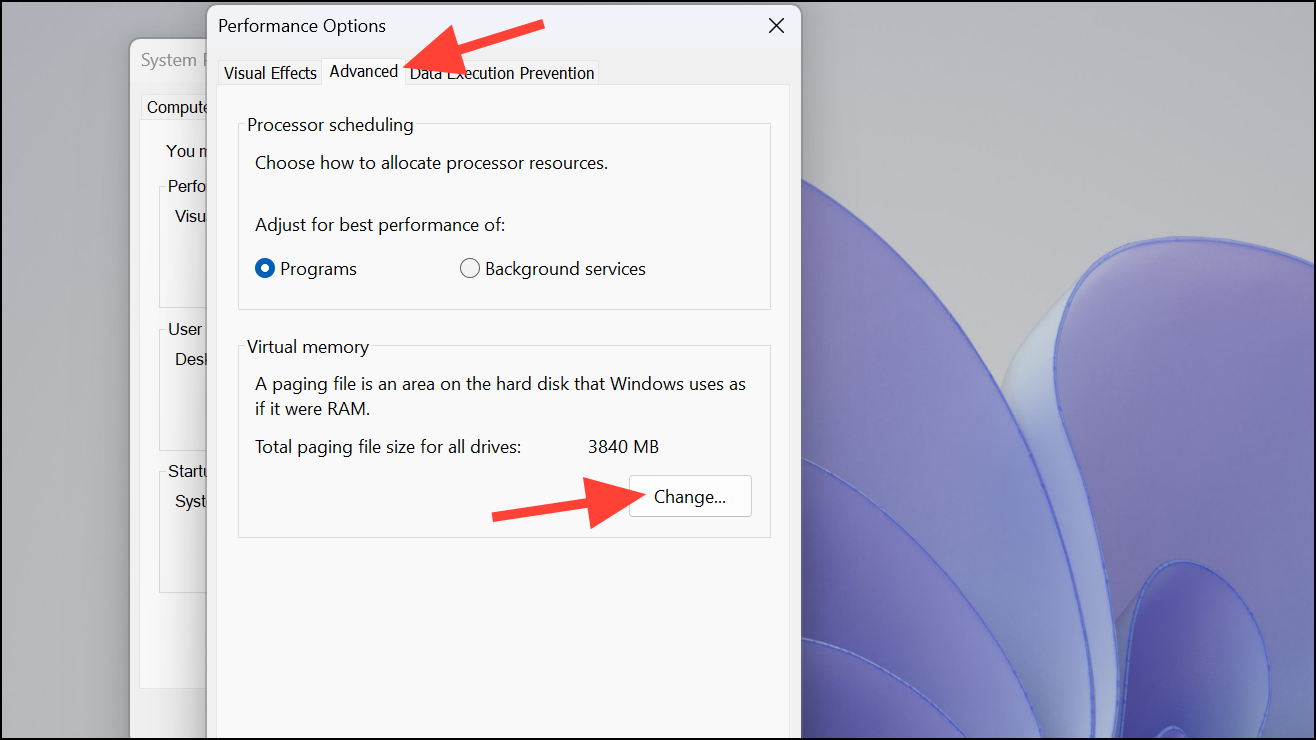
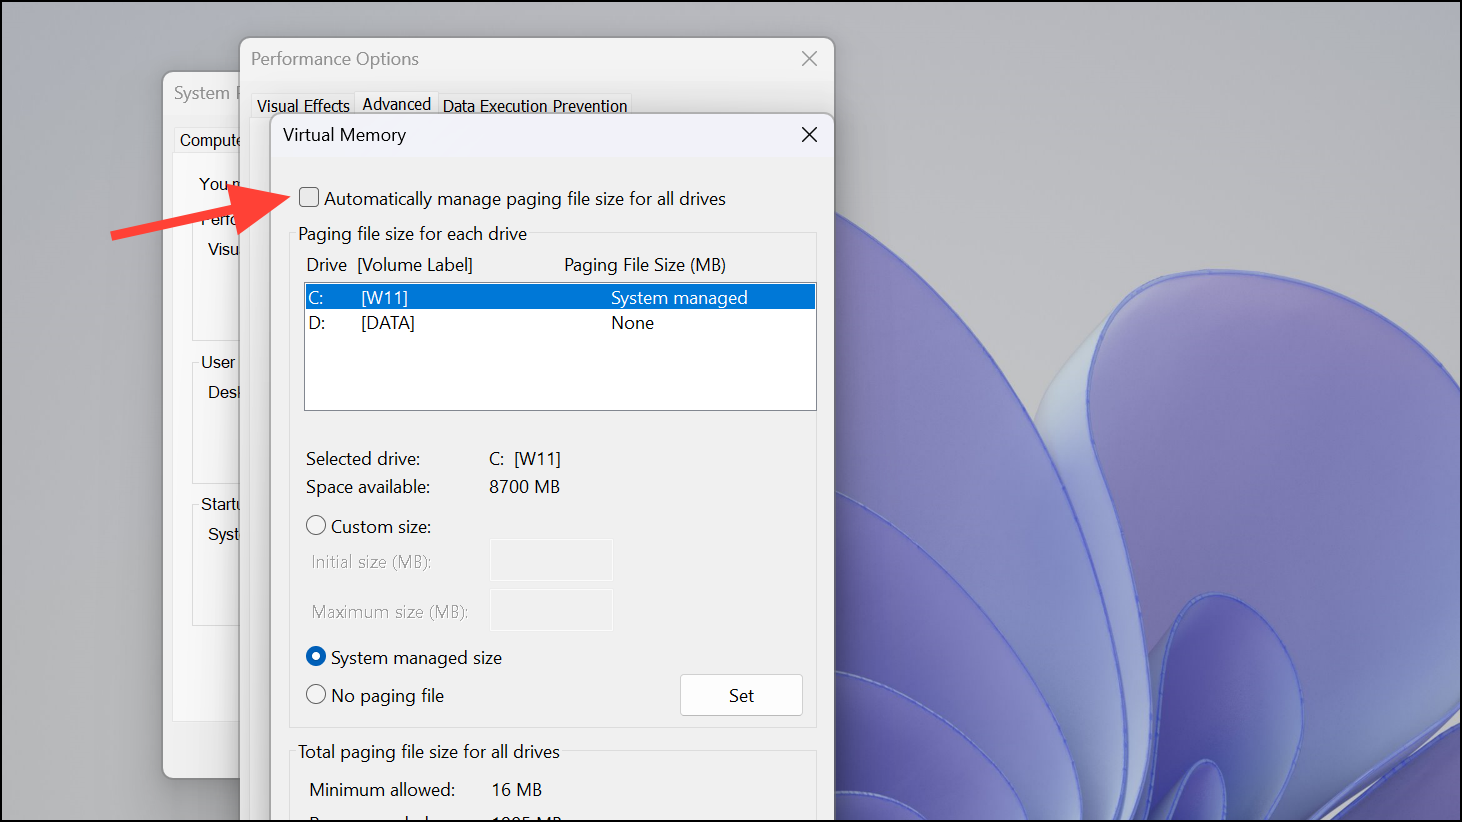
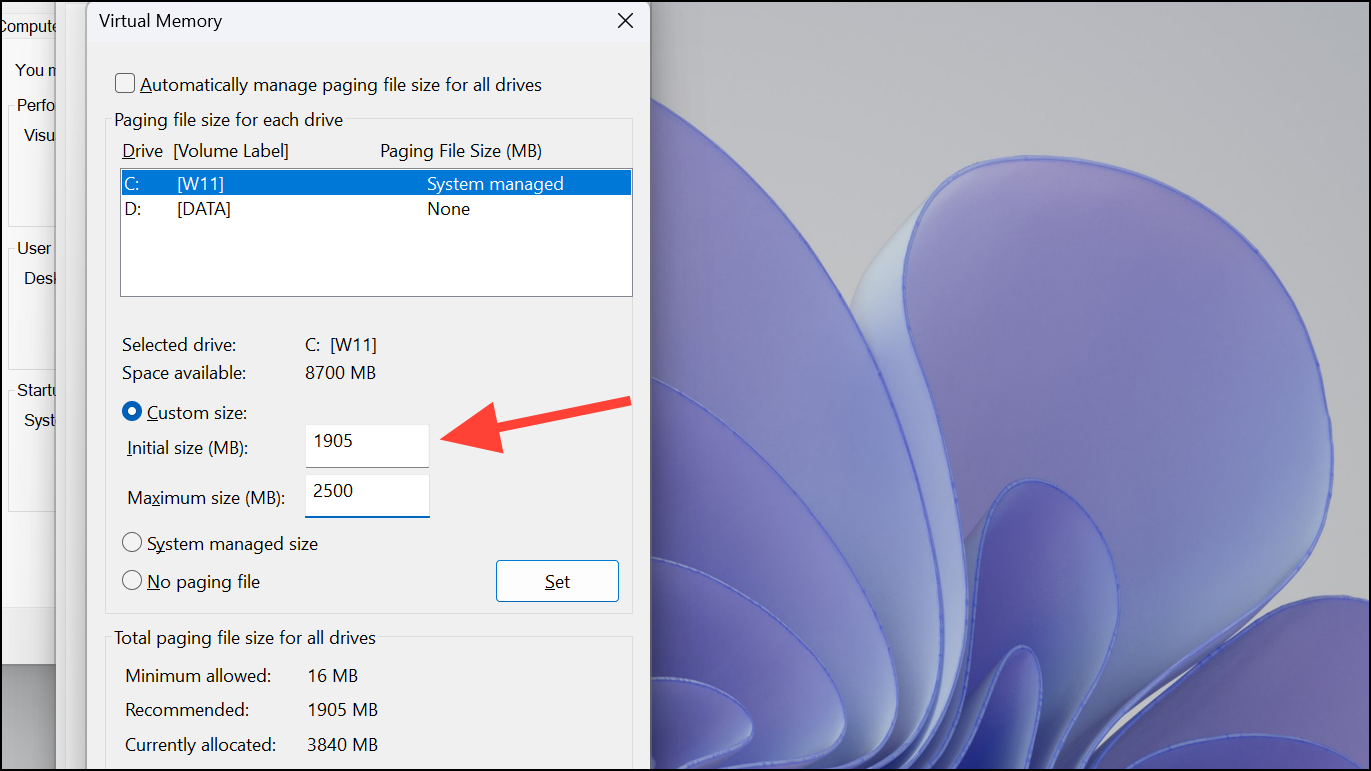
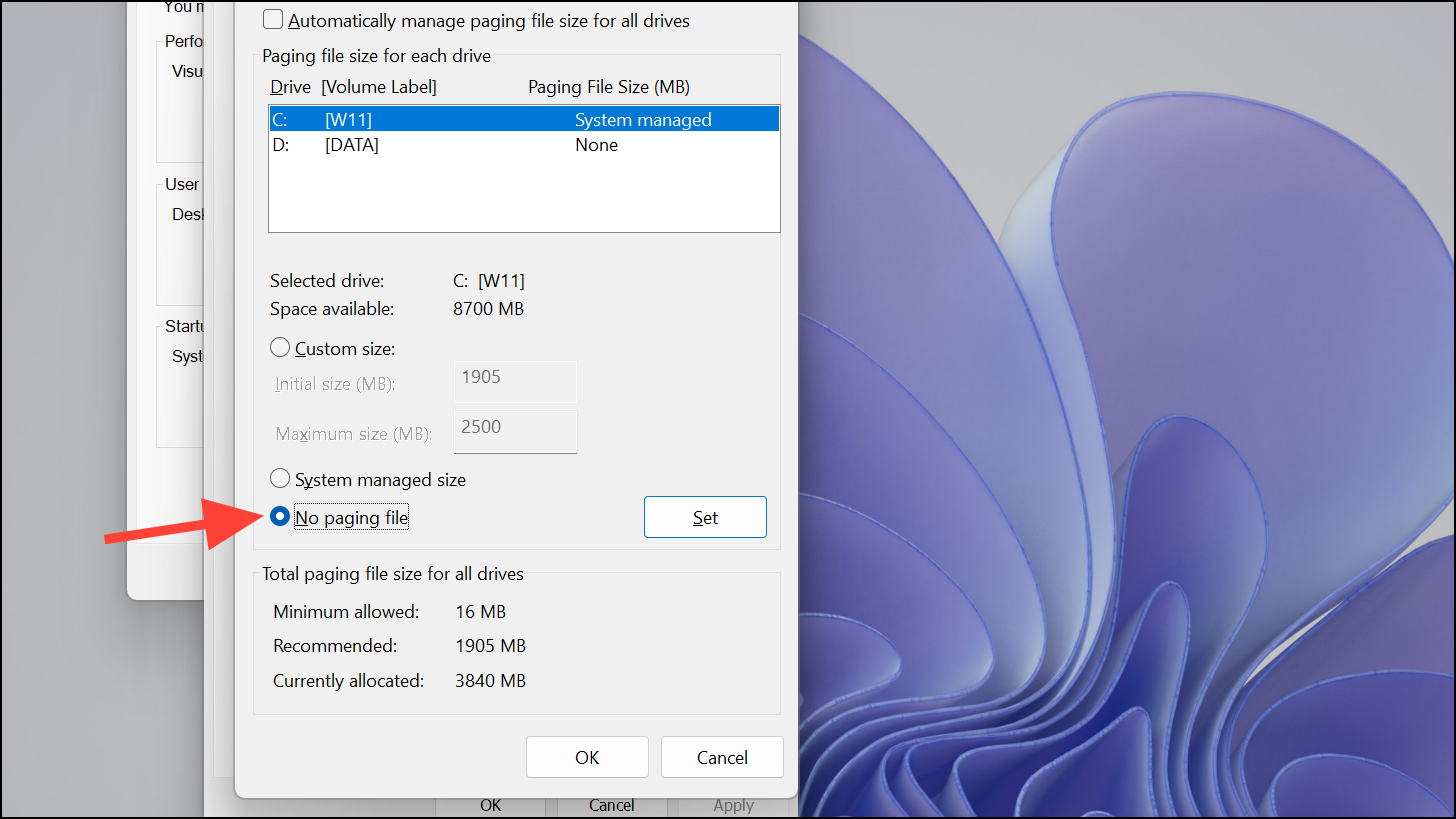
9. Reset Virtual Memory
Virtual memory supplements your RAM by using disk space. If not configured properly, it can lead to high disk usage.
If none of the above methods resolve the high disk usage issue, it’s advisable to check the health of your hard drive. Use a disk health monitoring tool to scan for errors or consider upgrading to a Solid State Drive (SSD) if you’re using a traditional Hard Disk Drive (HDD) for improved performance.


