The CLOCK_WATCHDOG_TIMEOUT error is a Blue Screen of Death (BSOD) error in Windows that can abruptly shut down and restart your system. While annoying, this error is often diagnosable and fixable, especially if it’s software-related. This comprehensive guide will walk you through several methods to resolve the issue, providing detailed instructions for each step.
The CLOCK_WATCHDOG_TIMEOUT error can occur due to various reasons, including a deadlocked CPU, faulty RAM modules, or malicious drivers. It’s important to note that this error can be both software and hardware-related, which is why we’ll explore a range of solutions.
Method 1: Remove USB Devices
Sometimes, the simplest solution works best. USB devices can sometimes cause conflicts that lead to this error. Follow these steps:
- Shut down your computer completely.
- Disconnect all USB peripherals from your computer. This includes external hard drives, USB flash drives, printers, and any other USB devices.
- Power on your computer and use it as normal.
- If the error doesn’t occur, it’s likely that one of the USB devices was causing the issue. Reconnect them one by one to identify the problematic device.
Method 2: Run DISM and SFC Scan
Windows includes built-in tools that can help repair corrupt system files. We’ll use the Deployment Image Servicing and Management (DISM) tool and the System File Checker (SFC). Here’s how to do it:
-
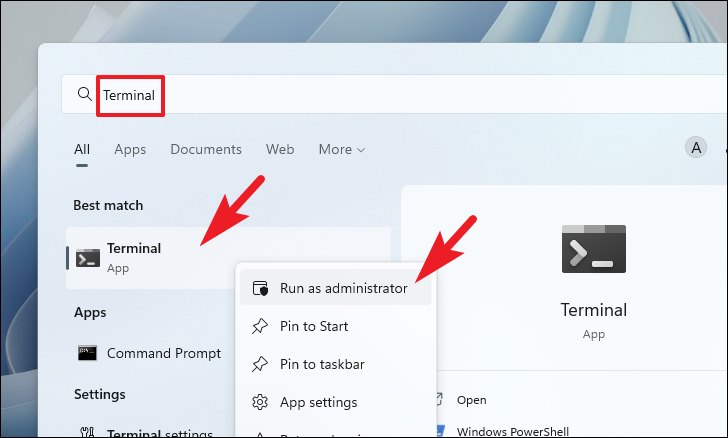
Open the Terminal as an administrator. To do this, press the Windows key, type “Terminal”, right-click on “Terminal” in the search results, and select “Run as administrator”.
-
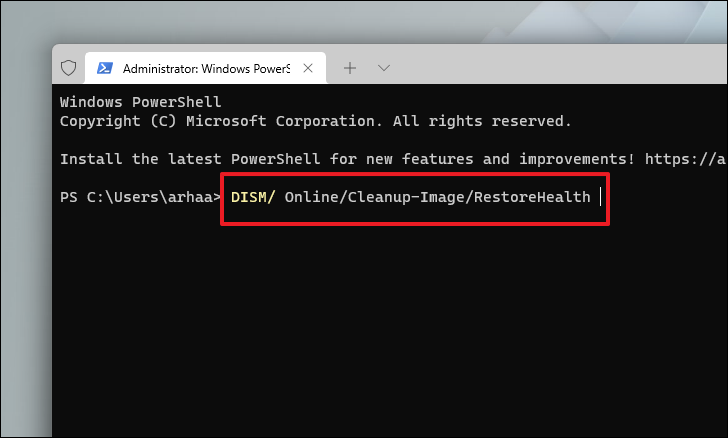
In the Terminal window, type the following command and press Enter:
DISM /Online /Cleanup-Image /RestoreHealthThis command will check for and repair any corruption in the Windows component store. It may take several minutes to complete.
-
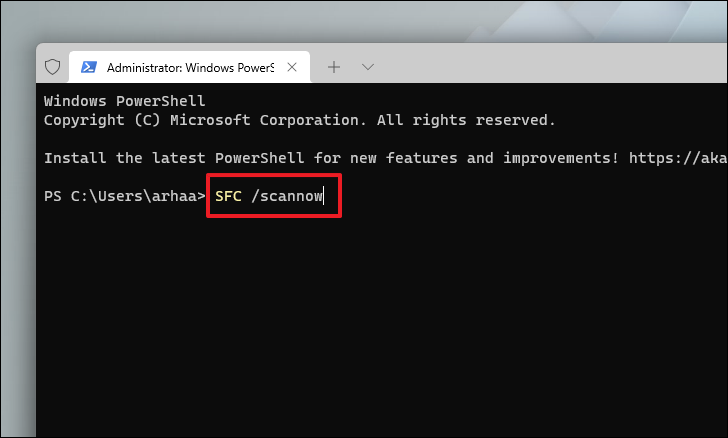
After the DISM command completes, run the System File Checker by typing the following command and pressing Enter:
SFC /scannowThis command will scan all protected system files and replace corrupted files with a cached copy.
-
Once both scans are complete, restart your computer to apply any changes.
Method 3: Update or Install Missing Drivers
Faulty or outdated drivers can cause the CLOCK_WATCHDOG_TIMEOUT error. Here’s how to check for and install driver updates:
-
Open the Settings app by pressing Windows key + I.
-
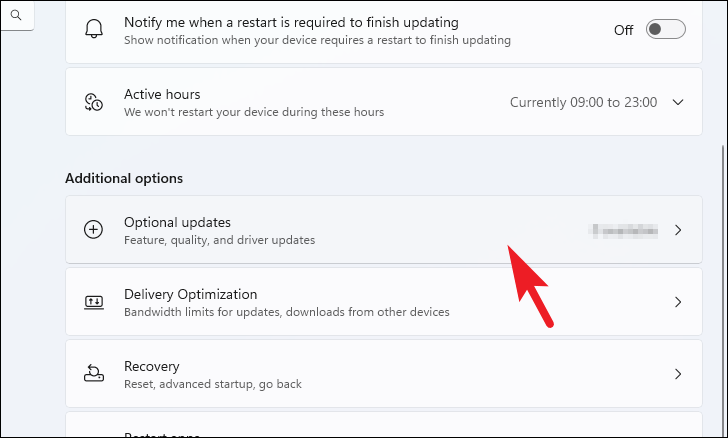
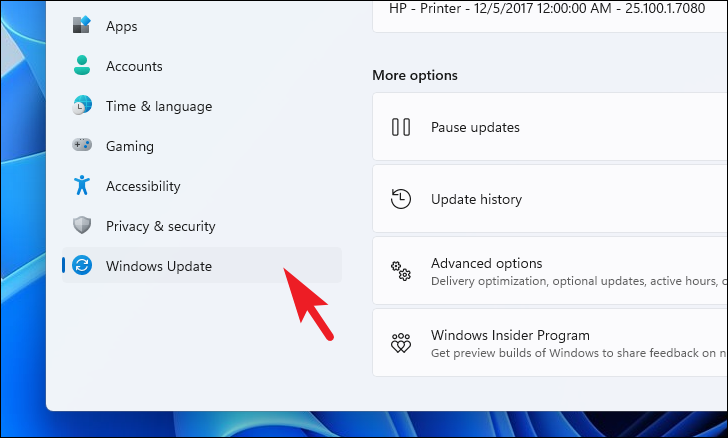
Navigate to Windows Update > Advanced options > Optional updates.
-
Check if there are any driver updates available. If so, select them and click “Download & install”.
-
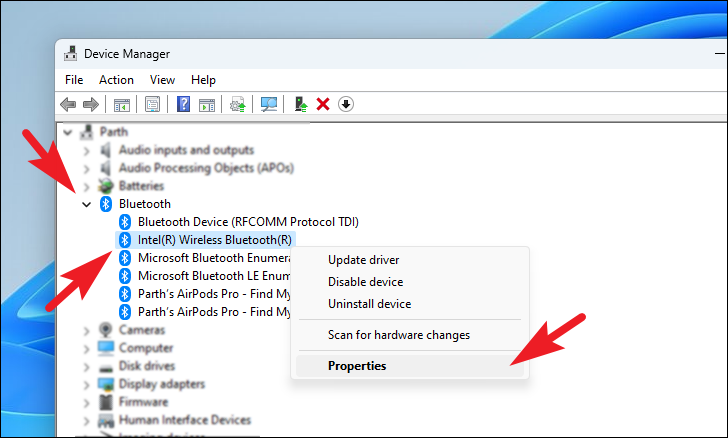
Alternatively, you can update drivers through Device Manager. Right-click on the Start button and select “Device Manager”.
-
In Device Manager, expand the categories and right-click on any device you suspect might be causing issues. Select “Update driver”.
-
Choose “Search automatically for drivers” and follow the prompts to complete the update process.
Method 4: Run Windows Memory Diagnostics
To check if faulty RAM is causing the issue, you can use the Windows Memory Diagnostic tool:
-
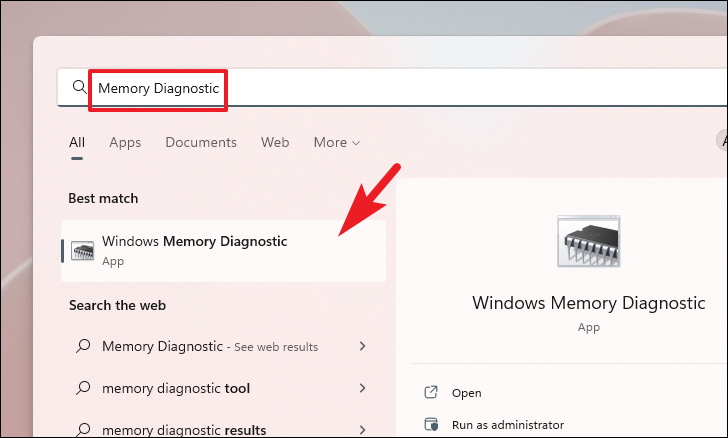
Press the Windows key and type “Windows Memory Diagnostic”. Click on the app when it appears in the search results.
-
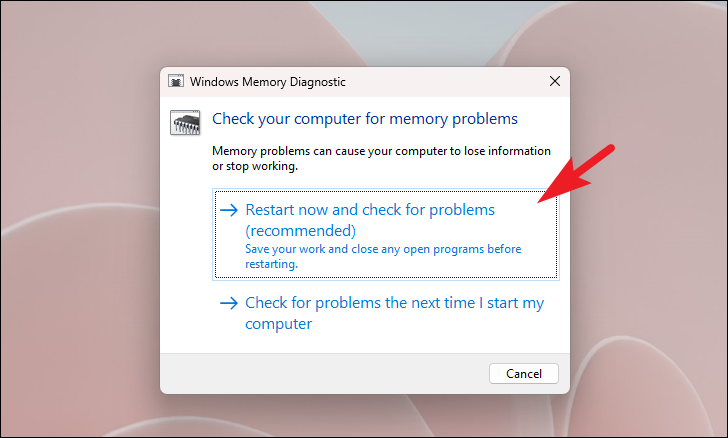
In the Windows Memory Diagnostic window, choose “Restart now and check for problems”. Your computer will restart and the diagnostic tool will run.
-
After your computer restarts, log in and wait for the test results. Windows will display them automatically.
-
If the test detects any problems with your RAM, you may need to replace the faulty memory module.
Method 5: Update Windows
Ensuring your system is up-to-date can often resolve many issues, including the CLOCK_WATCHDOG_TIMEOUT error:
-
Open the Settings app (Windows key + I) and click on “Windows Update” in the left sidebar.
-
Click the “Check for updates” button. Windows will search for and list any available updates.
-
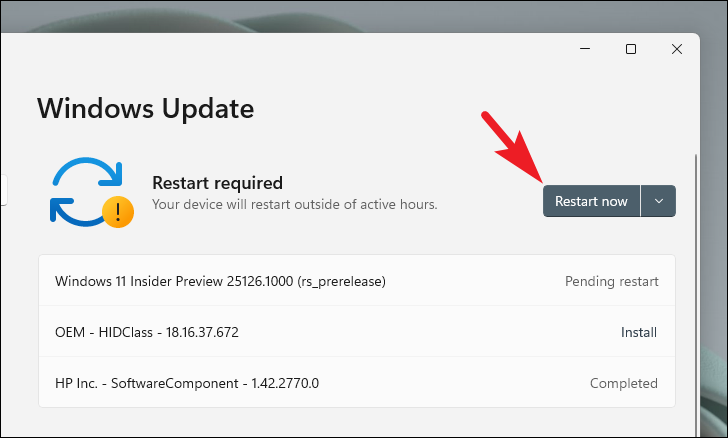
If updates are found, click “Download & install” to begin the update process.
-
After the updates are installed, restart your computer to complete the process.
Method 6: System Restore
If the error started after a recent change to your system, you can use System Restore to revert your computer to a previous state:
-
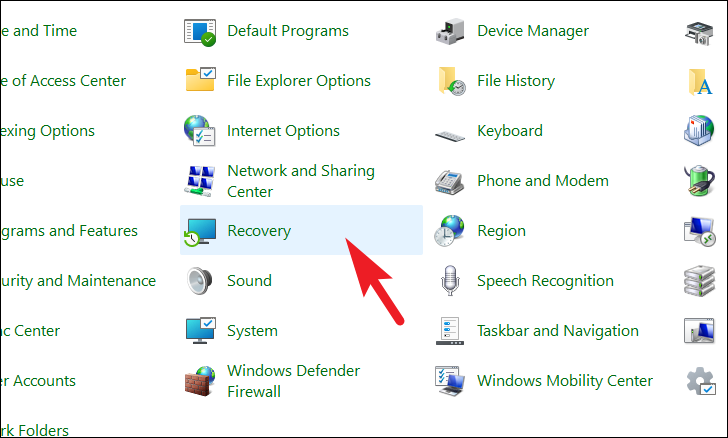
Open the Control Panel by searching for it in the Start menu.
-
In the Control Panel, find and click on “Recovery”.
-
Click on “Open System Restore” and then click “Next” in the window that appears.
-
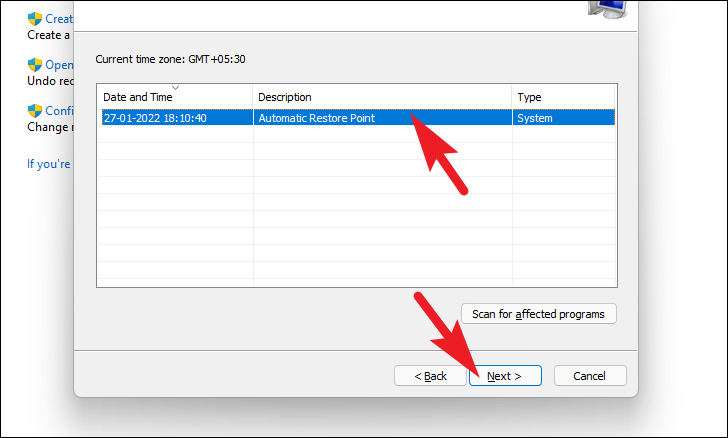
You’ll see a list of restore points. Select a restore point from a date before you started experiencing the error.
-
Click “Next” and then “Finish” to start the restore process. Your computer will restart during this process.
Method 7: Reinstall Windows
If all else fails, you may need to reinstall Windows. This should be your last resort as it will remove all apps and files on your system drive:
-
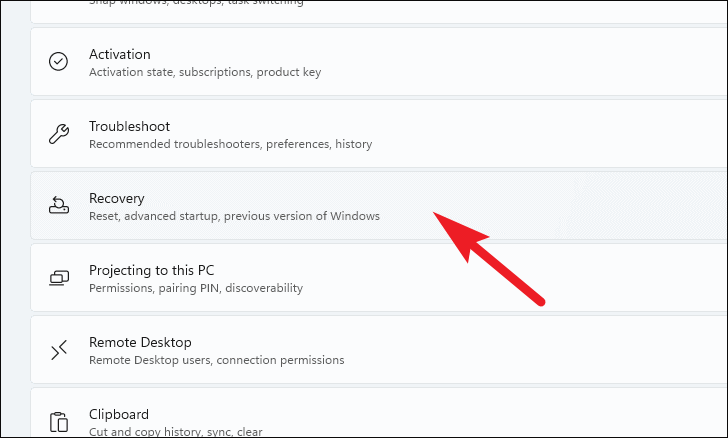
Open Settings and navigate to System > Recovery.
-
Under “Recovery options”, click on “Reset PC”.
-
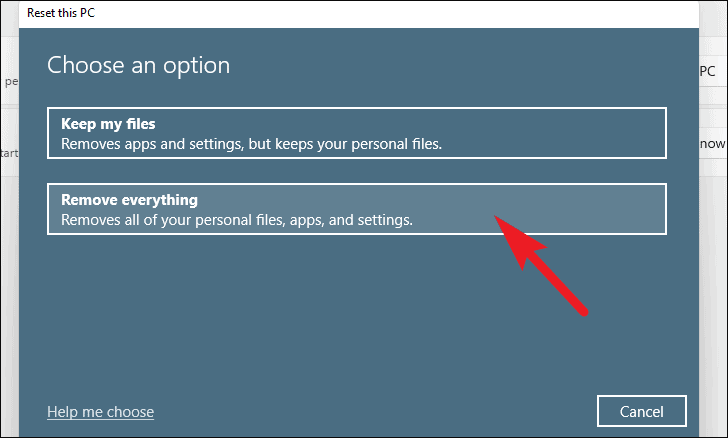
Choose “Remove everything” to perform a clean install of Windows.
-
Follow the on-screen prompts to complete the reinstallation process. This may take several hours.
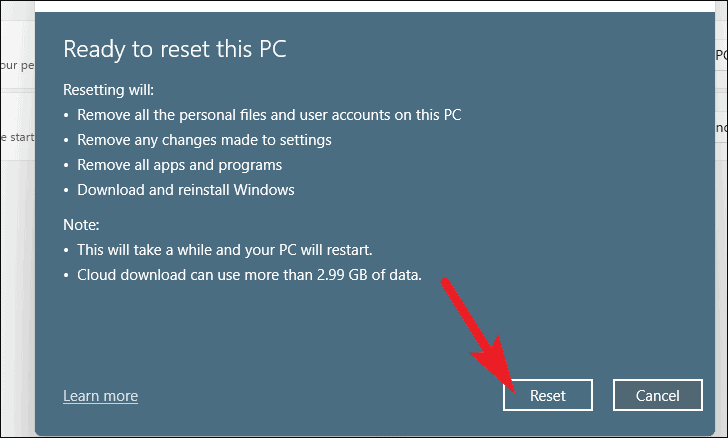
Important: Before reinstalling Windows, make sure to back up all your important files and data to an external drive or cloud storage service.
By following these methods systematically, you should be able to resolve the CLOCK_WATCHDOG_TIMEOUT error on your Windows PC. If the issue persists after trying all these solutions, it may indicate a hardware problem requiring professional assistance. In such cases, consider contacting Microsoft support or a qualified computer technician for further guidance.


