How to Fix “DHCP is Not Enabled for WiFi” Error in Windows 11
Are you getting a 'DHCP is not enabled for "Wi-Fi"' error message when you're trying to connect to the Internet? Try these methods to fix it.
Are you getting a ‘DHCP is not enabled for “Wi-Fi”‘ error message when you’re trying to connect to the Internet? Try these methods to fix it.
by Raj Kumar
Experiencing the “DHCP is not enabled for ‘Wi-Fi’” error on your Windows 11 computer can be frustrating, especially when it hinders your internet connectivity. This error indicates that your system isn’t obtaining an IP address from the DHCP server, which is essential for network communication.
You might also see similar messages like:
DHCP is not enabled for “Wireless Network Connection”
DHCP is not enabled for “Ethernet”
DHCP is not enabled for “Local Area Connection”
Regardless of the specific wording, the underlying issue remains the same, and the solutions provided here can help you resolve it.
Why does the ‘DHCP is not enabled for WiFi’ error occur?
Several factors can cause this error, preventing your computer from communicating with the DHCP server. Common reasons include:
Incorrect DHCP Server Configuration: The DHCP server may have misconfigured settings, incorrect IP ranges, or subnet masks.
Router or Access Point Issues: The router might have DHCP disabled or configured improperly.
IP Address Exhaustion: The DHCP server may have run out of available IP addresses to assign.
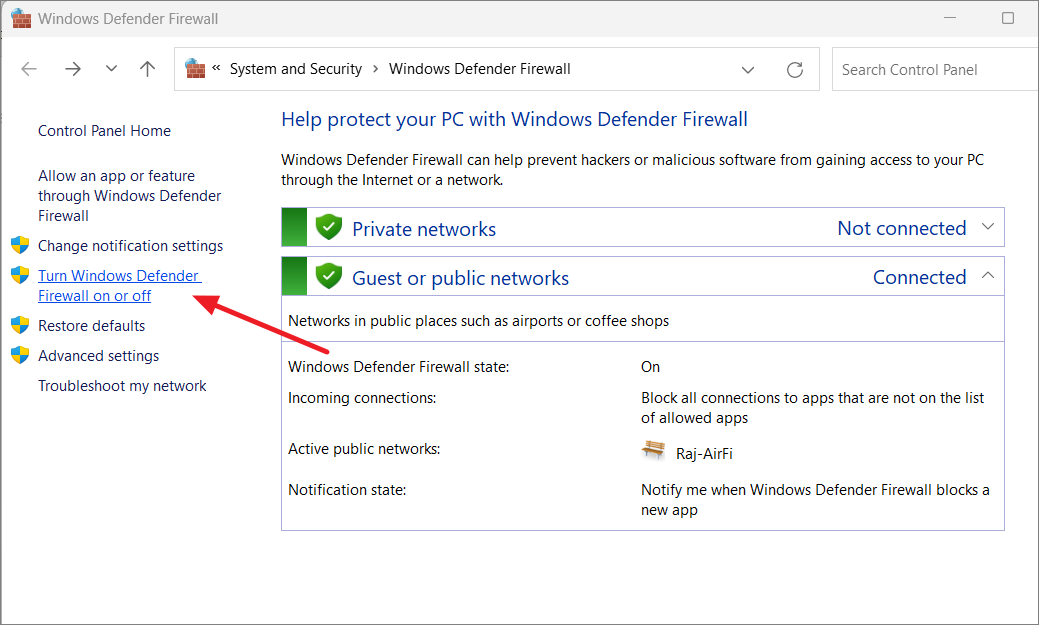
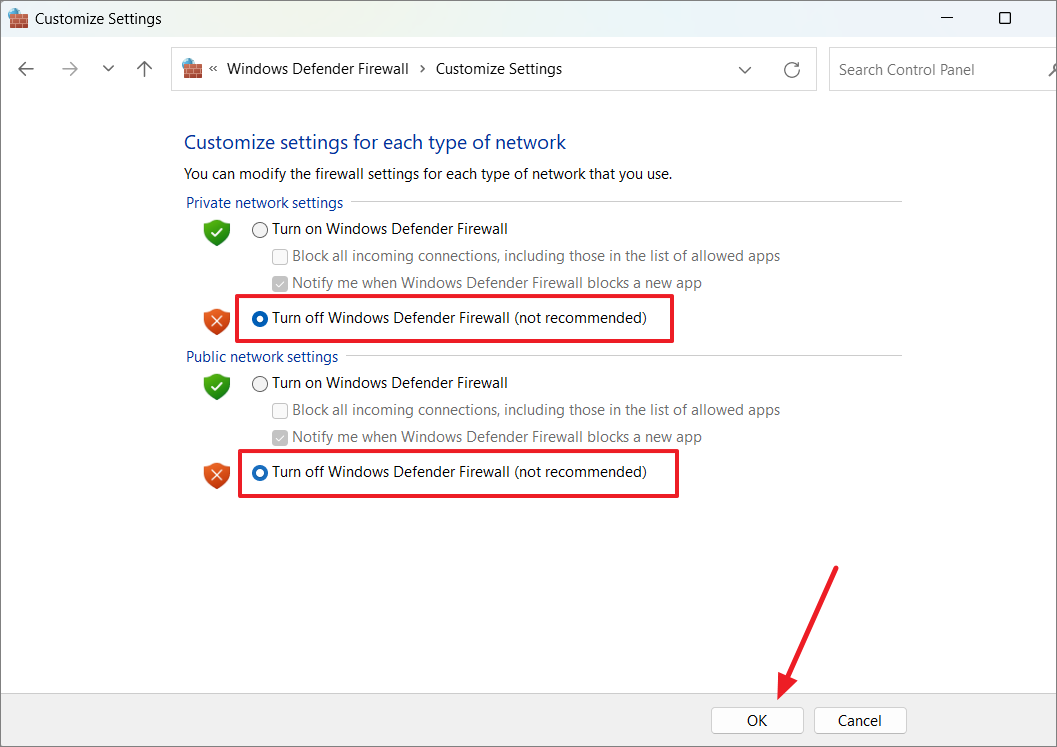
Firewall or Security Settings: Firewalls might be blocking DHCP traffic.
Network Misconfiguration: Incorrect network settings can prevent proper communication with the DHCP server.
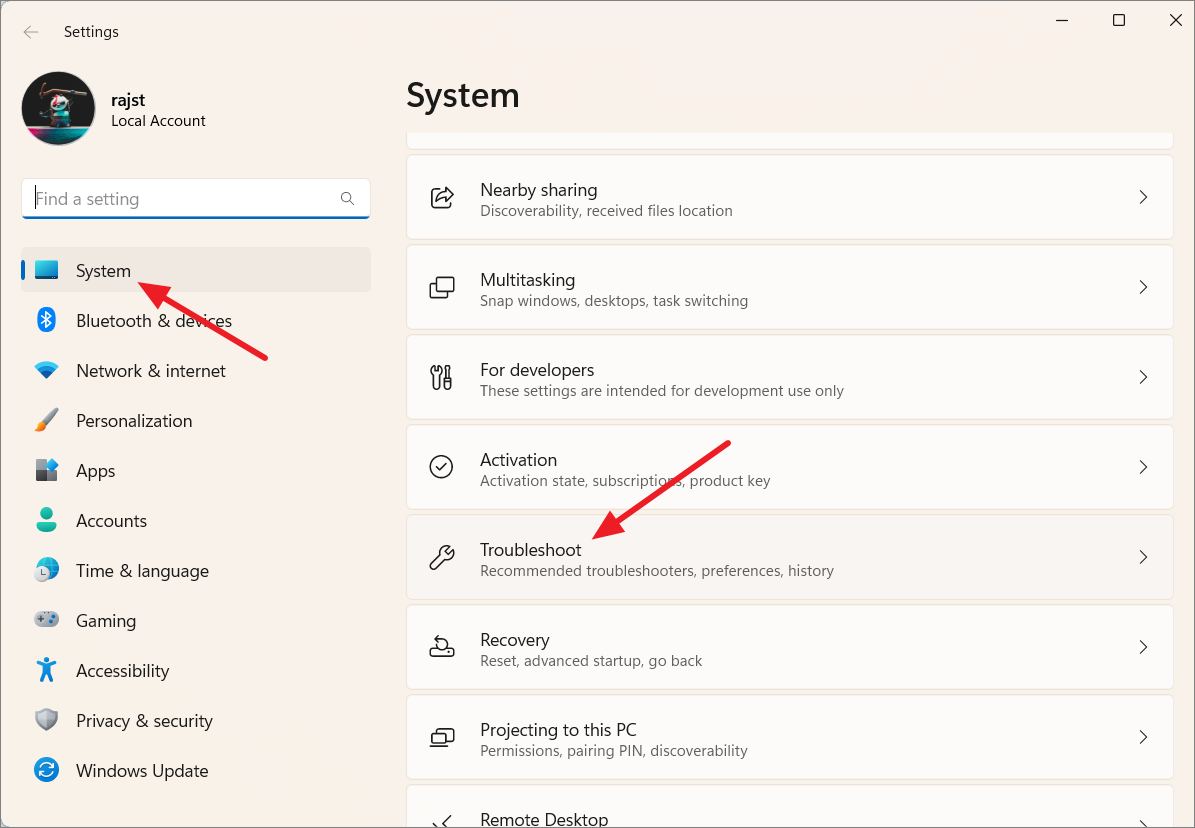
Fix the ‘DHCP is not enabled for WiFi’ error in Windows 11
Below are several methods to resolve the DHCP error on your Windows 11 device. Start with the first solution and work your way down if the issue persists.
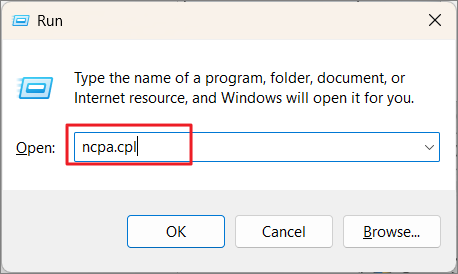
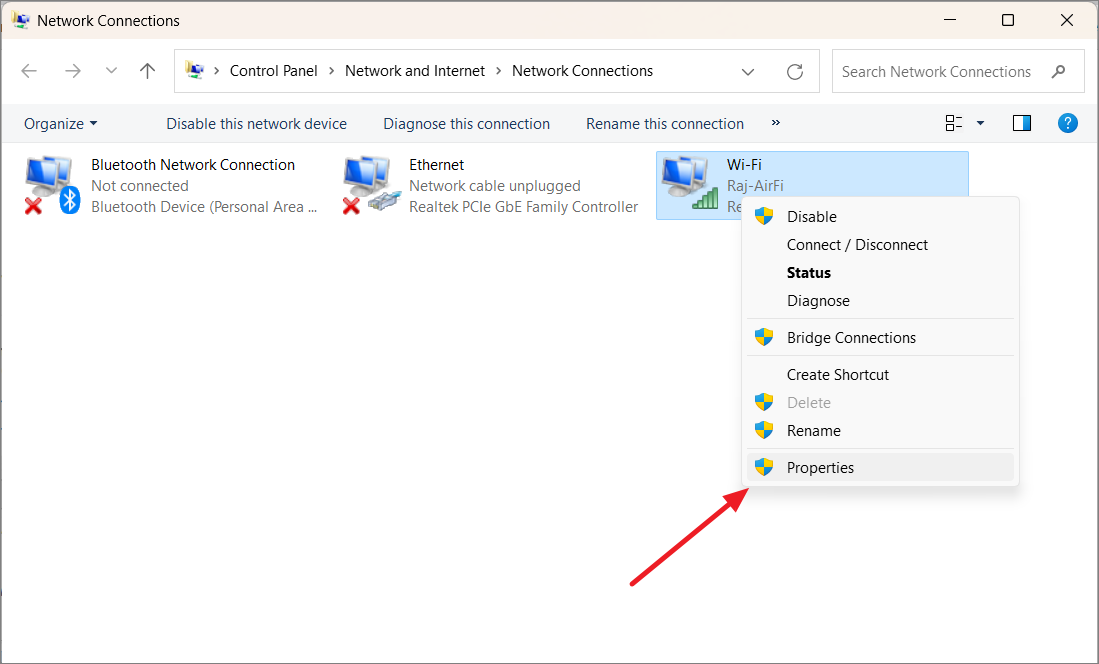
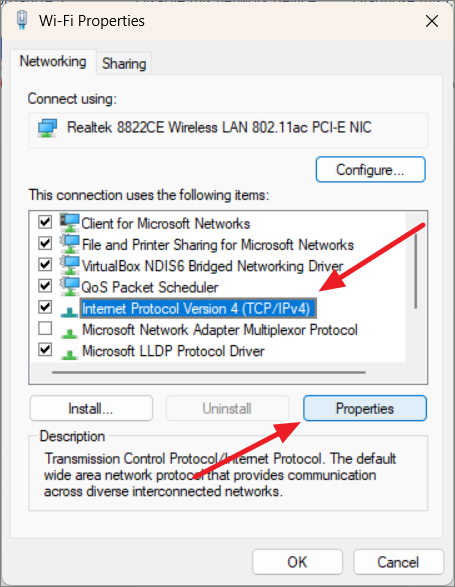
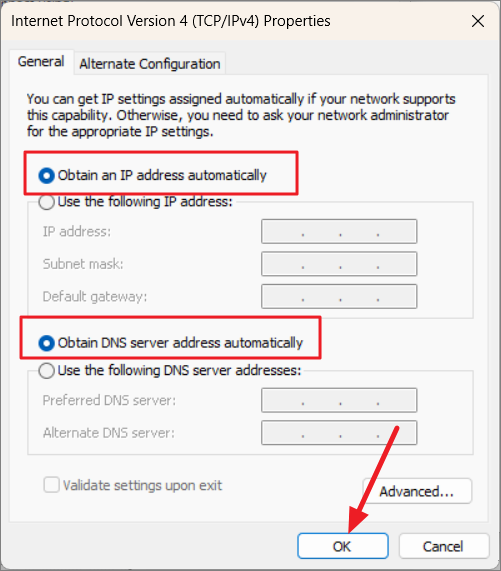
Enable DHCP via Network Adapter Settings
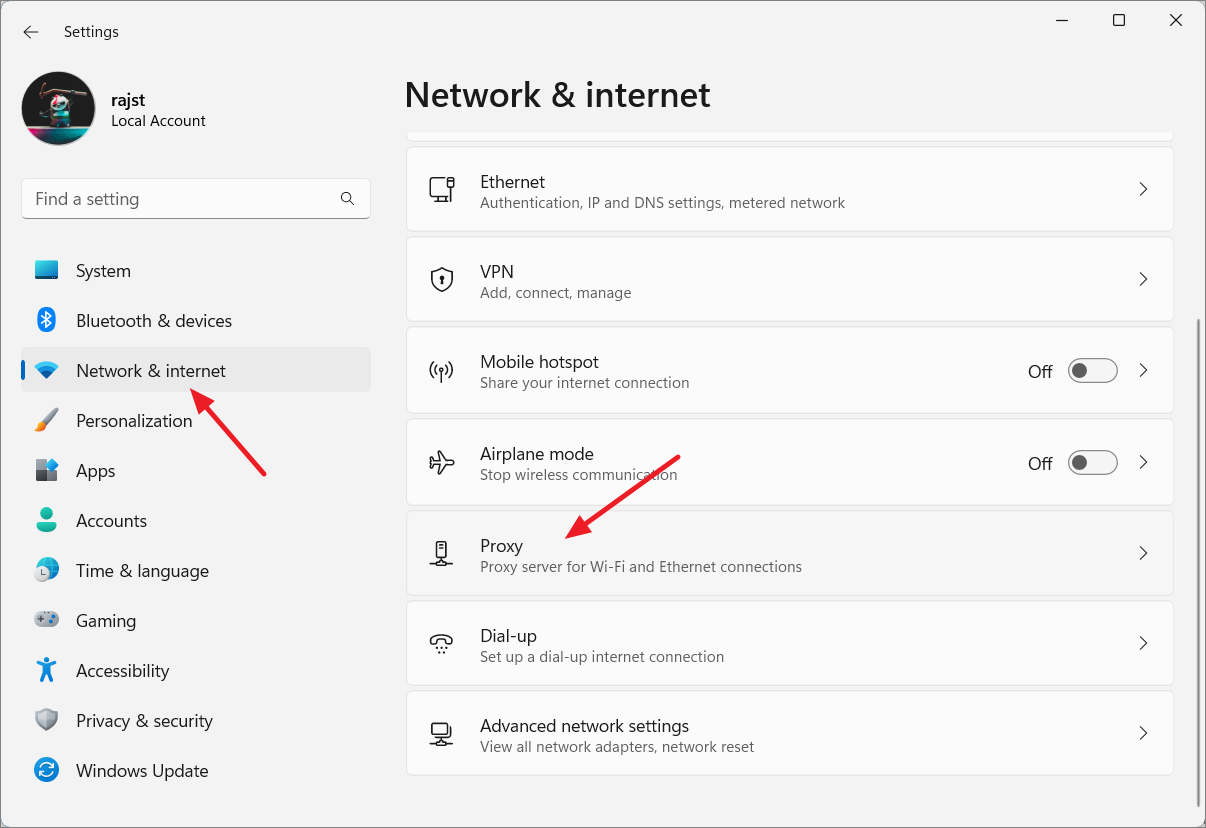
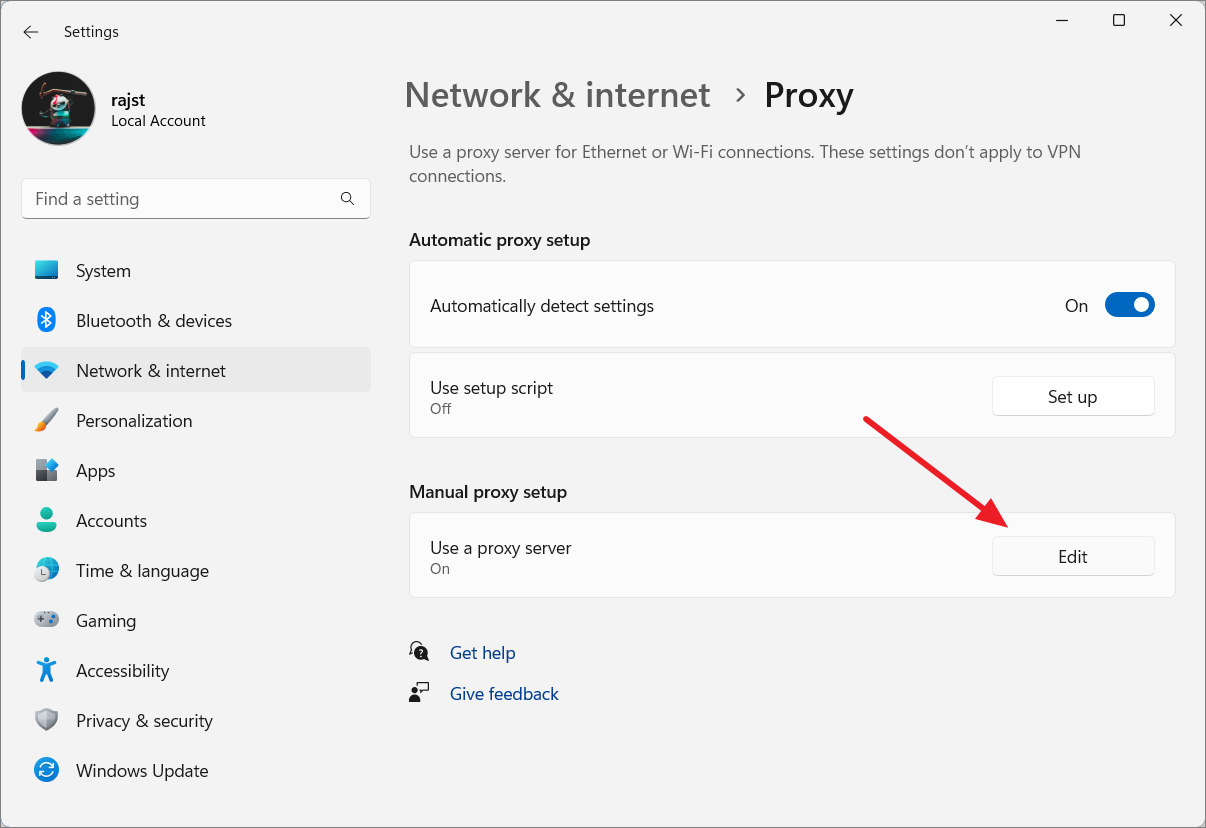
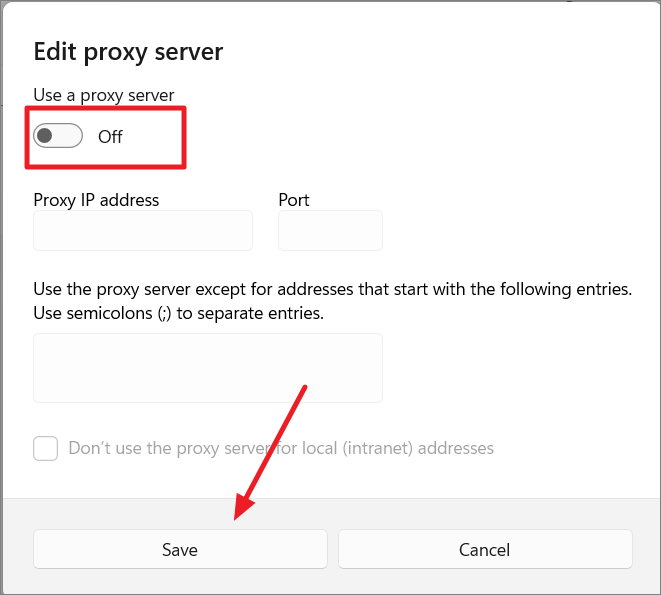
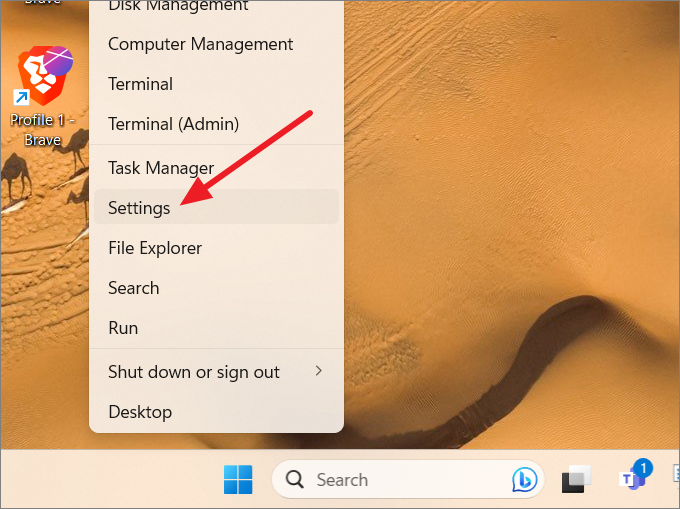
Ensuring that your network adapter is set to obtain IP and DNS server addresses automatically can resolve the DHCP error. Here’s how to check and enable these settings: