How to Fix iMessage Sending from Email Instead of Phone Number
Contacts receiving iMessage from an email address instead of your phone number? Quickly fix the issue using these simple steps either from your iPhone or MacBook.
Contacts receiving iMessage from an email address instead of your phone number? Quickly fix the issue using these simple steps either from your iPhone or MacBook.
by Parth Sawhney
Occasionally, iMessage may send messages from your email address rather than your phone number, especially when multiple addresses are associated with your Apple ID. This can be inconvenient if you prefer others to see your phone number.
Change iMessage address from the Settings app on your iPhone
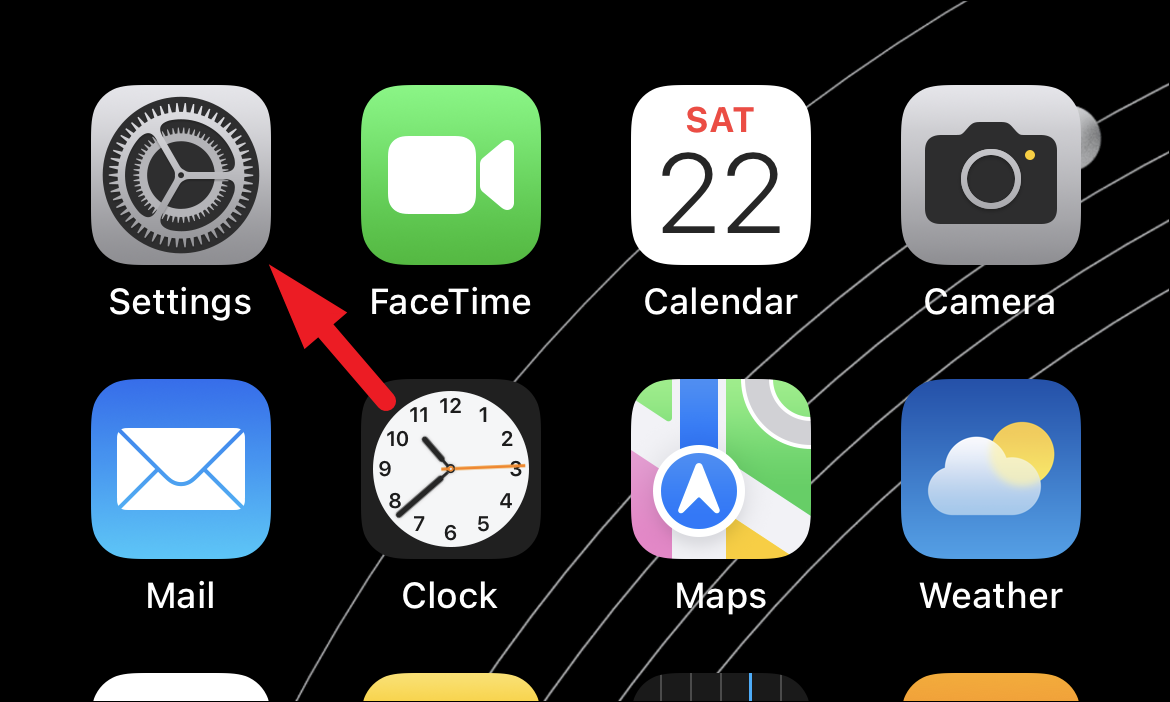
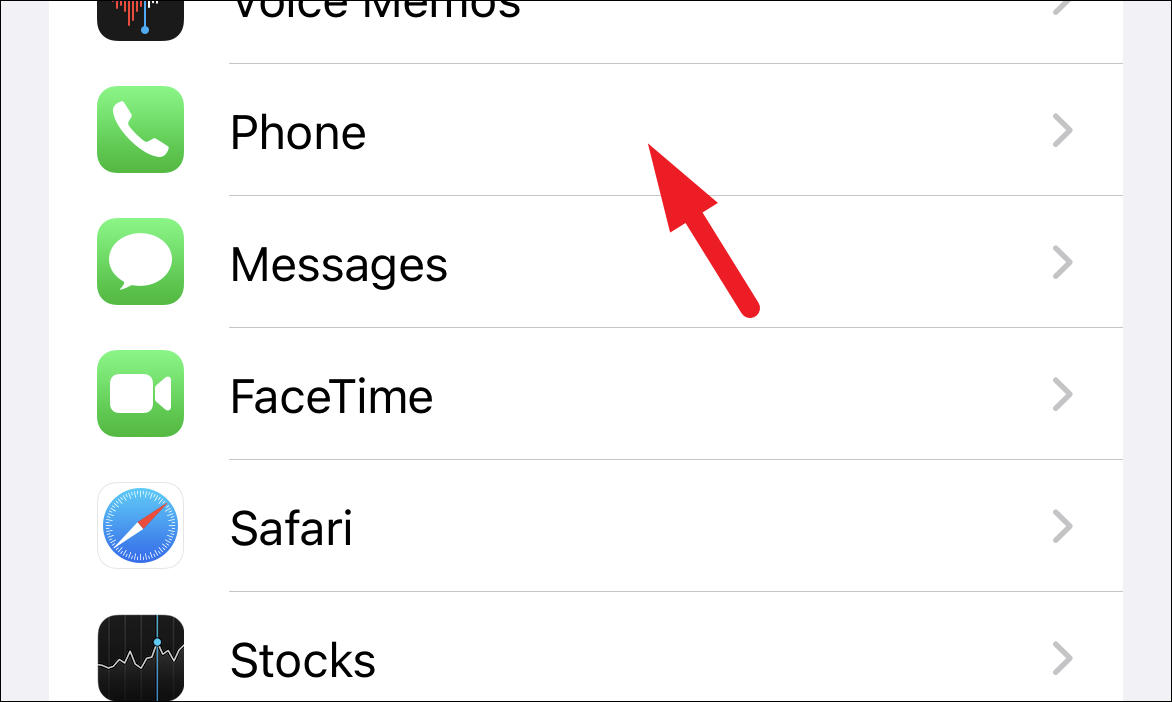
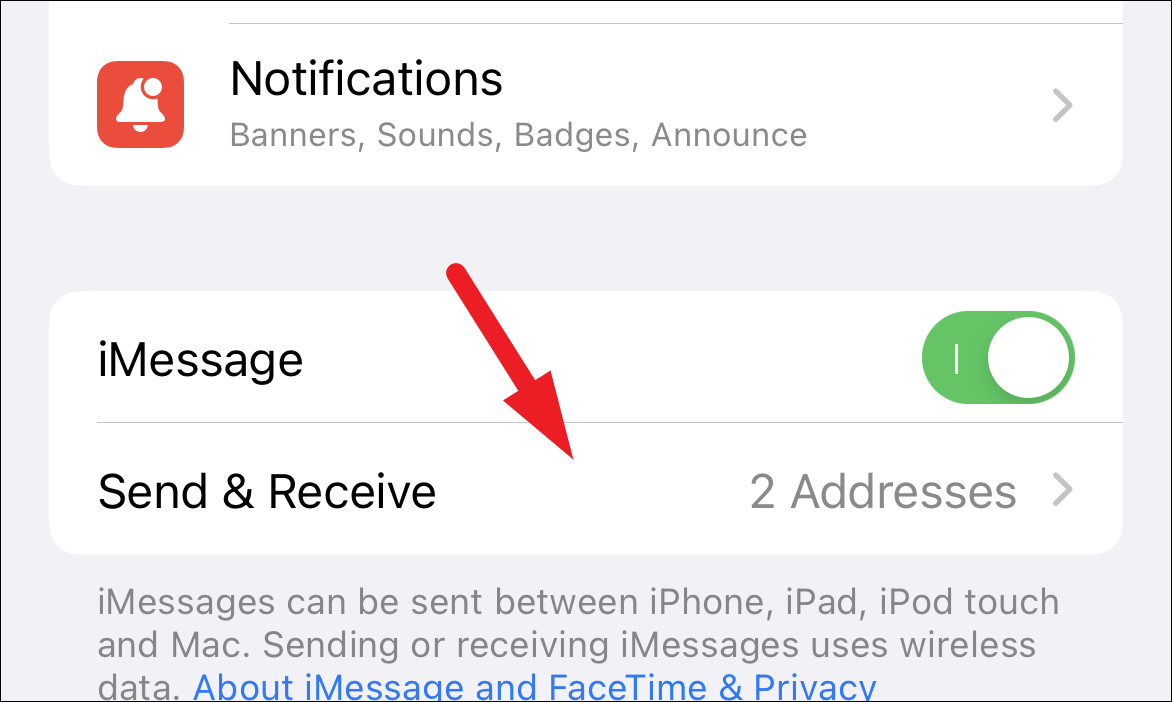
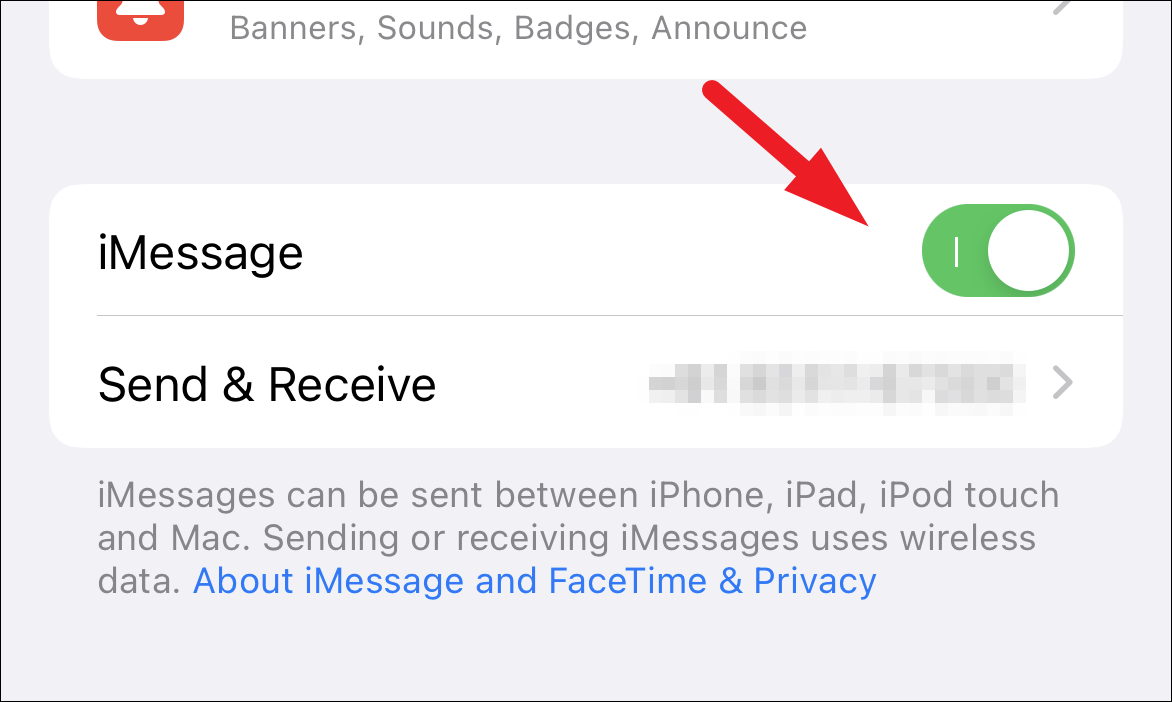
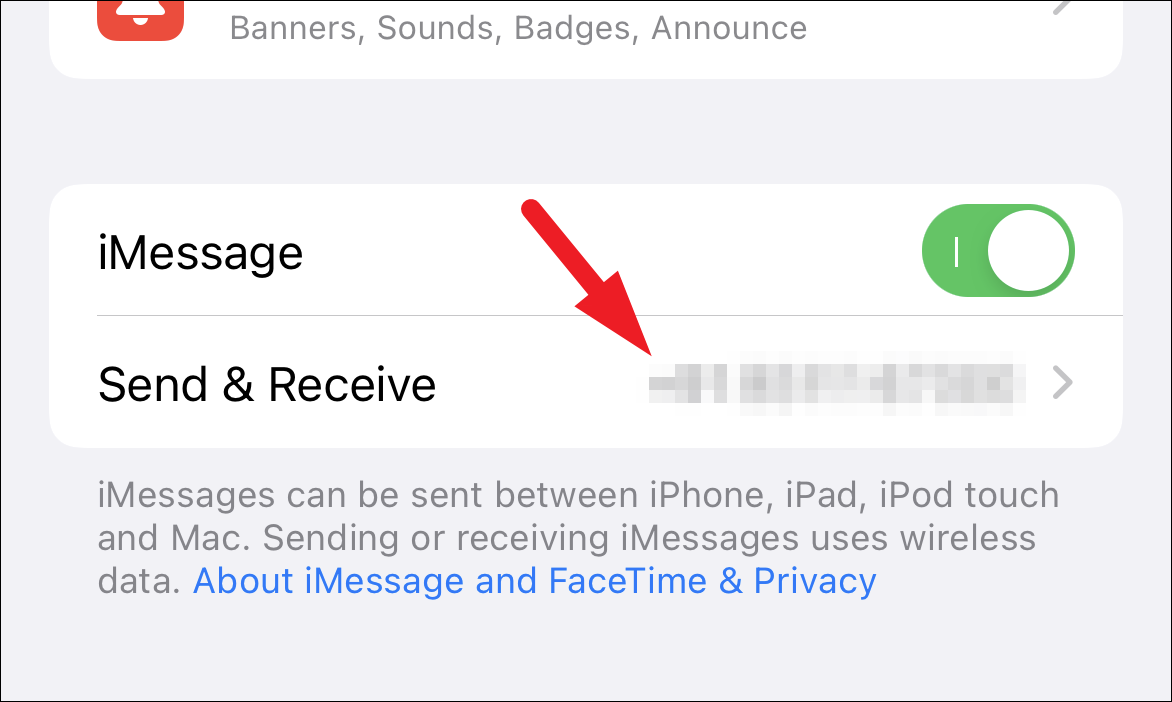
You can quickly adjust your iMessage settings to ensure messages are sent from your phone number. This can be done directly from your iPhone’s Settings app.
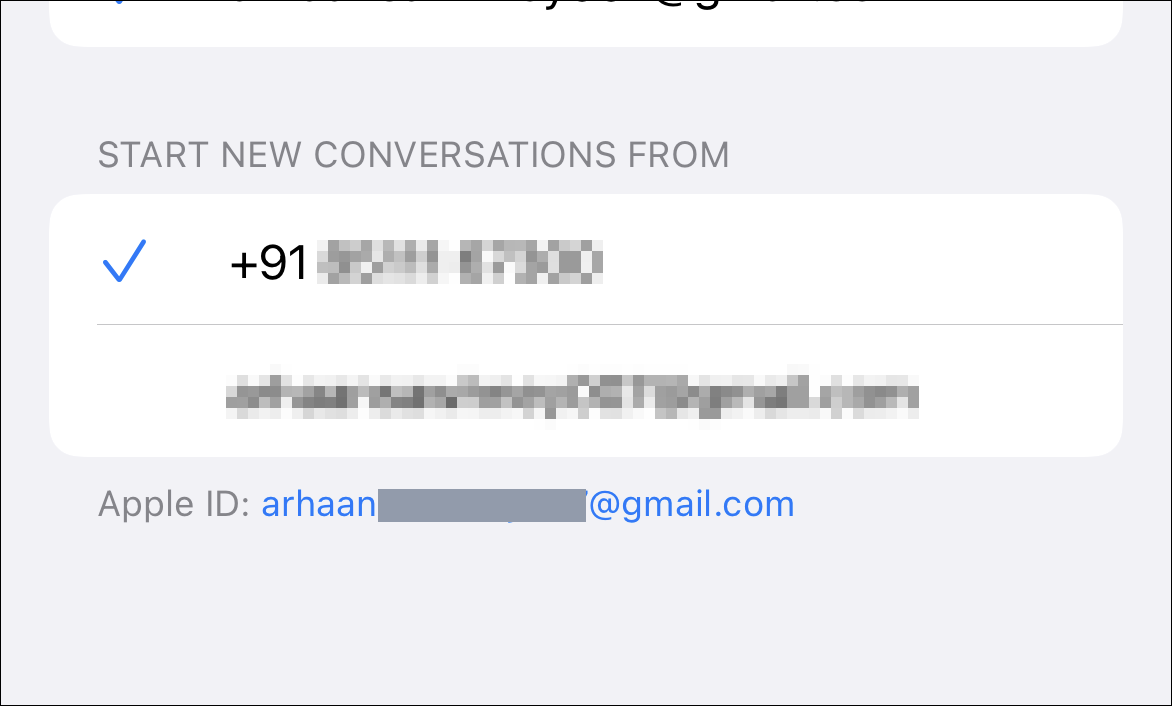
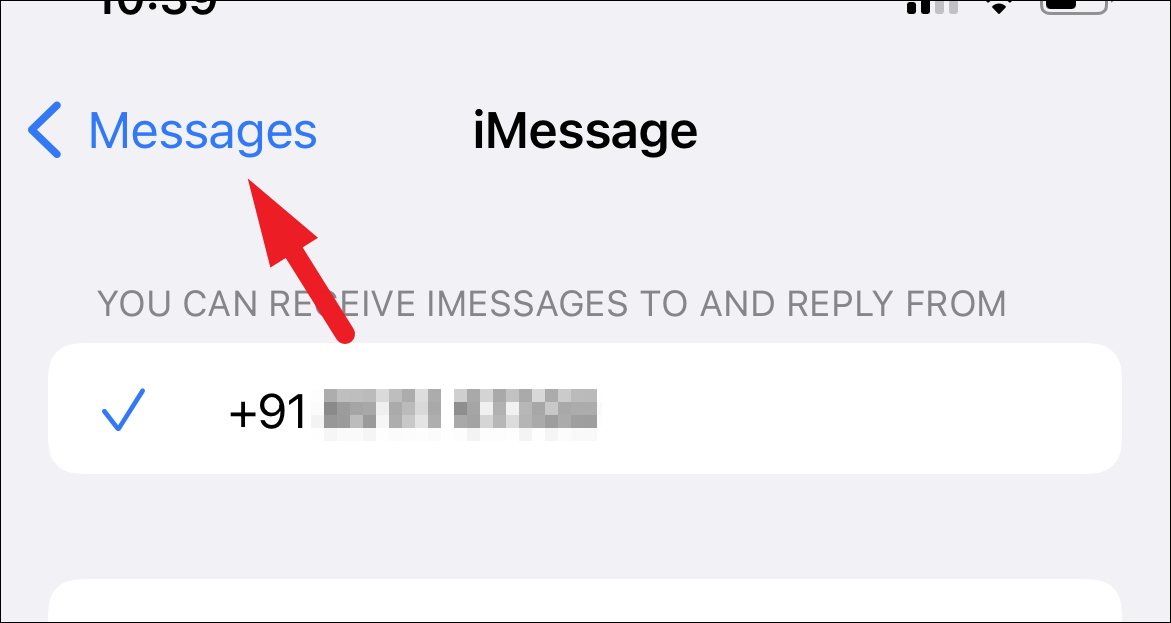
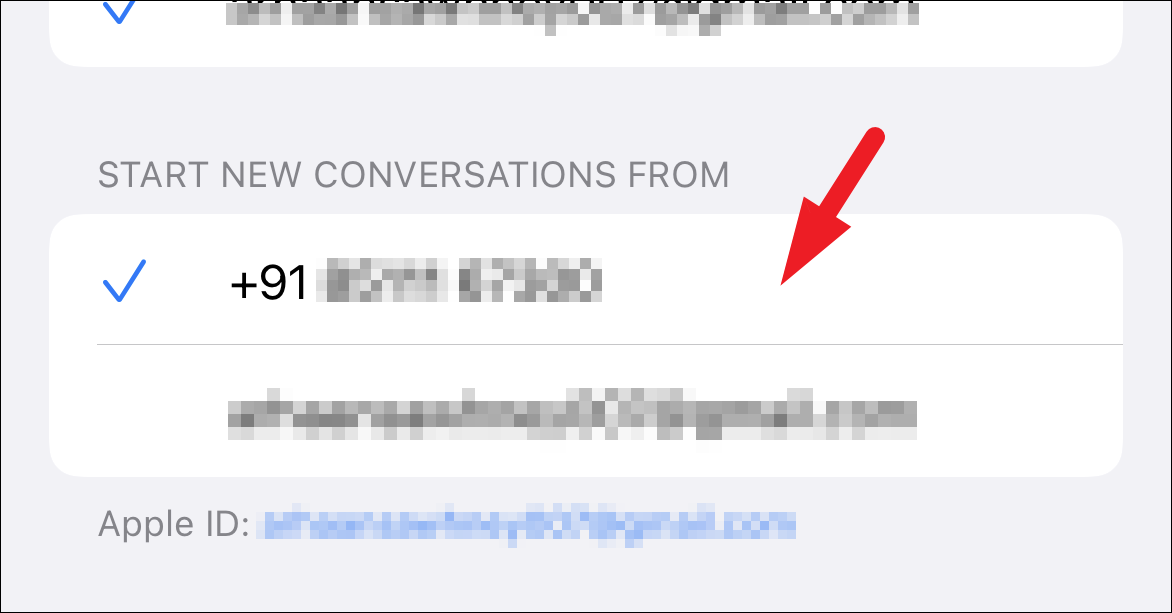
Under the Start New Conversations From section, select your phone number. A blue checkmark should appear next to it, indicating that new iMessages will be sent from your phone number.
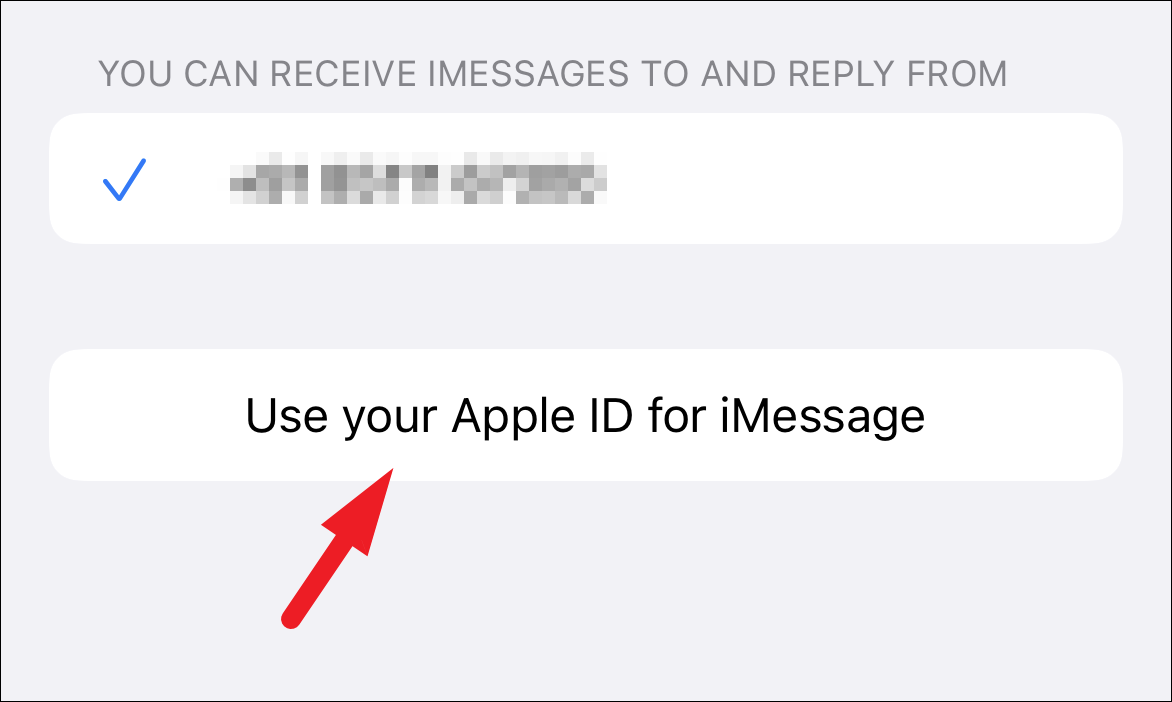
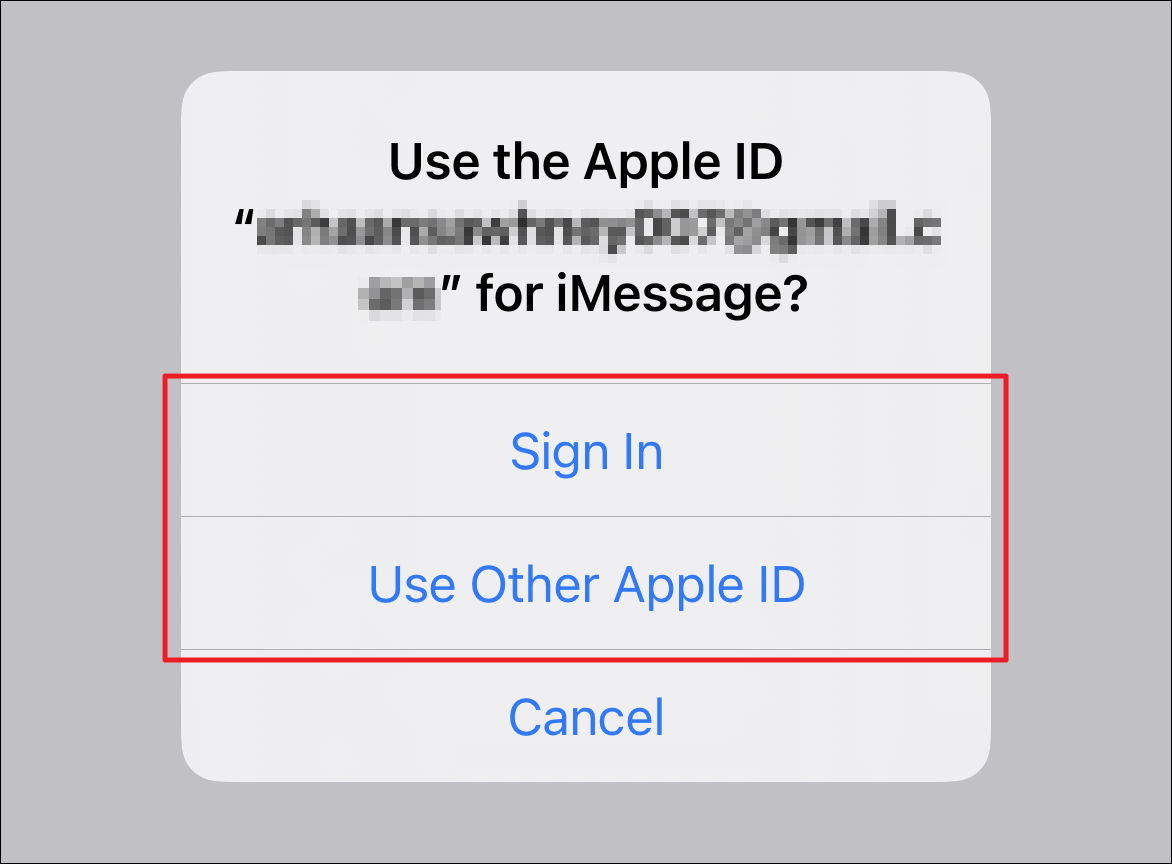
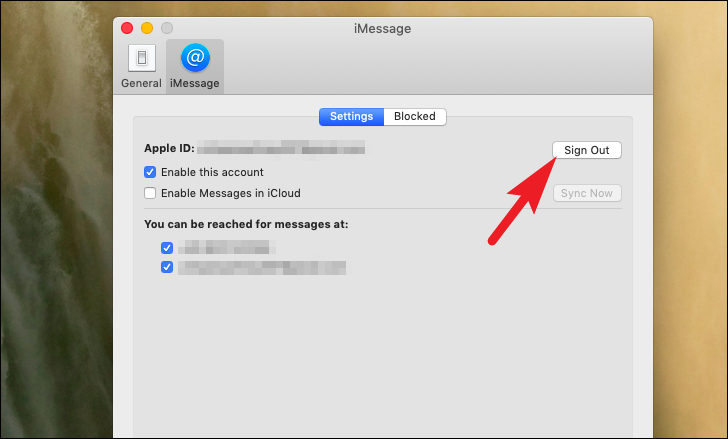
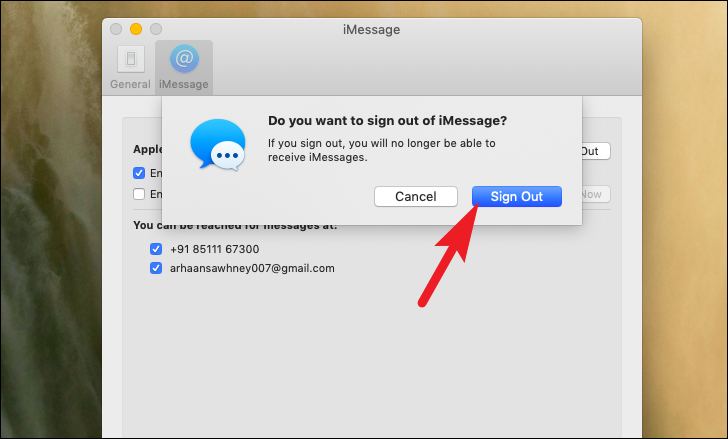
Note: If your phone number is greyed out and cannot be selected, you may need to sign out of your Apple ID and sign back in.
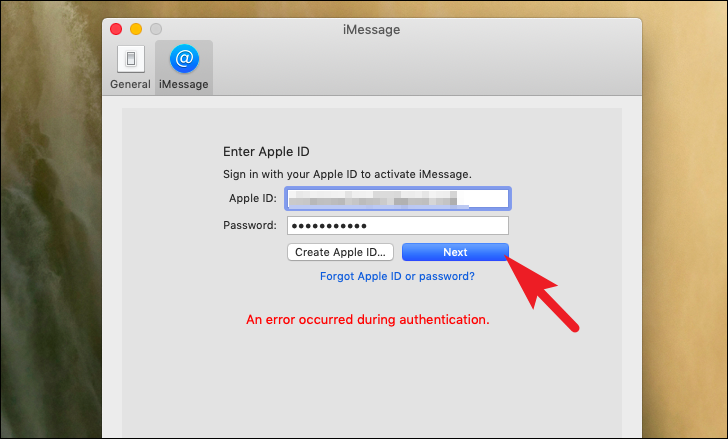
Once you’re signed back in, revisit the Start new conversations from: dropdown and select your phone number.
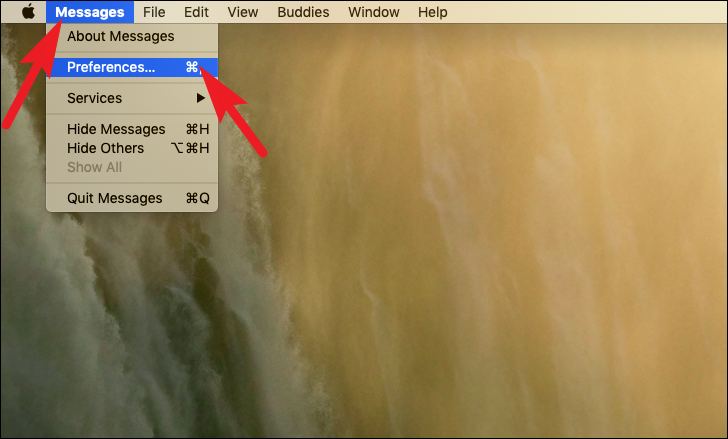
Your MacBook should now use your phone number when sending new iMessages.
By following these steps, you can ensure that your iMessages are sent from your phone number instead of your email address on both your iPhone and MacBook.