How to Fix Incompatible Drivers Error for Memory Integrity in Windows 11
4 simple methods to fix the "Incompatible Drivers" error and enable Memory Integrity in Windows Security on your PC.
4 simple methods to fix the “Incompatible Drivers” error and enable Memory Integrity in Windows Security on your PC.
by Parth Sawhney
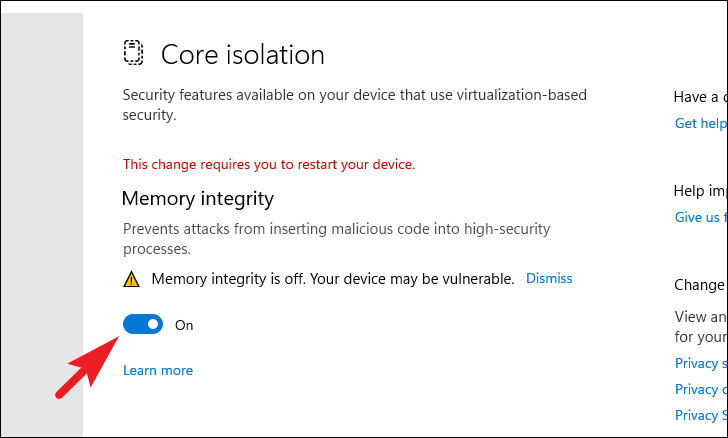
Memory Integrity is an essential security feature in Windows 11 that utilizes virtualization-based security to safeguard your system’s critical processes from kernel-level attacks. Activating this feature enhances your PC’s protection, but you might encounter an incompatible driver error that prevents it from enabling. This error can be caused by drivers or devices that aren’t even installed on your system. Fortunately, several solutions can help you resolve this issue.
Method 1: Delete the Incompatible Driver Using Windows Terminal
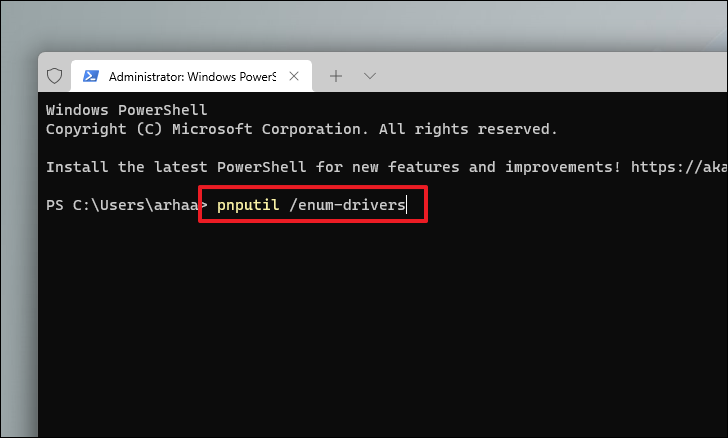
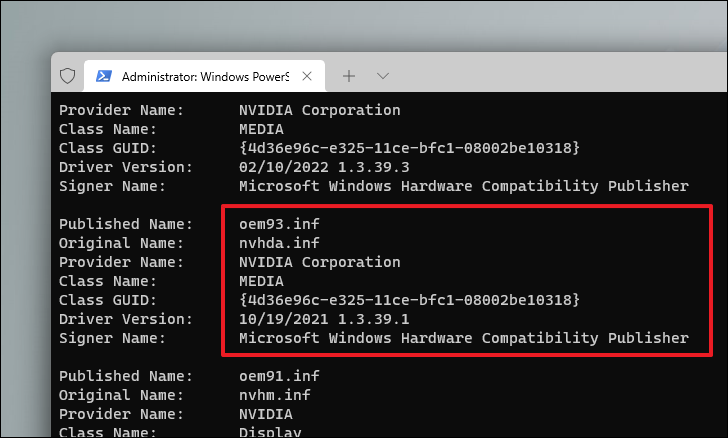
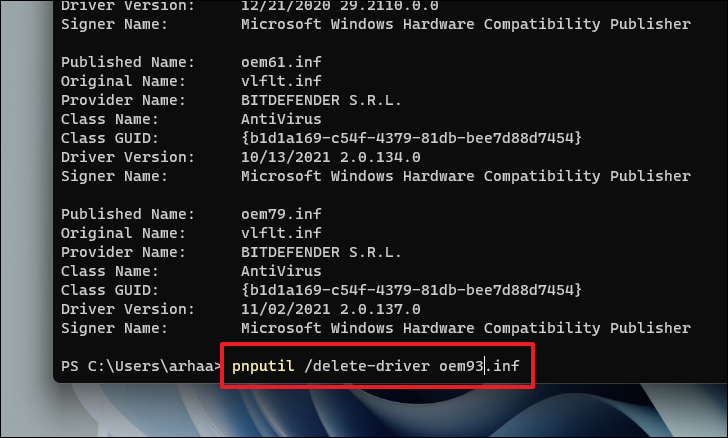
One effective way to fix the incompatible driver error is by removing the problematic driver using Windows Terminal. Before proceeding, make sure you’ve noted the Published name of the driver causing the issue. You can find this information in the ‘Core isolation’ settings within the Windows Security app.
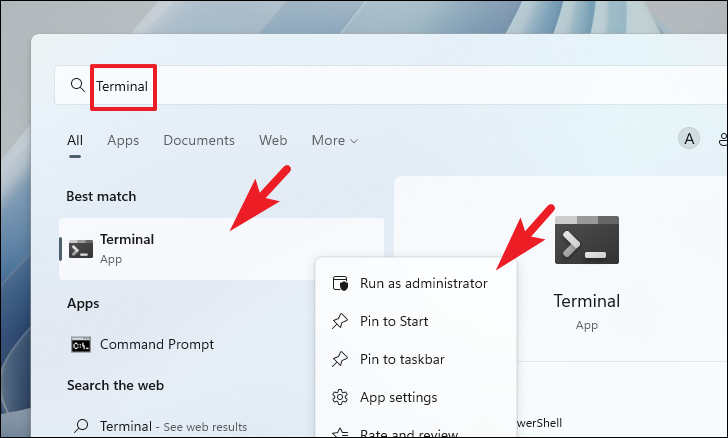
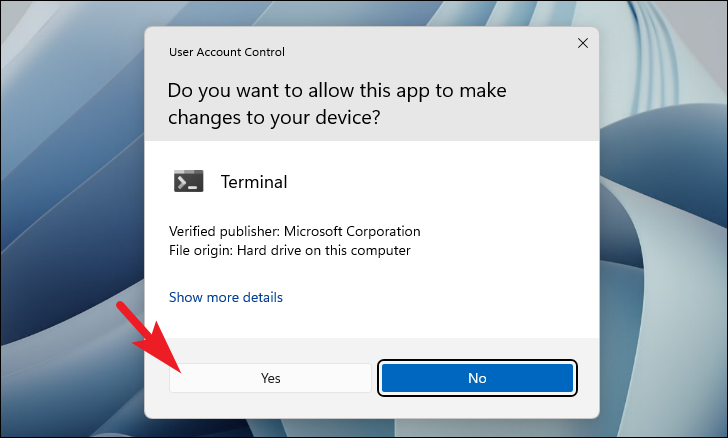
Open the Start Menu and type Terminal in the search bar. Right-click on the ‘Terminal’ app from the search results and select ‘Run as administrator’ to launch it with administrative privileges.
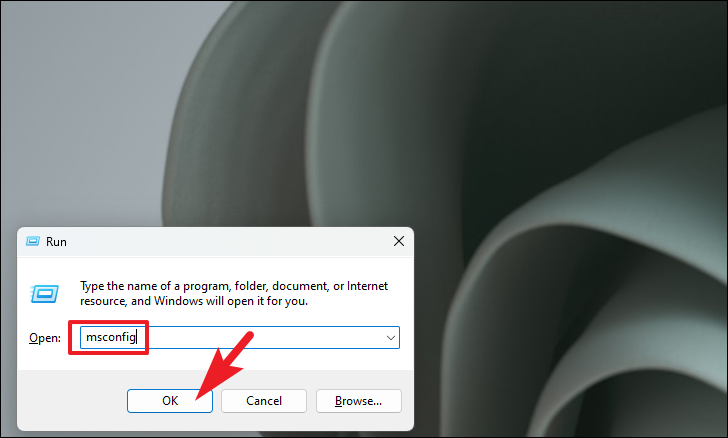
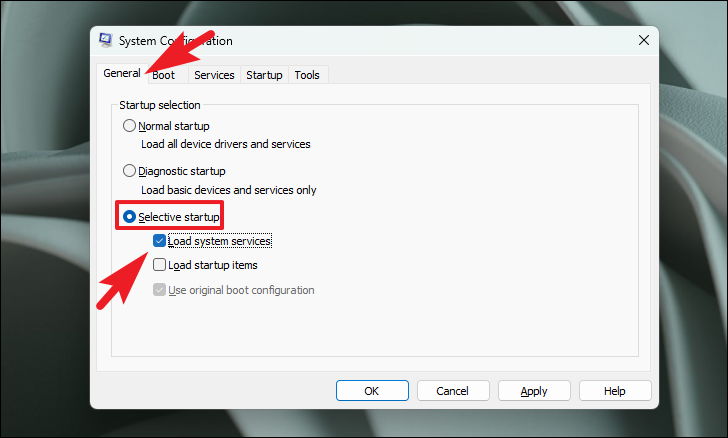
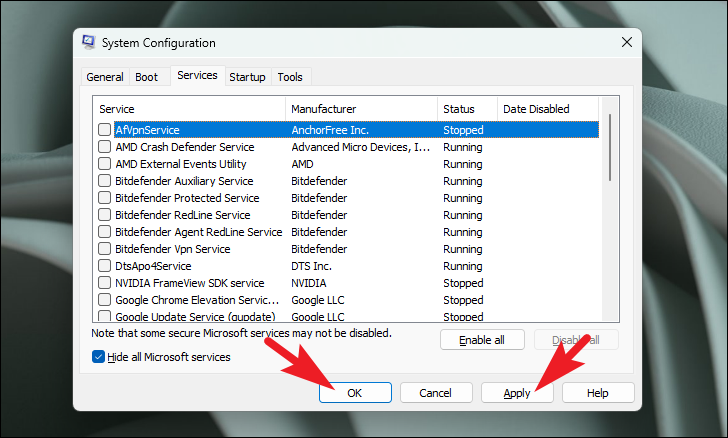
Go to the ‘Services’ tab, check ‘Hide all Microsoft services’ to filter out essential services, and click ‘Disable all’ to stop all third-party services.
After rebooting, attempt to enable Memory Integrity from the ‘Core isolation’ settings.
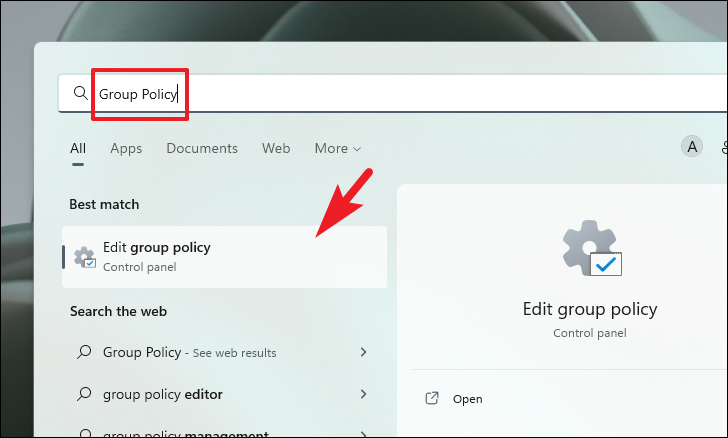
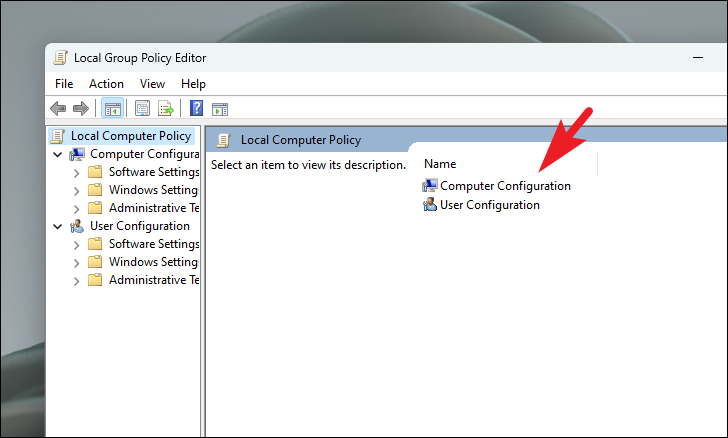
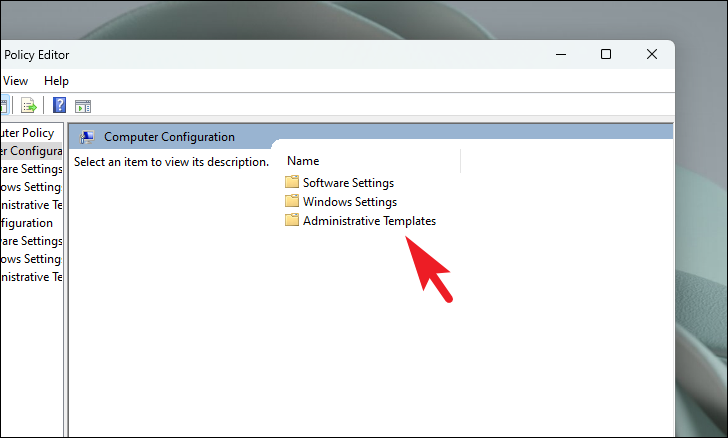
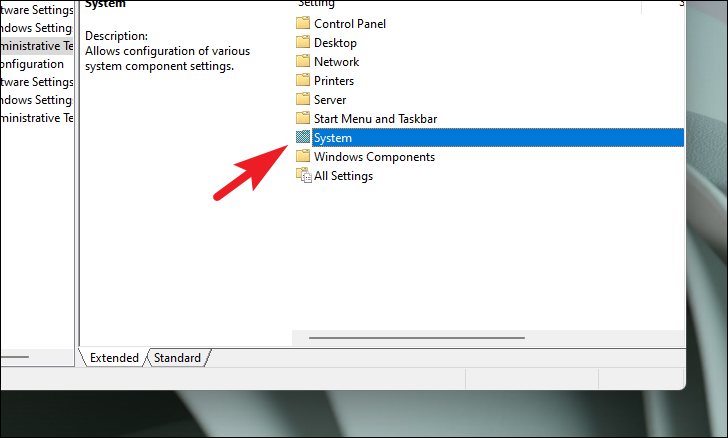
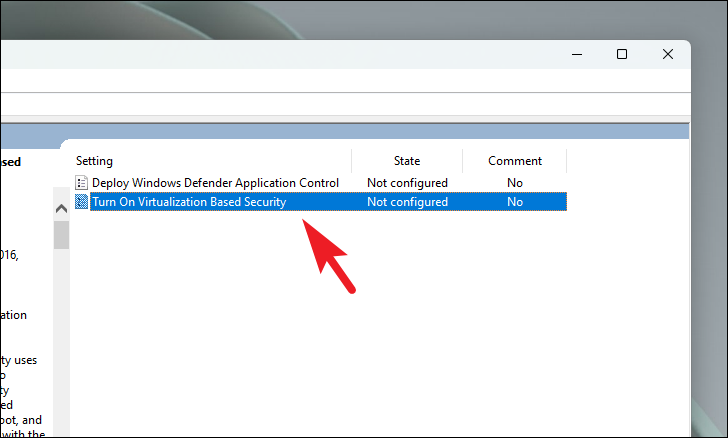
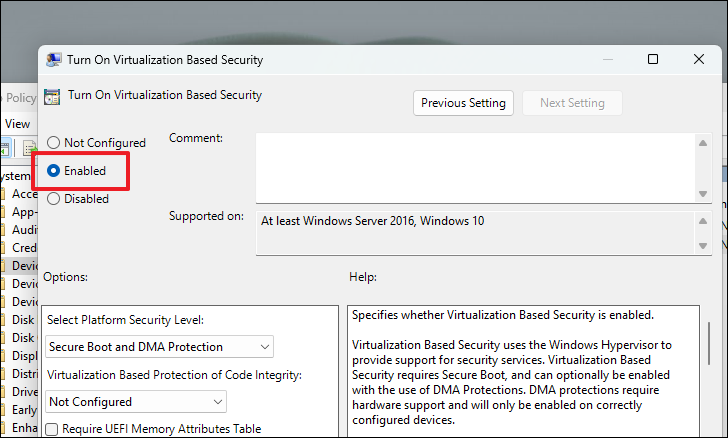
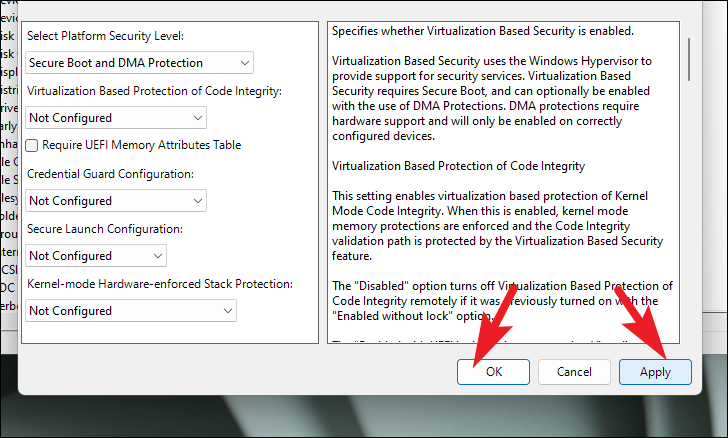
Method 4: Enable Memory Integrity Using the Group Policy Editor
If standard methods fail, you can try enabling Memory Integrity through the Group Policy Editor. Note that this tool is only available in Windows 11 Pro editions.
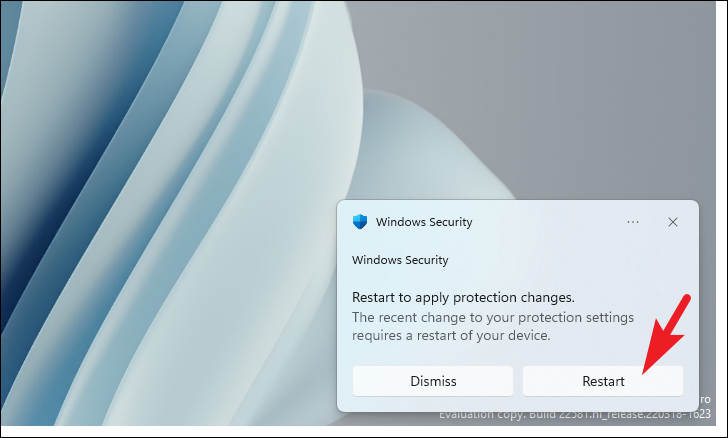
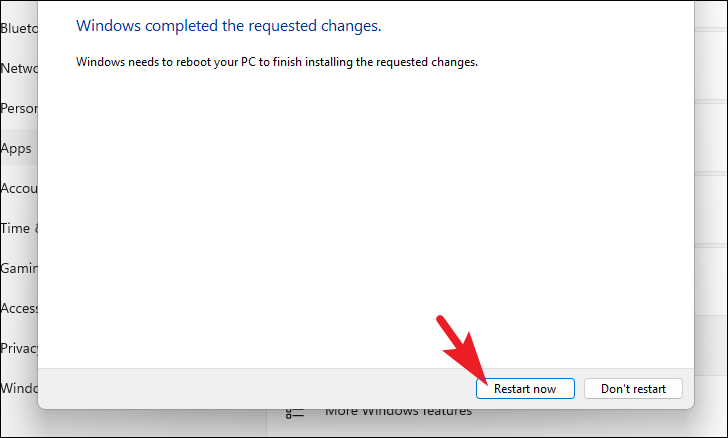
Restart your system to apply the new policy settings. After restarting, check if Memory Integrity is enabled.
By following these methods, you should be able to fix the incompatible driver error and enable Memory Integrity on your Windows 11 computer, thereby enhancing your system’s protection against advanced threats.