9 easy and simple methods to resolve Windows update error 0x800f0922 on your Windows 11 PC and get things back to normal.
9 easy and simple methods to resolve Windows update error 0x800f0922 on your Windows 11 PC and get things back to normal.
by Parth Sawhney
Windows updates are designed to operate smoothly, keeping your system secure and up-to-date without much user intervention. However, sometimes errors occur that interrupt this process. One such error is the 0x800f0922 error code, which might appear due to issues like a lack of connection to the Windows Update servers, insufficient space in the system reserved partition, corrupted system files, disabled .NET Framework features, or corrupted cache data. Fortunately, this error is well-understood and can be resolved using several methods. In this guide, we’ll walk you through these solutions to help you fix the Windows 11 Update Error 0x800f0922.
1. Repair corrupted system files
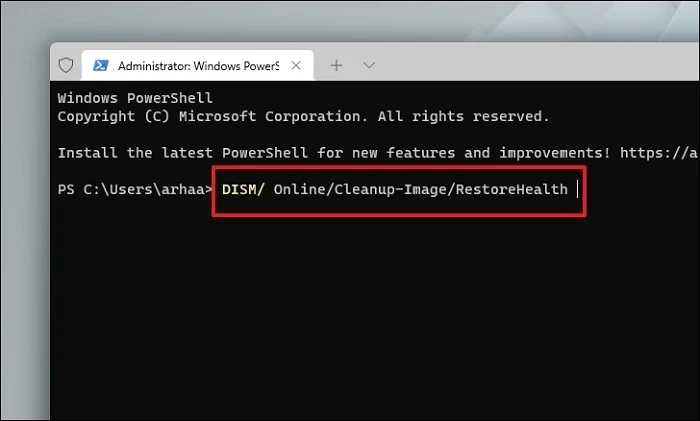
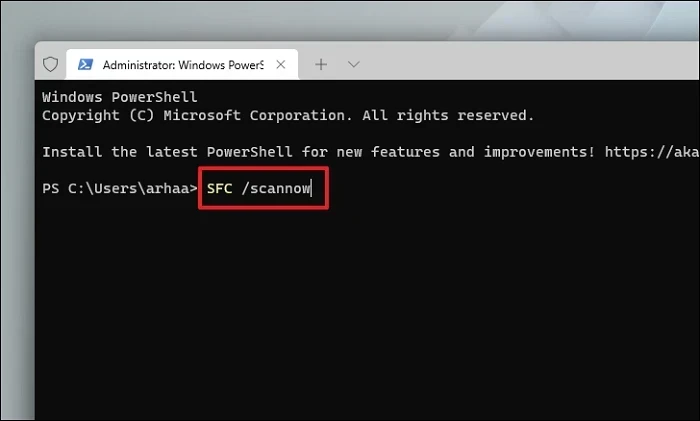
Corrupted system files can cause various issues, including update errors. These corruptions might occur due to incomplete updates, improper uninstallation of applications, or malware infections. Fortunately, Windows provides built-in tools like DISM and SFC to scan and repair these files.
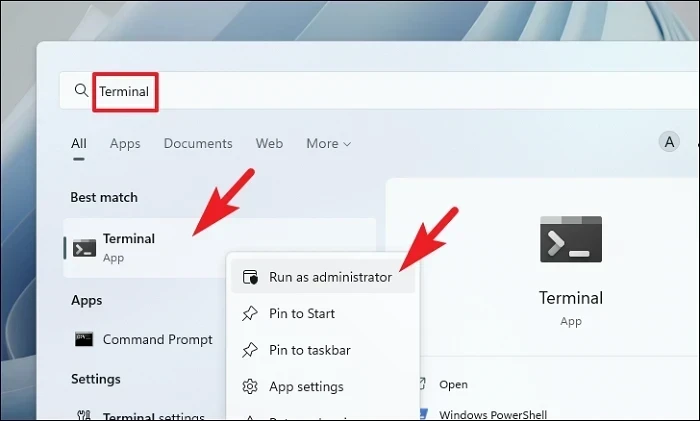
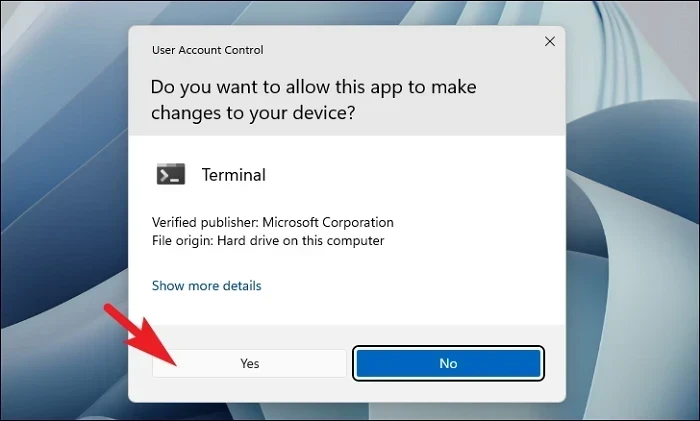
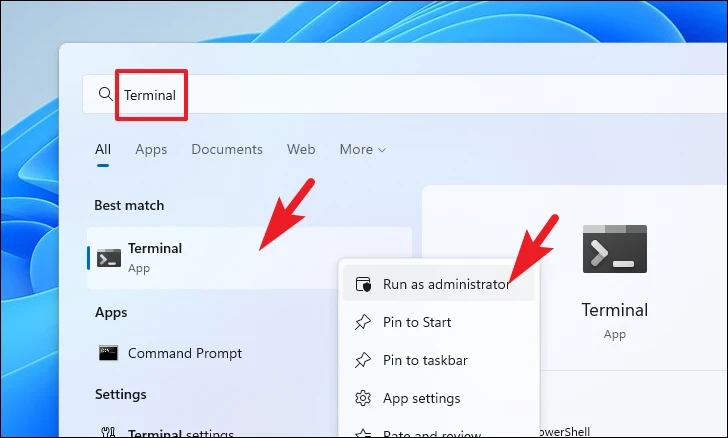
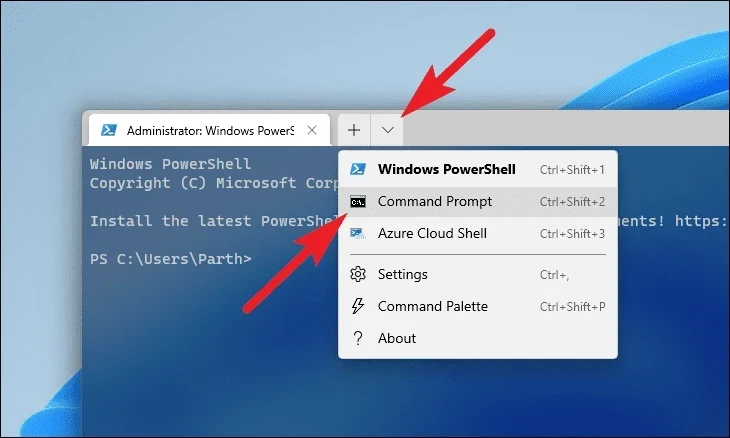
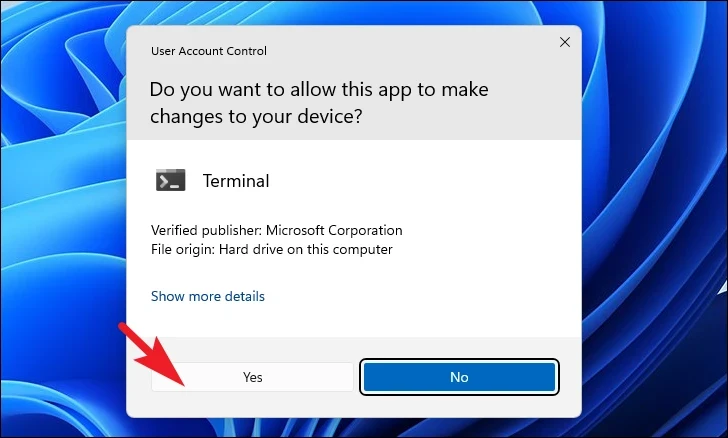
Open the Terminal with administrative privileges. Click on the Start menu and type Terminal. Right-click on the Terminal app from the search results and select Run as administrator.
Once the scan is complete, close the Command Prompt and restart your computer. After rebooting, try updating Windows again to see if the error persists.
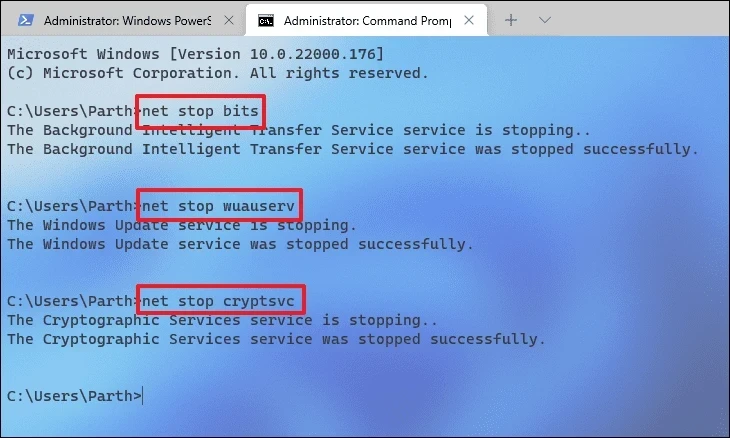
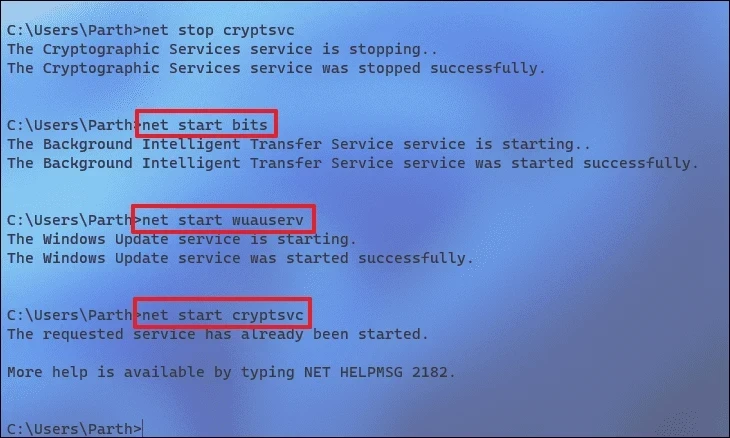
2. Reset Windows Update service
Sometimes, the Windows Update service might encounter issues due to interference from third-party applications or system processes. Restarting the service can help resolve these issues.
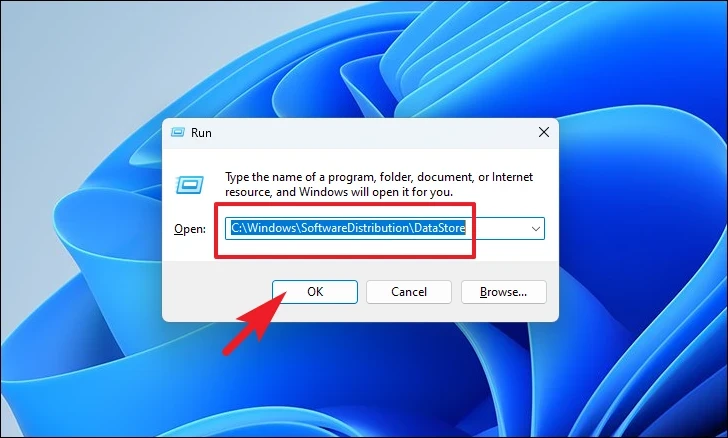
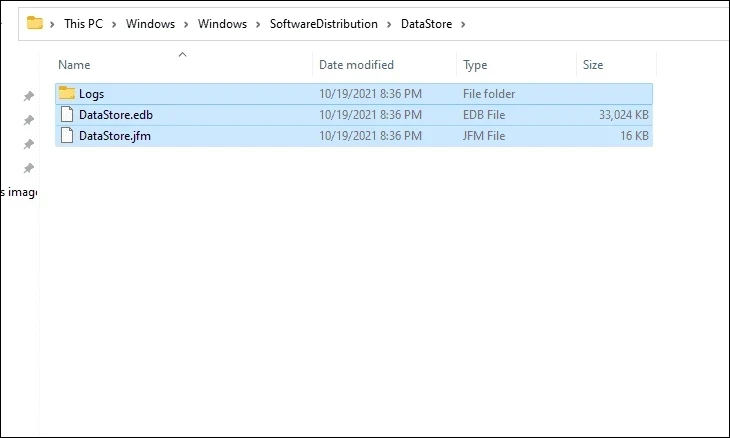
In the opened folder, press Ctrl + A to select all files and folders. Then, press Shift + Delete to permanently delete them. Confirm any prompts that appear.
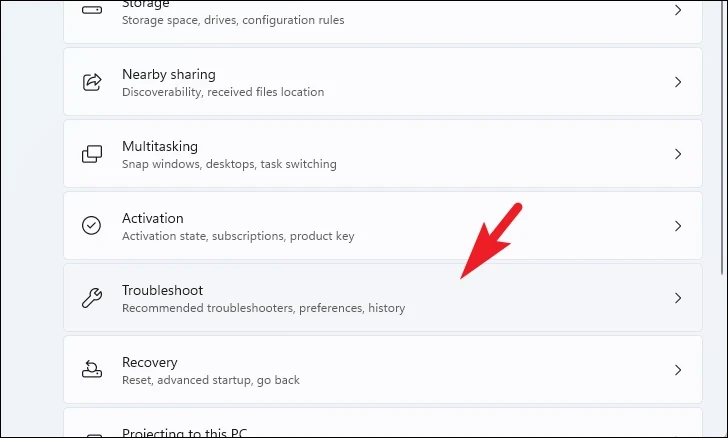
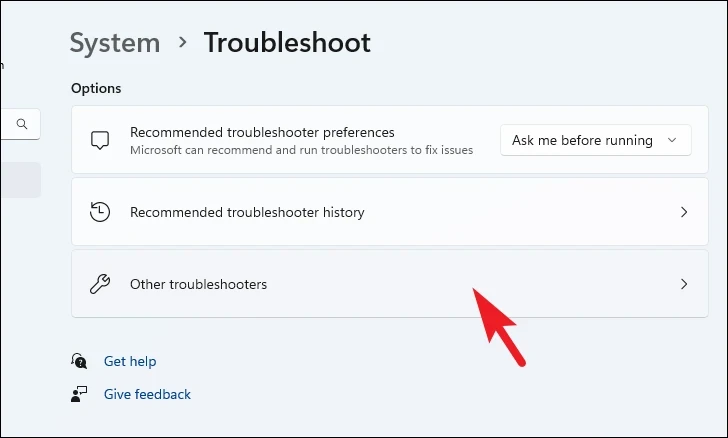
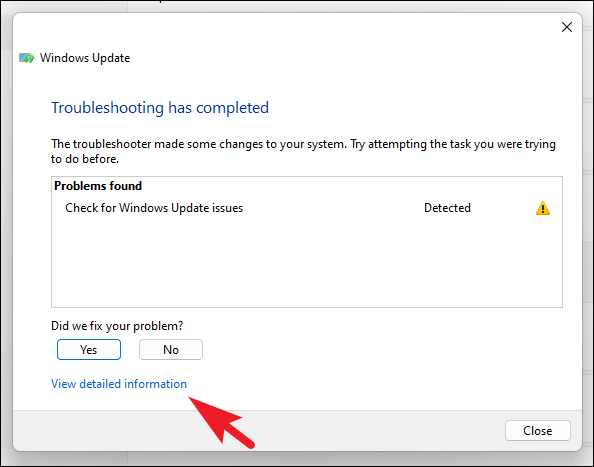
The troubleshooter will start detecting issues. If any problems are found, it will attempt to fix them automatically. Once completed, you can view more details by clicking on View detailed information.
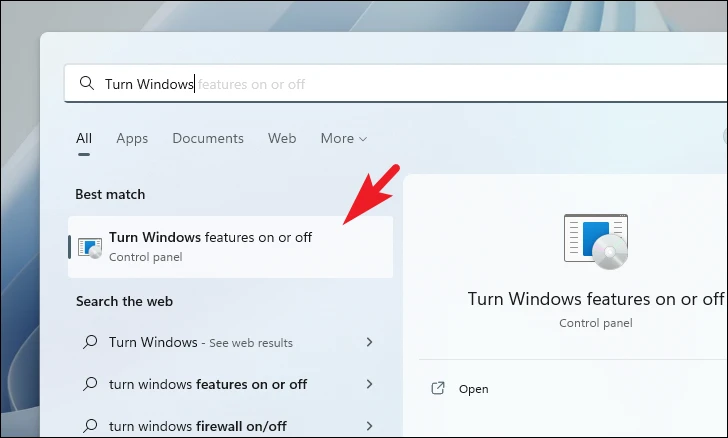
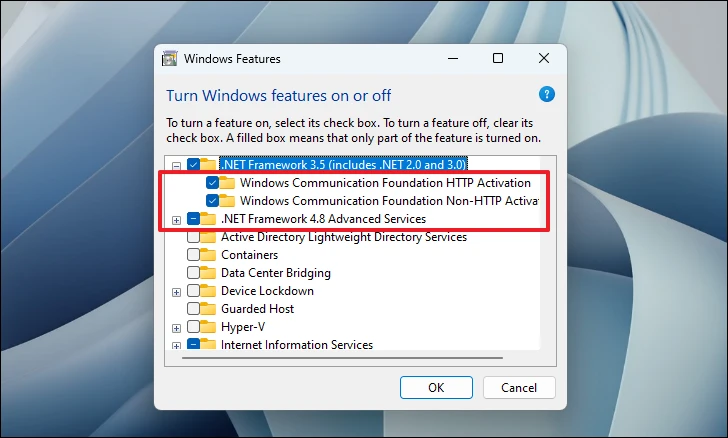
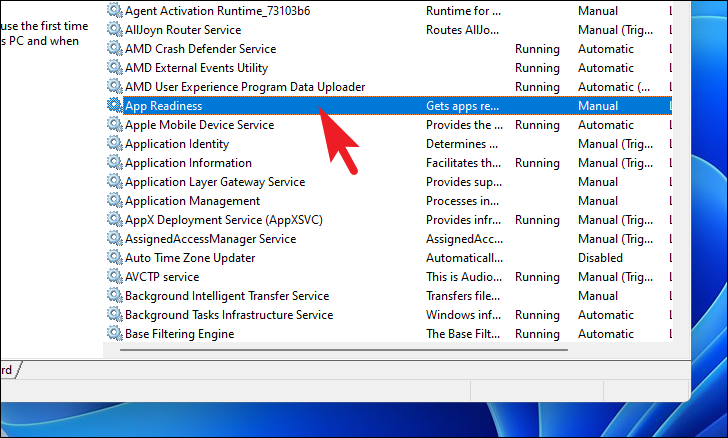
Open the Windows Features dialog. Click on the Start menu and type Windows Features. Then, select Turn Windows features on or off from the search results.
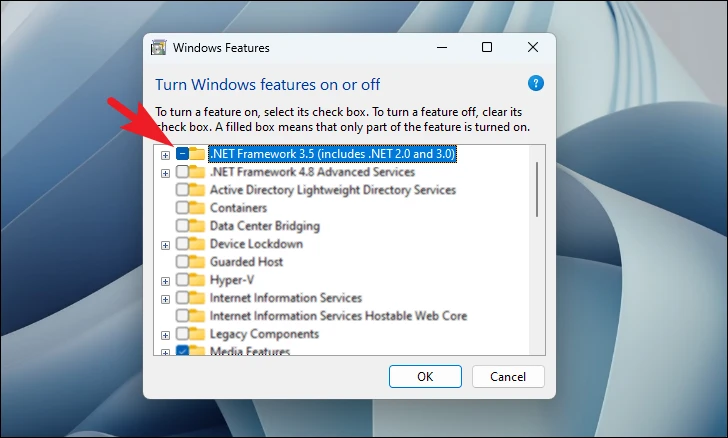
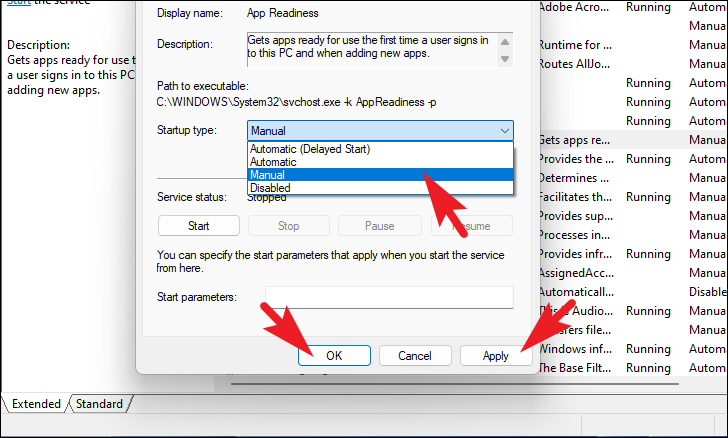
In the Windows Features window, find .NET Framework 3.5 (includes .NET 2.0 and 3.0) and check the box next to it. Then, click on the + sign to expand it.
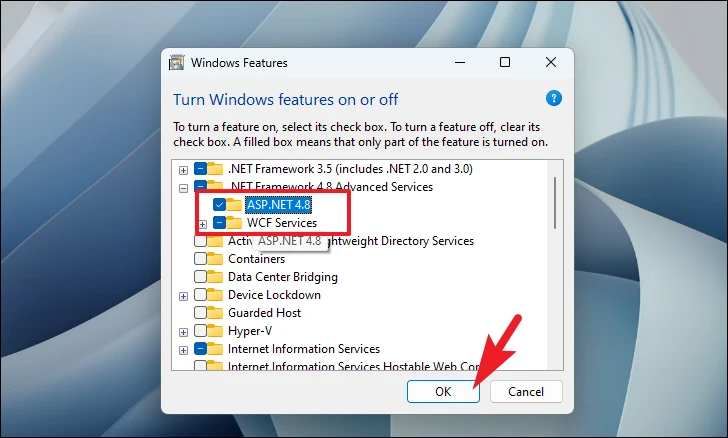
Ensure that all sub-features under .NET Framework 3.5 are checked. Next, locate .NET Framework 4.8 Advanced Services and expand it by clicking the + sign.
Windows will install the selected features. After the process completes, restart your computer and check if the update error has been resolved.
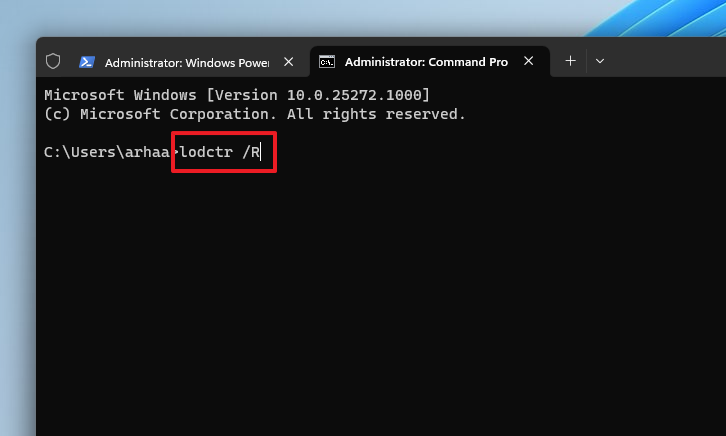
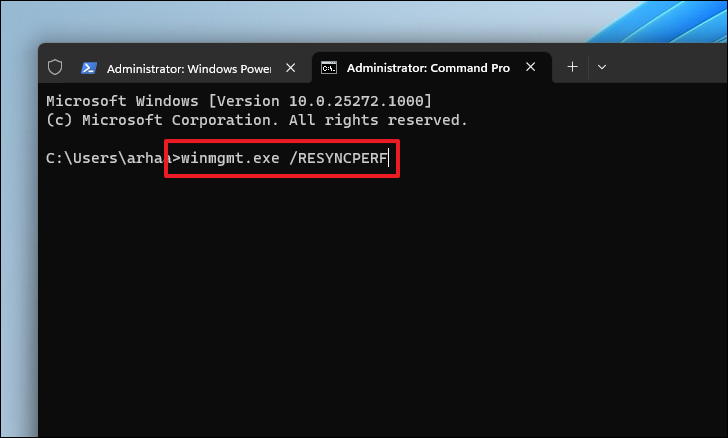
5. Reset Update Installer counter
The Windows Update installer uses a performance counter known as PerfCounterInstaller. If this becomes corrupted, resetting it can fix the update error.
After executing the commands, restart your computer and check if the Windows Update error has been fixed.
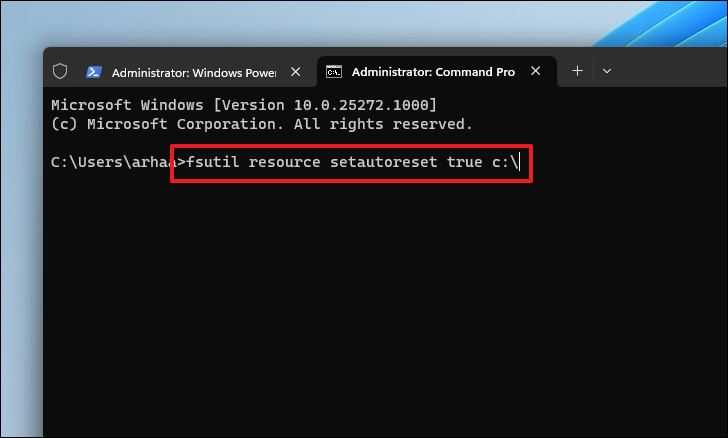
6. Reset the Transactional Resource Manager
The Transactional Resource Manager manages file system transactions. Corruption in its logs can cause update errors. Resetting it can help resolve the issue.
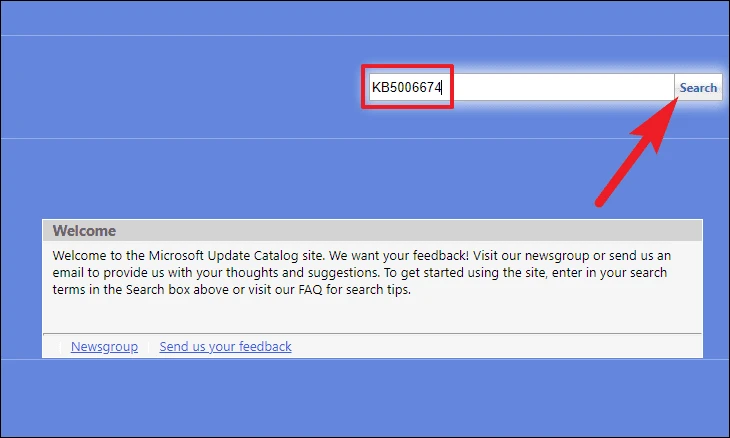
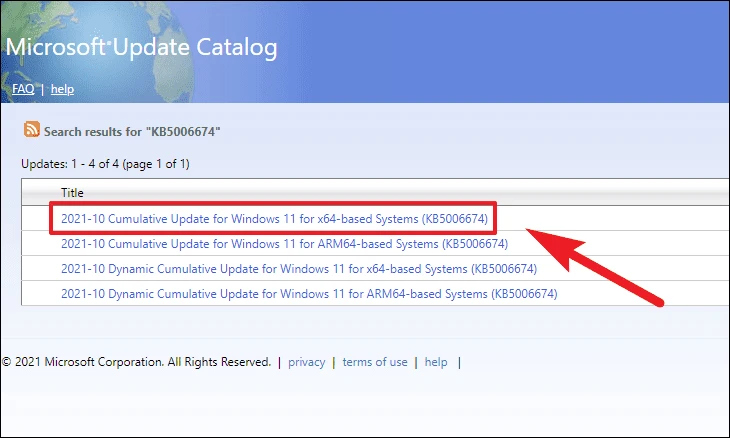
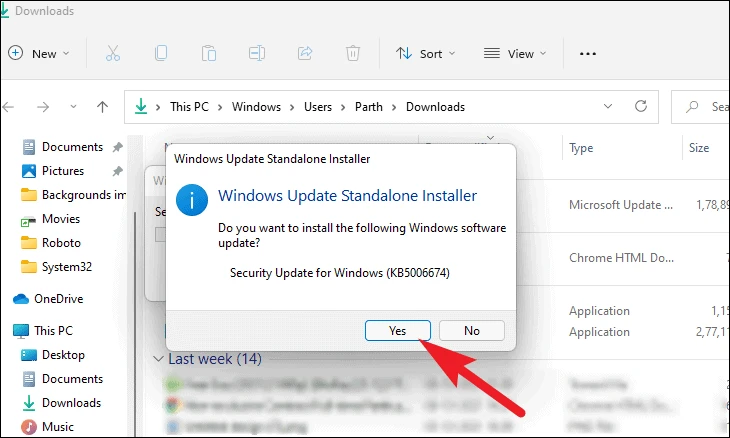
From the list of results, find the update that matches your system architecture (usually labeled as x64-based Systems) and click on it to view details.
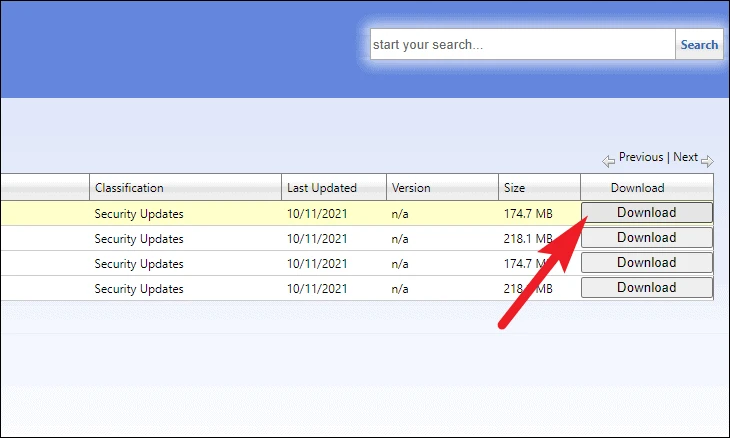
Verify that the update is compatible with your operating system version. Then, go back to the previous page and click on the Download button next to the update.
Restart your computer and attempt to run Windows Update again.
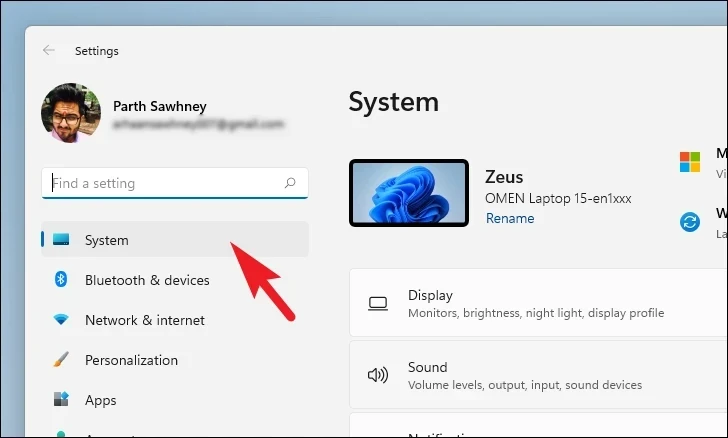
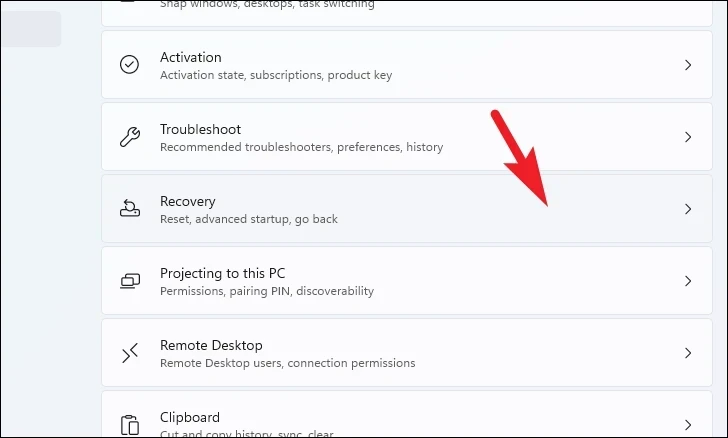
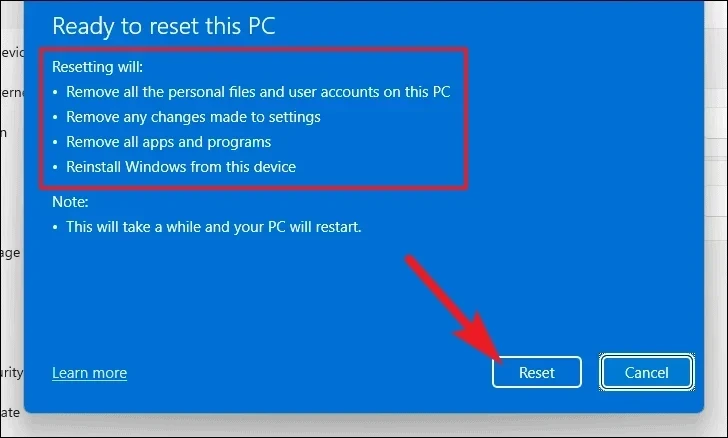
9. Reset your PC
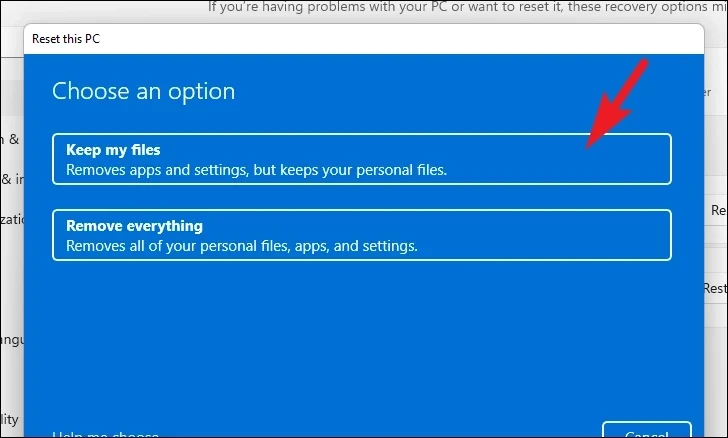
If none of the above methods work, resetting your PC might be the last resort. This process reinstalls Windows but allows you to keep your personal files.
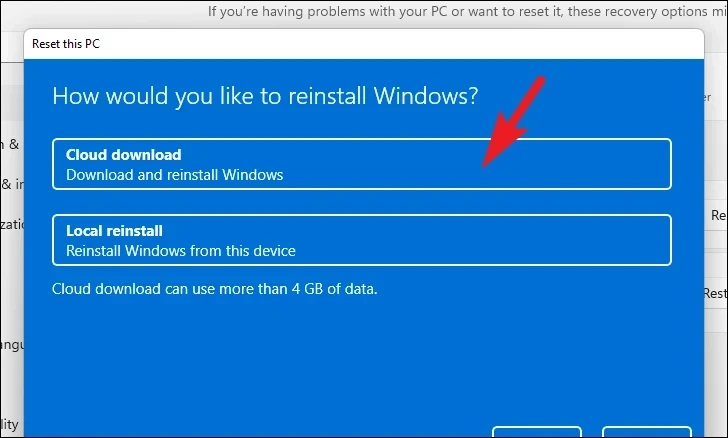
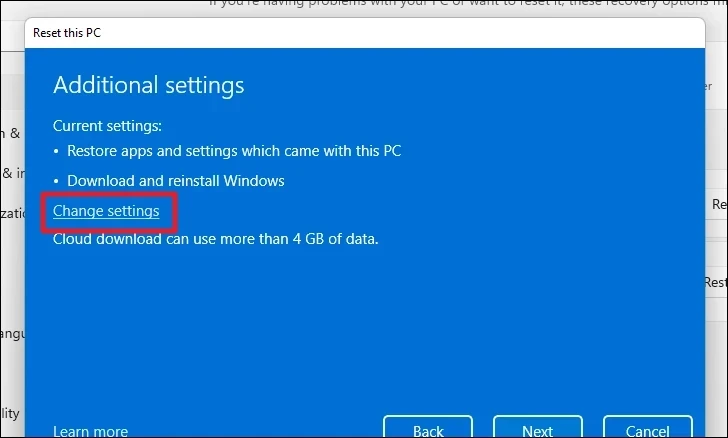
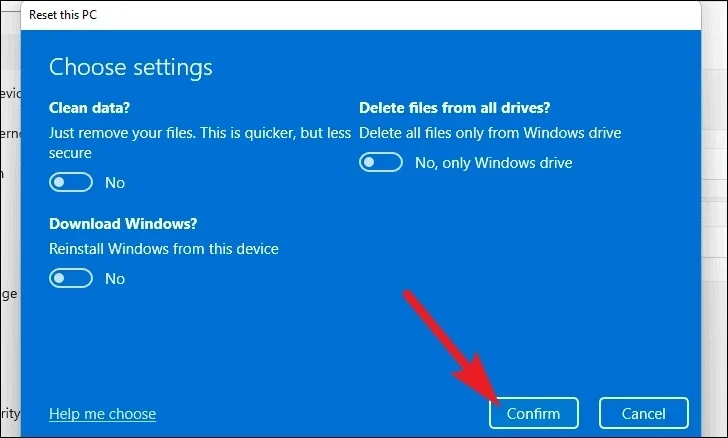
Choose the reinstallation method. Selecting Cloud download will download a fresh copy of Windows from the internet (requires at least 4 GB of data). Alternatively, choose Local reinstall to use the existing Windows files on your PC.
Note: The Cloud download option requires an active internet connection and may consume significant data.
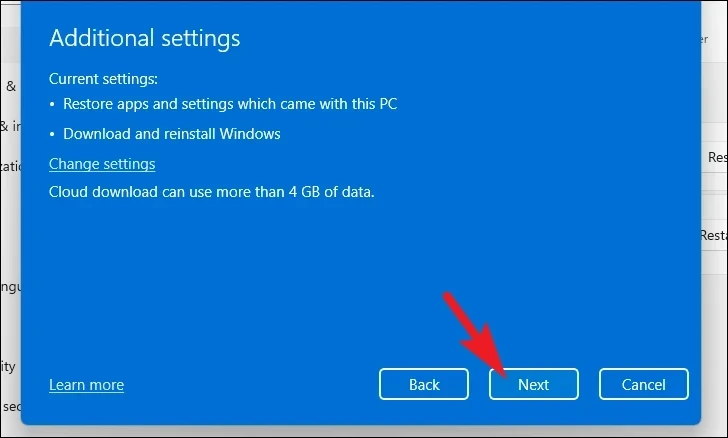
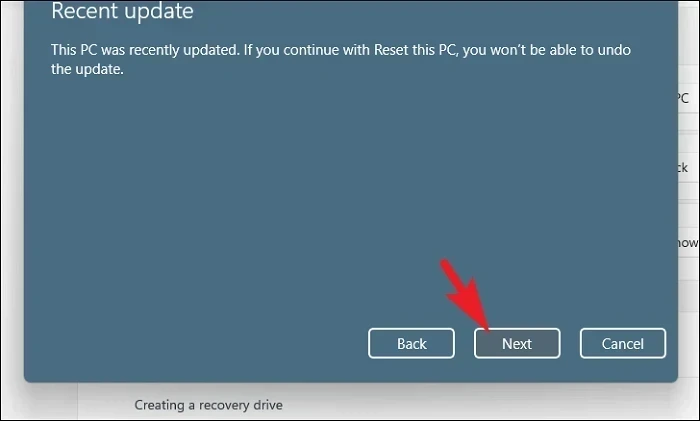
Review the summary of actions that will be performed. When you’re ready, click Reset to start the reset process.
Your PC will restart and begin the reset. Once complete, you should be able to use Windows Update without encountering the error.
Encountering the Windows 11 Update Error 0x800f0922 can be frustrating, but by following these methods, you should be able to resolve the issue and keep your system up-to-date.