
Many Windows 11 users have encountered the update install error code 0x800f0988, which prevents the system from installing new updates. This error can arise due to several reasons, including corrupted update files or system image corruption. Here are several methods to fix this issue and get your system updating properly again.
1. Empty the Windows Update Cache
Clearing the Windows Update cache can resolve issues caused by corrupted or damaged update files.
- Press
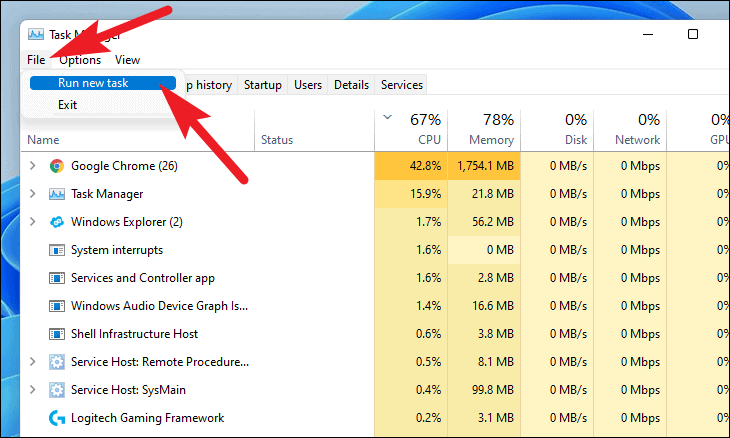
Ctrl+Shift+Escto open the Task Manager. - Click on the File tab at the top-left corner and select Run new task.
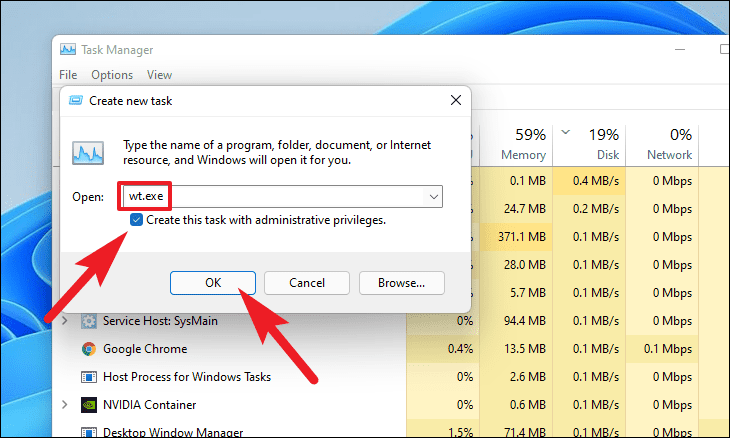
- In the Create new task window, type
wt.exe, check the box for Create this task with administrative privileges, and click OK to open Windows Terminal.
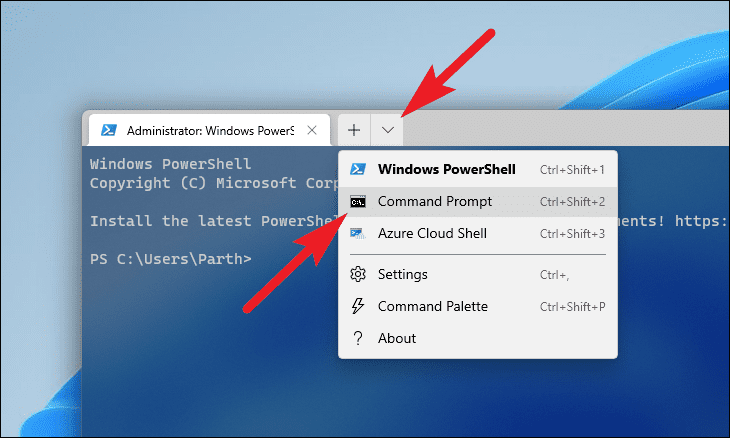
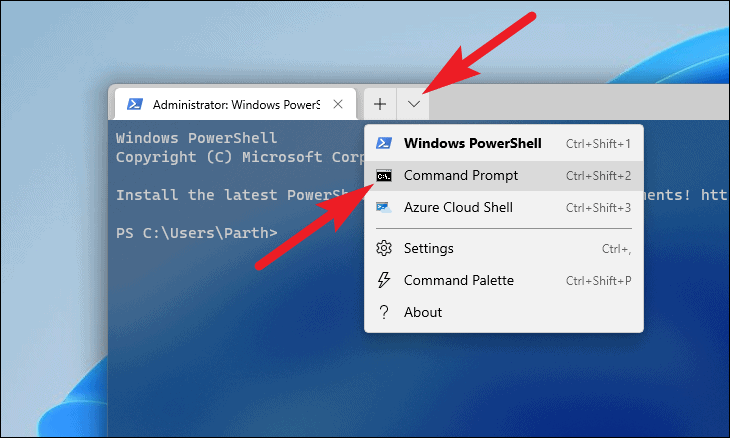
- In Windows Terminal, click the down-arrow icon and select Command Prompt to open a Command Prompt tab.
- Type or paste the following commands one by one, pressing
Enterafter each, to stop the Windows Update services:
net stop bits
net stop wuauserv
net stop cryptsvc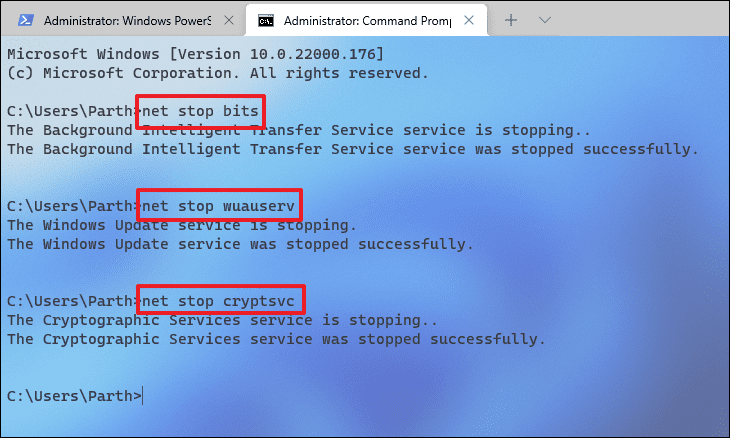
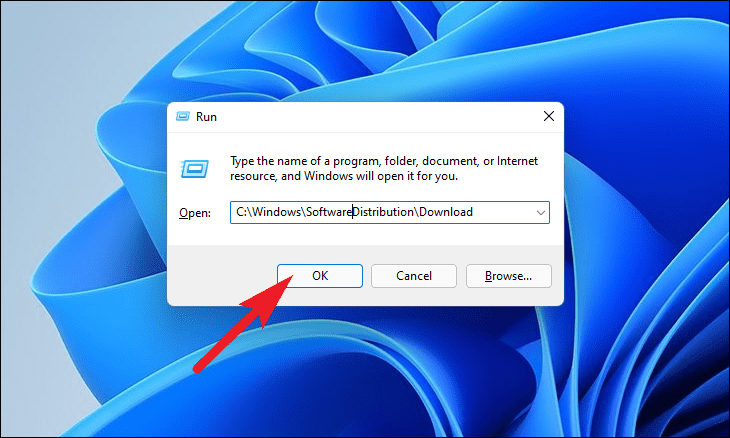
- Press
Windows+Rto open the Run dialog, typeC:\Windows\SoftwareDistribution\Download, and pressEnter.
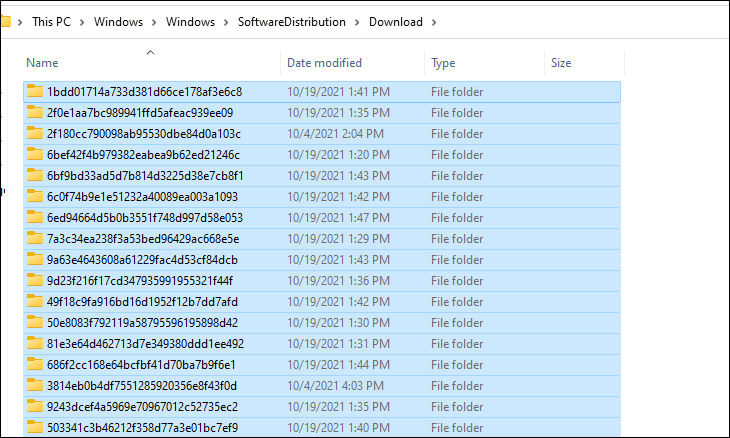
- In the opened folder, select all files by pressing
Ctrl+Aand permanently delete them by pressingShift+Delete.
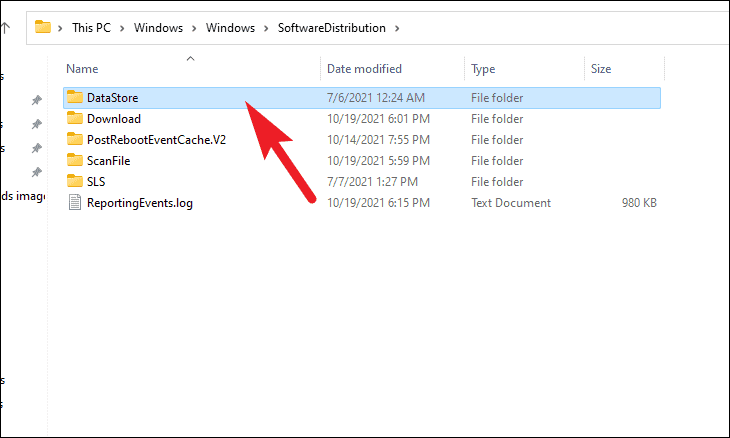
- Navigate back to the
SoftwareDistributionfolder and open theDataStorefolder.
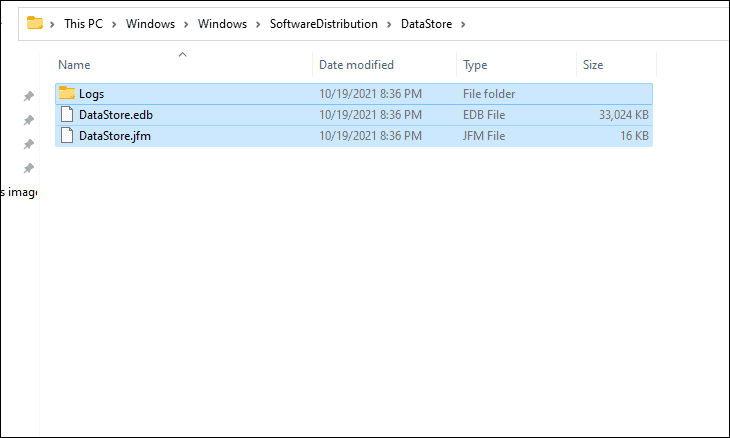
- Again, select all files and folders using
Ctrl+Aand delete them permanently withShift+Delete.
- Return to the Command Prompt window and restart the services by typing the following commands, pressing
Enterafter each:
net start bits
net start wuauserv
net start cryptsvc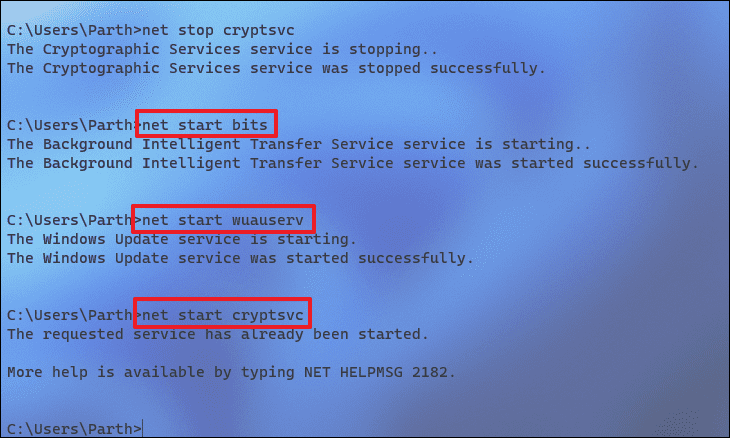
- Restart your computer and try installing the updates again.
2. Run the DISM Tool Using Windows Terminal
The Deployment Image Servicing and Management (DISM) tool can repair system image corruption that might be causing the update error.
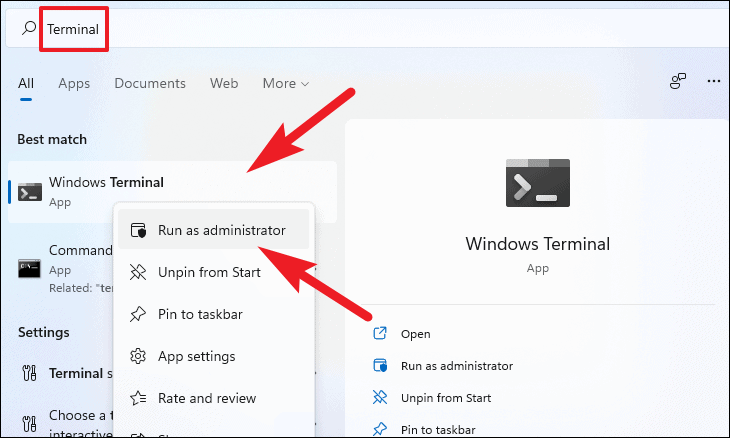
- Open Windows Search from the taskbar and type
Terminal. - Right-click on Windows Terminal and select Run as administrator.
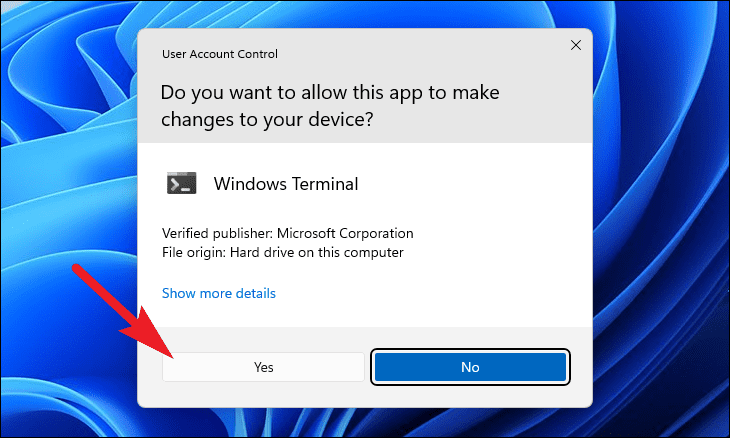
- If prompted by User Account Control, click Yes to proceed.
- In Windows Terminal, click the down-arrow icon and choose Command Prompt.
- Type the following command and press
Enter:
dism /online /cleanup-image /startcomponentcleanup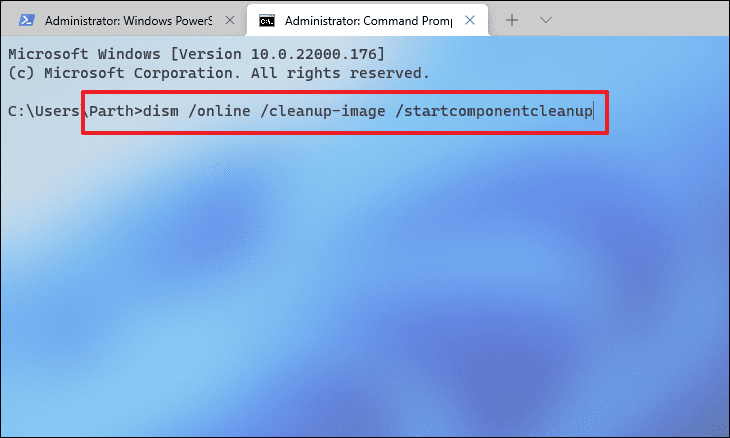
The process may take several minutes to complete. Do not interrupt it. Once finished, you’ll see a completion message.
3. Download and Install the Update Manually
If the error persists, you can manually download and install the problematic update using the Microsoft Update Catalog.
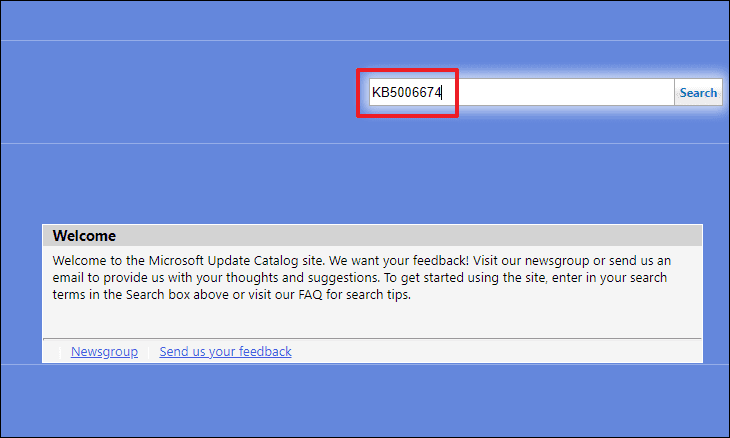
- Note the Knowledge Base (KB) number of the update from the Windows Update screen in the Settings app.
- Visit the Microsoft Update Catalog website.
- Enter the KB number in the search bar and press
Enter.
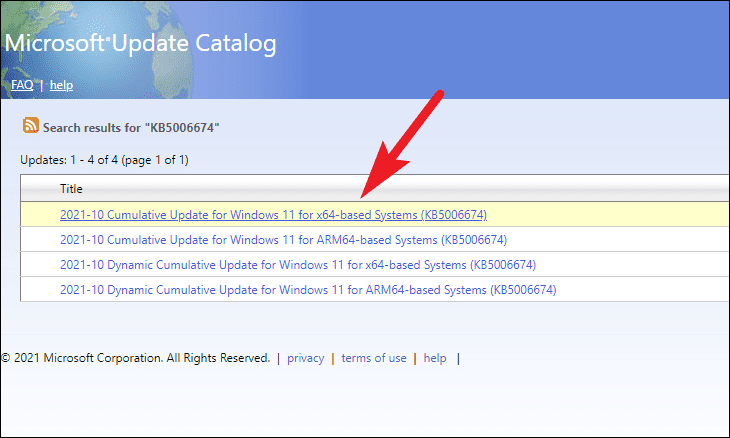
- From the list of results, click on the update title to view its details.
You can view information about the update, including supported products and languages.
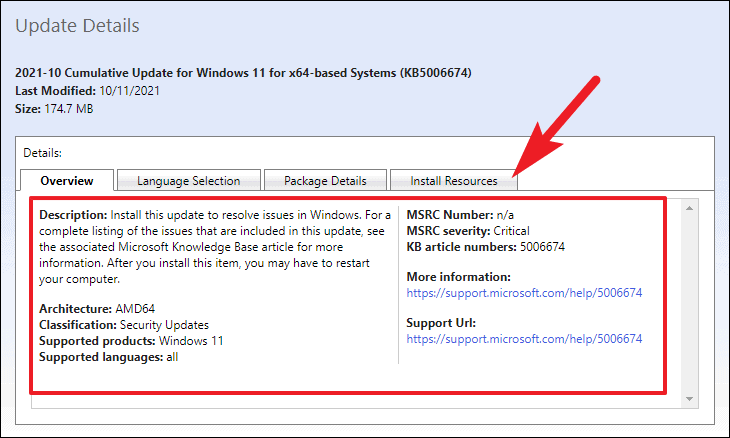
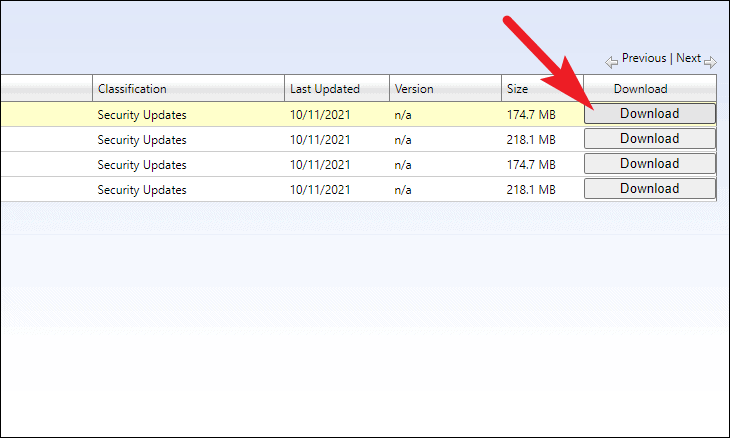
- To download the update, click the Download button next to the appropriate version.
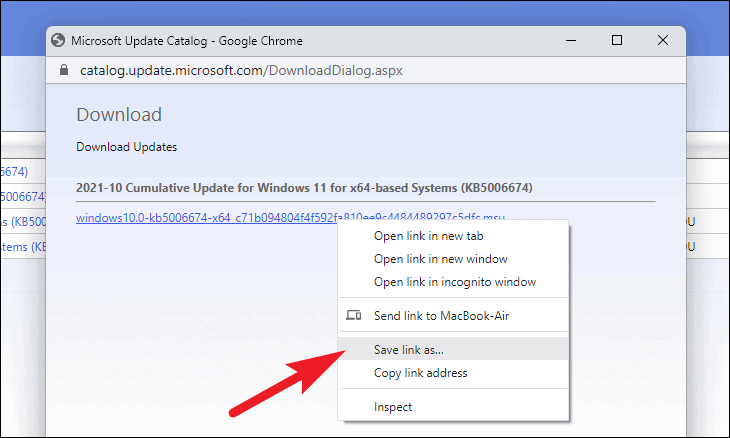
- In the window that opens, right-click the link and select Save link as to download the update file.
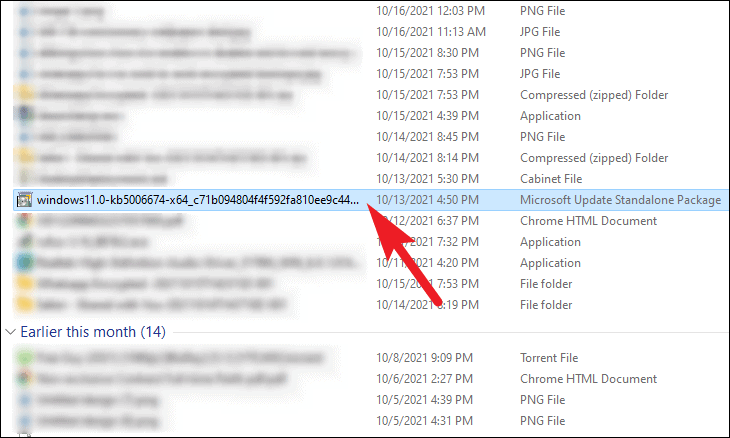
- Save the file to your desired location. Once downloaded, navigate to the file and double-click it to run the installer.
- The Windows Update Standalone Installer will prepare the installation. When prompted, click Yes to install the update.
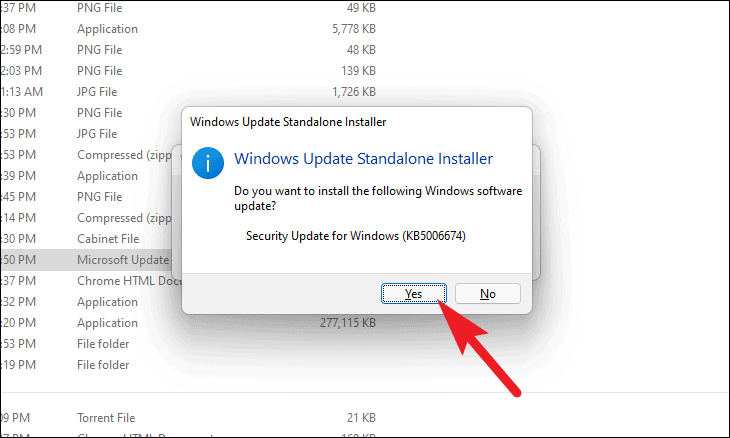
Wait for the installation to complete. You may need to restart your computer to finish the update.
4. Uninstall Additional Languages
Sometimes, additional language packs can interfere with Windows Update. Removing these languages may resolve the error.
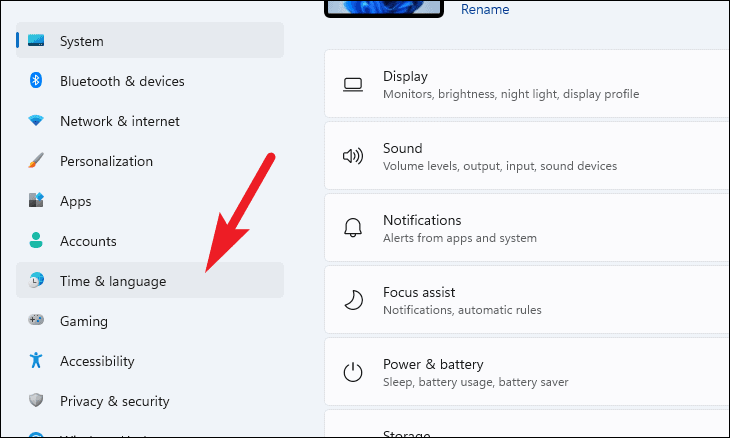
- Open the Settings app by pressing
Windows+I. - Click on Time & Language from the left sidebar.
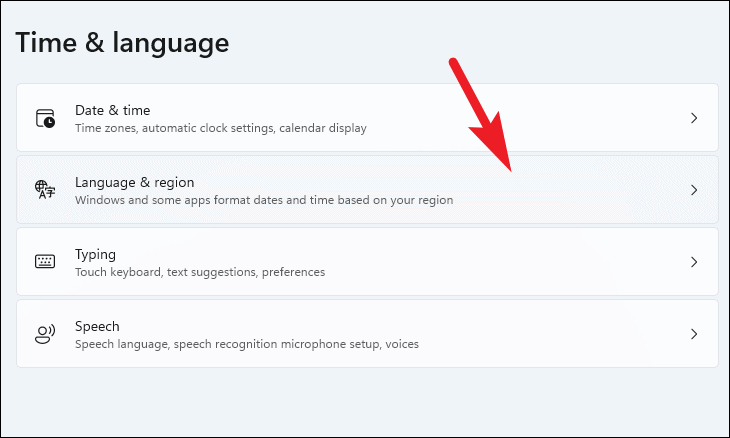
- Select Language & region on the right.
- Under the Language section, find the additional language, click the three-dot menu next to it, and select Remove.

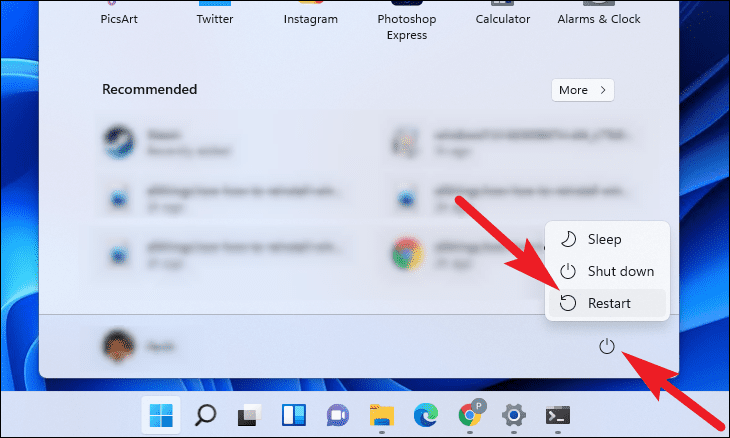
- Restart your computer and attempt the update again.
5. Perform an In-place Upgrade
If none of the above methods work, performing an in-place upgrade can update your system without affecting personal files.
Read: How to Download Windows 11 ISO File
- Download the latest Windows 11 ISO file.
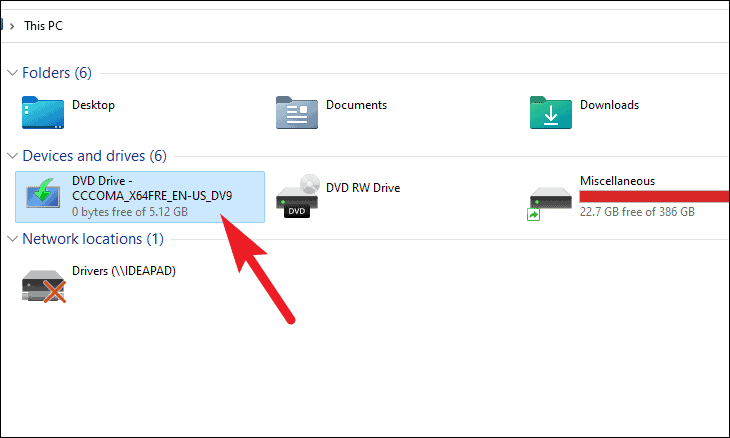
- Right-click the ISO file and select Mount.

- Open This PC and double-click the mounted drive to run the setup.
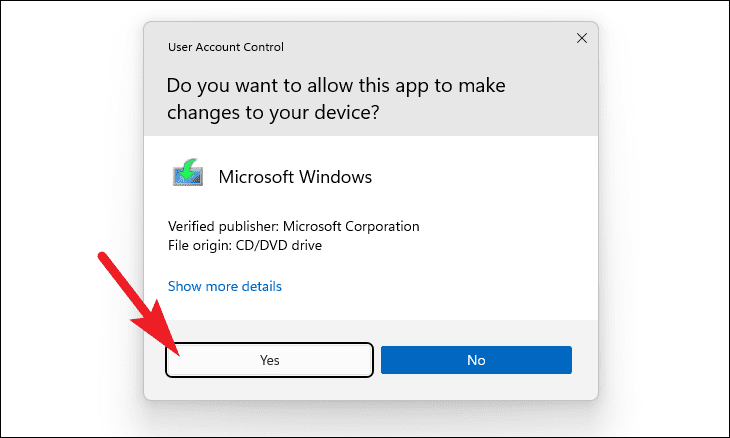
- When prompted by User Account Control, click Yes.
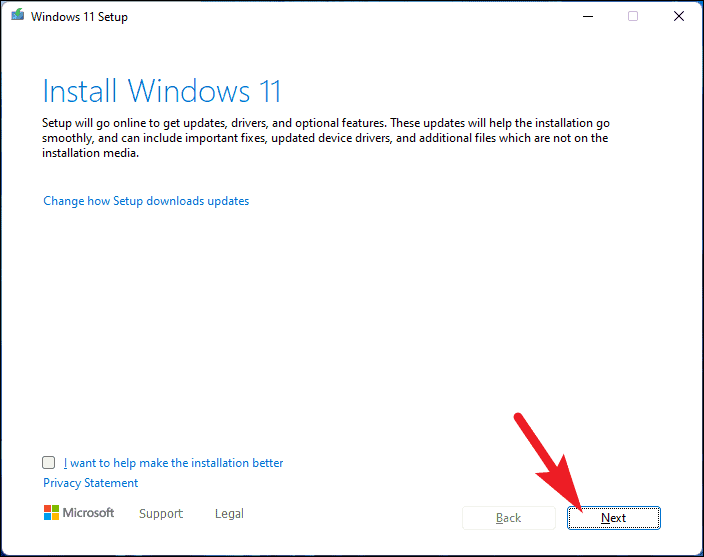
- In the Windows 11 Setup window, click Next.
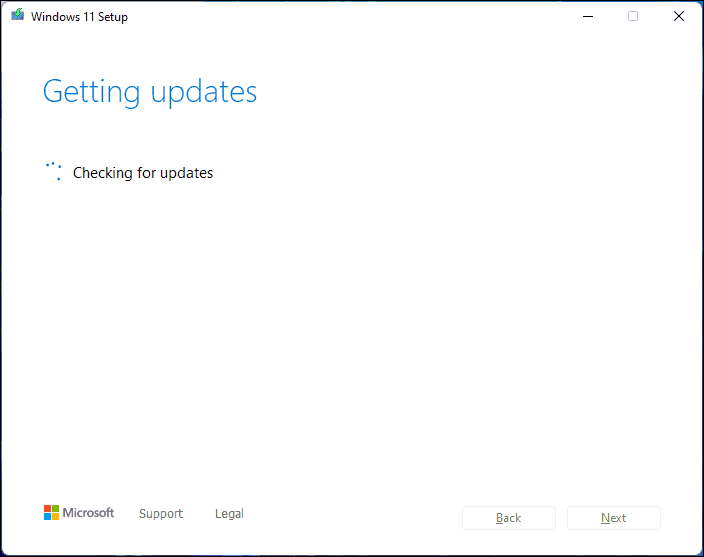
- Allow the setup to check for updates. This may take some time.
- Review the license terms, then click Accept.

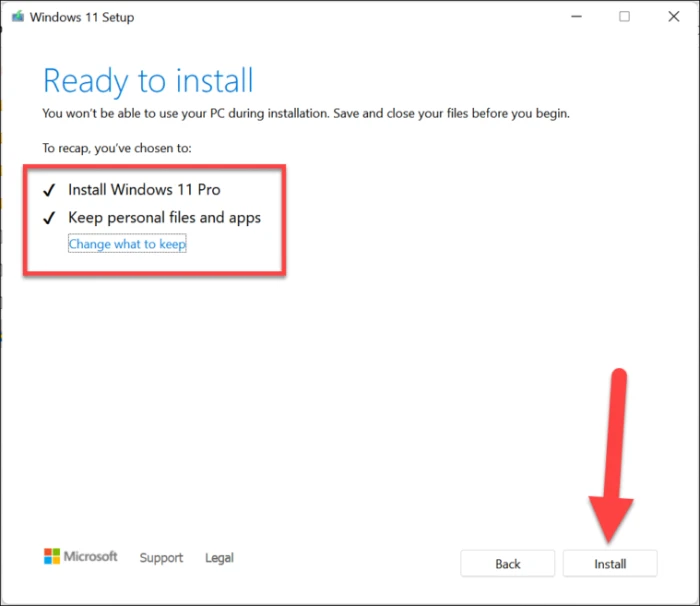
- The setup will prepare your system. Once ready, click Install to begin the in-place upgrade.
By following these methods, you should be able to resolve the update error 0x800f0988 and keep your Windows 11 system up to date.


