
Identifying your motherboard model is essential when planning hardware upgrades, troubleshooting issues, or verifying system compatibility. Windows 11 offers several convenient methods to find this information without physically opening your computer. Here are the most effective ways to discover your motherboard model directly from your system.
Method 1: Using System Information
The System Information tool provides comprehensive details about your hardware and software components. Follow these steps to find your motherboard model using this built-in utility.
- Press
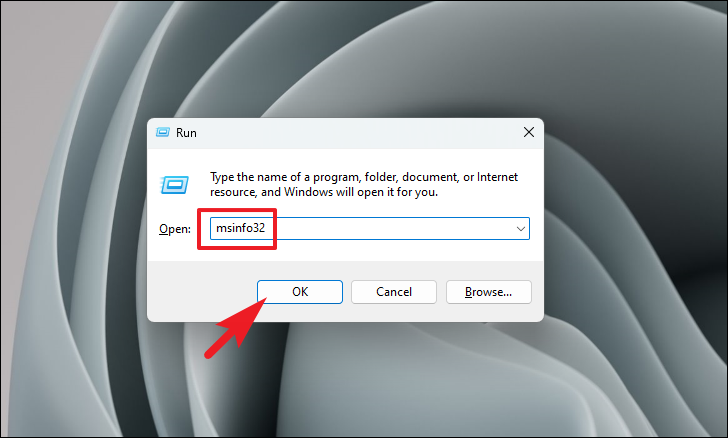
Windows+Ron your keyboard to open the Run dialog box. - Type
msinfo32into the text field and pressEnter. This will launch the System Information window.
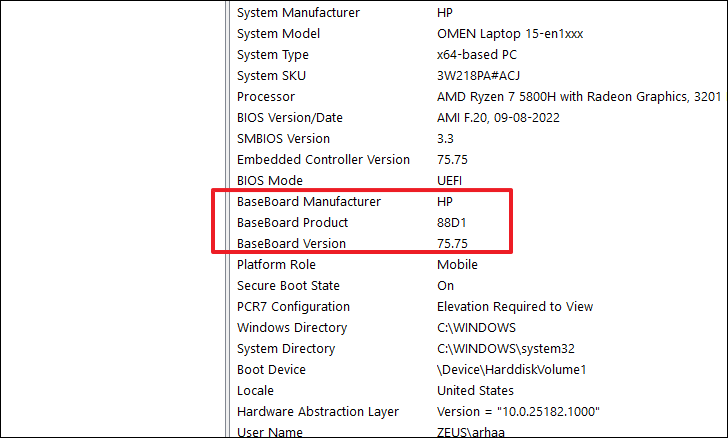
- In the System Information window, locate the Baseboard Manufacturer and Baseboard Product entries in the right pane. These fields display your motherboard’s manufacturer and model number.
Method 2: Using PowerShell
PowerShell allows you to retrieve system information quickly using command-line instructions. Here’s how to find your motherboard model using PowerShell.
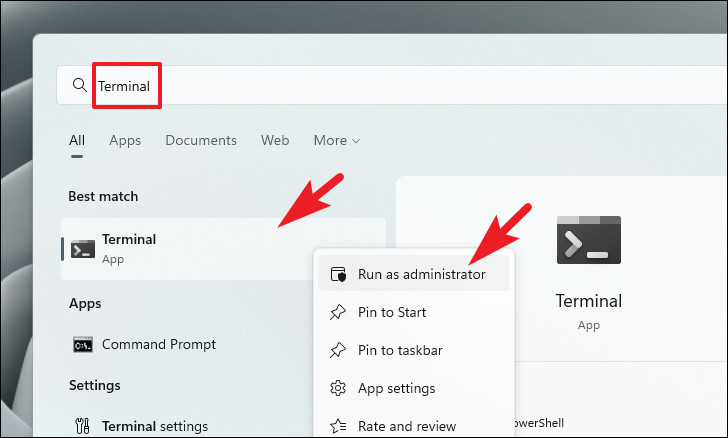
- Click the
Startmenu and typeTerminalin the search bar. - Right-click on the Terminal app in the search results and select Run as administrator.
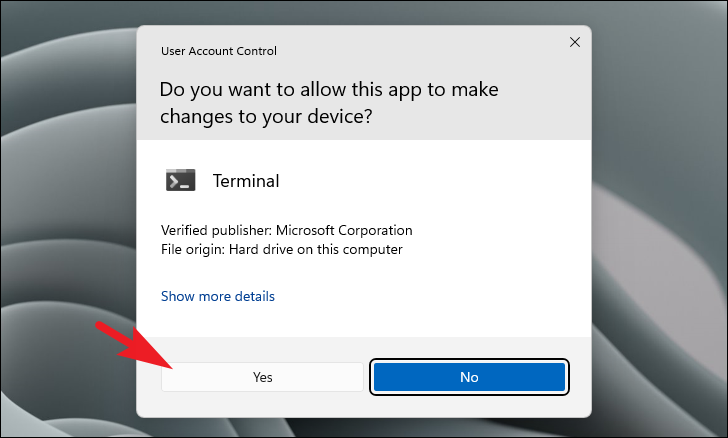
- If prompted by User Account Control, click Yes to grant administrative privileges. Enter administrator credentials if required.
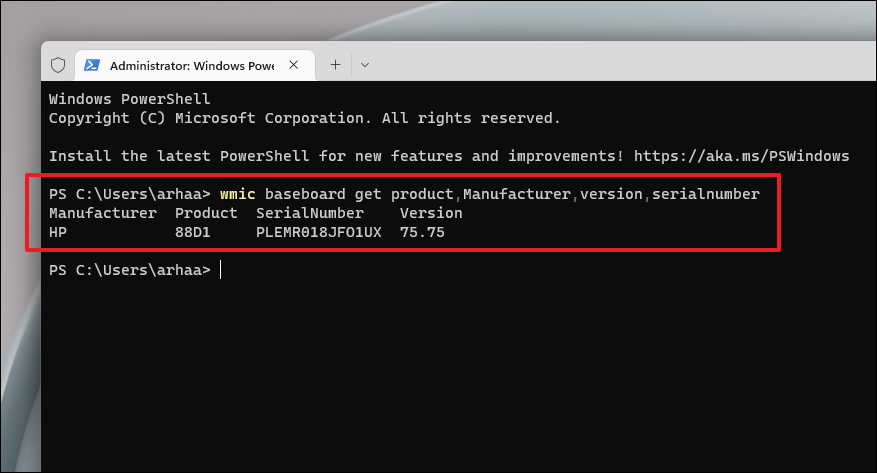
- In the Terminal window, type or paste the following command and press
Enter:
wmic baseboard get product,Manufacturer,version,serialnumber
Method 3: Using a Third-Party Application
If the built-in tools don’t provide sufficient information, you can use third-party software like CPU-Z to obtain detailed motherboard specifications.
Download and Install CPU-Z
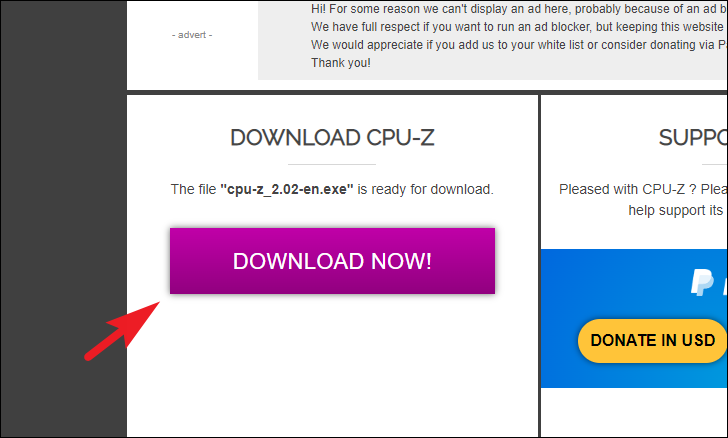
- Navigate to the official CPU-Z download page at www.cpuid.com/downloads/cpu-z and click the ‘Download’ button.
- After the download is complete, locate the file in your Downloads folder and double-click the
.exefile to begin installation.

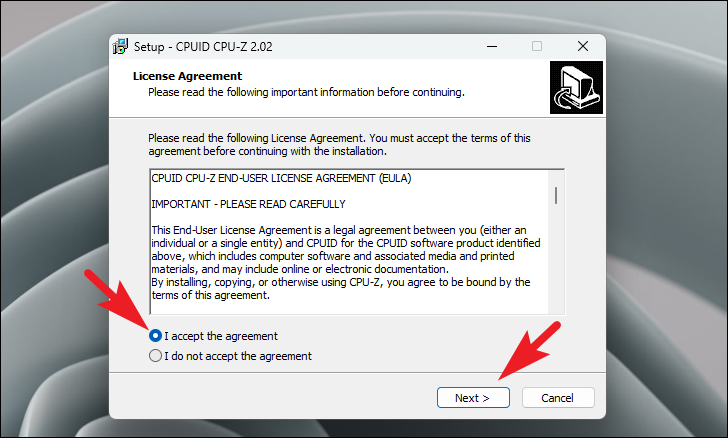
- In the installation window, select I accept the agreement and click ‘Next’.
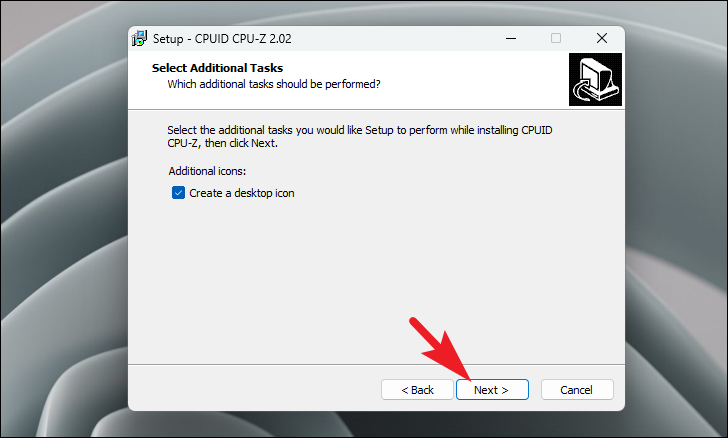
- Click ‘Next’ to proceed. If you wish to choose a different installation directory, click ‘Browse’ and select your preferred folder.
- Click ‘Install’ to start the installation process.
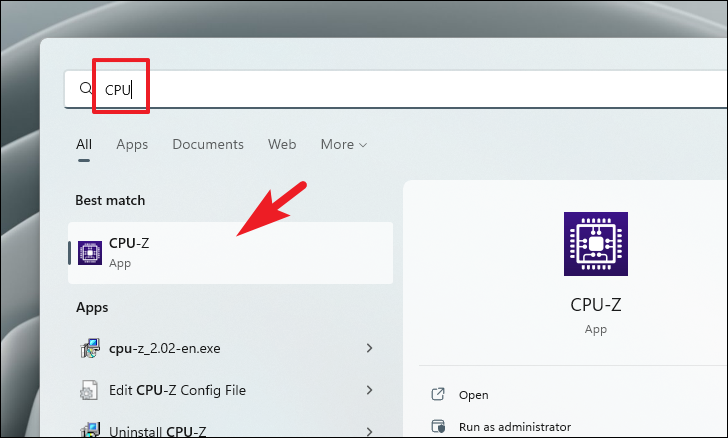
- Once installation is complete, launch CPU-Z from the desktop shortcut or the Start menu.
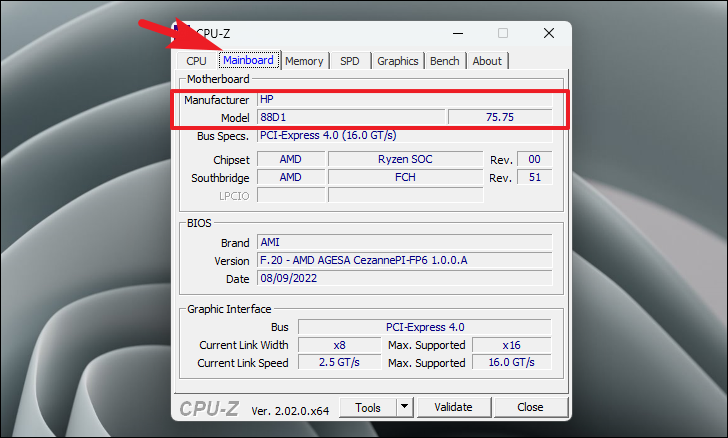
- In the CPU-Z application, select the ‘Mainboard’ tab to view detailed information about your motherboard, including the manufacturer and model name.
By utilizing these methods, you can effortlessly discover your motherboard model on Windows 11 without the need to open your computer case.


