How to Get Sawblade Launcher Dying Light: The Beast – location and crafting
Find the Silos blueprint and build the game's strongest ranged weapon early.
Find the Silos blueprint and build the game’s strongest ranged weapon early.
by Shivam Malani
Image credit: Techland
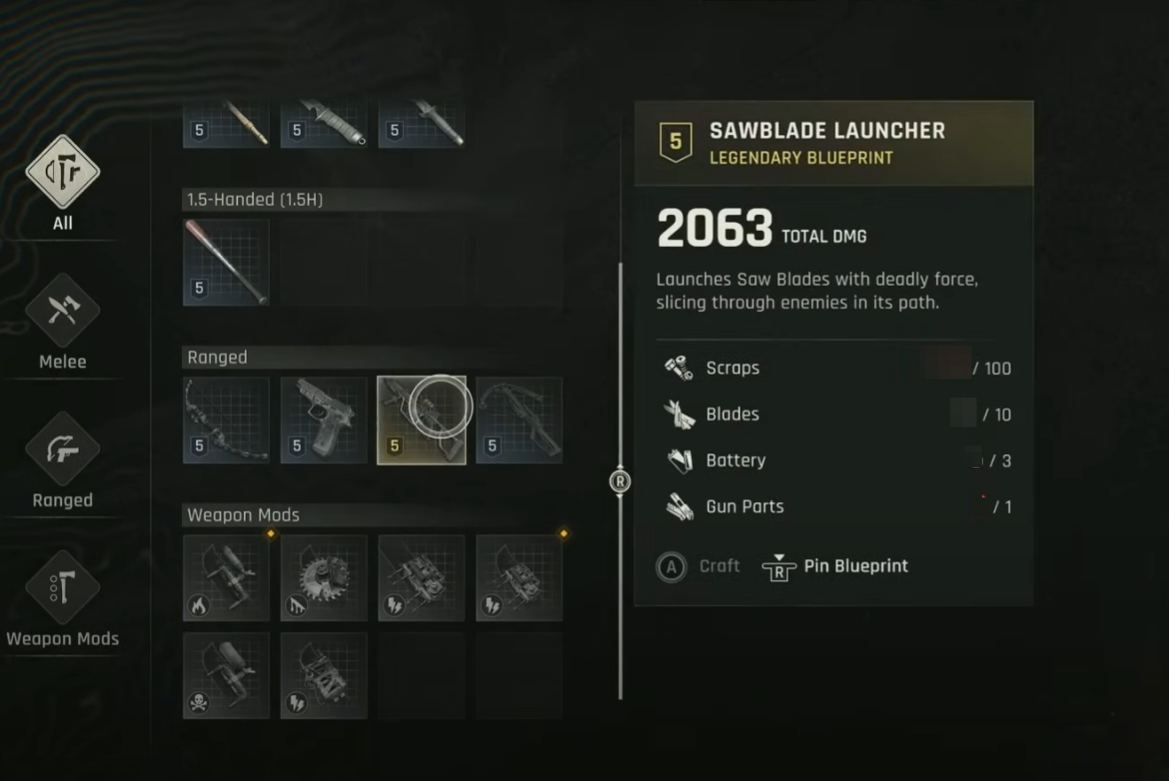
The Sawblade Launcher is a high-impact ranged option in Dying Light: The Beast, capable of cutting through standard infected and human targets and chunking tougher foes. Below is a concise route to the blueprint and the exact materials to craft both the weapon and its ammo.
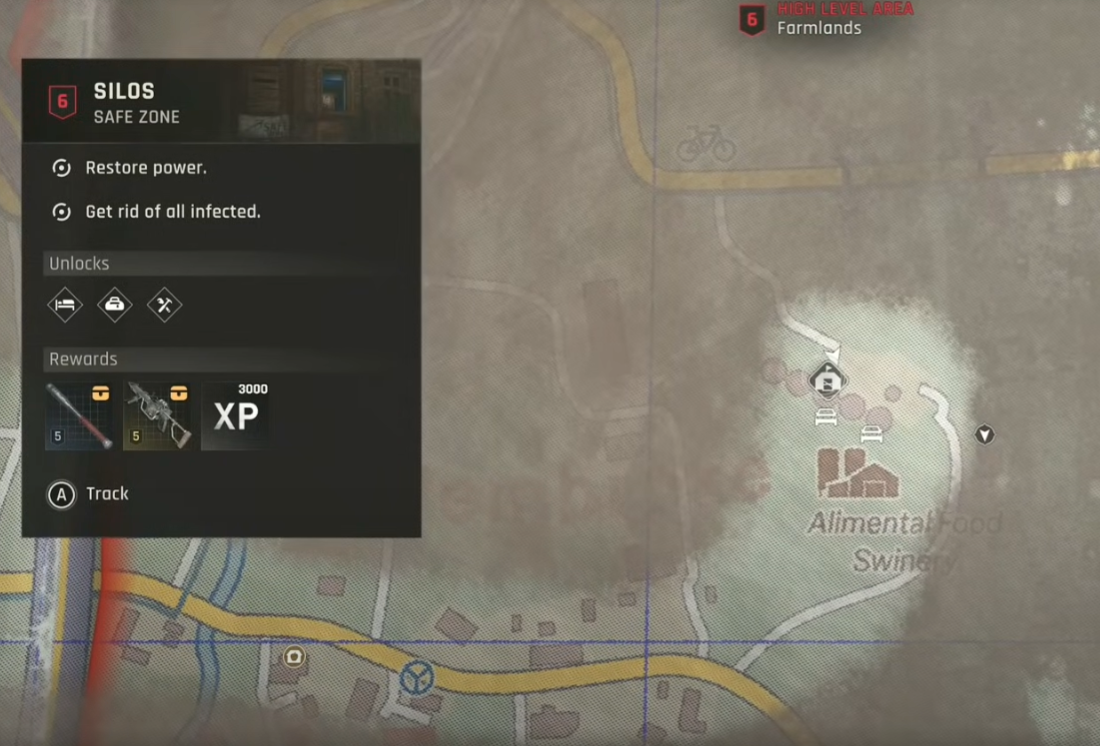
The blueprint is stored in the Silos safe zone out in The Vale’s farmlands, within the Pembroke area. This zone is roughly tuned for level 6; visiting around level 6–8 keeps the run manageable.
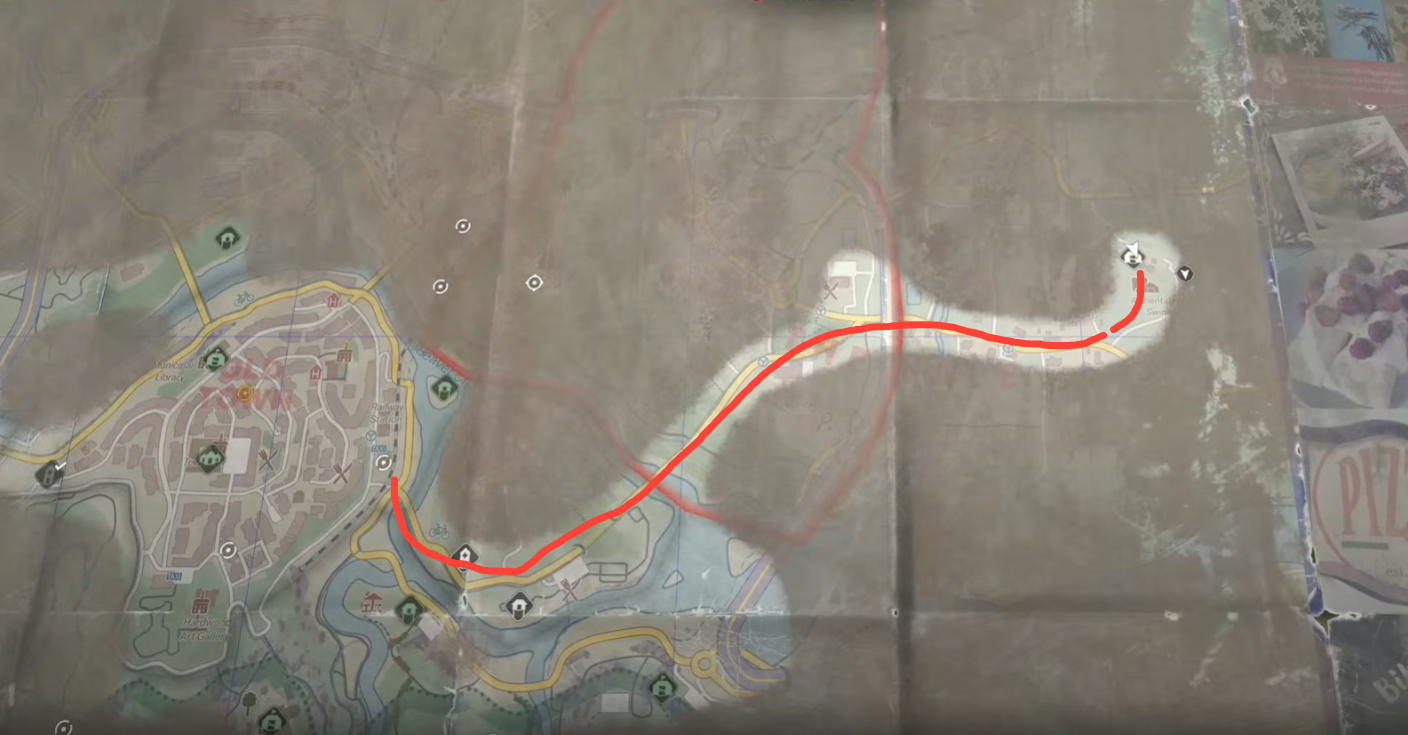
Open your map and use Old Town’s northernmost point (where the district meets the river) as your reference. From there, trace east almost to the map’s edge to find The Vale region.
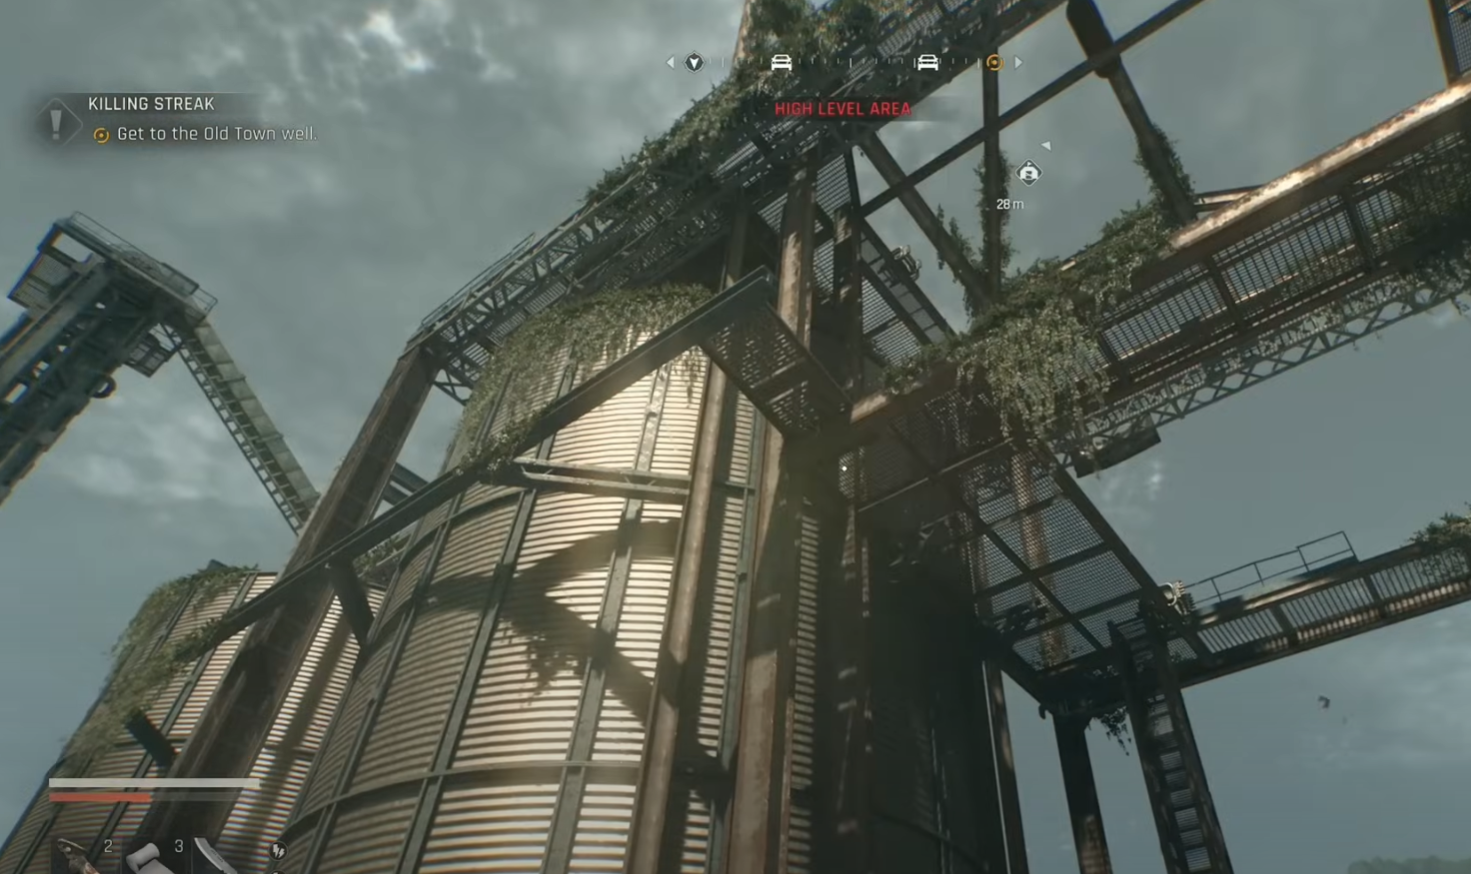
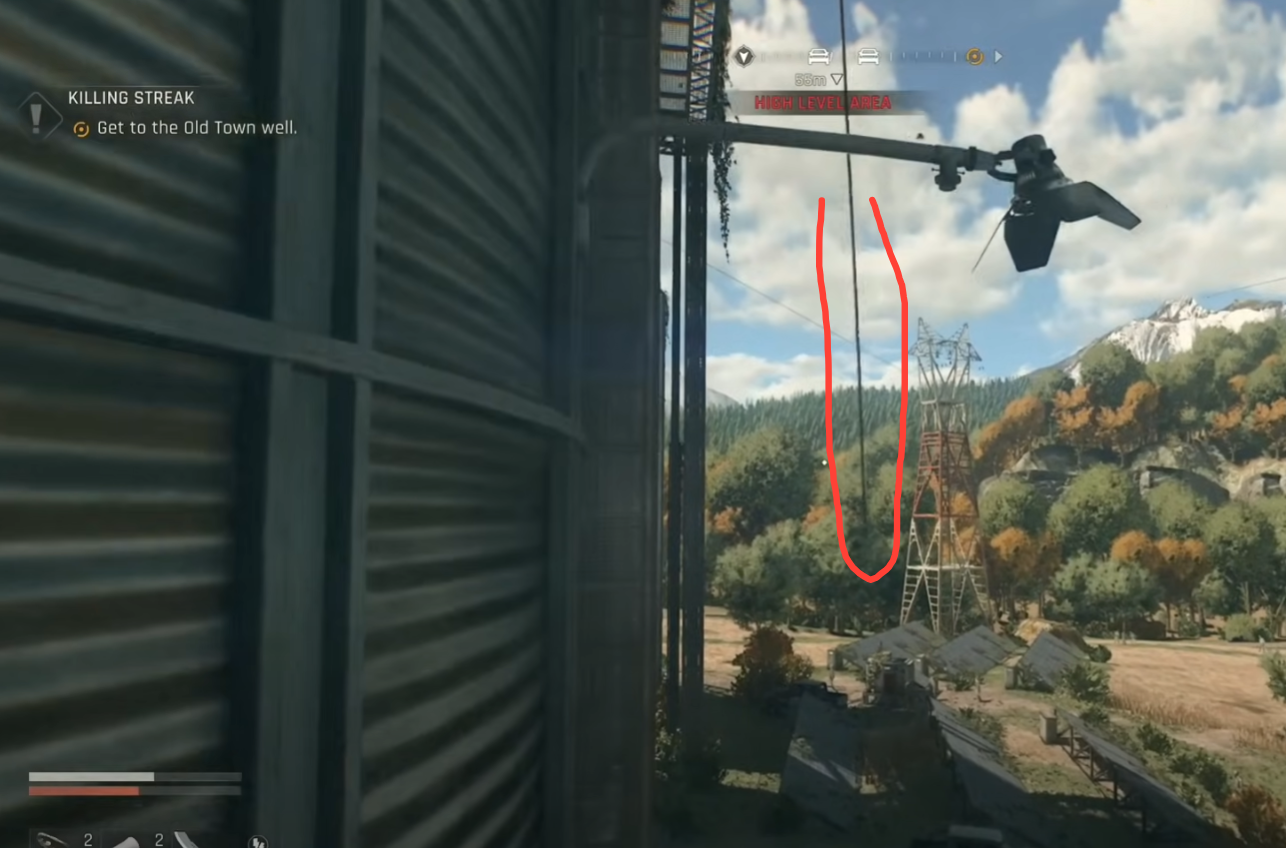
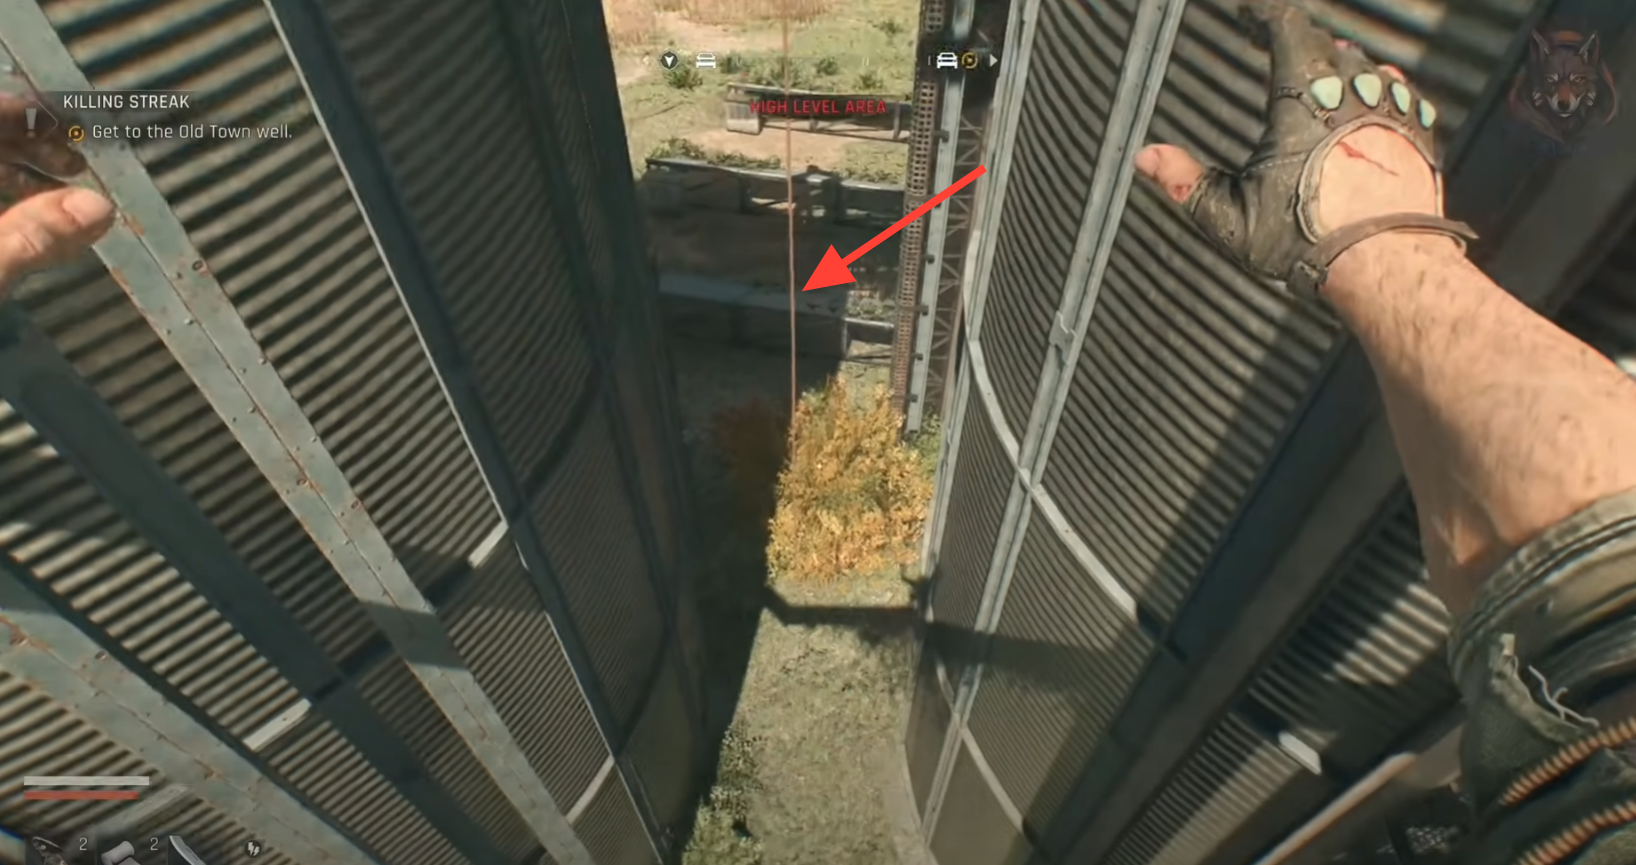
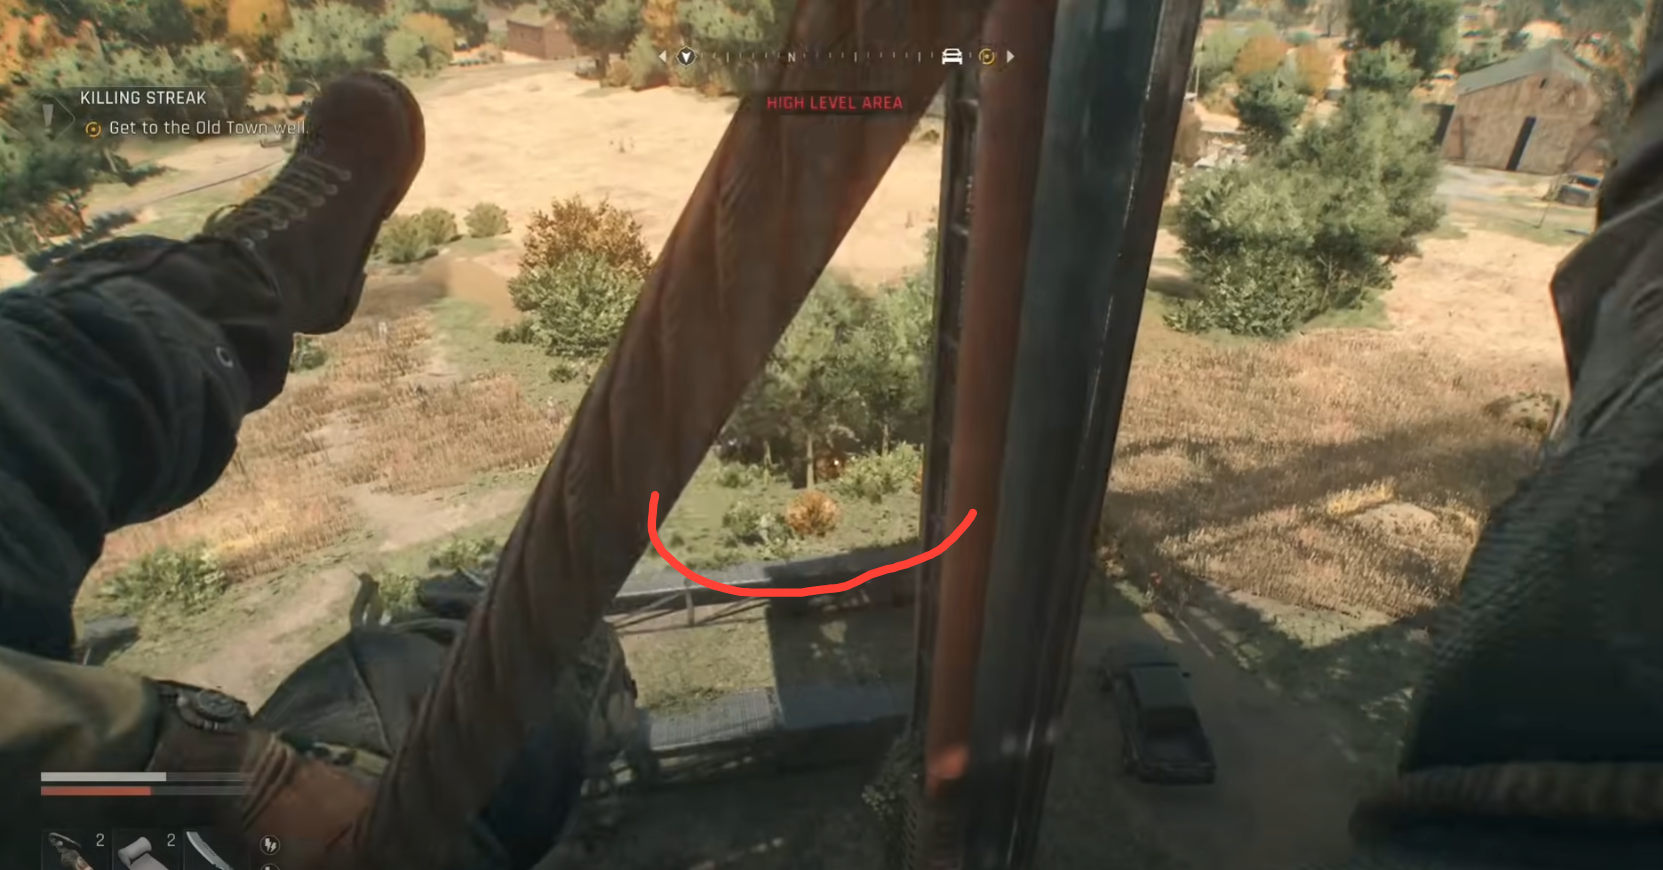
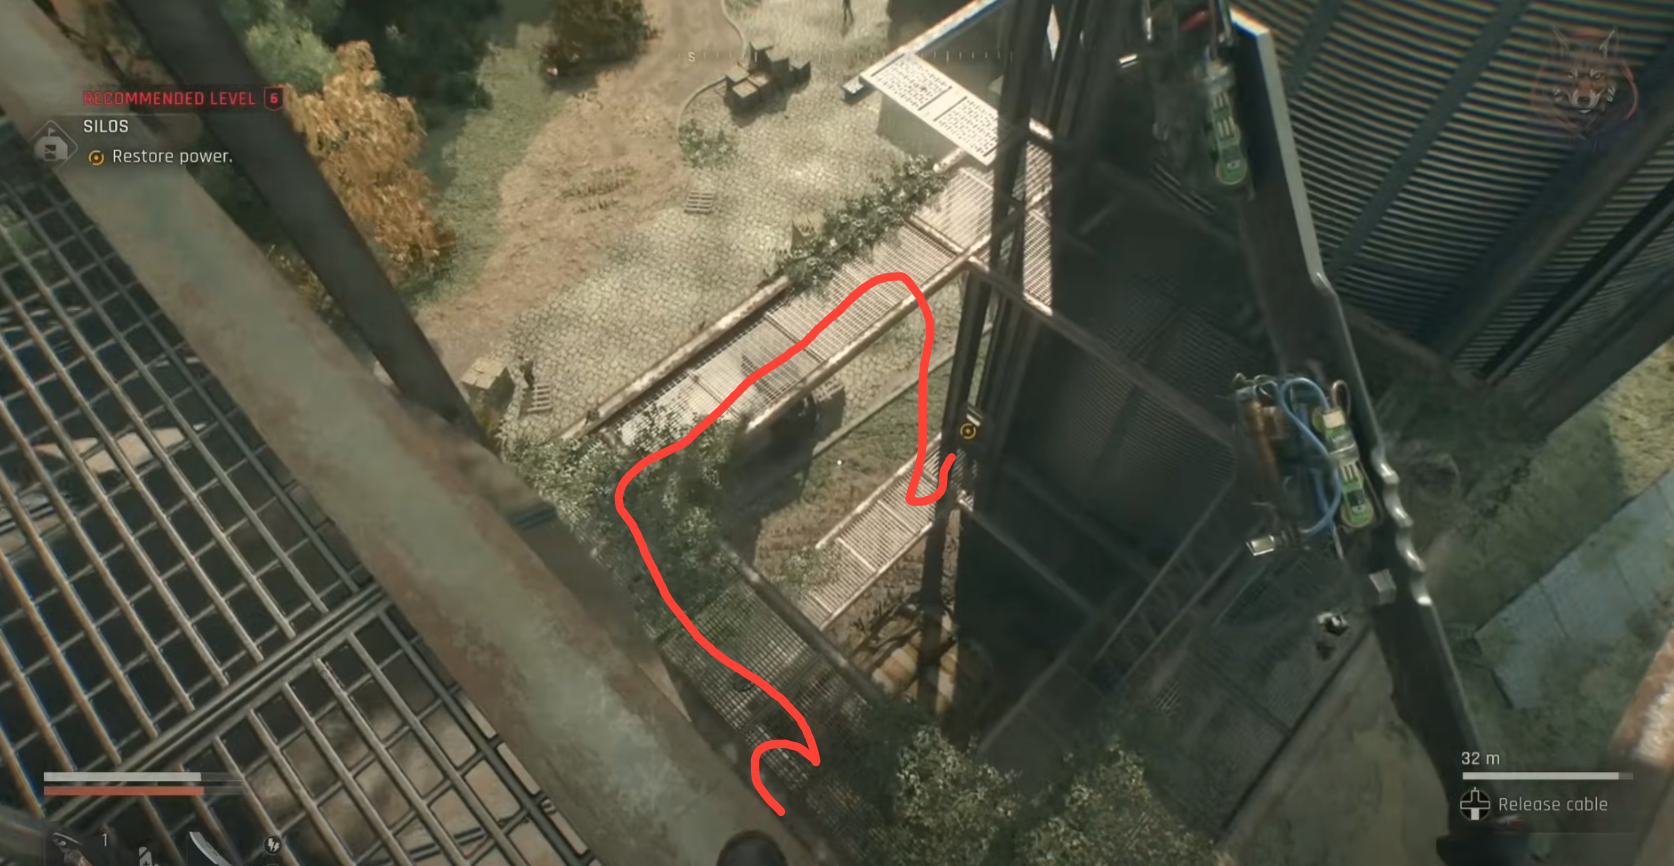
Begin the climb on the outer silos. Look for a dangling rope about halfway up; use it to swing to a pipe and continue ascending the structure.
Image credit: TechlandImage credit: TechlandJump and grab the rope.Image credit: TechlandJump from the rope towards the red pipe and grab it.Image credit: Techland
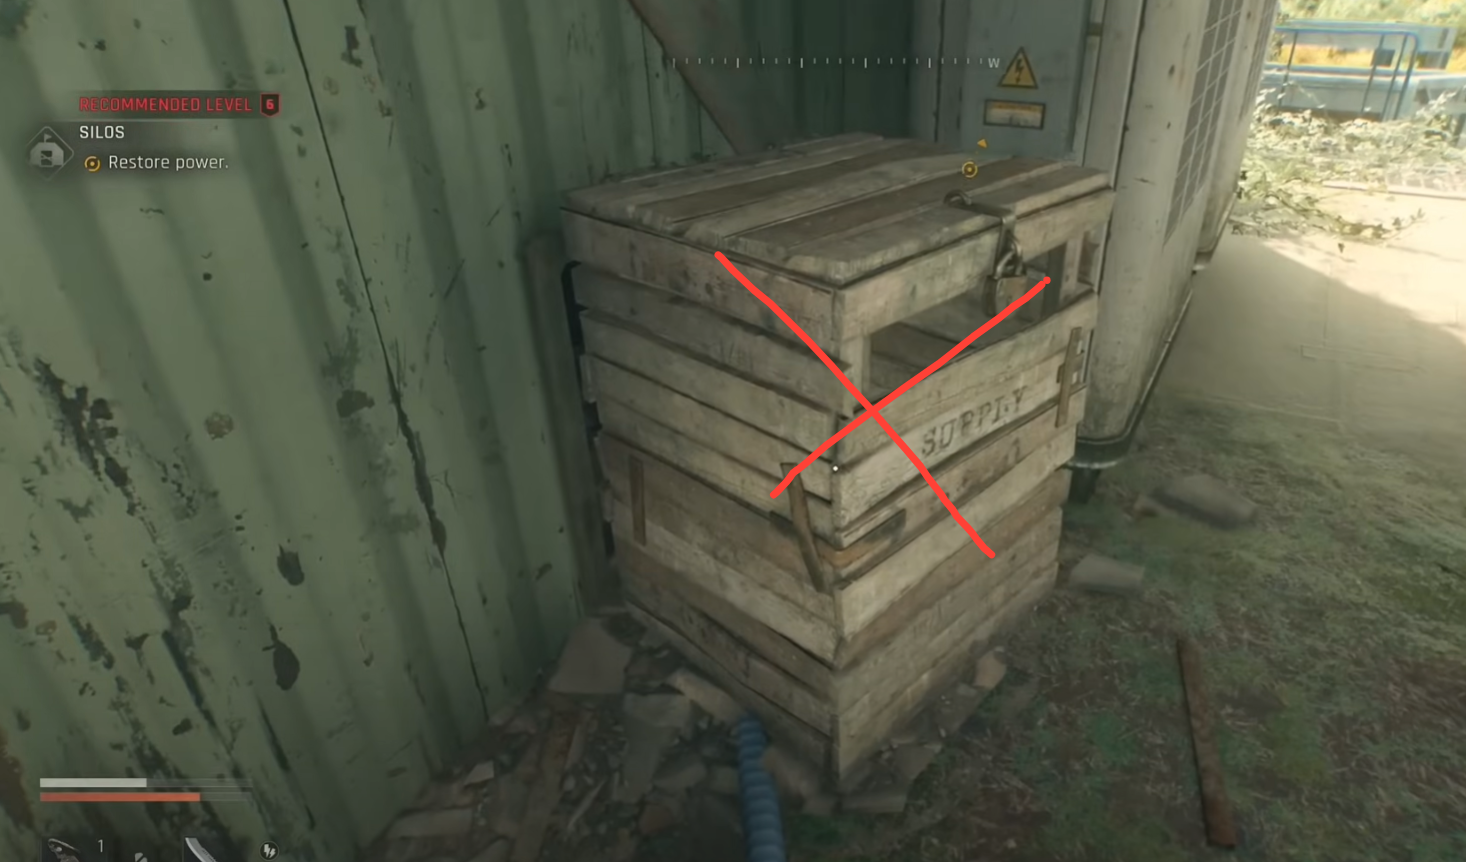
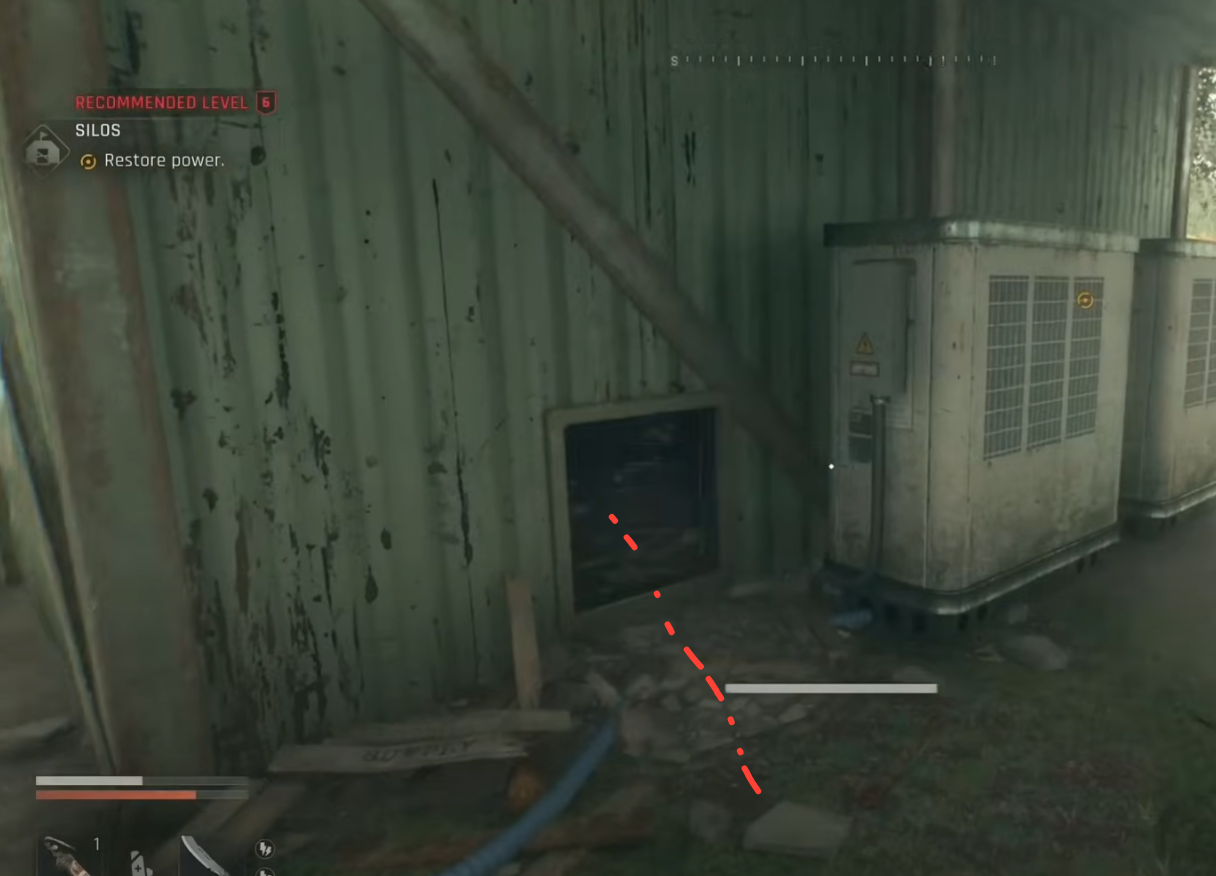
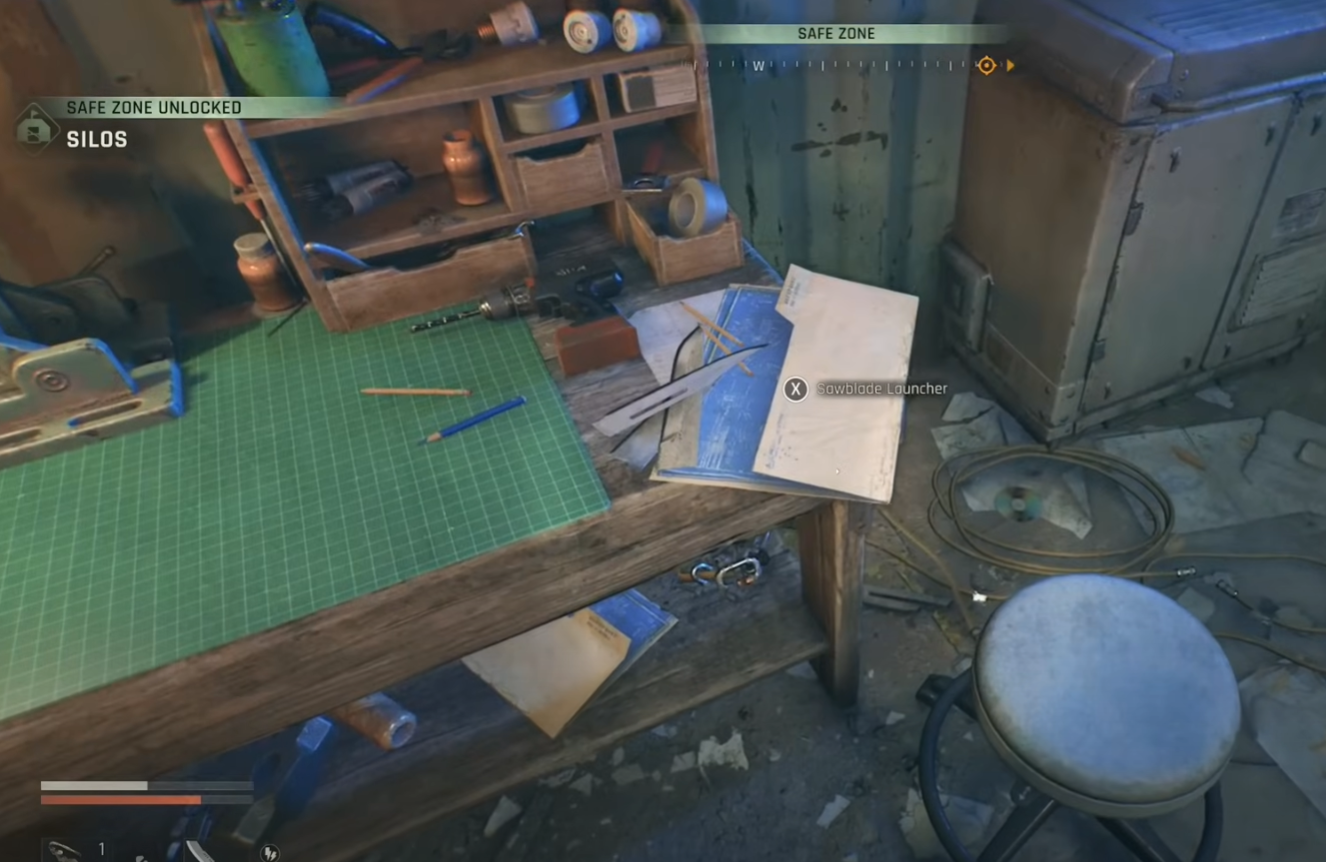
Unlock the Silos safe zone (power and access)
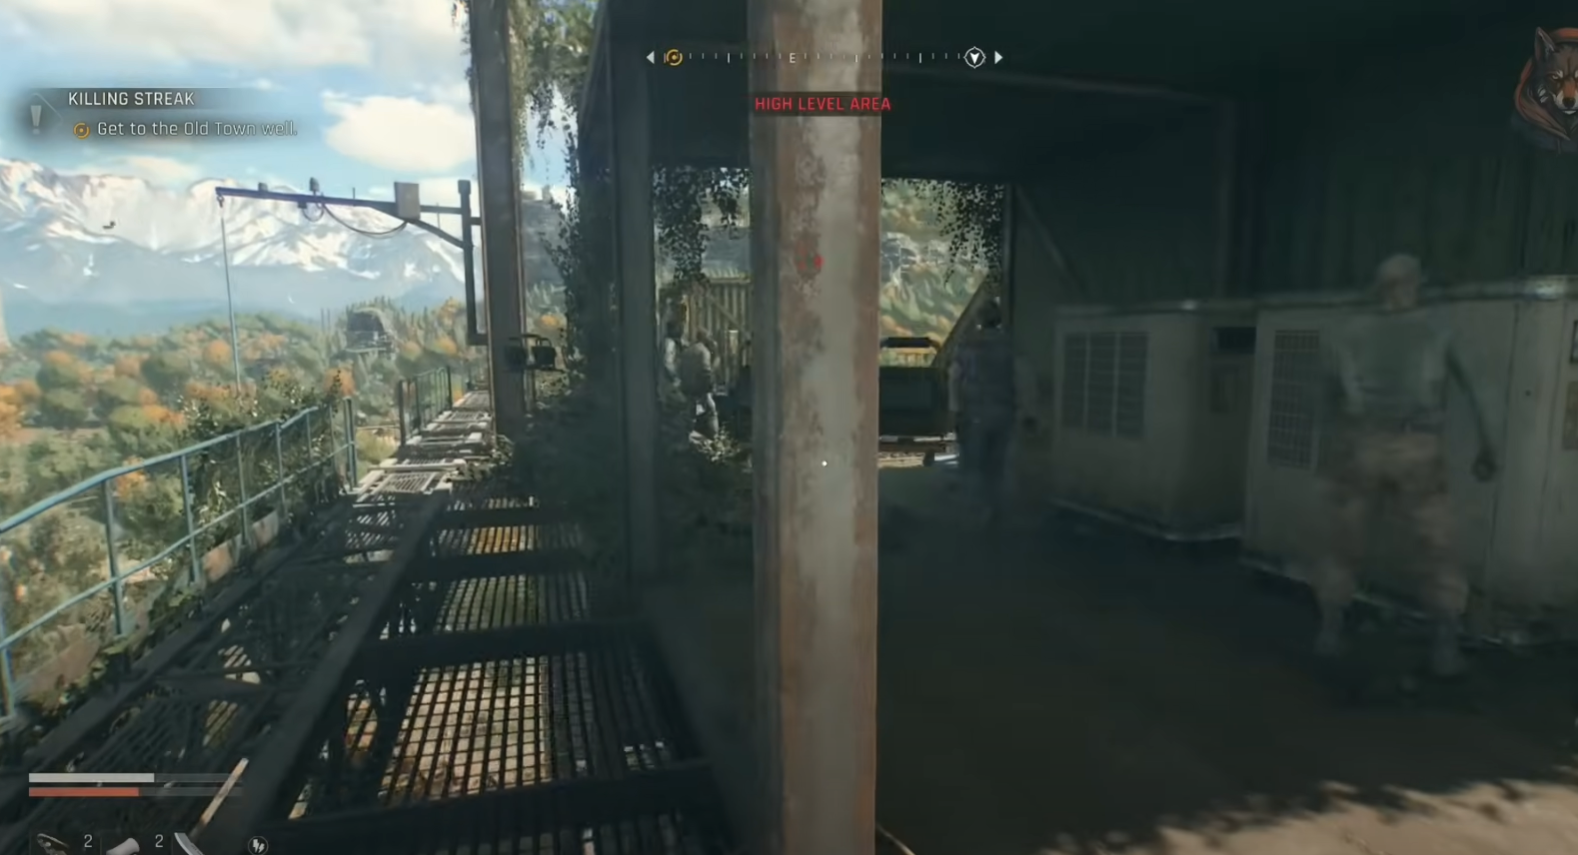
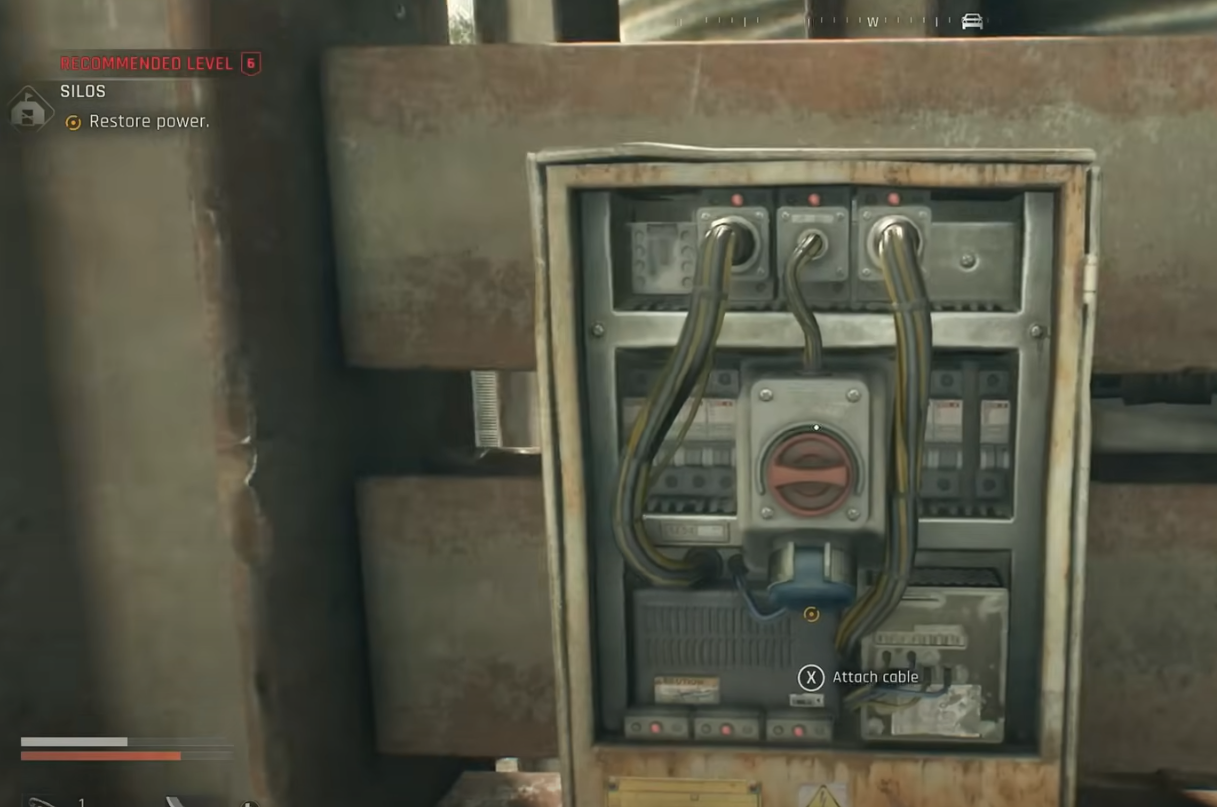
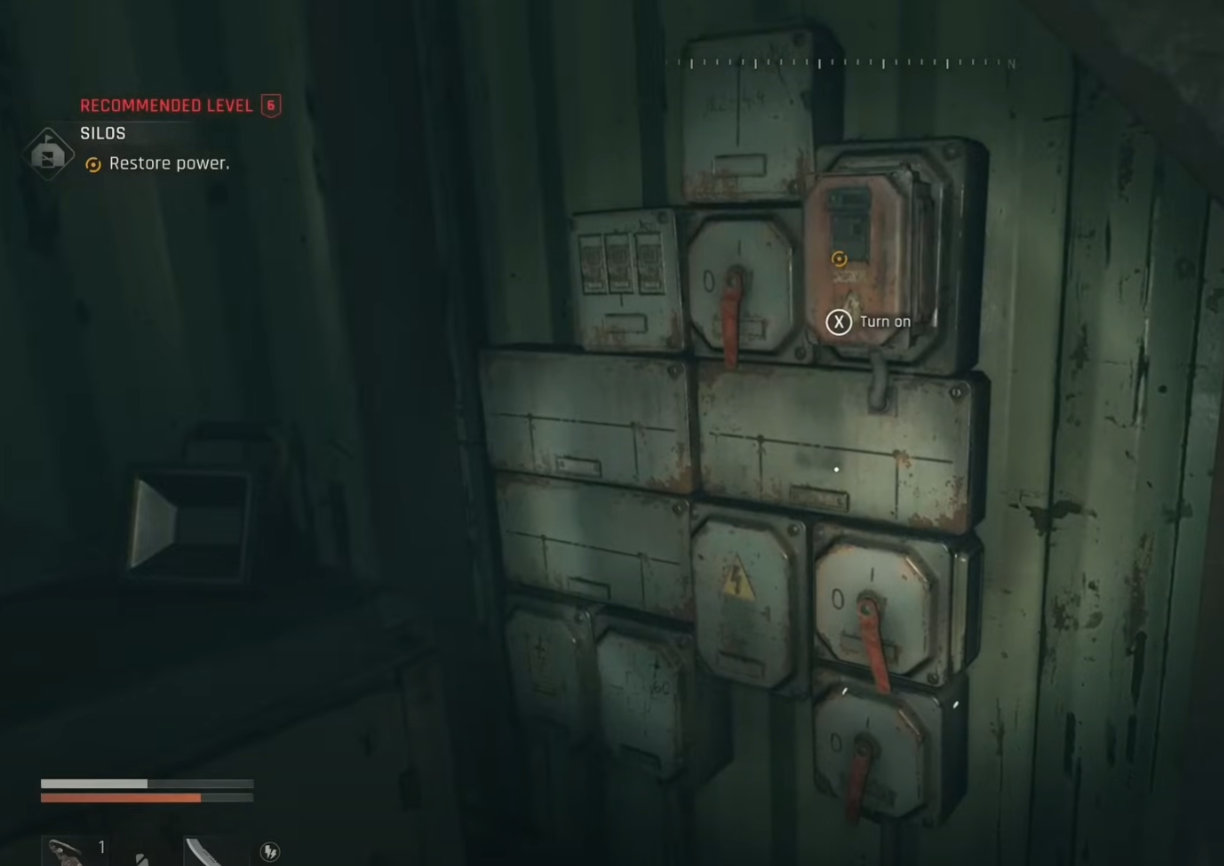
To secure the safe zone and reach the blueprint room, you need to restore power and clear the immediate threats.
On upper platforms, eliminate nearby infected to make traversal safer. This reduces the risk of being knocked off during the climb or while carrying the cable.
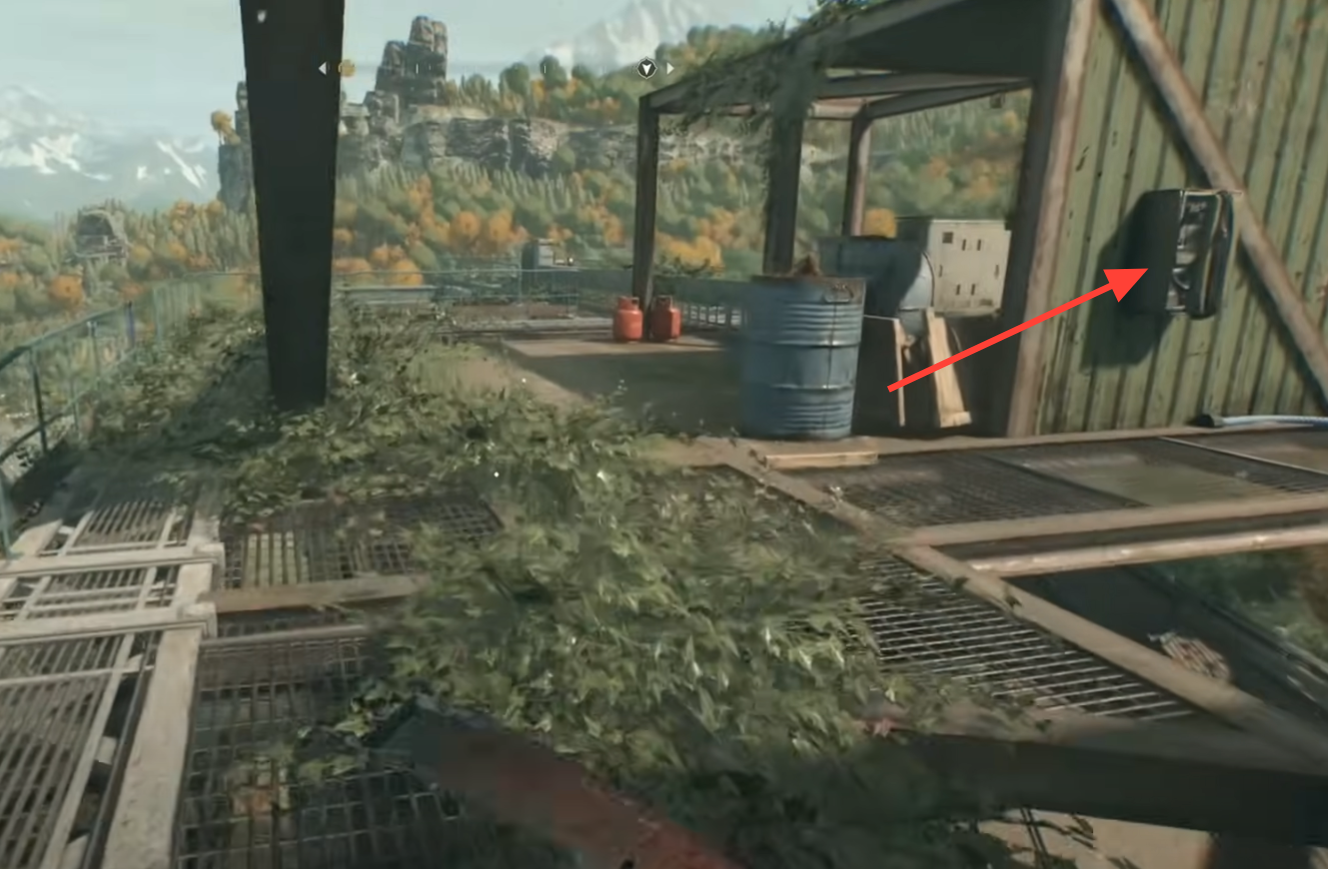
Pick up the power cable and descend toward the circuit box at the base of the structure. Keep the line as straight as possible to avoid exceeding its length.
Use your crafting interface to build the Sawblade Launcher. If the option is grayed out, you’re short on materials or haven’t learned the blueprint yet.
Image credit: Techland
Craft Sawblade Launcher ammo
Sawblade ammo is crafted separately. Each craft produces two rounds, so plan your resource usage around encounter difficulty.
Craft a batch and monitor your leather stock. Leather is used in many recipes and runs out quickly if you queue multiple crafts.
Use the Sawblade Launcher effectively
The projectile can pass through soft targets, letting you line up multiple light-armored enemies for one shot. It reliably dispatches common infected and unarmored humans; heavily armed militia may require follow-up shots or another weapon.
In crowded zones, prioritize lanes where foes naturally funnel. This turns each shot into multiple kills, reducing ammo consumption and accelerating clear speed.
Secure the Silos blueprint, craft a small ammo reserve, and you’ll have a precise tool for thinning crowds and opening fights with decisive damage.