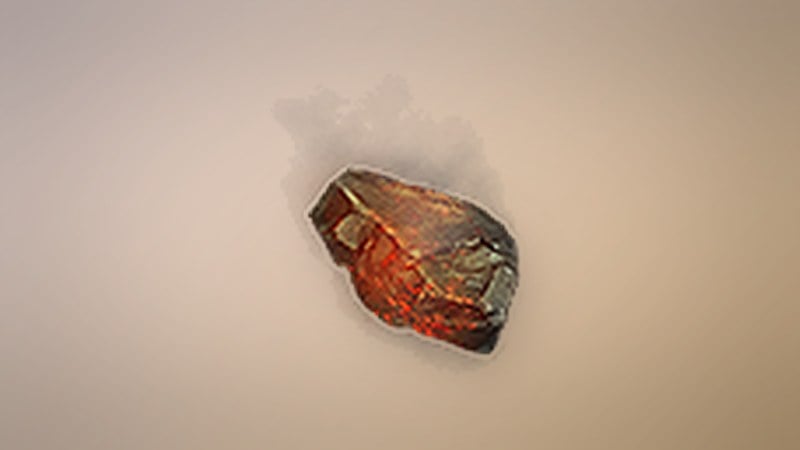
Ember Engine was added to The Division 2 in Red Horizon, the Year 8 Season 3 update, as the game’s 27th multi-bonus gear set. Its sole purpose is to turn status effects into fire. Equip enough pieces, and almost any effect you apply to an enemy can ignite them. This mechanic also makes the set the foundation of a Tier 10 Escalation support build, letting one agent heal an entire group while keeping the room ablaze.
Quick answer: Target-farm Ember Engine on Challenging-difficulty Countdown or The Summit, or pull a piece from the Red Horizon Cache in the season’s battle pass. Four pieces unlock the Spontaneous Combustion talent.
Ember Engine set bonuses and talents
Like every gear set, Ember Engine stacks benefits as you equip more pieces. The four-piece bonus is the one the build revolves around.
| Pieces | Bonus |
|---|---|
| 2+ | +15% Skill Efficiency |
| 3+ | +30% Status Effects |
| 4 | Spontaneous Combustion |
Spontaneous Combustion can add Burn whenever you apply a status effect. If the effect you applied is Burn, the target instead suffers +25% Burn Damage for the remainder of its duration. Turning effects into fire and boosting that fire makes wearing all four pieces essential if you want Ember Engine to serve as a status-effect anchor, not just a side bonus.
Two item-specific talents enhance Spontaneous Combustion, and each requires its designated piece to be among your four. Flashpoint, the chest talent, raises the Burn application chance to 60%. White Hot, found on the backpack, increases the Spontaneous Combustion burn debuff’s duration by 50%.
Flashpoint and White Hot suit different approaches. Flashpoint triggers ignitions more often, whereas White Hot prolongs each burn; choose based on whether you prefer steady fire or stronger damage over time.
Where Ember Engine drops
Targeted loot is the quickest farming method. Choose Ember Engine as your target, then run activities packed with enemies to generate drops quickly. Countdown and The Summit are the top choices; Challenging is recommended to balance clear speed with drop rate. Matchmake for either activity, joining a group or playing with strangers.
Prioritize elite enemies: they are more likely to drop the slot you need, making them the fastest way to fill missing pieces. You can also get an Ember Engine piece from a Red Horizon Cache earned in the season’s battle pass, a useful option when grinding time is limited.
The Escalation support build: fire and healing in one loadout
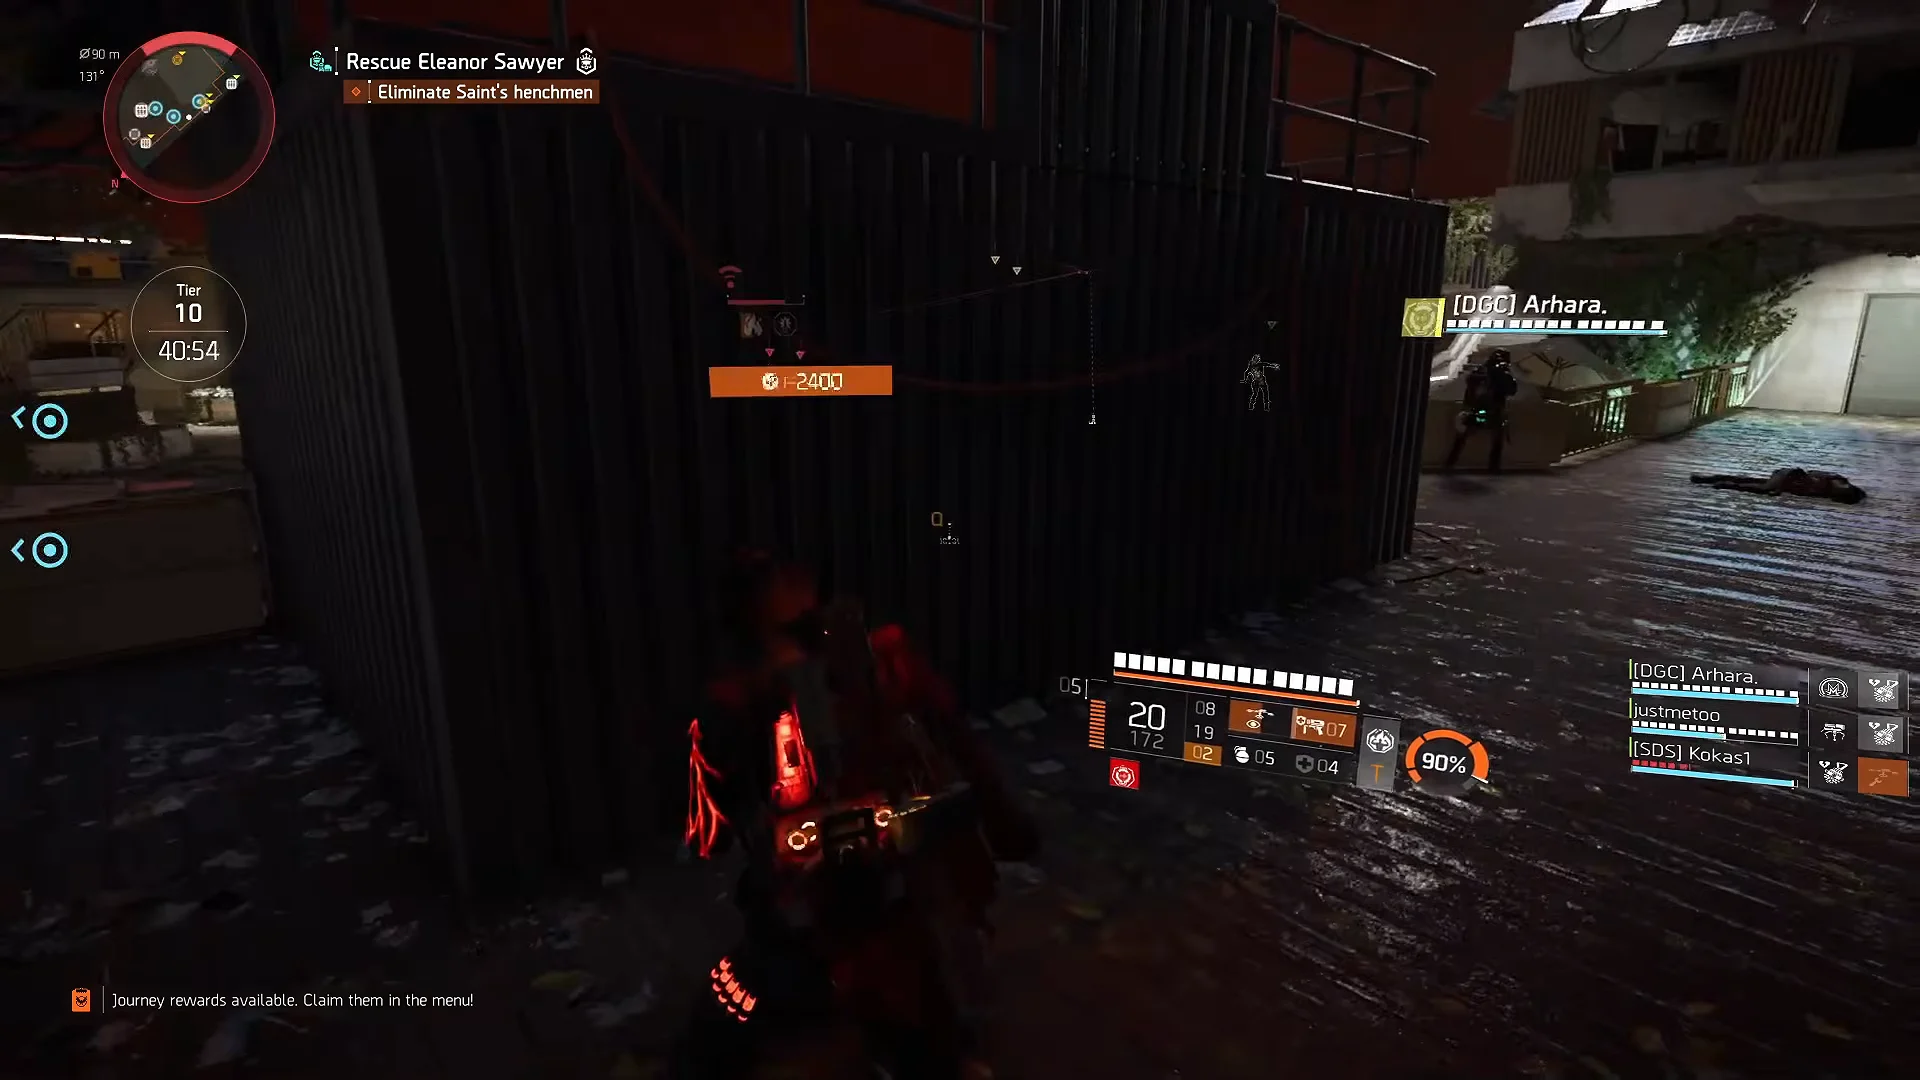
In Tier 10 Escalations, players normally pick between a dedicated healer and a status-effect controller. The Ember Engine support build merges both roles. It keeps four Ember Engine pieces for the burn conversion, fills the remaining slots with the BTSU Datagloves and the named Benefactor chest, and leans the whole thing toward Repair Skills so group healing never drops off while enemies stay alight.
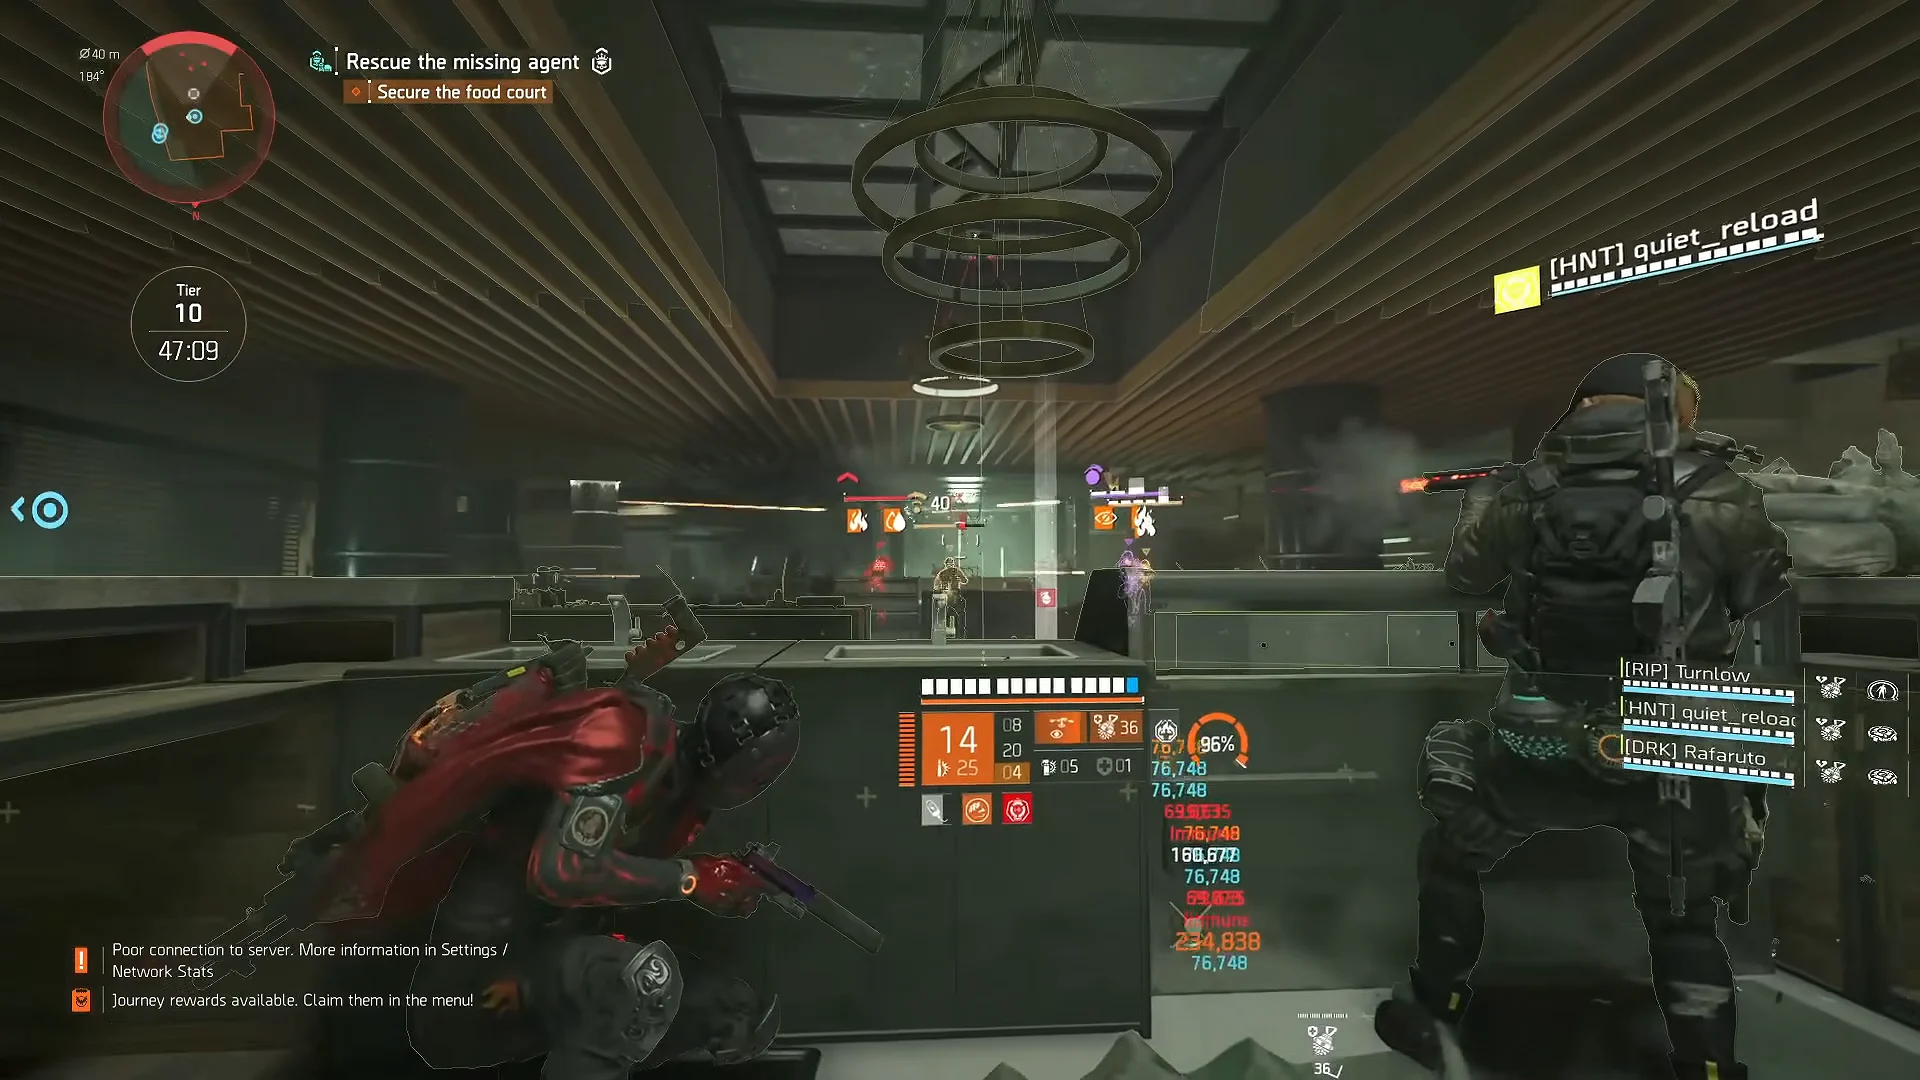
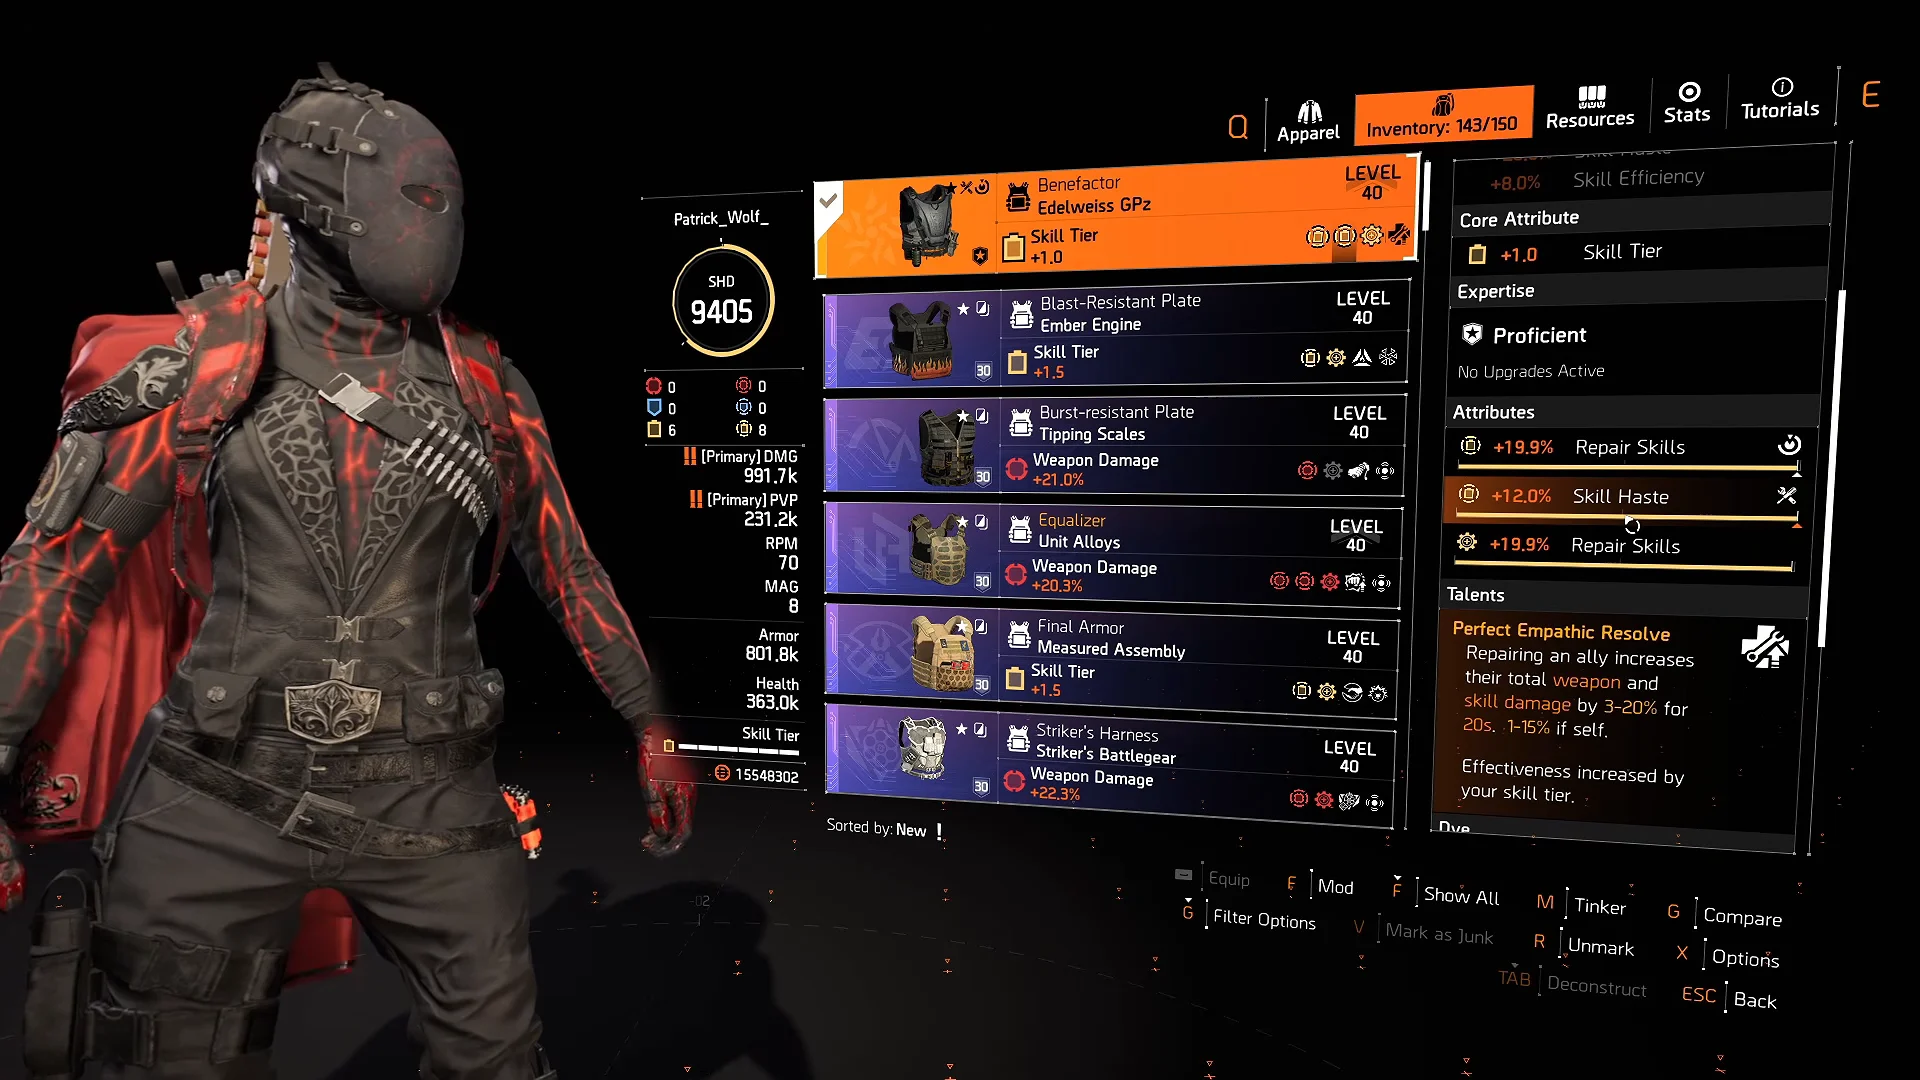
Every slot runs Skill Tier as its core attribute to reach Tier 6, with Repair Skills on almost every piece and Status Effects on the slots that can carry it. Here is the full gear layout.
| Slot | Piece | Attributes / talent |
|---|---|---|
| Mask | Ember Engine | Repair Skills |
| Chest | Benefactor (Edelweiss GPz) | Repair Skills, Skill Haste; Perfect Empathic Resolve |
| Holster | Ember Engine | Repair Skills |
| Backpack | Ember Engine (Tank Carrier) | Repair Skills, Status Effects; White Hot |
| Gloves | BTSU Datagloves | Skill Haste, Repair Skills; Transference Overclock |
| Kneepads | Ember Engine | Status Effects |
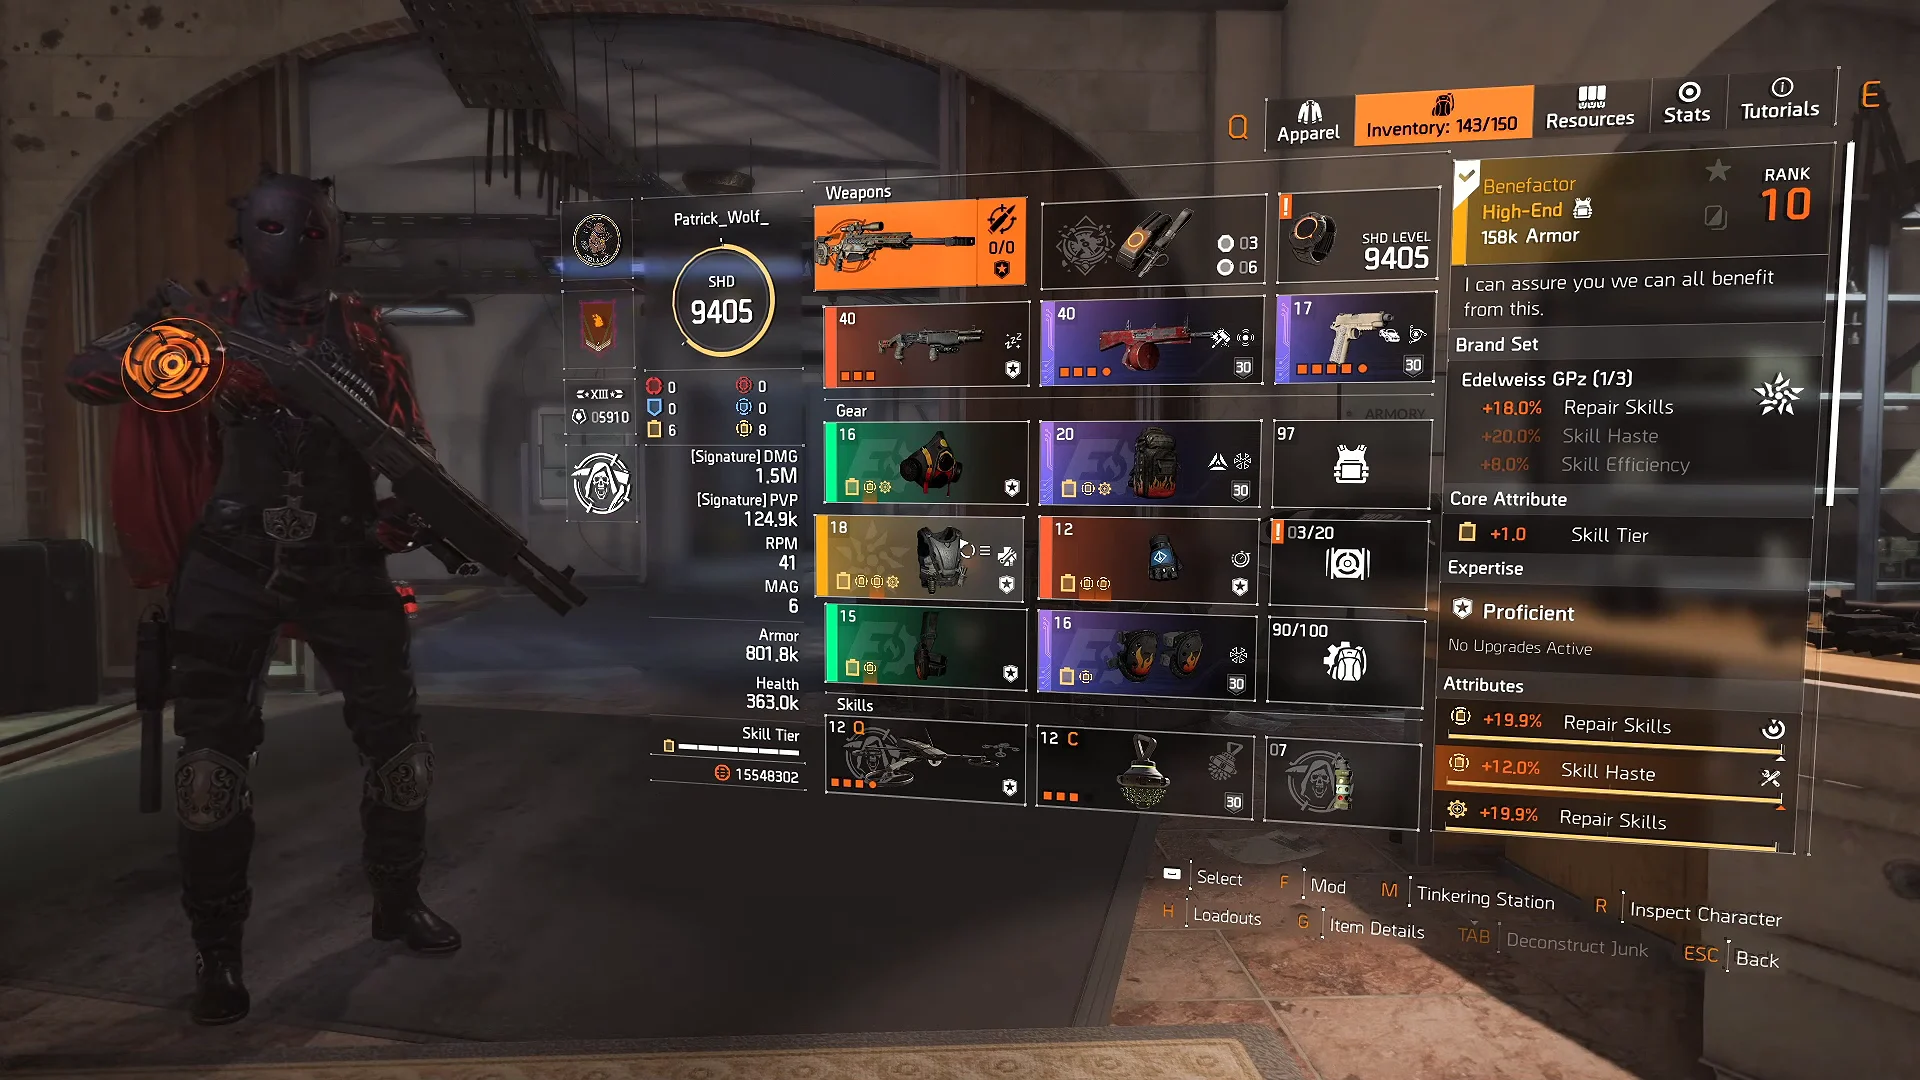
The Benefactor chest carries Perfect Empathic Resolve, which raises an ally’s total weapon and skill damage by 4%-16% for 20 seconds whenever you repair them, with 1-8% going to yourself and the effect scaling up with your skill tier. Because you are already healing constantly, that buff stays live on the whole group. The BTSU Datagloves add Transference Overclock, granting +15% Hive skill haste per skill tier, and detonating a Hive refreshes your skill cooldowns while handing allies an overcharge.
One active global modifier feeds directly into this setup. Microwave Coils gives up to four Pulse-affected enemies a 30% chance to be inflicted with Burn for 5 seconds and hands you 3% bonus Armor per affected hostile, so pulsing a crowd both ignites it and hardens you.
Skills: Tactician Drone and Restorer Hive
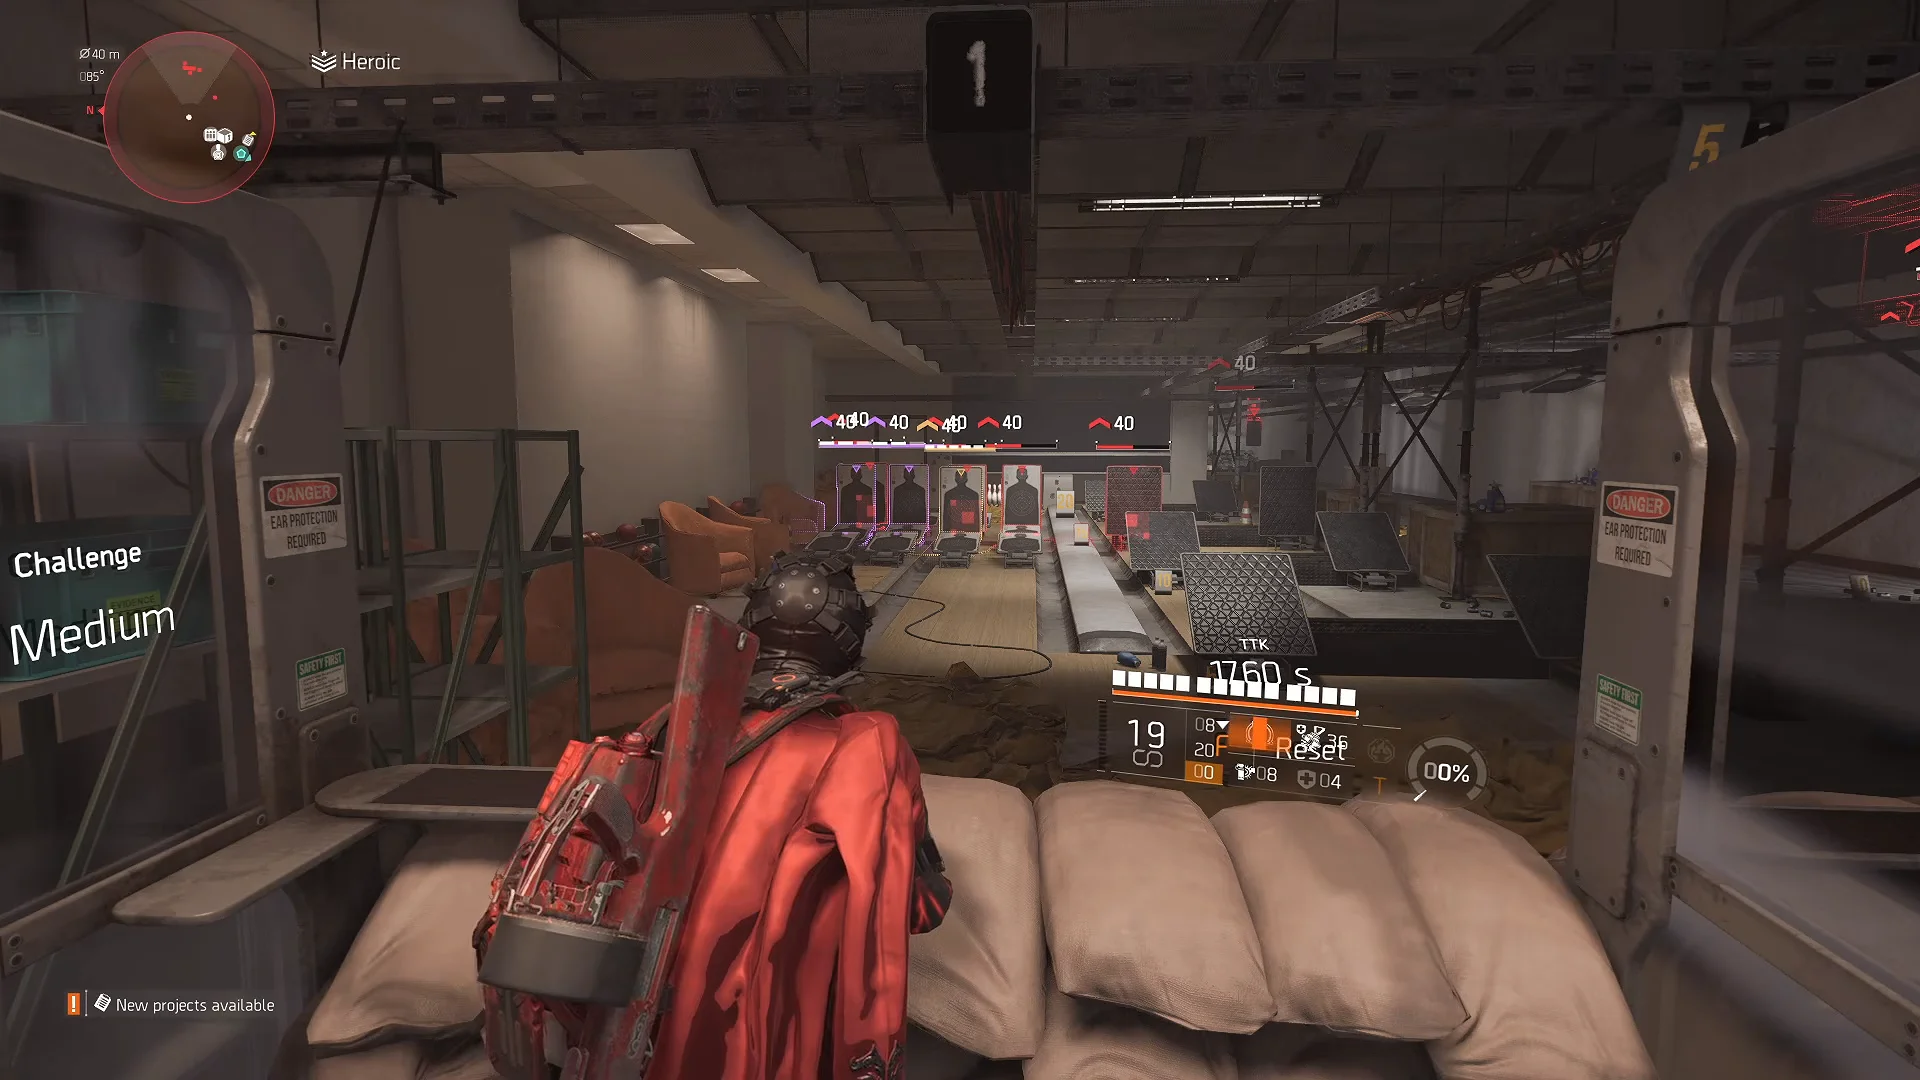
The Sharpshooter specialization is chosen for the Tactician Drone, which sits above the fight and repeatedly pulses everything inside its scan radius. That constant pulsing re-triggers the burn conversions from Microwave Coils and Spontaneous Combustion with almost no downtime, so enemies keep catching fire while you focus on healing. The drone runs Tier 6 with a 90-metre scan range, a 181.5-second cooldown and a 441.6-second duration.
The Restorer Hive handles the healing. It runs 36 charges, repairs at one charge per second, heals for 369,672 HP at Tier 6, and recharges fast thanks to the BTSU glove haste bonus. Detonating it gives the group an overcharge on top of the burst heal.
The Restorer Hive is preferred over the Reinforcer Chem Launcher here because its charge sustain and uptime hold up better in a long Tier 10 fight, where the chem launcher runs into charge and duration limits.
Weapons for the support build
Because the build spends its stat budget on skills, the weapons are chosen for utility rather than raw damage.
- Sweet Dreams — exotic shotgun used to instantly melee-kill red and purple (non-elite) enemies.
- Lefty — shotgun with Perfect Sledgehammer; its grenade mark grants the group +40% damage to armor.
- Quickstep — pistol with Sport Mode for +20% movement speed and for triggering weapon-based status procs.
Pairings for a pure fire build
If you would rather use Ember Engine as a straight damage set, the pairings change. Four Ember Engine pieces stay fixed, and the final two slots go to an exotic or a complementary item that keeps the fire chain going.
| Item | Why it works |
|---|---|
| Vile Exotic Mask | Amplifies damage over time, the strongest match for the burn |
| Fafnir | Key weapon in the season’s fire setup |
| Scorpio Shotgun | Solid close-range burn pairing |
| Blue Screen LMG | Alternative for sustained fire |
| Ridgeway’s Pride | Converts bleed into burn for more triggers |
The Vile Exotic Mask is the headline pairing because its damage-over-time amplification lines up exactly with the burn the set keeps applying, pushing fire damage well past what Ember Engine does alone. Whichever direction you take it, the rule stays the same: four Ember Engine pieces to unlock Spontaneous Combustion, then fill the rest around the effect you want to keep spreading.