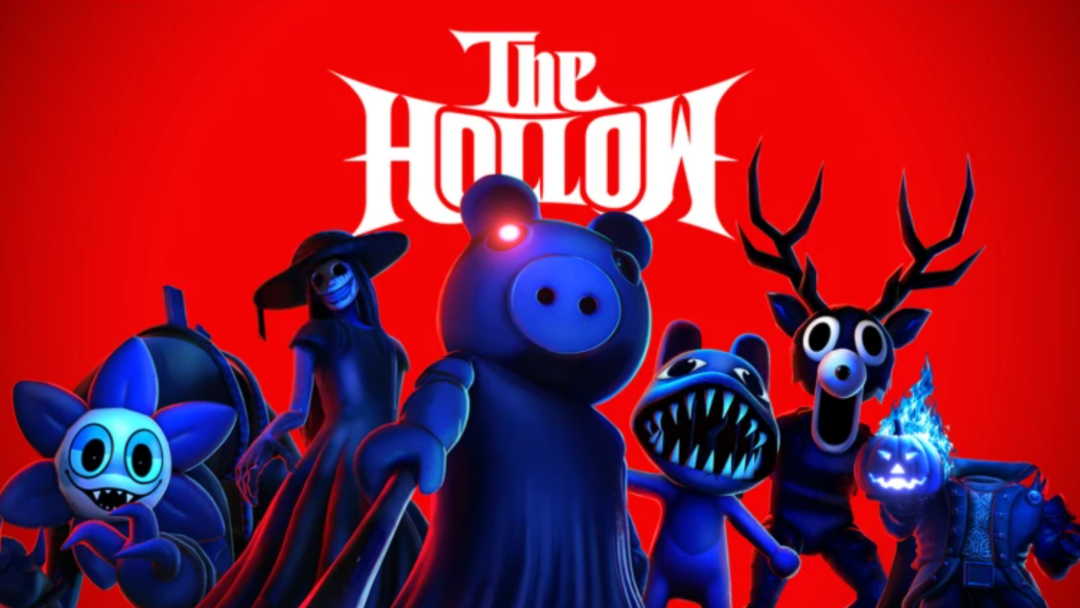
Floor 2 of The Hollow, the Roblox Presents Halloween event experience, uses the same lobby elevator as Floor 1. The floor itself plays differently, though. It switches to first person, and the maze begins behind a glowing doorway in a small safe room.
Quick answer: Press 2 on the lobby elevator panel. Floor 2 is first person, and the maze starts through the sparkle doorway in the safe room you arrive in.
How to get to Floor 2 in The Hollow
Floor 2 is open as of 28 October. Buttons 1 through 6 are live on the elevator panel, and 7, 8 and 9 are still covered with red tape.
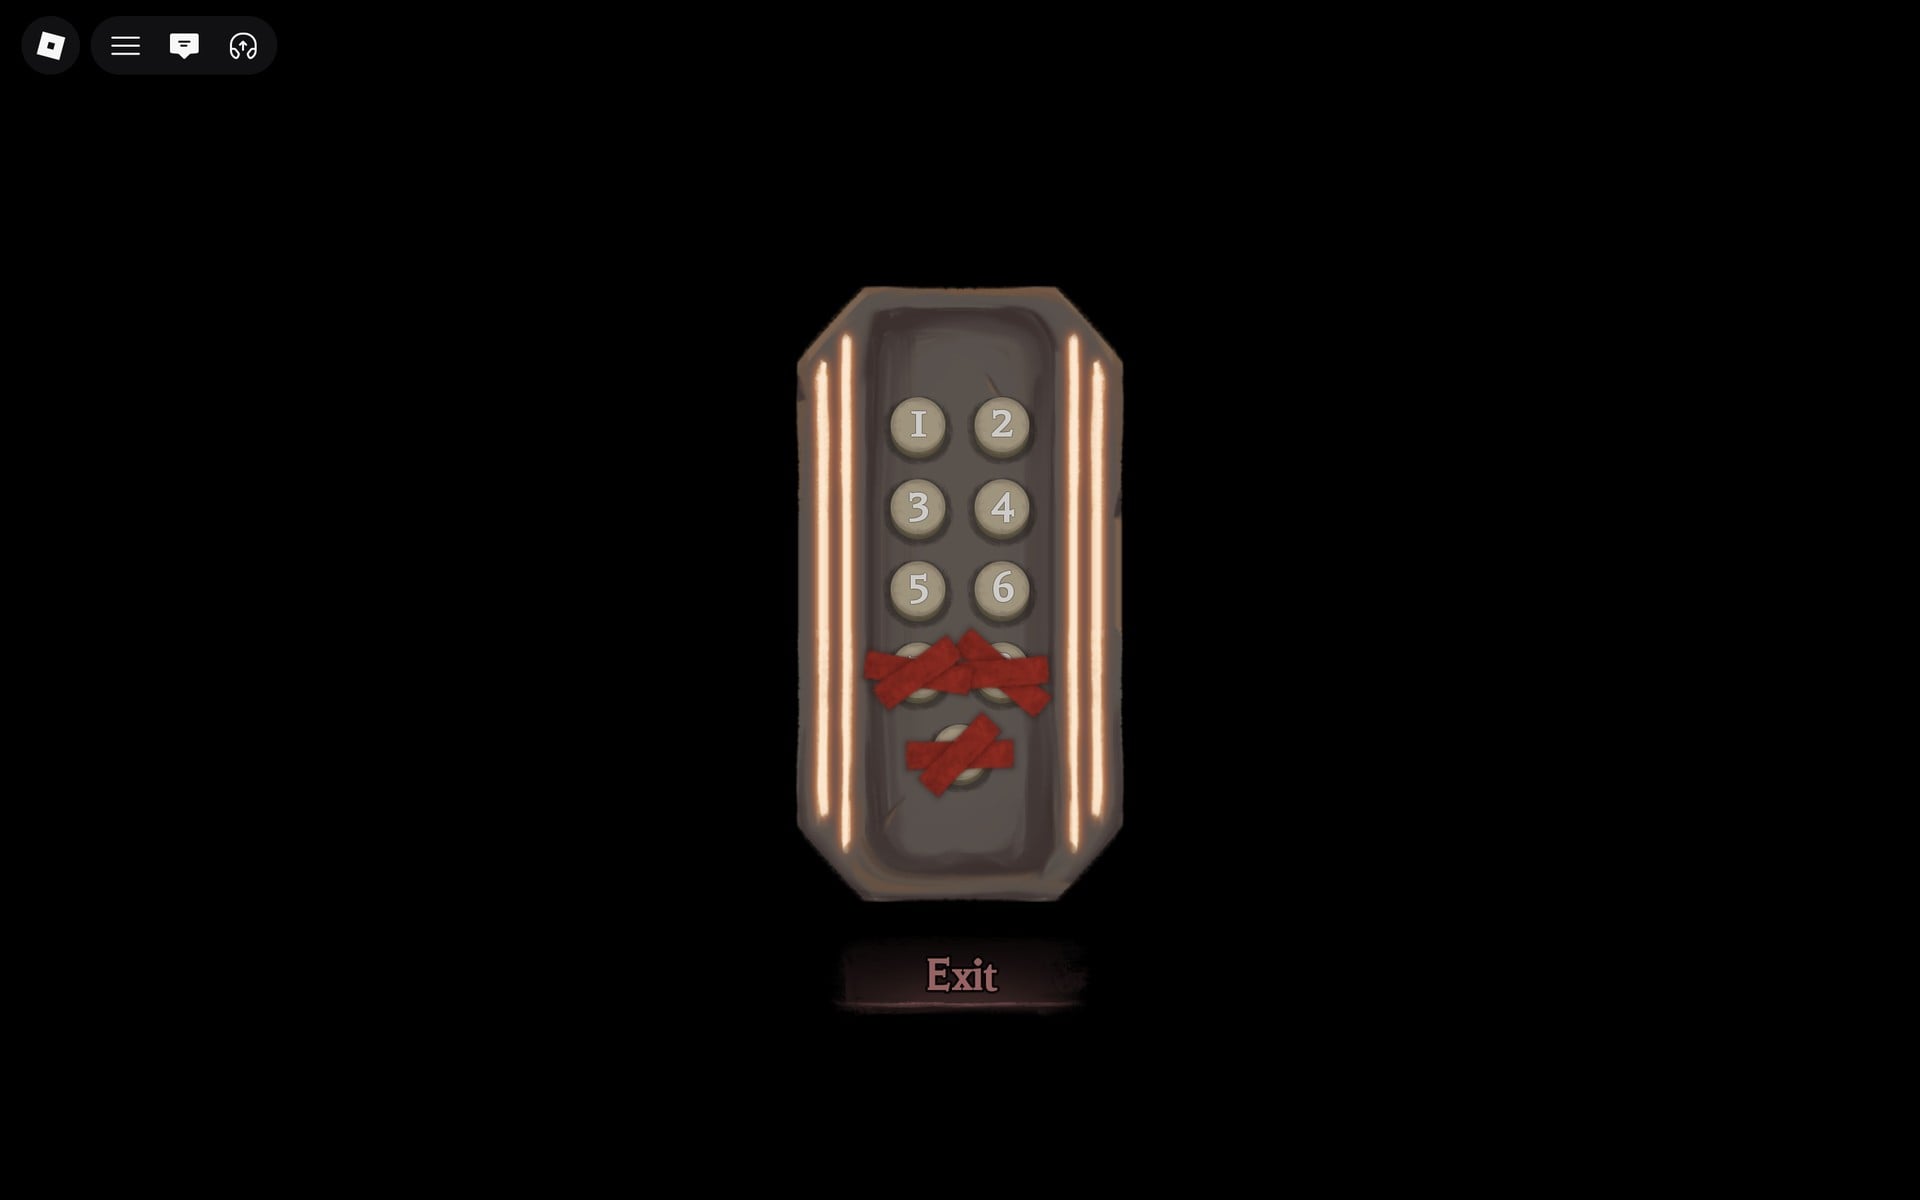
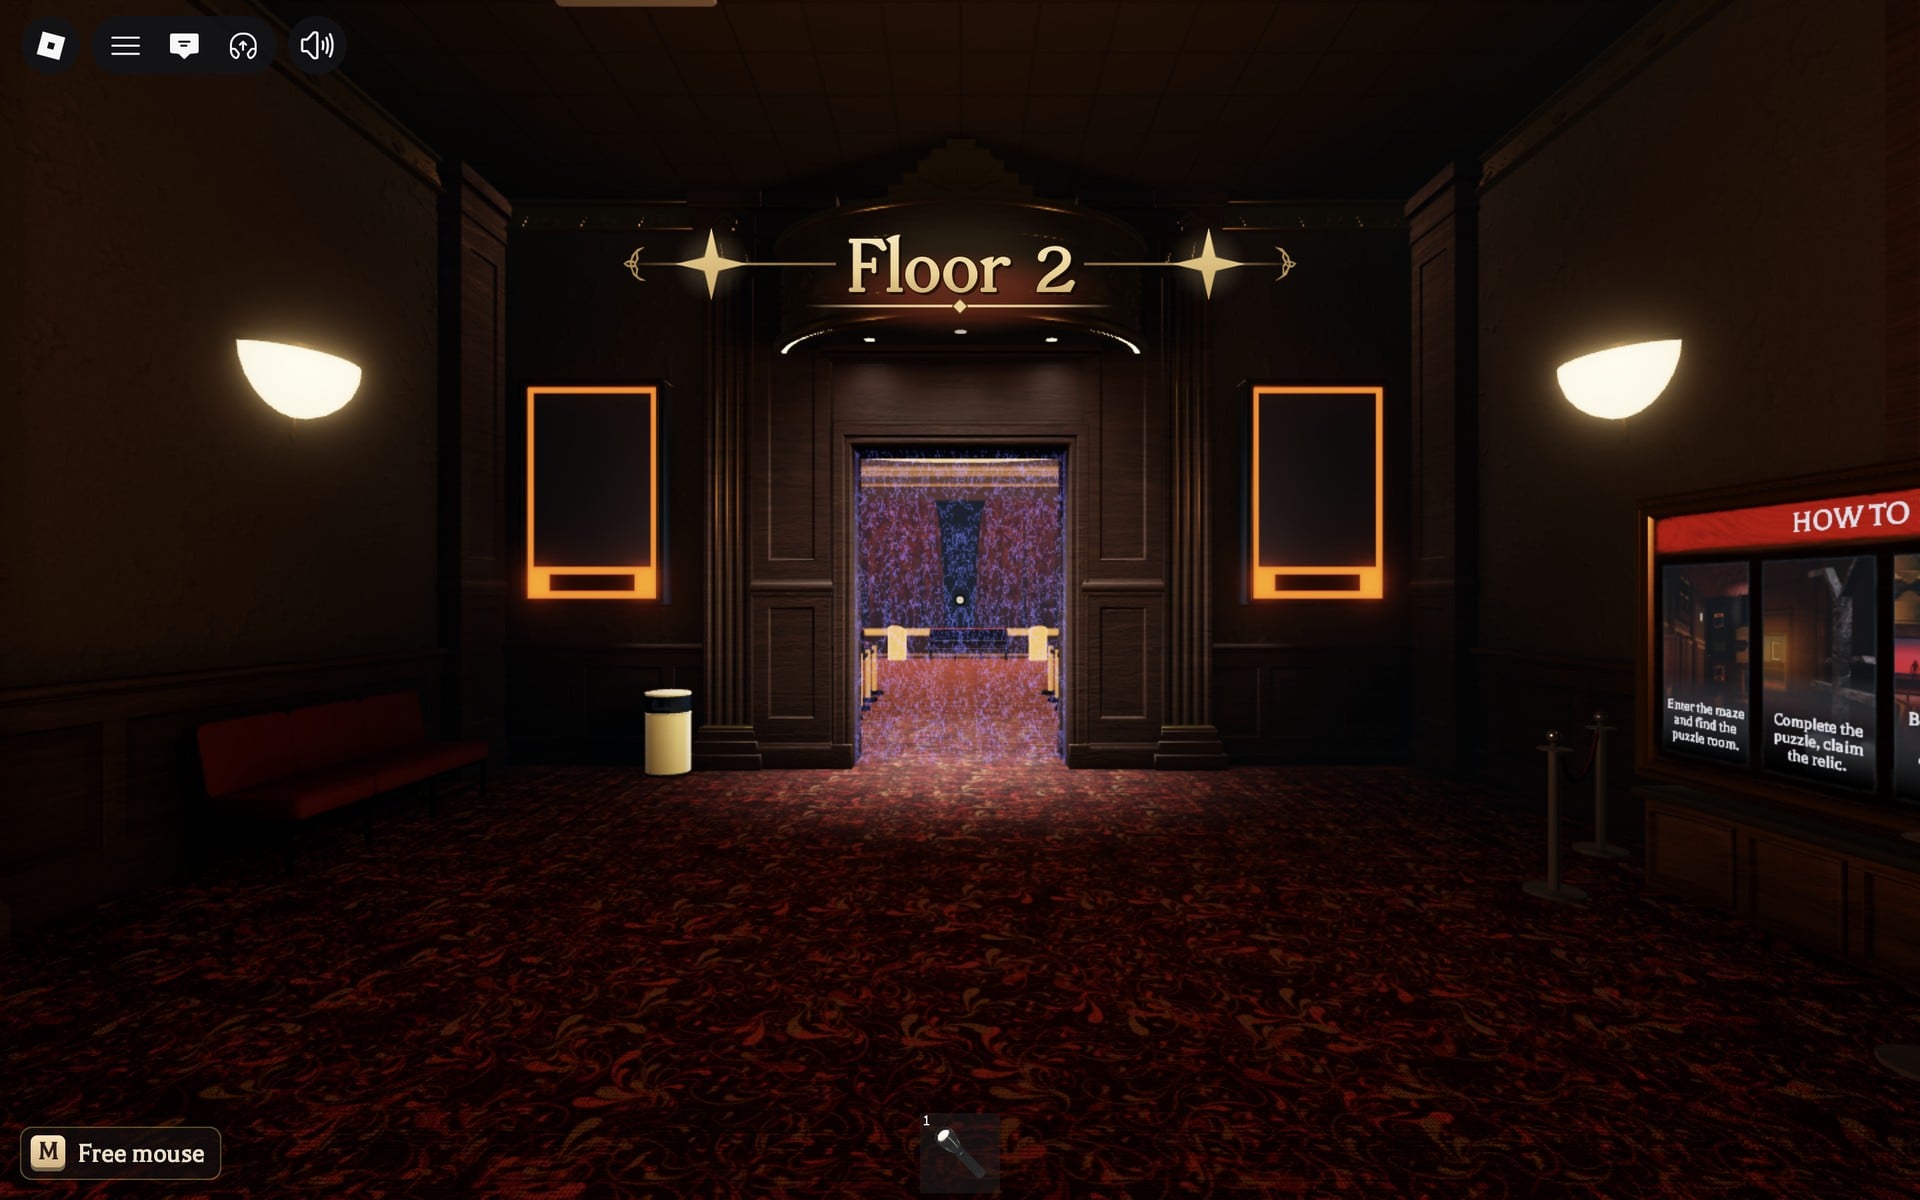
Floor 2 runs in first person. “M Free mouse” appears in the bottom left, so press M whenever you need the cursor back.
The Floor 2 safe room
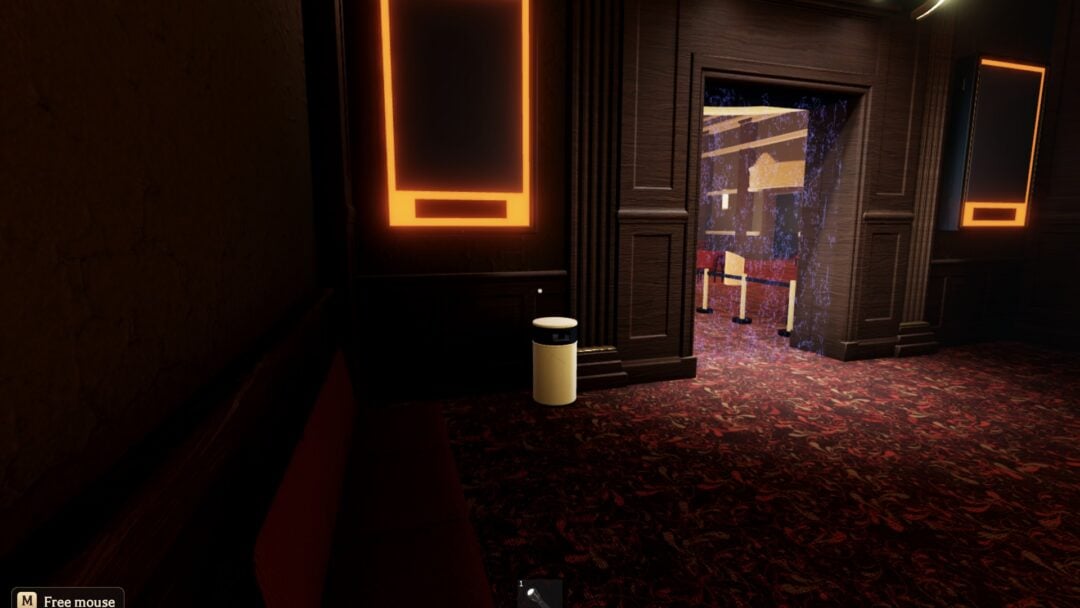
The elevator lets you out into a dark, carpeted safe room. The car stays behind you as a small lit room with a white-framed panel on its back wall. Here’s the rest of the room:
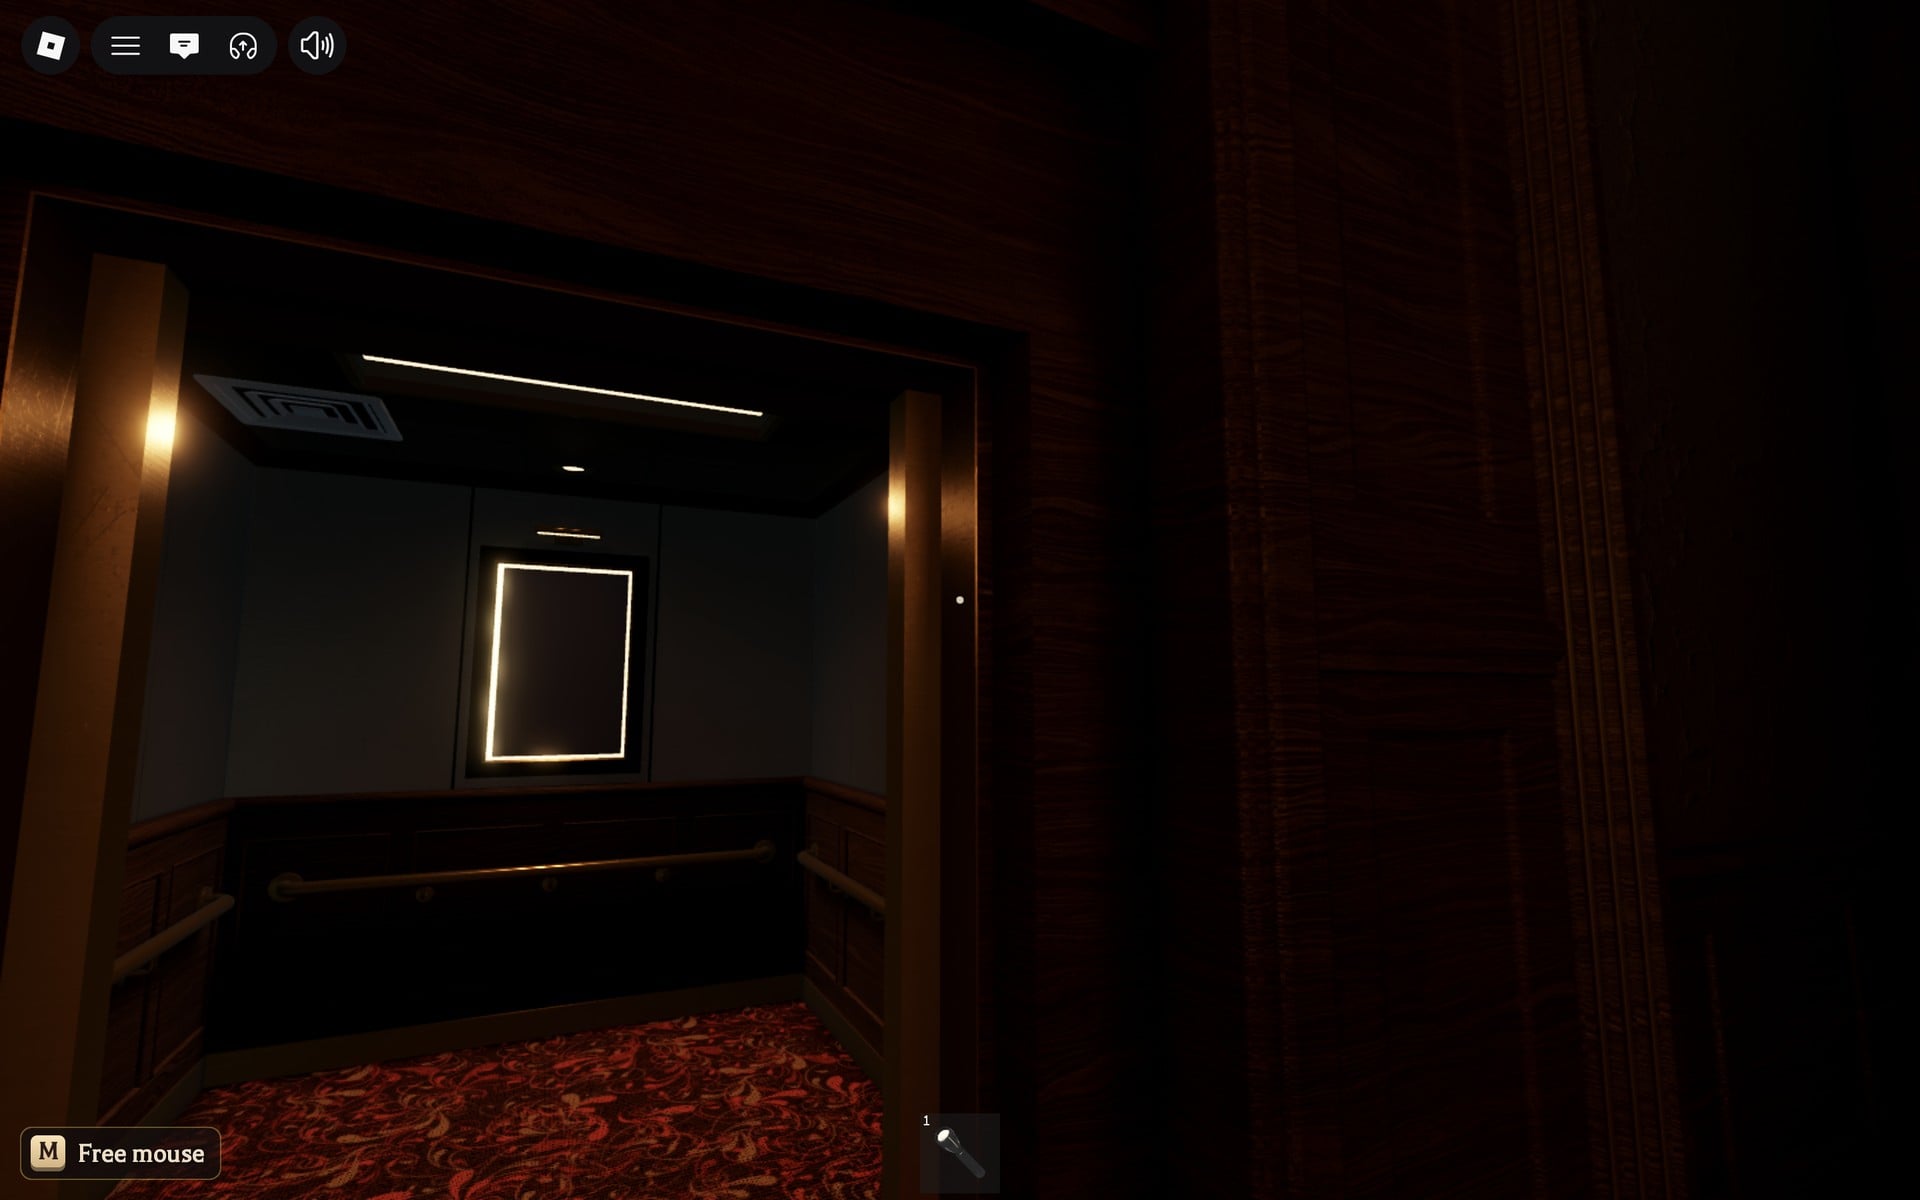
- Wall lamps, red benches and a bin
- Poster frames that glow orange
- The HOW TO PLAY board, off to the right
- A doorway topped by a curved arc of small lights, with purple sparkles drifting inside it
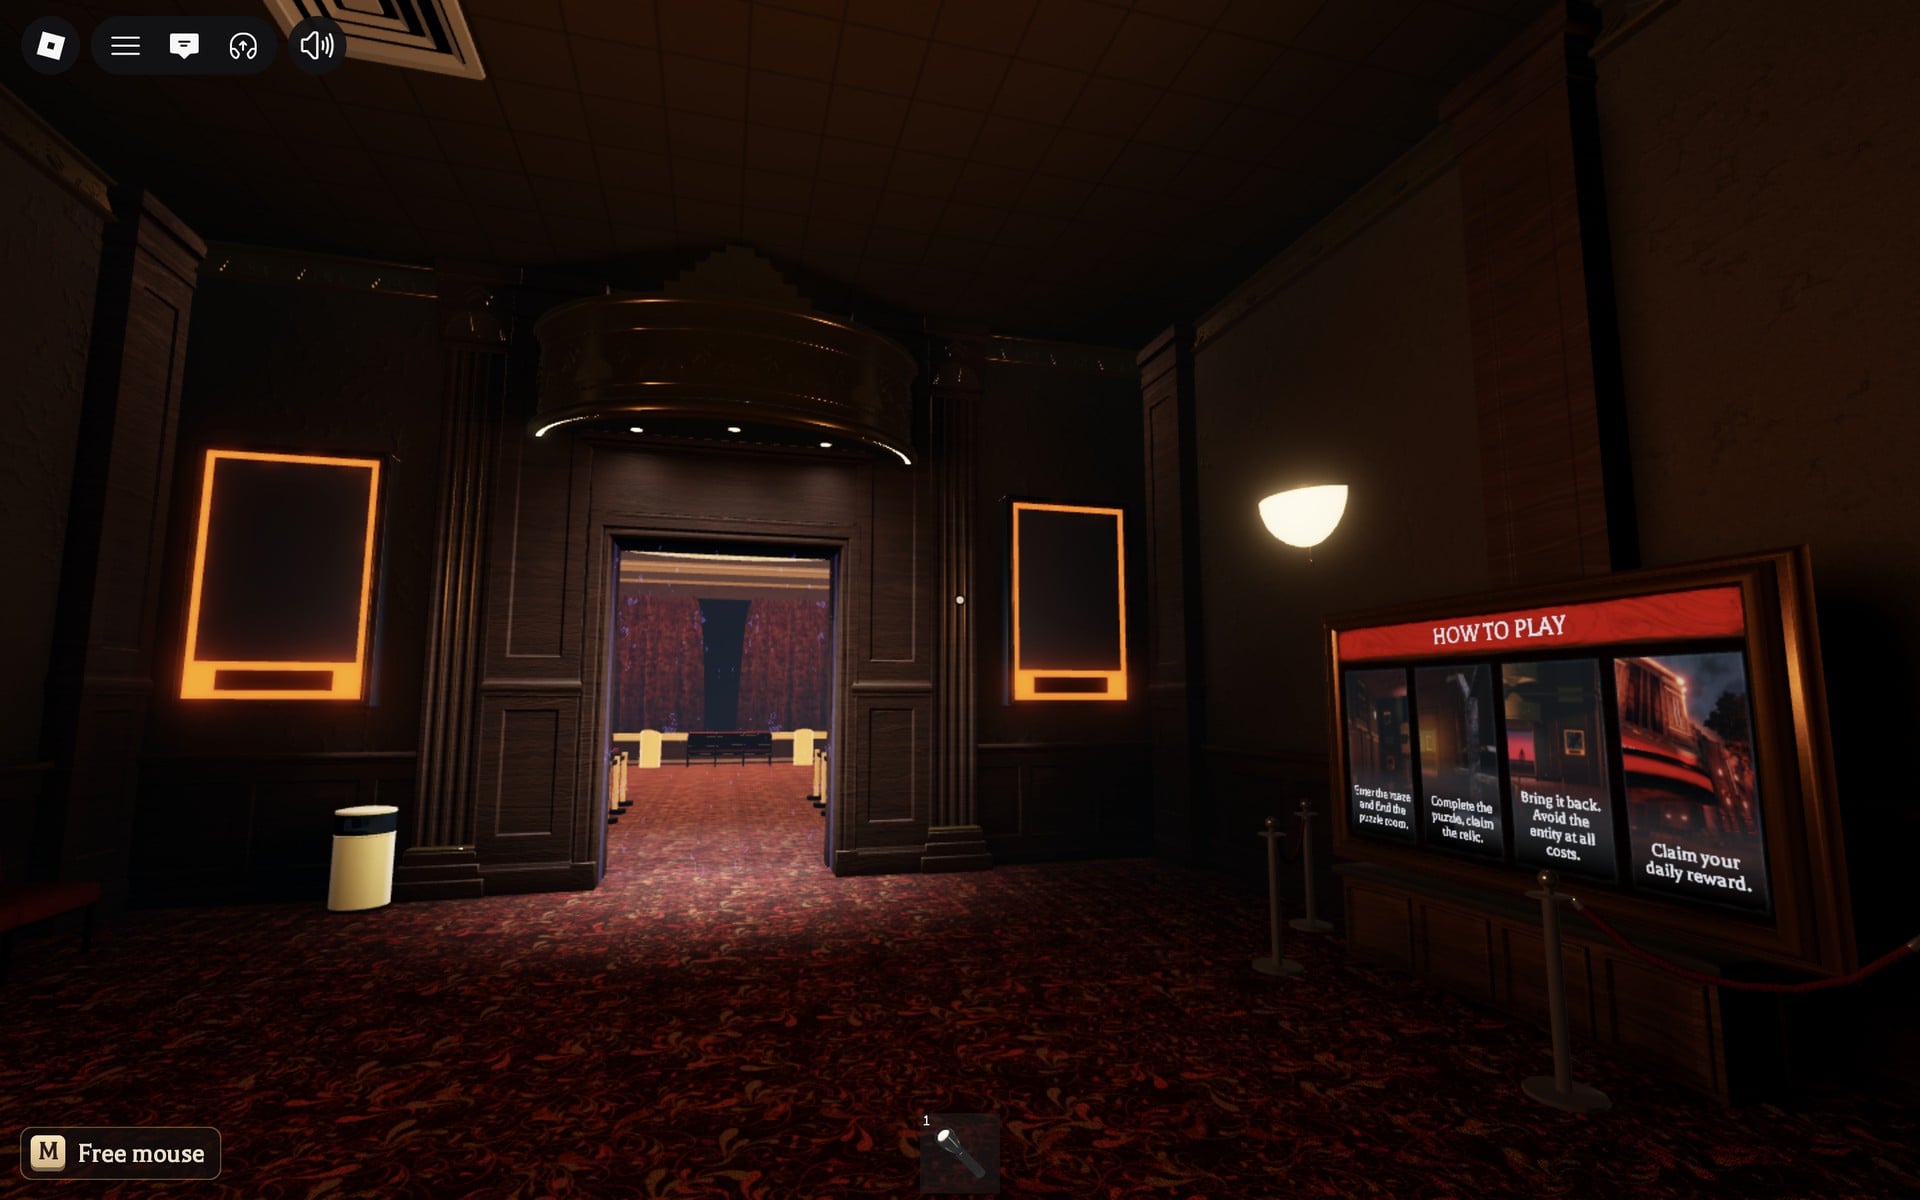
The HOW TO PLAY board presents four panels, like those on the other floors, that together cover the entire run:
| Panel | Text on screen |
|---|---|
| 1 | “Enter the maze and find the puzzle room.” |
| 2 | “Complete the puzzle, claim the relic.” |
| 3 | “Bring it back. Avoid the entity at all costs.” |
| 4 | “Claim your daily reward.” |
The sparkle doorway is the way into the maze.
The round theatre hall outside the sparkle doorway
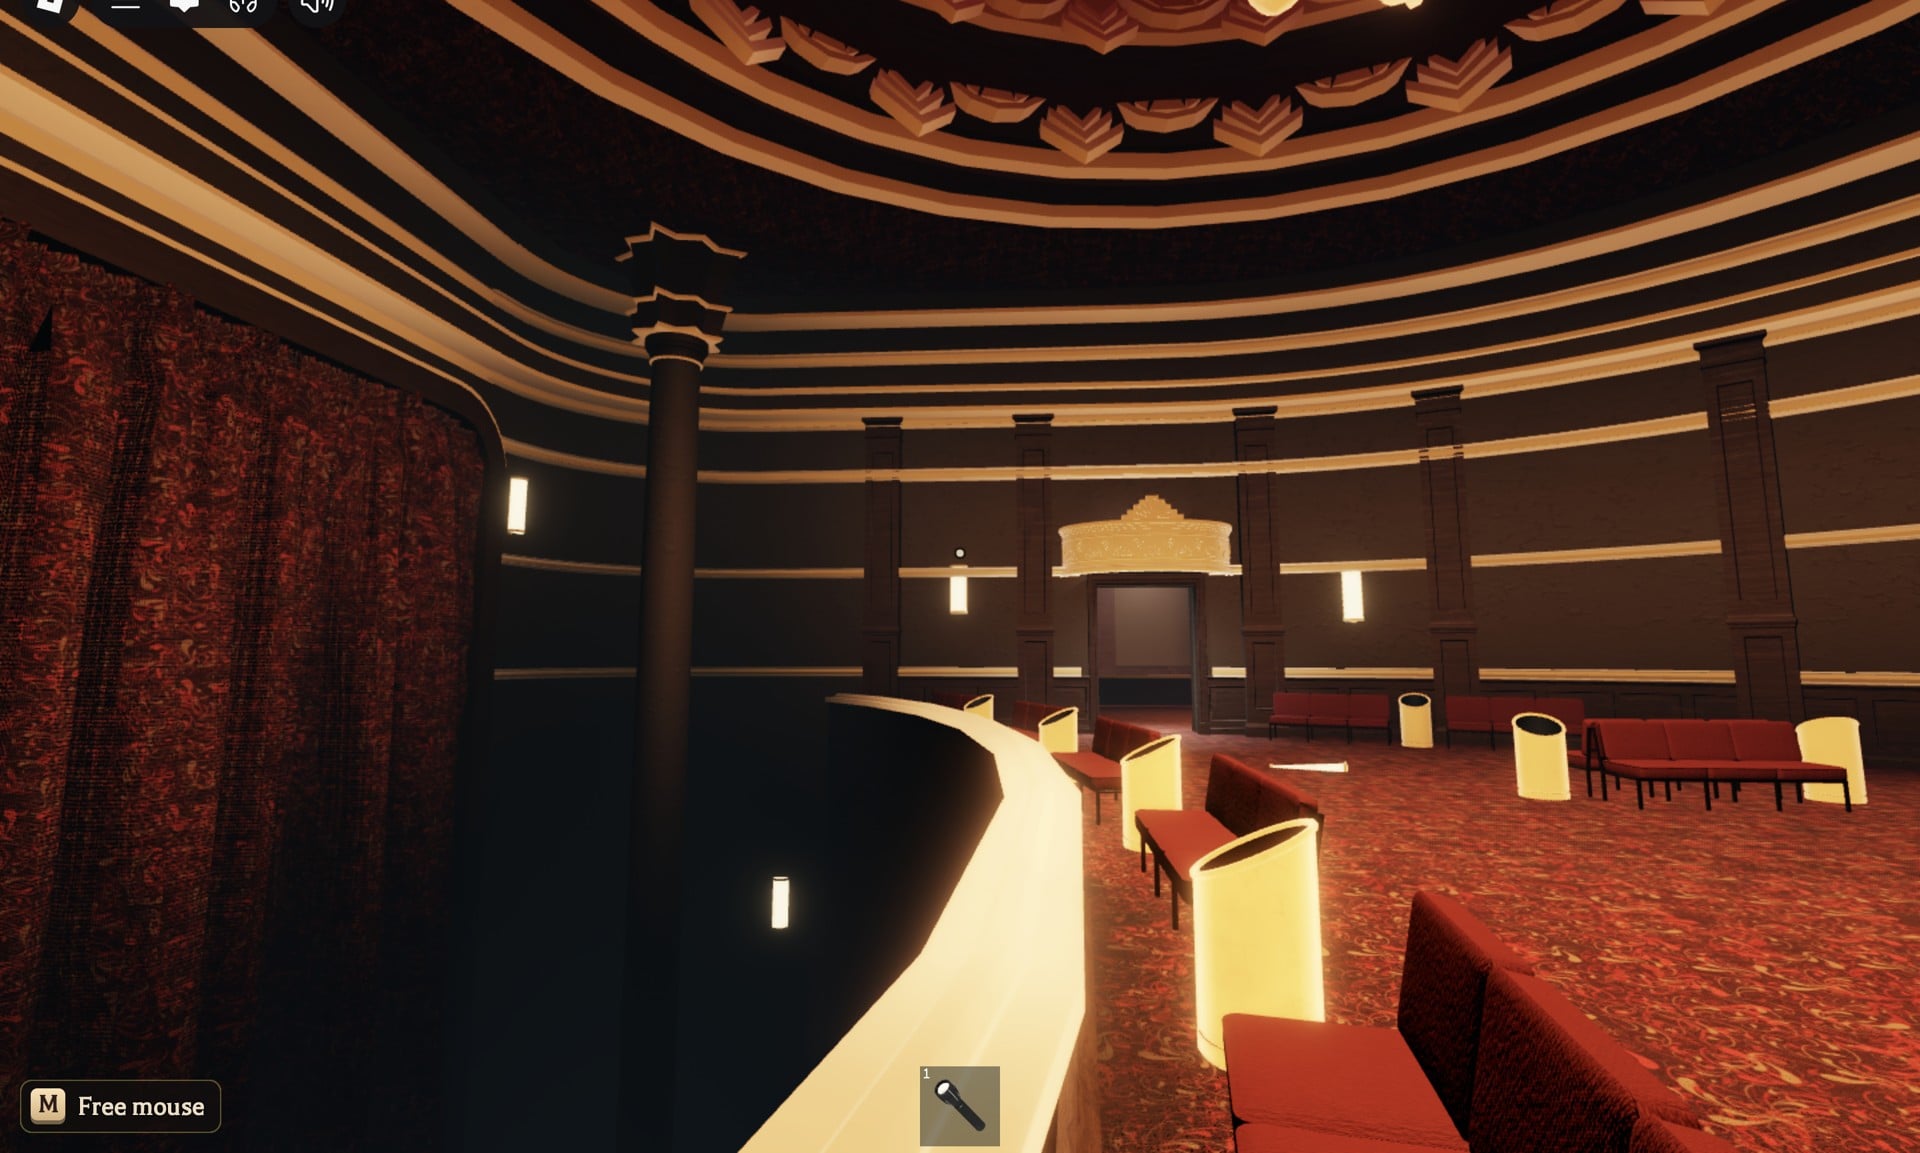
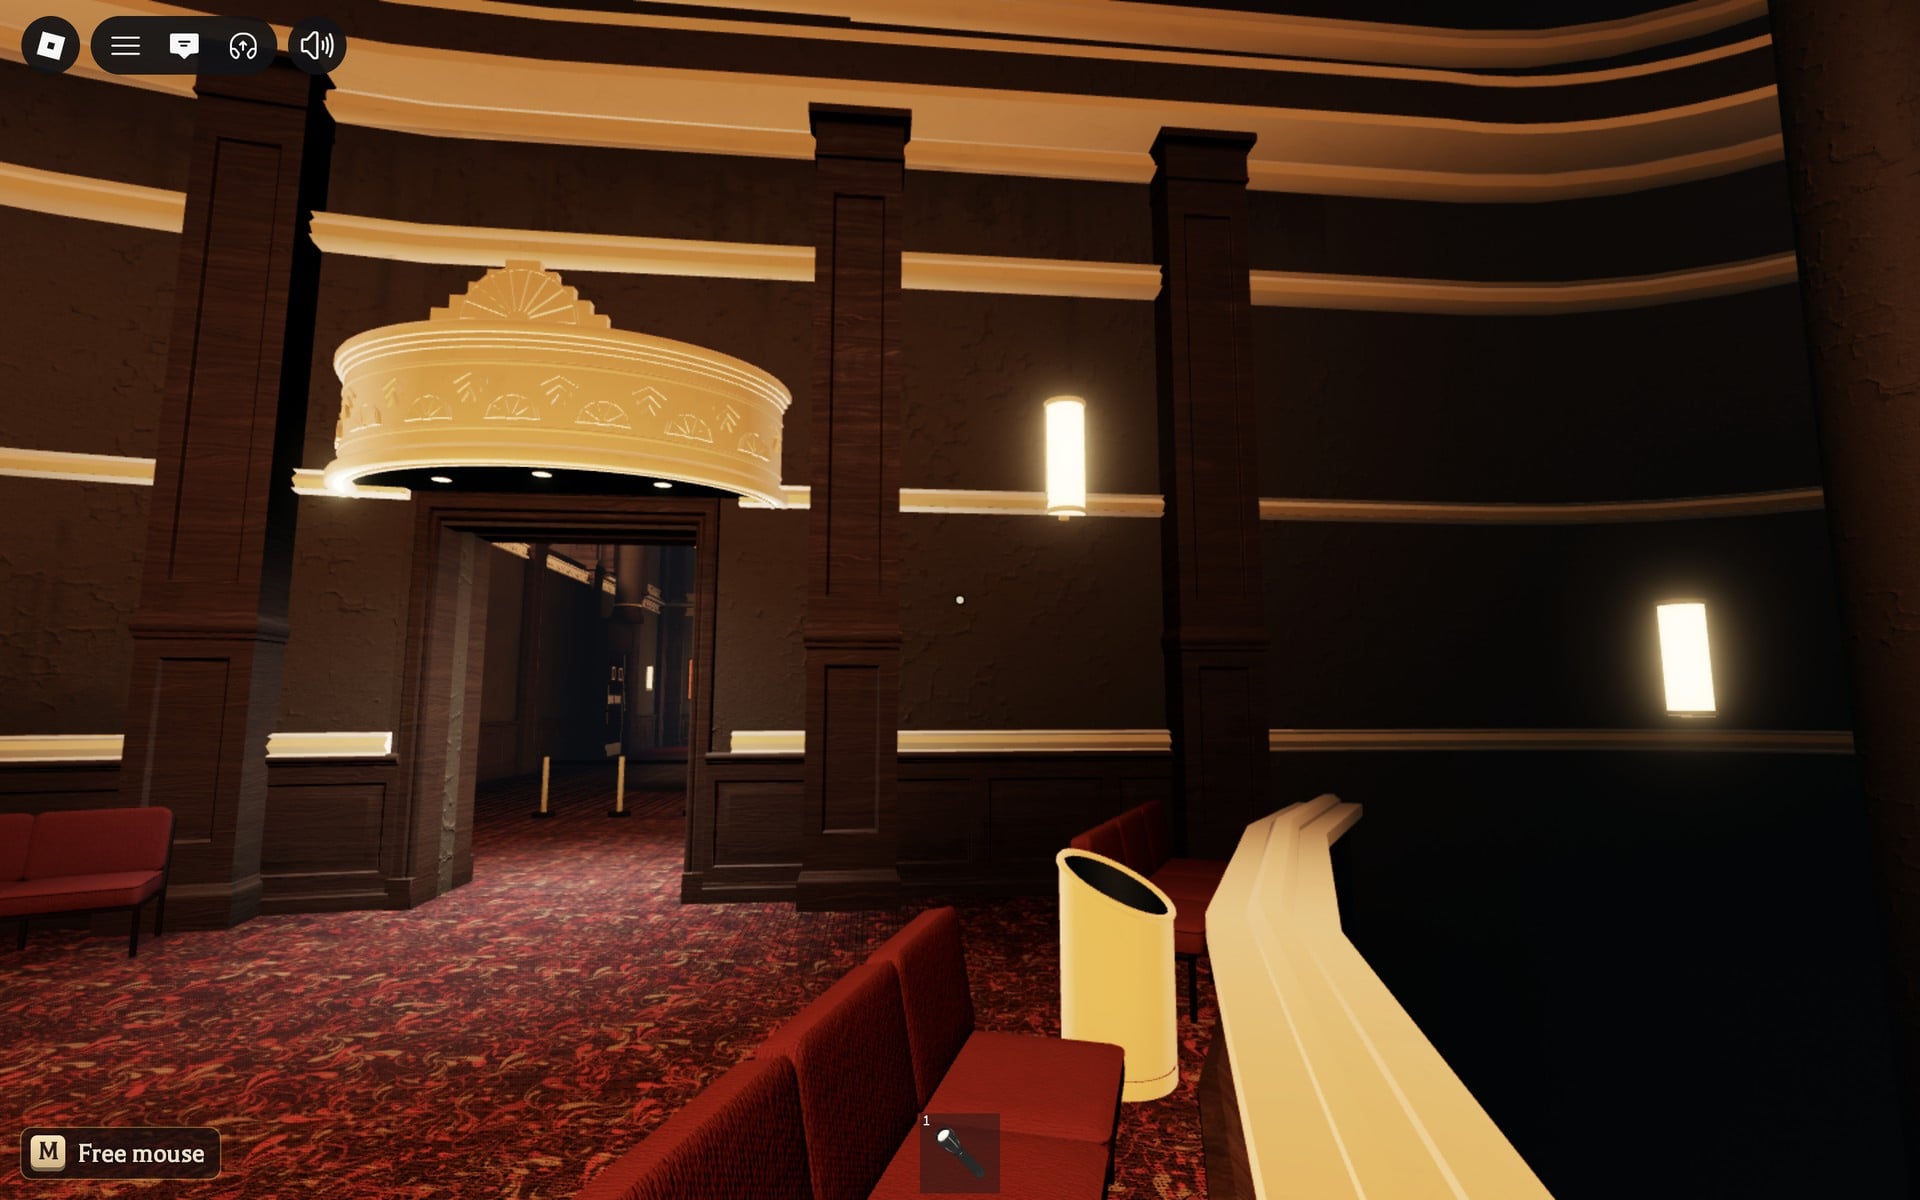
Through the doorway is a large, round theatre hall that feels like a balcony. A curved, gold-lit rail runs around it, lined with red seats, sofas and bins. Overhead there’s a painted ceiling with a chandelier, and red curtains hang along the walls.
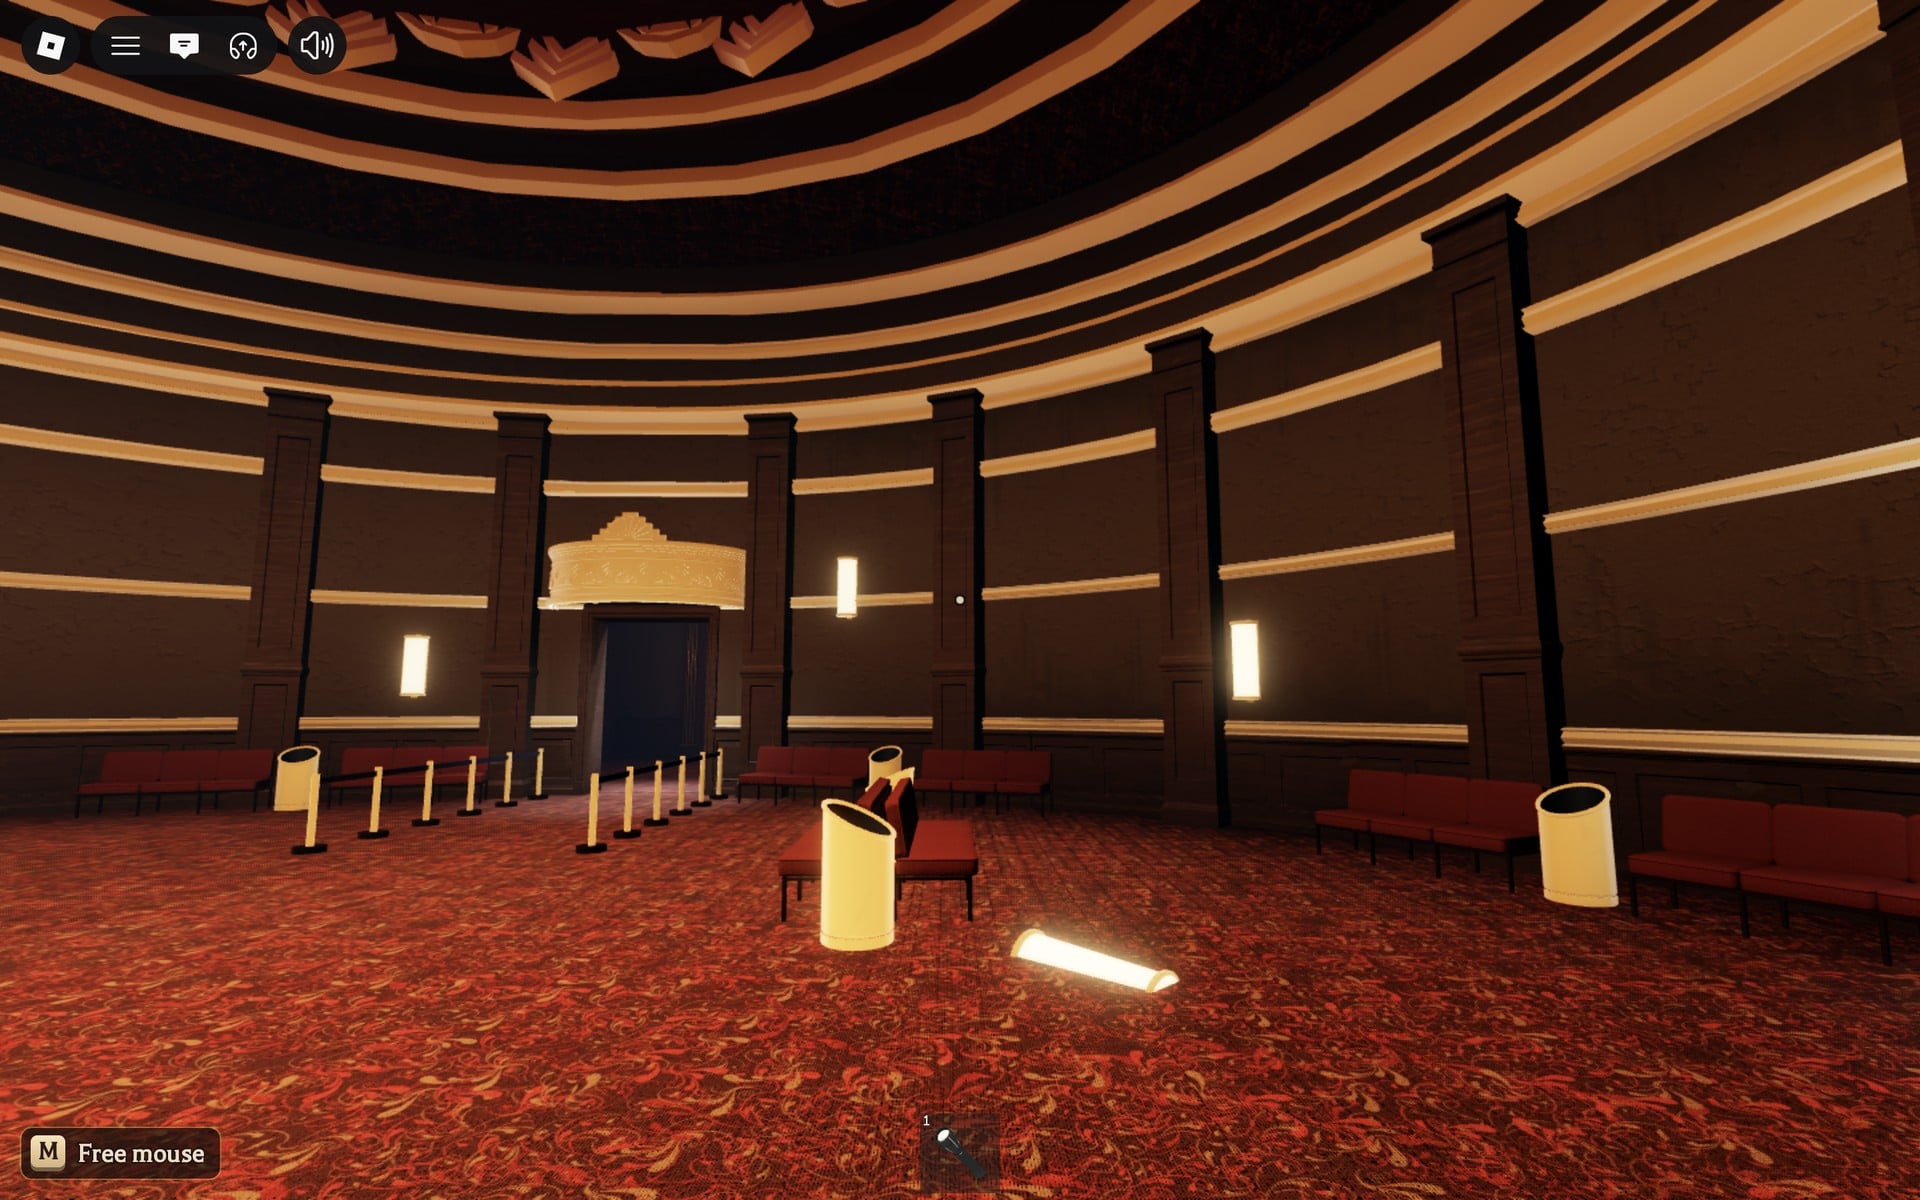
Several doorways sit under gold canopies around the walls. One of them is the sparkle doorway back into the safe room, and another opens onto a dark corridor. Keep track of which is which. In our run the hall’s doorways kept bringing us back into the same round hall, so it’s easy to walk in circles. We did not find the puzzle room in about 10 minutes of searching, and no entity came near us.
Dandy’s World pillar puzzle: reported by other guides, not verified by us
The details below come from other players’ reports about the rest of Floor 2. We have not seen them on screen, so treat each one as a report rather than a certainty.
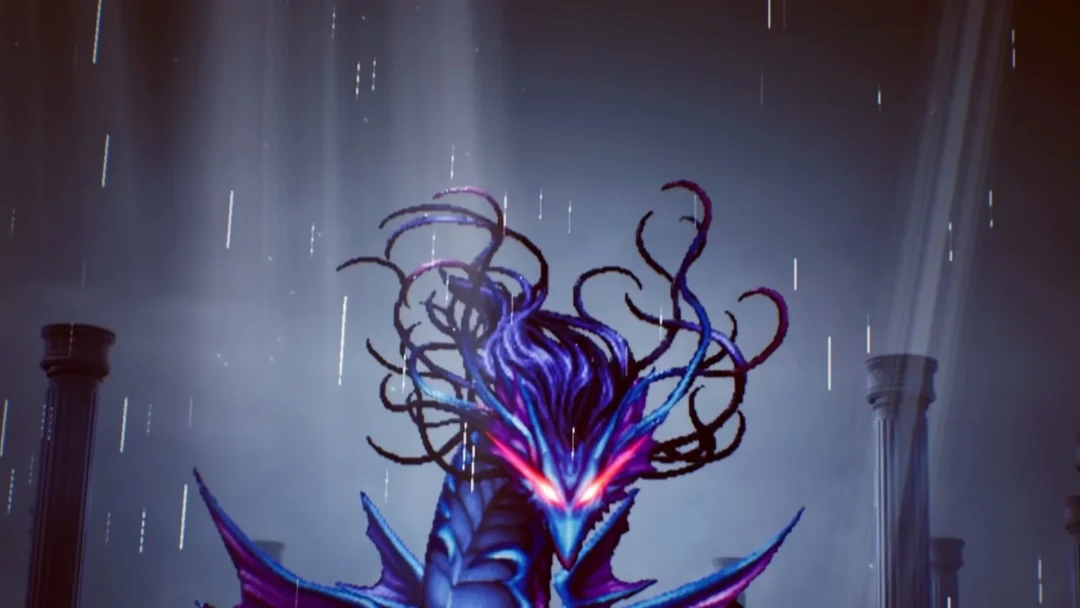
- Reports say Floor 2 takes its theme from Dandy’s World, with Twisted Dandy serving as its chaser.
- The maze reportedly has a new layout each time you visit. One account says the playhouse-style puzzle room usually spawns on the maze’s right side.
- A separate reported path begins on the balcony-like space outside the elevator. Turn right at the first turn and continue straight until you reach another balcony area; enter the room on your right marked by a blue shield.
- Inside, stairs on the left reportedly climb to a room with five pillars and a lever, with a paper on the wall to the right of the lever.
- The reported objective is to rotate every pillar until its active face displays your symbol and points toward the centre, sending an arc into the middle. Each player reportedly gets a unique symbol; one account mentions the Witch Hat.
- Turning one pillar reportedly turns the one next to it as well. One report says you get only 11 moves.
- Once every arc hits the middle, pulling the lever reportedly gives you the Second Night Relic.
- Carrying the relic back to the elevator and the lobby is said to award the Witches Brew-Nado badge and UGC. If Twisted Dandy catches you on the way back, you reportedly have to start again.
- A Flashlight is suggested for spotting Twisted Dandy. We explored the round hall without using one.