
If you’re struggling to read small text on your Windows 11 PC, there are several ways to increase the font size for better readability. Whether you want to adjust the text size system-wide, tweak the text cursor, or scale up all interface elements, Windows 11 provides flexible options to customize your viewing experience.
Change the font size for the entire system from the Settings app
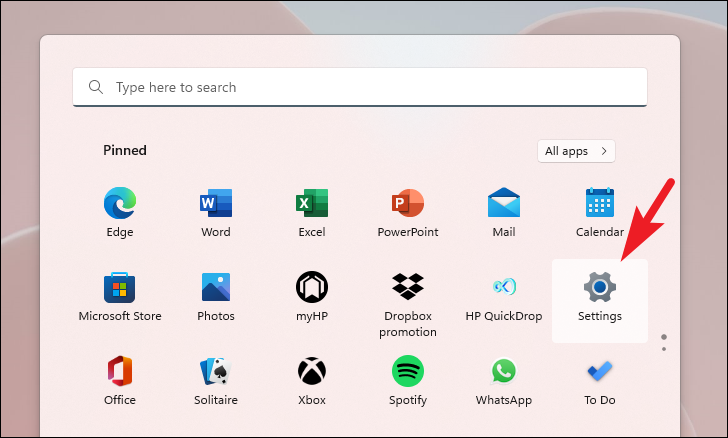
Adjusting the text size through the Settings app allows you to make all on-screen text larger across Windows 11.
Settings app from the ‘Pinned apps’ section. If it’s not there, type Settings into the search bar and select it from the results.
Apply to save the changes.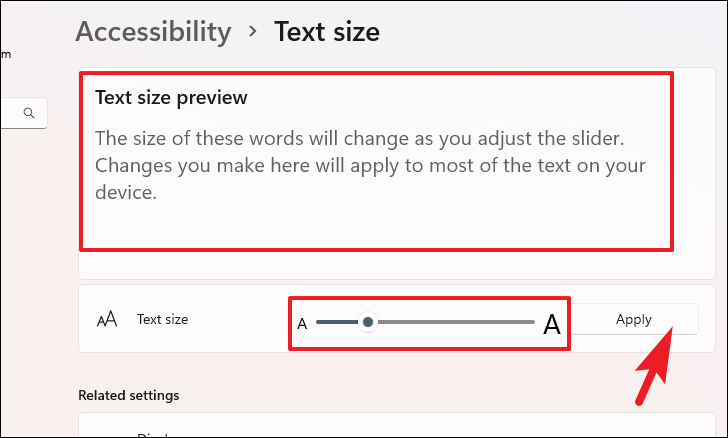
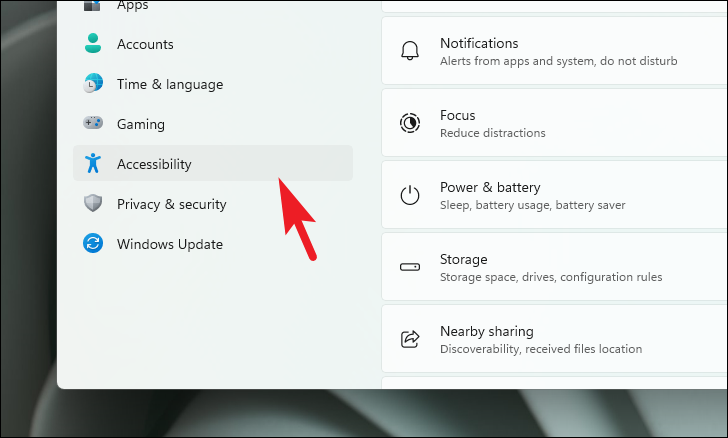
After increasing the font size, you might find that the text cursor (the blinking line where you type) appears too small or is hard to locate. To improve its visibility, you can adjust its settings accordingly.
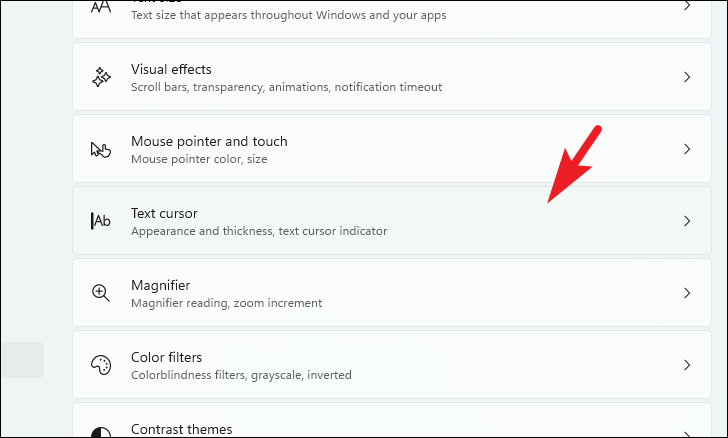
Tweak the text cursor to match your font size
Enhancing the text cursor’s appearance can make it easier to find while typing, especially after increasing the font size.
Settings app from the ‘Pinned apps’ section, or search for Settings.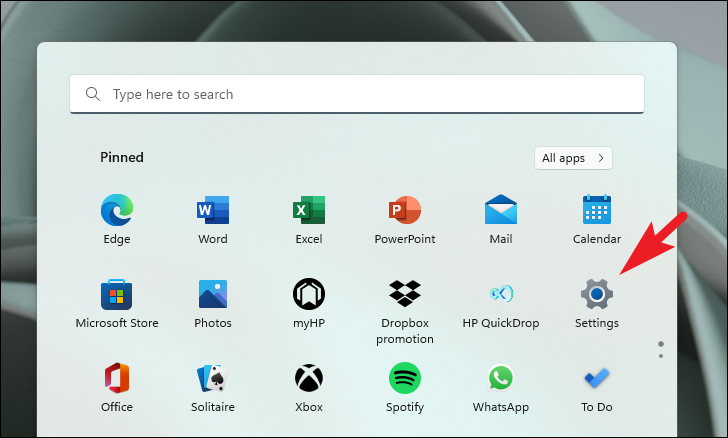
Text cursor indicator by toggling it on. This adds colored indicators to each side of the cursor. Click on the option to expand more settings.
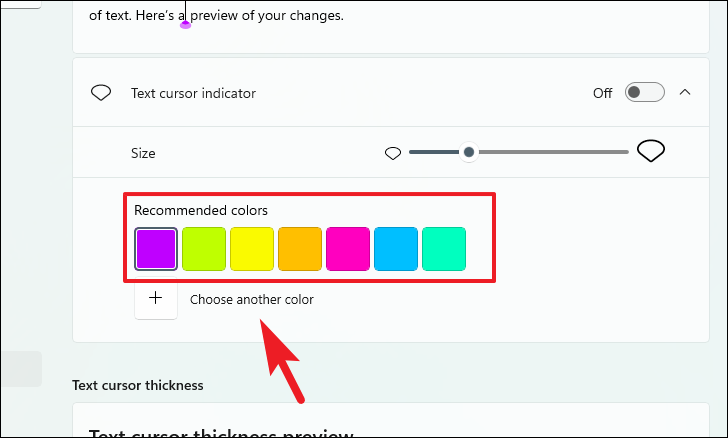
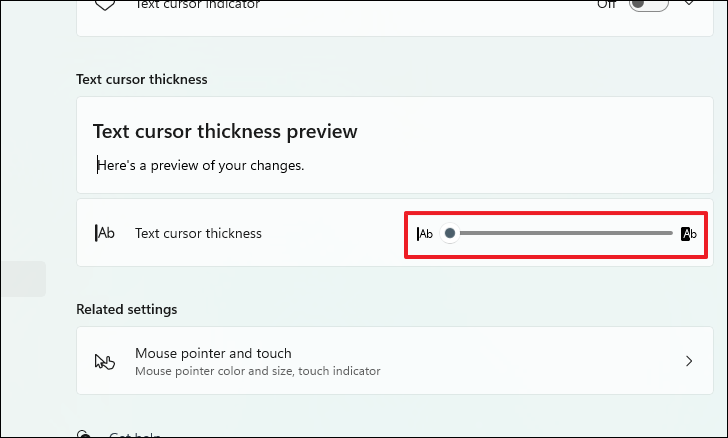
Customizing the text cursor can significantly enhance your typing experience, especially when dealing with larger text sizes.
Set a custom scaling factor to increase the size of icons, menus, and text system-wide
If you want to enlarge not just the text but all elements on your screen, including icons and menus, you can set a custom scaling factor.
Settings app from the ‘Pinned apps’ section, or search for Settings.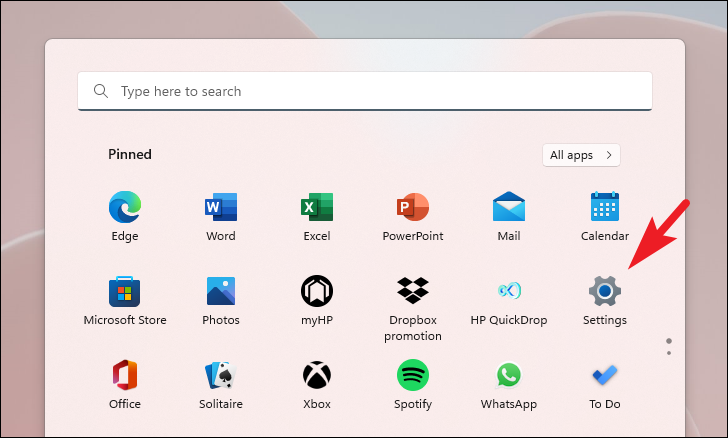
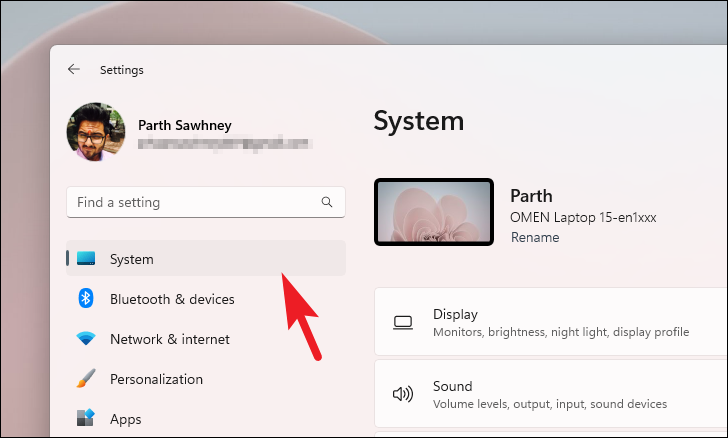
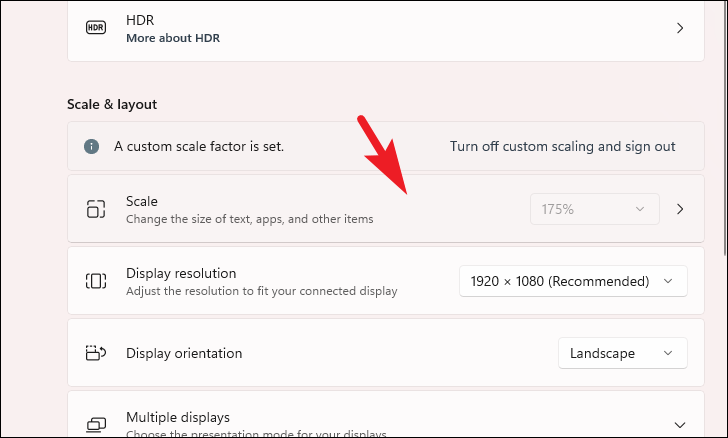
Display. Step 4: Scroll down to the ‘Scale & layout’ section and click on the Scale setting.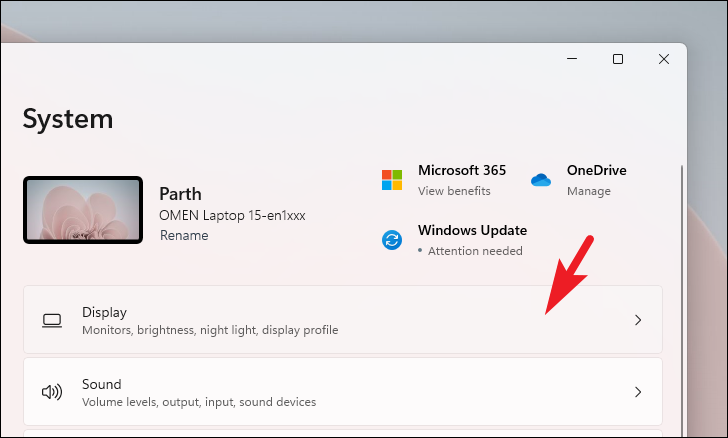
Note: Increase the scaling factor gradually, as setting it too high can make navigation difficult.
Sign out.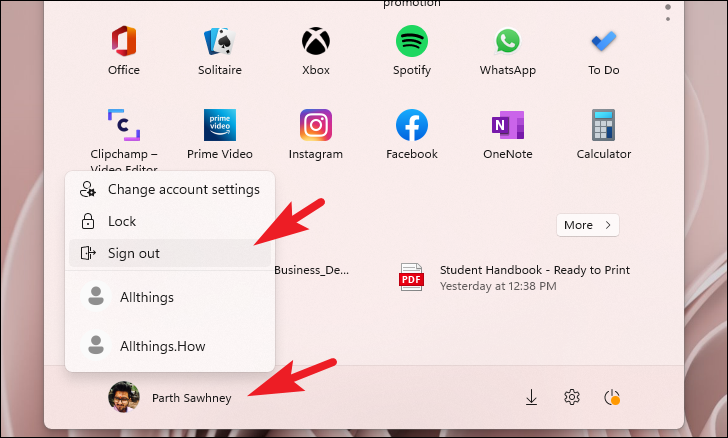
After signing back in, the custom scaling will be applied, and all interface elements will appear larger.
By adjusting these settings, you can make your Windows 11 experience more comfortable, ensuring that text and other on-screen elements are easy to read and navigate.


