Apple finally announced the iOS 13 Beta at WWDC 2019 yesterday. But getting the software installed on compatible devices has been a challenge for both macOS and Windows users. Since the current version of iTunes doesn’t support iOS 13, there’s no official way to install iOS 13 on a Windows PC.
However, thanks to the this Github repo by developer Devjam81 which lets you install iOS 13 and iPadOS 13 on supported devices using your Windows 10 PC.
🔔 Update
Great news! iTunes 12.10 will release soon and it’ll support iOS 13 IPSW files.
Downloads
If you haven’t downloaded iOS 13 or iPadOS 13 Beta IPSW firmware files yet, get it for your (compatible) iPhone or iPad Model from the links below:
Also, download the libimobile2019 zip from file from Github (link below) to be able to flash IPSW firmware files over the command line.
- Download libimobile2019 (.zip)
Important Note: Installing iOS 13 without using iTunes will probably result in a full data wipe of the device. So make sure you take a backup of your iPhone using iTunes or iCloud before proceeding.
→ How to Backup iPhone
Instructions
Follow the instructions below to install iOS 13 on your iPhone or iPadOS 13 on your iPad without iTunes from your Windows 10 PC.
- Make sure you have iTunes downloaded from Apple’s website
Although we won’t be using iTunes to install iOS 13 on your iPhone, we still need it installed on your PC. And it should be the one downloaded from Apple’s website (download link below).
→ Download iTunes Installer (.exe)
If you’ve installed iTunes from the Microsoft Store on your PC, uninstall it and run installer linked above.
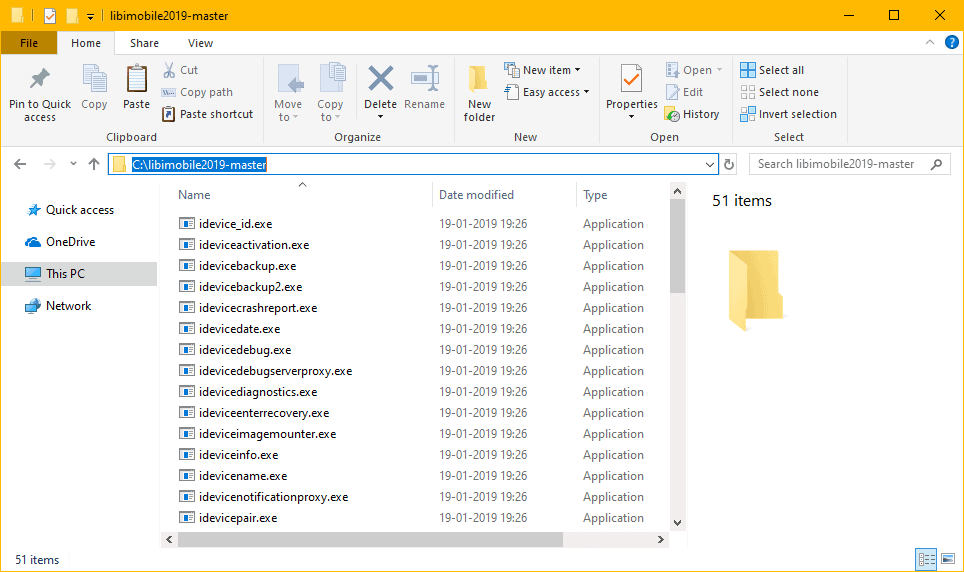
Note: If you took a backup on the MS Store version of iTunes, make sure you archive the backup fromC:Users<username>AppleMobileSyncBackupfolder on your PC before uninstalling it. - Extract libimobile2019-master.zip file
Extract/Unzip the contents of libimobile2019-master.zip file to a separate folder in the C: drive of your PC.
- Rename, Copy and Paste the iOS 13 IPSW firmware file
Rename the iOS 13 or iPadOS 13 IPSW firmware file to something like
ios13.ipsworipados-13.ipswand Copy/Paste the files into the same folder where you extracted the libimobile2019 files in the Step above.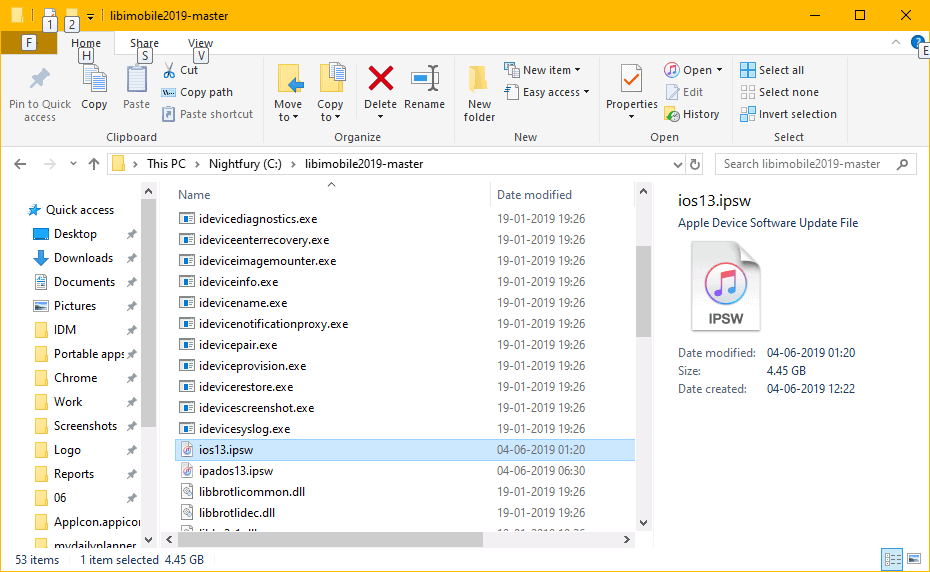
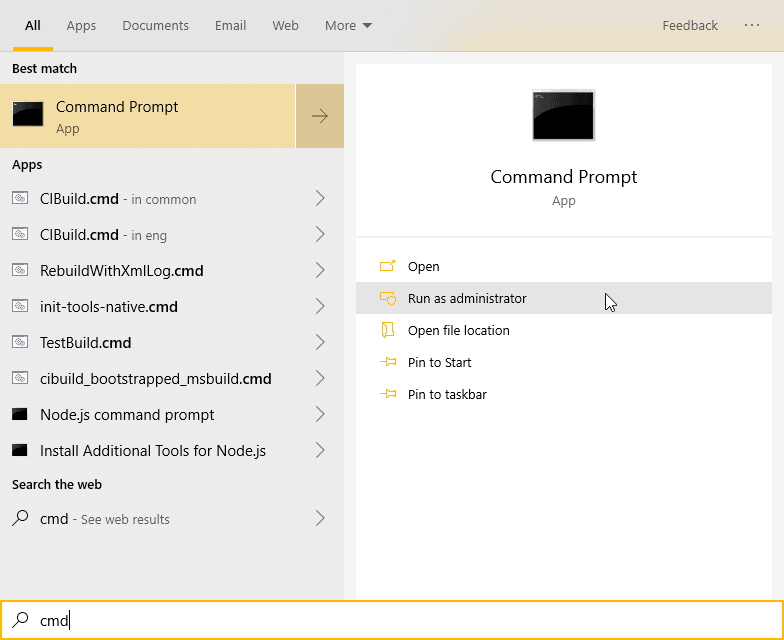
- Launch Command Prompt as Administrator
Open Start menu on your PC, type CMD, then select Run as administrator from the right panel.
- Set libimobile2019 directory as the folder path in CMD
Direct the command line prompt to the folder where we saved the files in the step above. On our PC, the folder location is
C:libimobile2019-master, so we’ll use the following command below:cd C:libimobile2019-master
But you may have used a different folder name, so change the command accordingly. Basically, it’scd /your/folder/address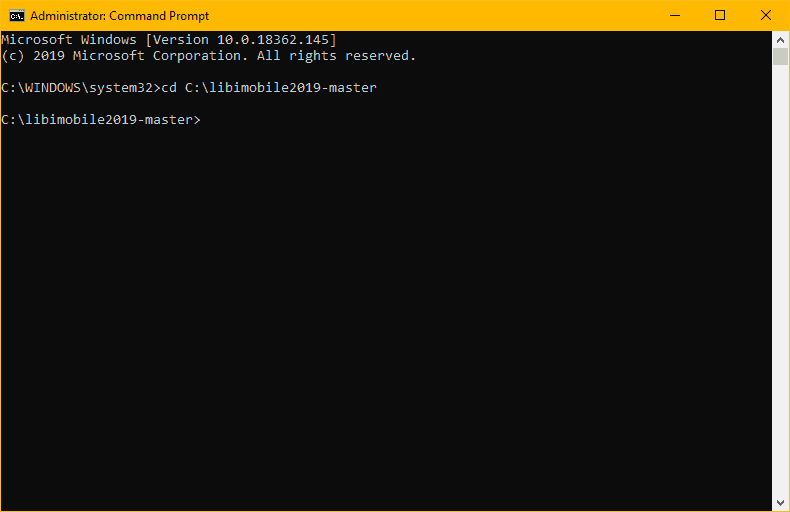
- Connect your iPhone or iPad to the PC
Connect your iPhone or iPad to the PC with a USB to Lightning cable.
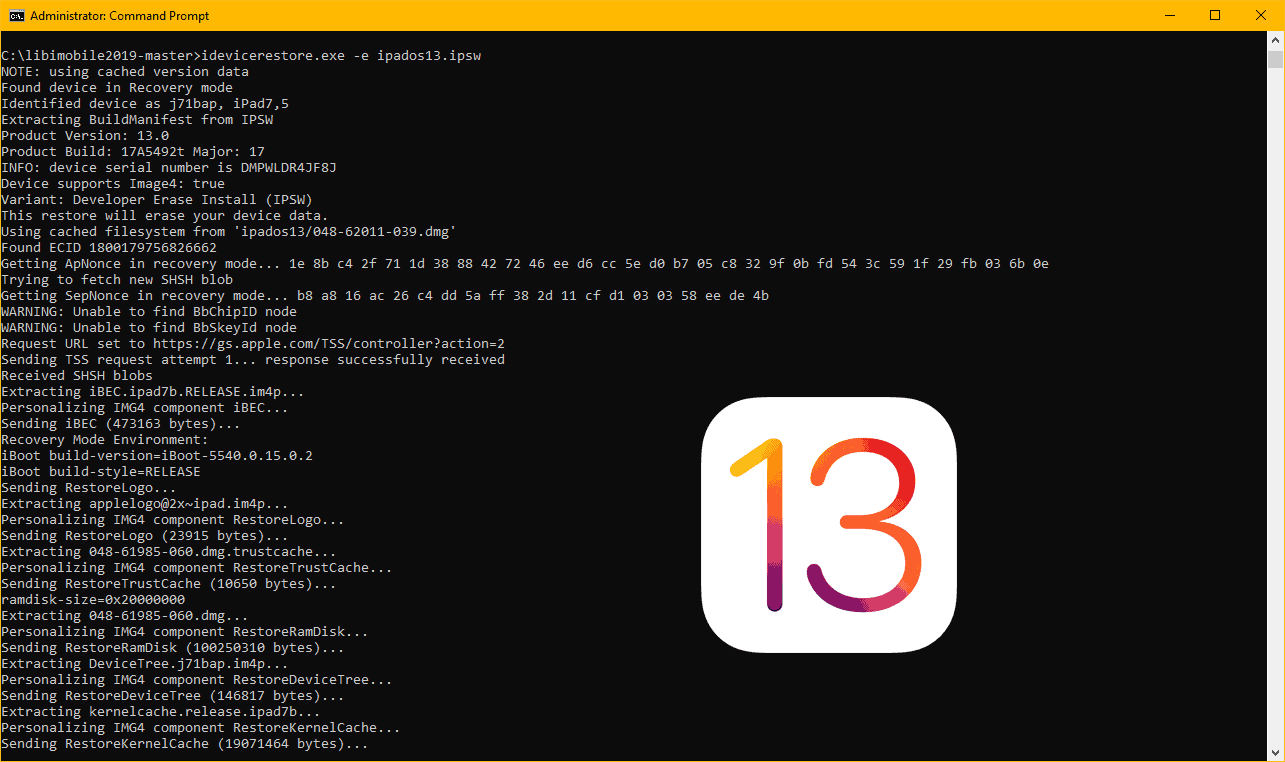
- Flash the iOS 13 IPSW firmware
Issue the following command in the command prompt window to finally flash the iOS 13 Beta to your iPhone.
idevicerestore.exe -d ios13.ipsw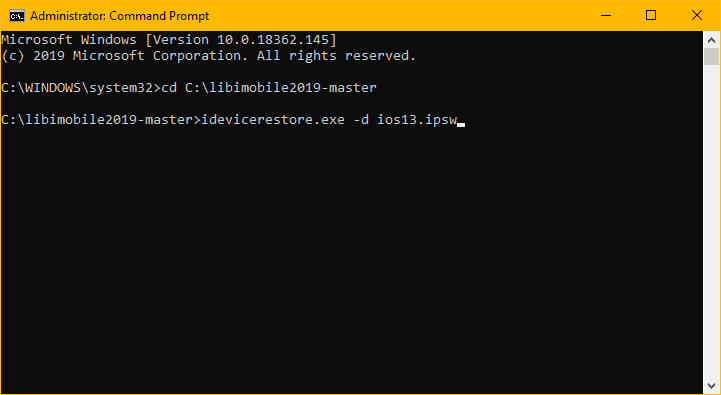
Let your device install the restore image. If your device boots up fine, skip to the next step.
If not, you may be getting the following errors in the command prompt window:ERROR: Unable to send iBEC component: Unable to find deviceERROR: Unable to send iBEC to device.ERROR: Unable to send iBEC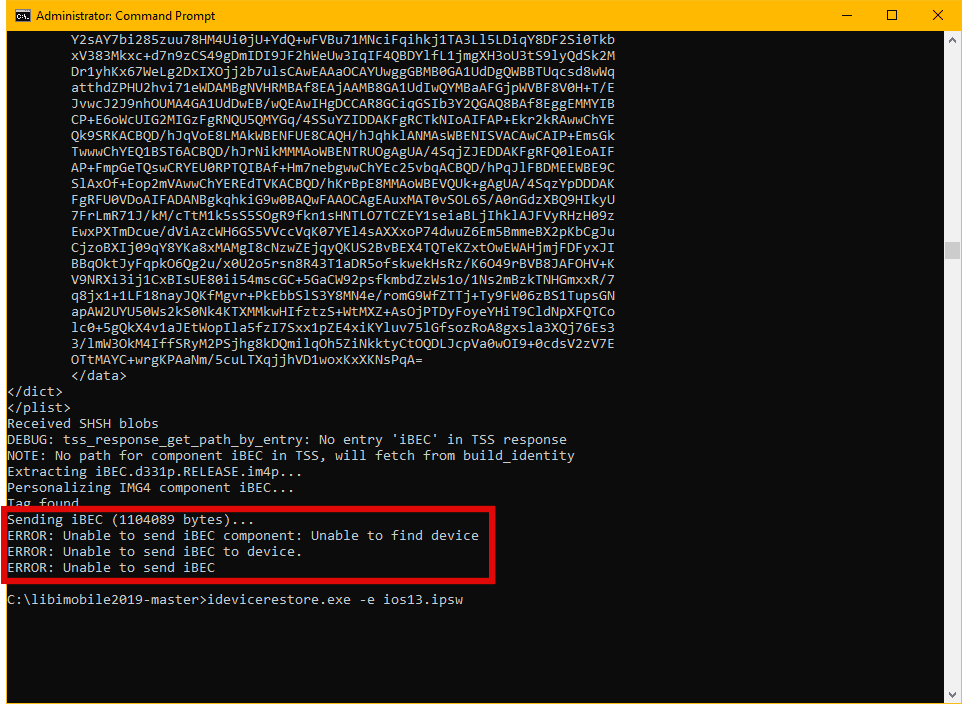
Side note: iTunes will show up when your device is in recovery mode. It’ll ask you to either Update or Restore the device, but you need to click on the Cancel button.
To fix iBEC errors, follow the instructions below.
Keep your iPhone connected to the PC. Open Device Manager on the PC (search for it in the Start menu), then expand the Universal Serial Bus devices dropdown, you should see the Apple Recovery (iBoot) USB Composite Device listed.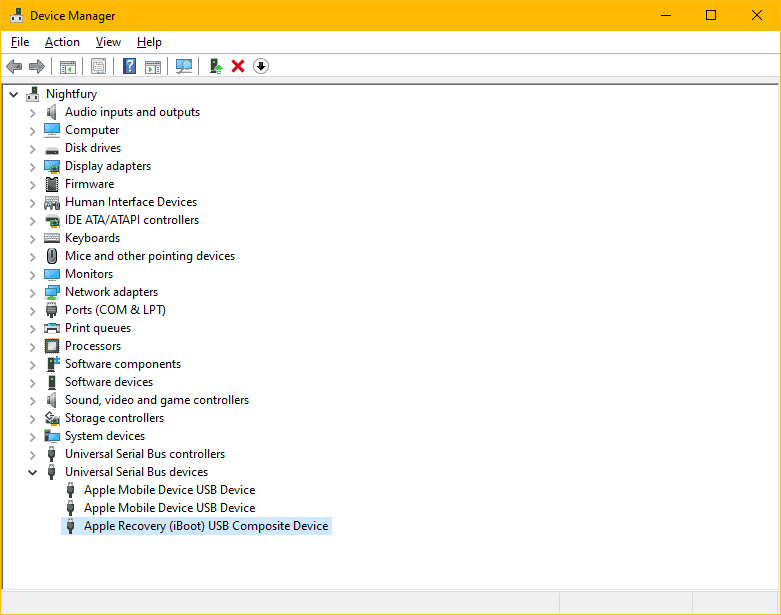
Right-click on Apple Recovery (iBoot) USB Composite Device and select “Uninstall device”. Also, tick the “Delete the driver software for this device” checkbox on the confirmation popup.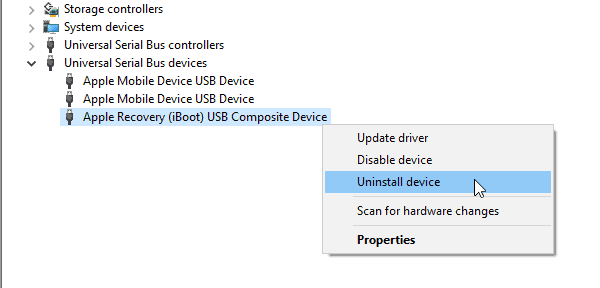
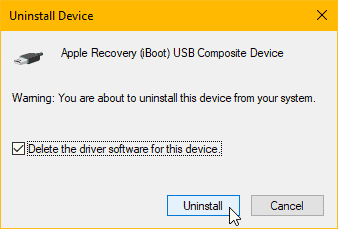
All three Apple Mobile device entries under Universal Serial Bus devices should disappear.
Now disconnect, and then re-connect your iPhone.
Wait for 5-10 few seconds to let Windows reinstall device drivers, then issue the restore image installation command again in the same CMD window.idevicerestore.exe -d ios13.ipsw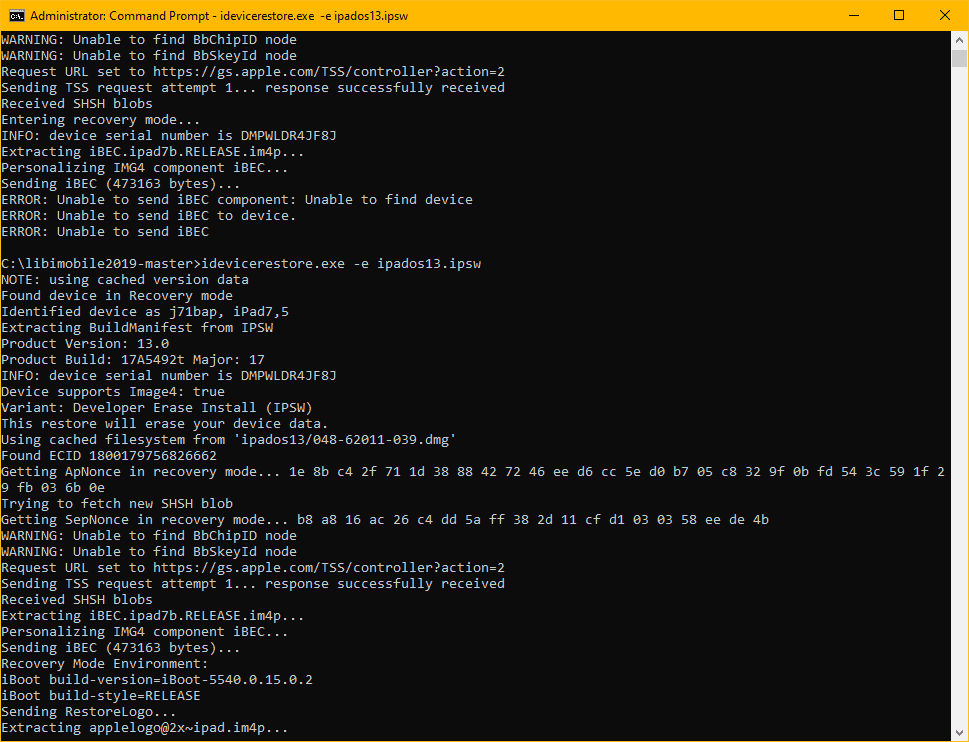
This time, you won’t see the iBEC errors.
When the installation is complete, you’ll get aStatus: Restore Finishedmessage.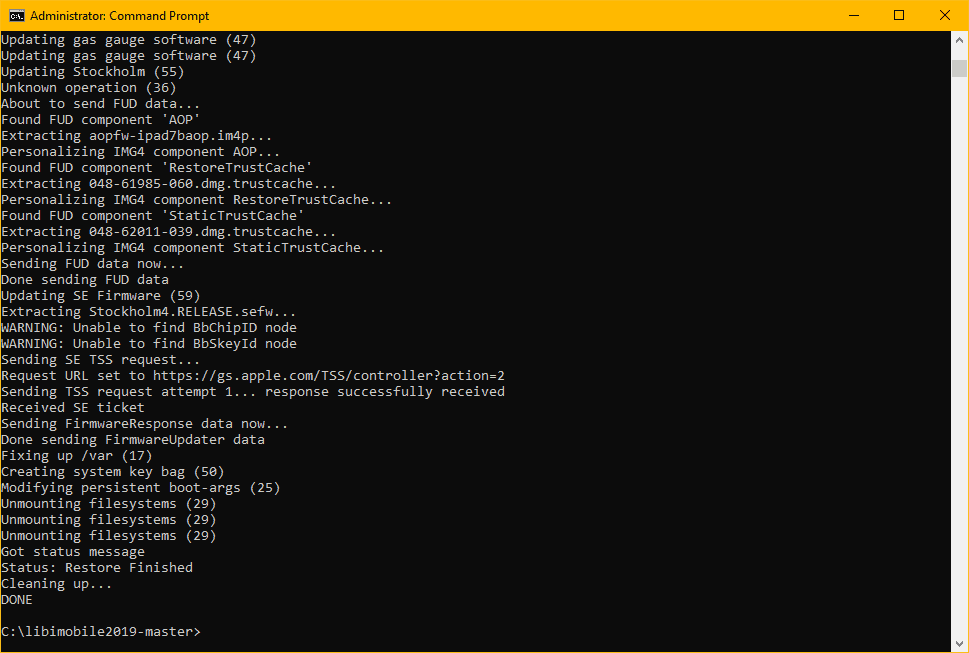
- Recover your data
You may get an Apple logo with a white screen, and it may reboot a few times. It’s normal. Disconnect your device from the PC, and give it 15-20 minutes to finally get to the “Swipe up to recover” screen.
Do a Swipe up, enter your Passcode (twice) then let the device recover your data. This might take another 10-15 minutes. The screen will go black in a minute or so, but it’ll be working in the background. You can (single) press the power key to turn on the screen and check Data recovery progress.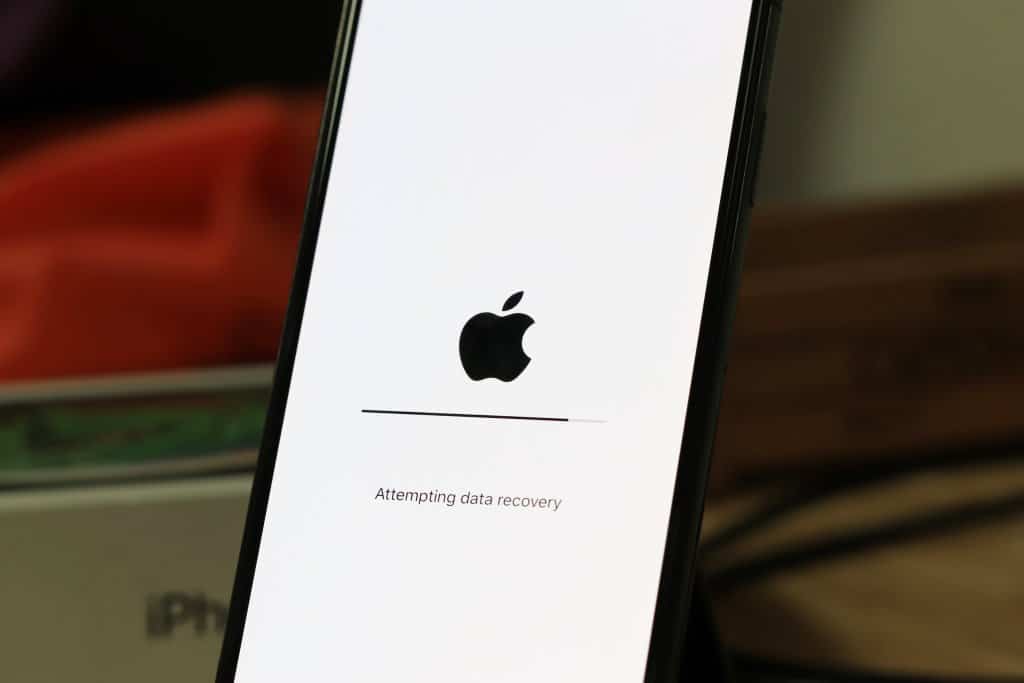
After successful data recovery, your device will reboot one last time and then you will have iOS 13 running on your iPhone or iPad.
Cheers!


