Having a backup of your phone has become increasingly prominent today as mobile phones have become an essential part of our lives. With countless pictures, messages, contacts, app data, and a lot more stored on these mobile devices, losing even one of those things seems catastrophic, let alone all. A lot of the time, our phone is the only place that such information is stored, so if lost from there, you usually can’t recover it.
Backing up your phone is like safely storing a copy of all your data. If you are upgrading to a new iPhone or have lost your old one and are forced to switch, or have just done a factory reset, it is just a matter of transferring your backed up data to your new iPhone. Apple makes it very easy to switch from one device to another seamlessly.
Should you backup iPhone via iTunes or iCloud?
There are two ways that Apple offers to backup your iPhone — iTunes and iCloud. An iTunes backup stores the data locally on your computer. It is faster because the data transfer is done through a cable. iTunes backup can save a lot more data than iCloud. It is equipped to store apps, music, and videos not downloaded from iTunes, photos not in your camera roll, your call history, and some other things which iCloud cannot.
An iCloud backup stores data remotely on Apple servers over WiFi, you get 5GB of free space on iCloud, but you can pay to get more storage space. It is intended only to store data that Apple deems essential, like your Messages, Camera roll, Account information, Passwords among other things that you can customize while enabling iCloud backup.
We recommend you to backup iPhone via iTunes whenever possible but keep a backup of the essential things on iCloud as well. Backing up for the first time will take longer, but every subsequent time will be faster since only the new files will be getting added.
How to backup iPhone using iTunes
To backup your iPhone using iTunes, you must have iTunes installed on your PC or Mac. You can download it for free from the link below. Also, make sure you have a Lightning to USB cable to be able to connect your iPhone to the PC.
- Download and install iTunes on your computer. Once the installation finishes, launch iTunes on your computer.
- Connect your iPhone to your computer using the Lightning to USB cable.
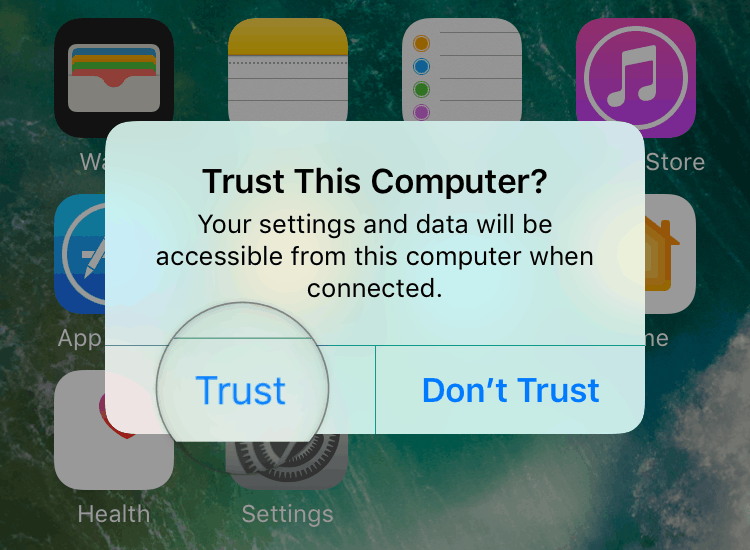
- If a Trust This Computer pop-up shows on your device’ screen, make sure to tap on Trust.
- If you’re connecting your iPhone/iPad first time with iTunes, you’ll get a “Do you want to allow this computer..” pop-up on the screen, select Continue. Also, when iTunes greets you with a Welcome to Your New iPhone screen, choose Set up as new iPhone and click on the Continue button.
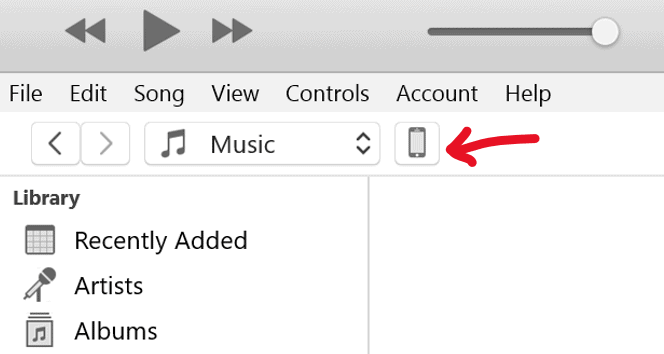
- Click on the phone icon in the row below the menu options on the top left side. It may take some time to appear. This opens the Summary page of your device.
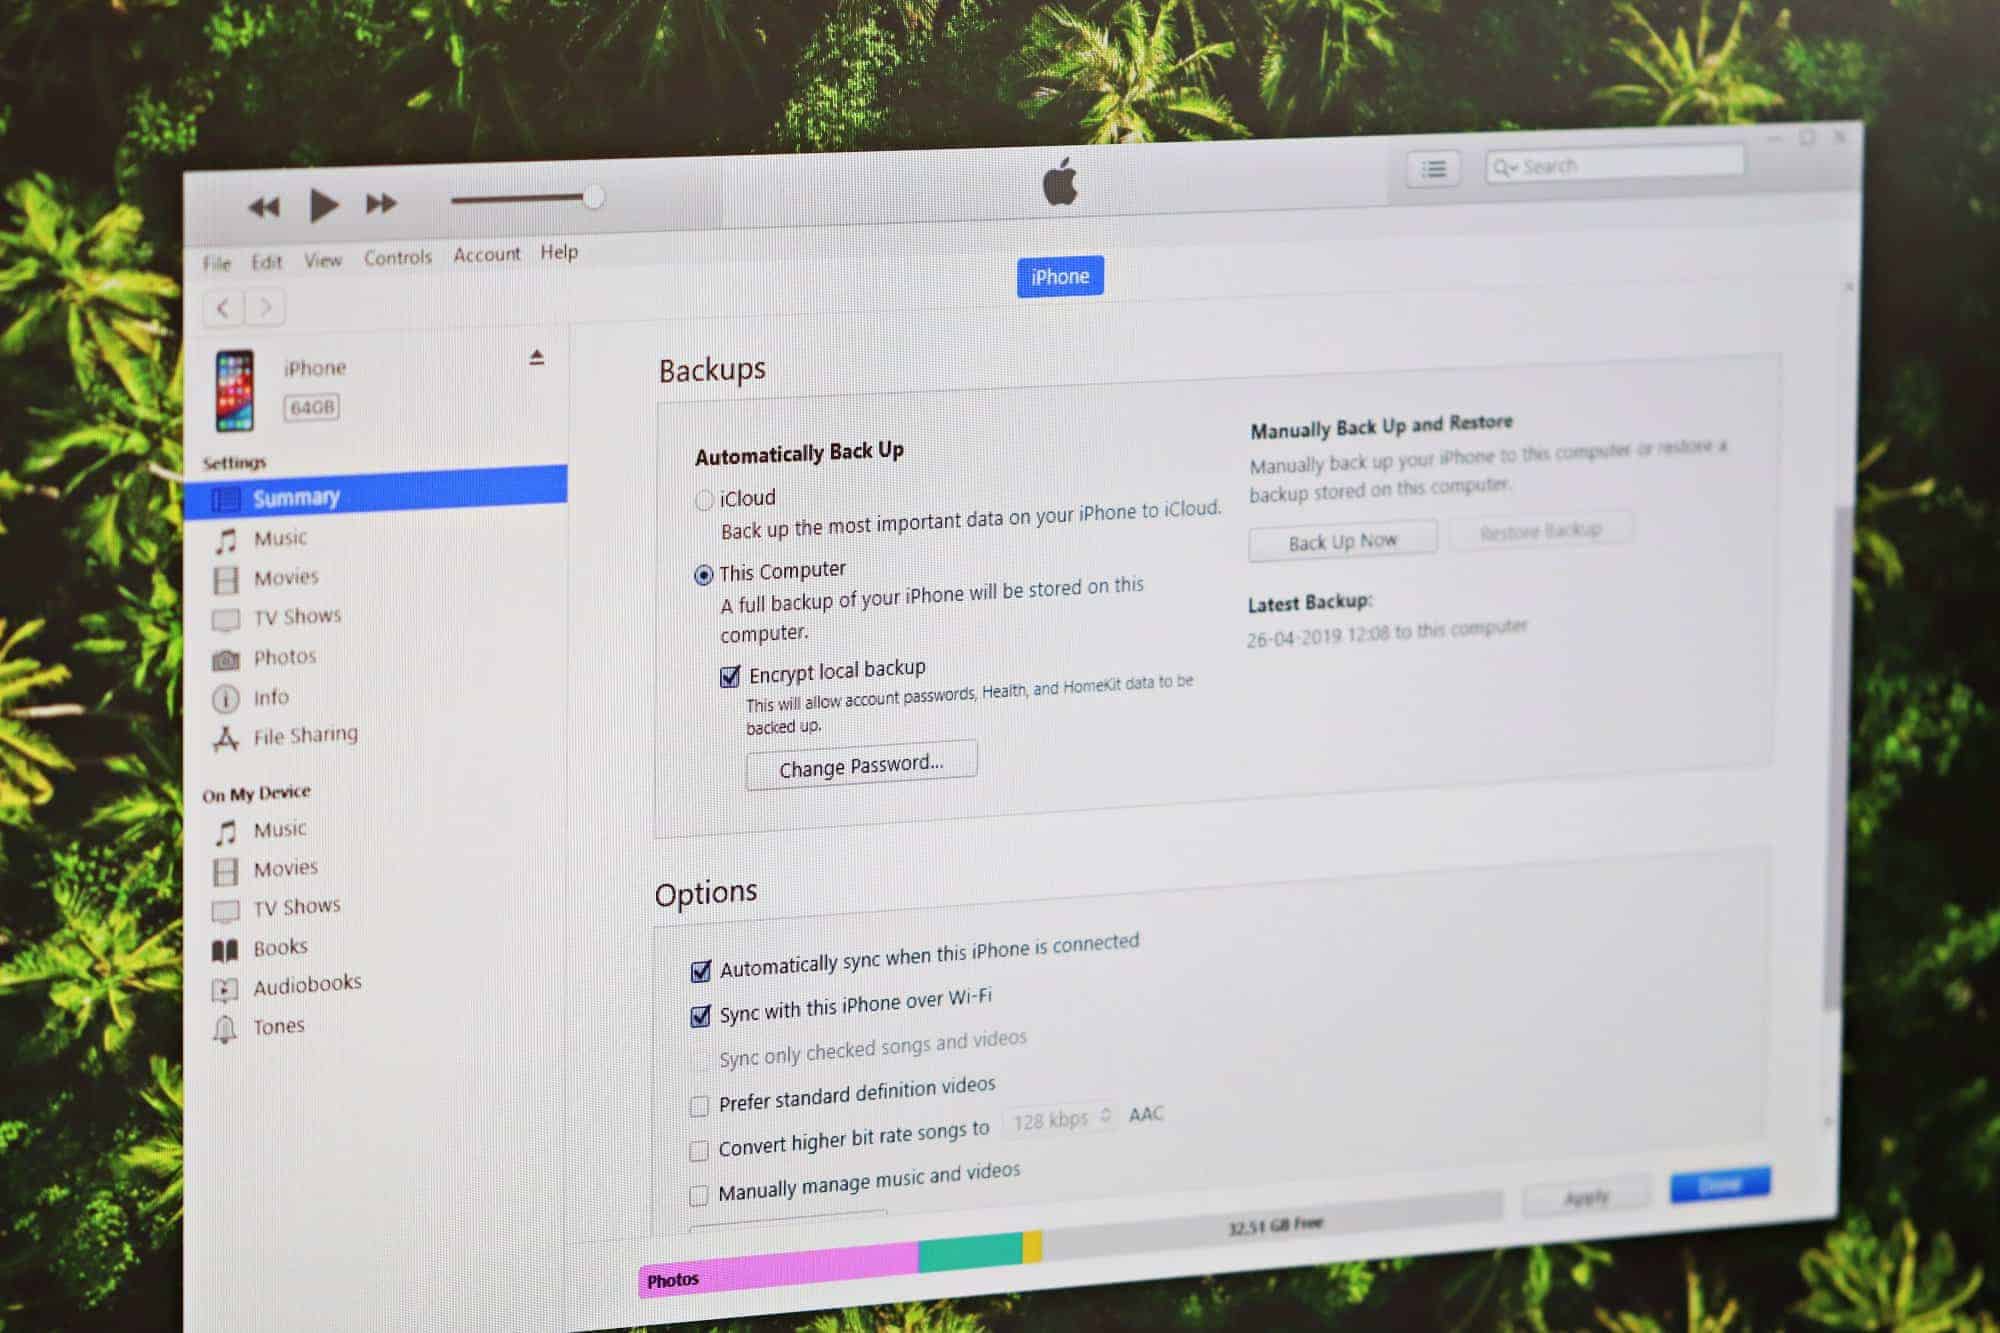
- Under the Automatically Back Up options on the Summary page, select This Computer, then make sure you tick the Encrypt local backup checkbox as well to let iTunes backup account passwords and app data/game saves as well. Be sure to use a password that you can easily remember for the encrypted backup or else it won’t be of any use.
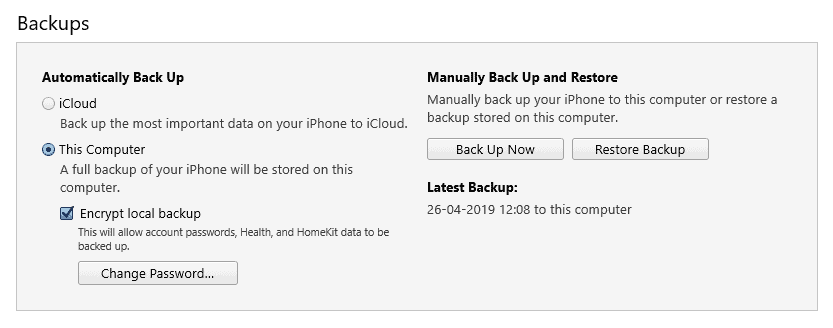
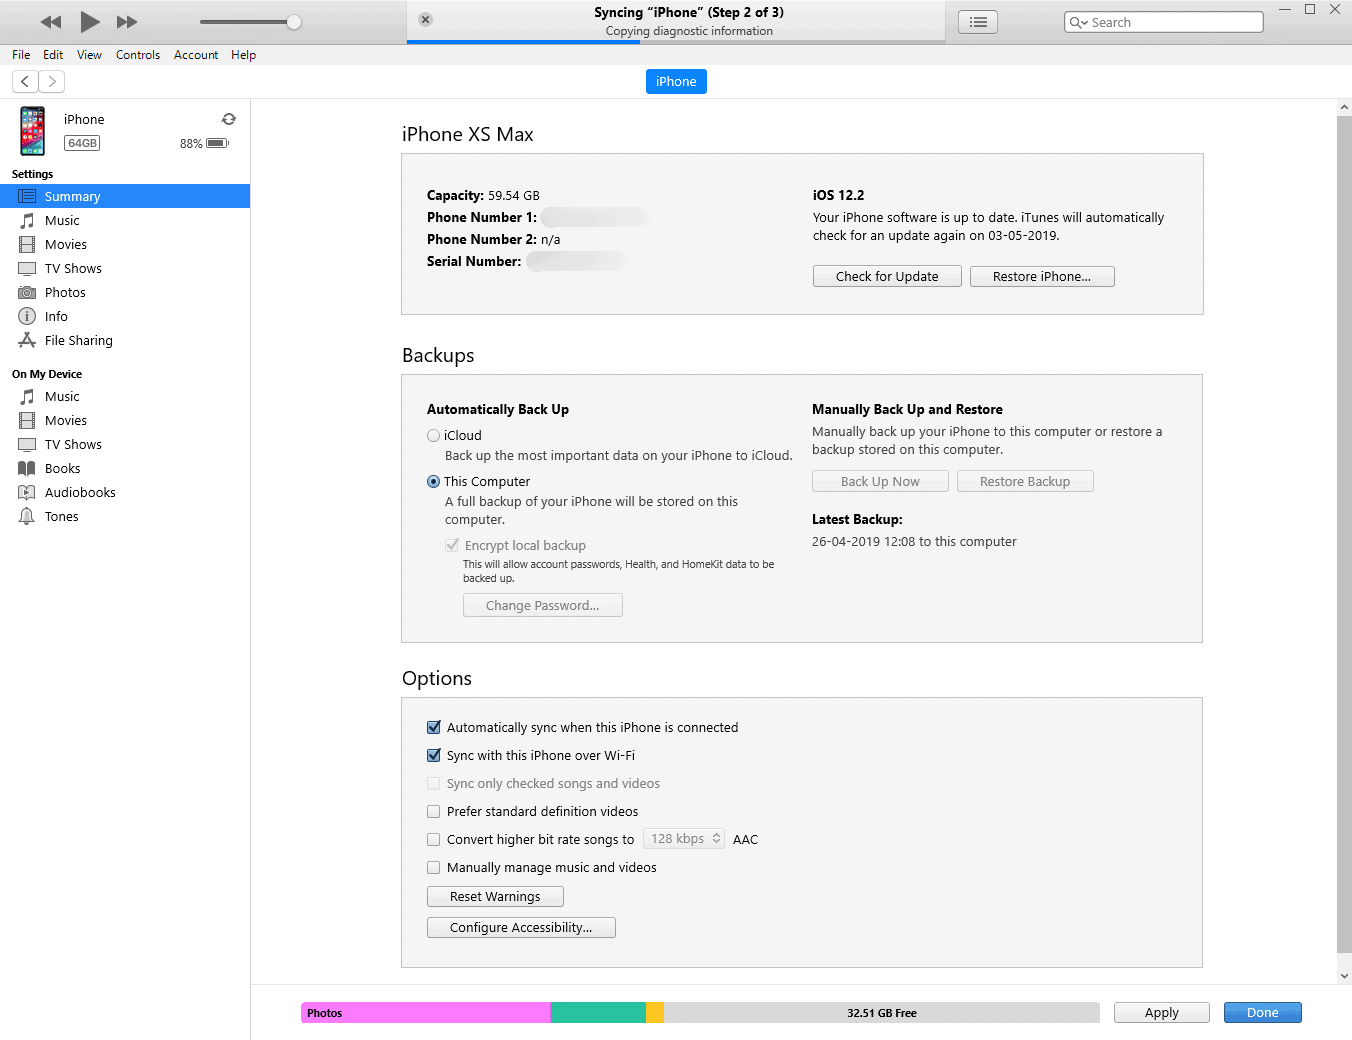
- Hit the Back Up Now button to initiate the backup process. It’ll take several minutes depending upon the amount of data stored on your iPhone.
Hot tip: Under the Options section, enable the following sync options and hit the Apply button in the bottom bar to let iTunes take a backup of your iPhone automatically whenever it’s connected via cable or is in the same WiFi network.
- Automatically sync when this iPhone is connected: Enabling this option will automatically backup your iPhone every time it’s connected to the PC via the USB cable.
- Sync with this iPhone over Wi-Fi: Enabling this will let you backup your iPhone over WiFi. Your computer and your iPhone should be in the same network for this to work.

How to Backup iPhone using iCloud
Requirements: iPhone connected to WiFi.
- Open Settings on your iPhone.
- Tap your name/Apple ID at the top of the screen.
- Tap iCloud.
- Turn on the toggle for Apps whose data you want to be backed up to iCloud.
- Find the iCloud Backup option, tap on it and then turn on the toggle switch to enable iCloud Backup. iCloud will attempt to back up your iPhone once every 24 hours when your phone is charging, the screen is locked, and is connected to WiFi.
└ Remember, when you enable iCloud Backup on your iPhone, you can no longer automatically backup your iPhone via iTunes on the computer. - To manually initiate the backup, tap Back Up Now.
That’s all. Hope you find this page helpful for taking a backup of your iPhone.


