
Windows 11 offers a wide range of features and components, but many of them are not enabled by default. These are known as ‘Optional features’ and are primarily designed for developers and system administrators. While they aren’t essential for everyday use, enabling these features can extend your PC’s capabilities and provide greater control over your system. They can introduce new functionalities, support legacy applications, or be necessary for specific tasks (such as enabling the Windows Subsystem for Linux to run Linux distributions on Windows).
You can add or remove optional features like Hyper-V, Windows Subsystem for Linux, .NET Framework, Microsoft Defender Application Guard, and more, depending on your needs. Some features can be toggled on or off directly from the Windows Features dialog, while others need to be downloaded and installed through the Settings app. This guide will walk you through various methods to install and remove optional features in Windows 11.
Install Optional Features Using the Windows Features Dialog
The Windows Features dialog grants access to critical components such as the Hyper-V virtualization tool, Internet Information Services (IIS), Virtual Machine Platform, Windows Subsystem for Linux, and more. Here’s how to install optional features using this method:
- Press
Win+Rto open the Run dialog, typeoptionalfeatures, and pressEnter.
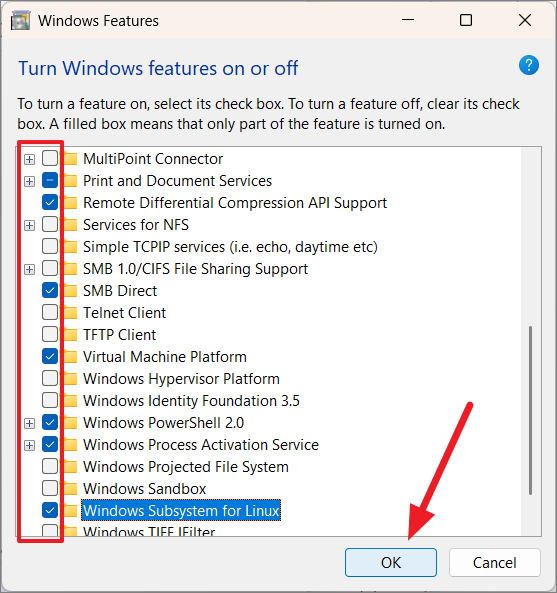
- In the Windows Features dialog box, you’ll see a list of available optional features. Check the box next to the feature(s) you want to install and click ‘OK’.
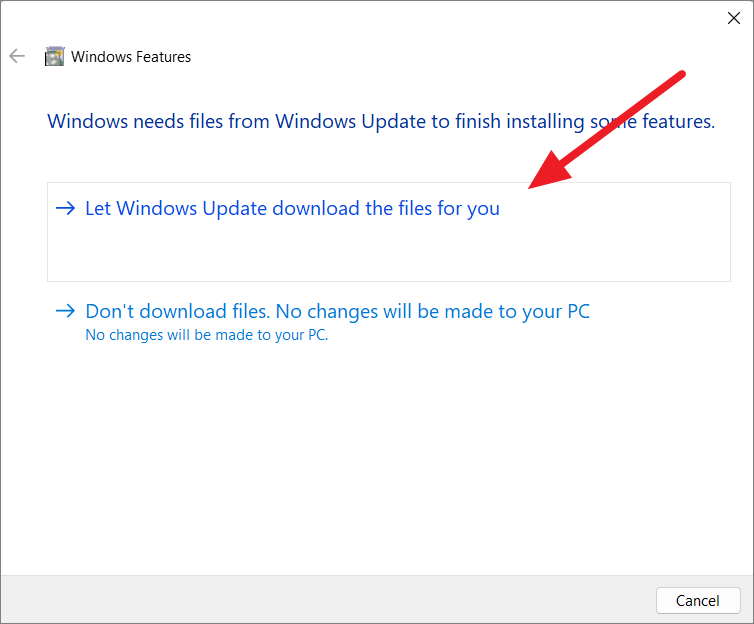
- Some features may require downloading additional files from Windows Update. If prompted, select ‘Let Windows Update download the files for you’.
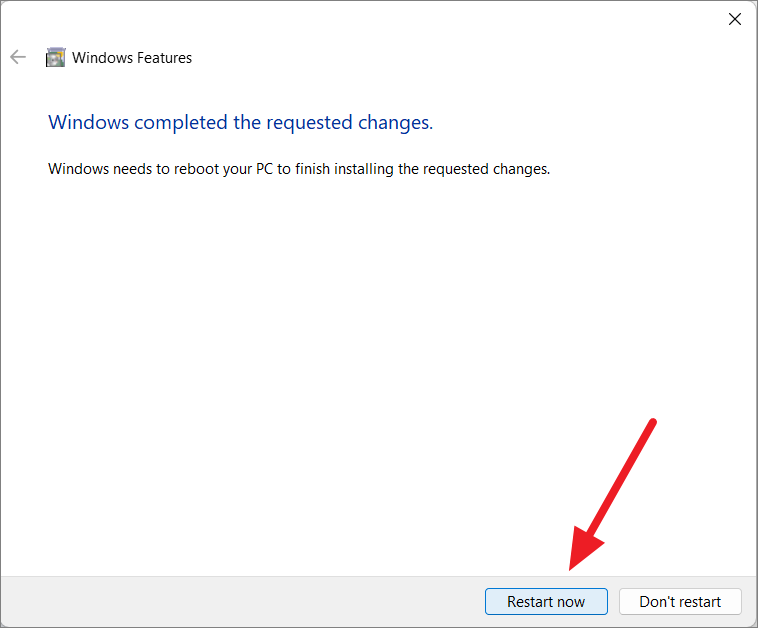
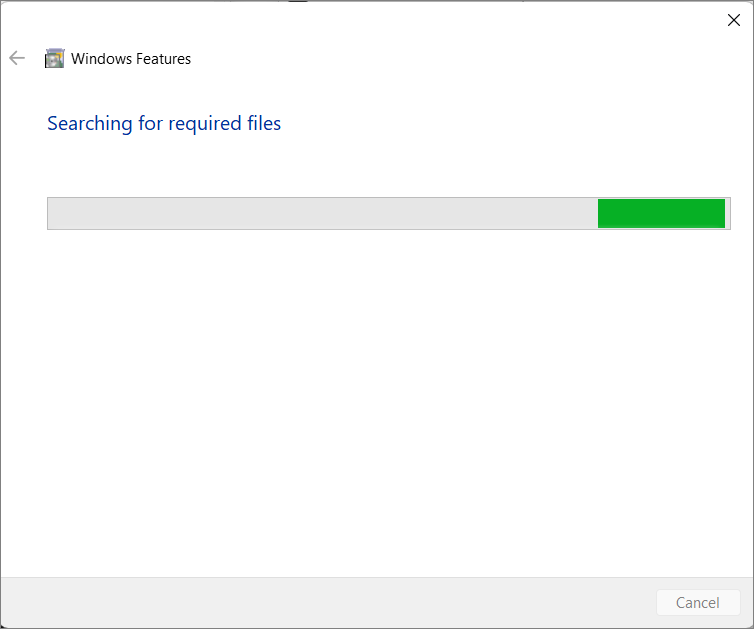
Windows will search for the necessary files and install the selected features. You may need to restart your computer to apply the changes.
Install Optional Features Using the Settings App
The Settings app allows you to download and install several optional features, though it doesn’t include all of them. An active internet connection is required to install features through this method. Follow these steps:
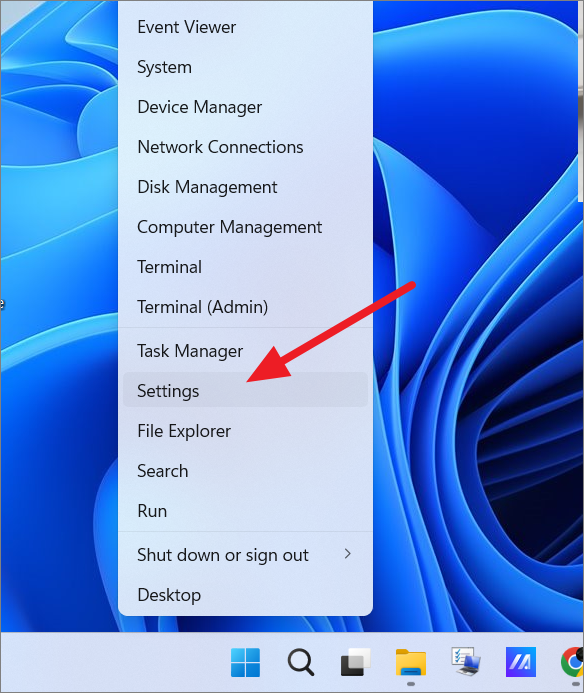
- Open the Settings app by pressing
Win+Ior by right-clicking the Start menu and selecting ‘Settings’.
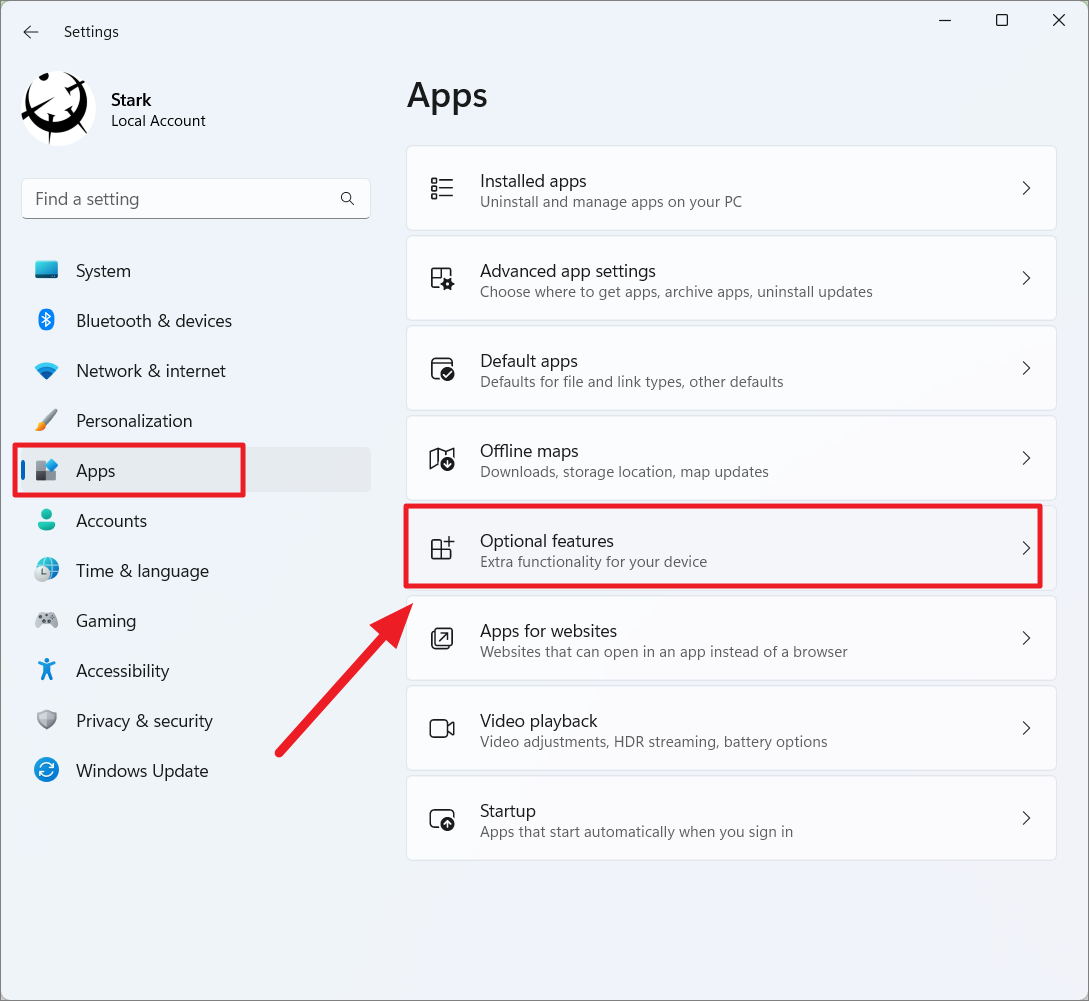
- In the Settings window, click on ‘Apps’ in the left sidebar, then select ‘Optional features’ on the right.
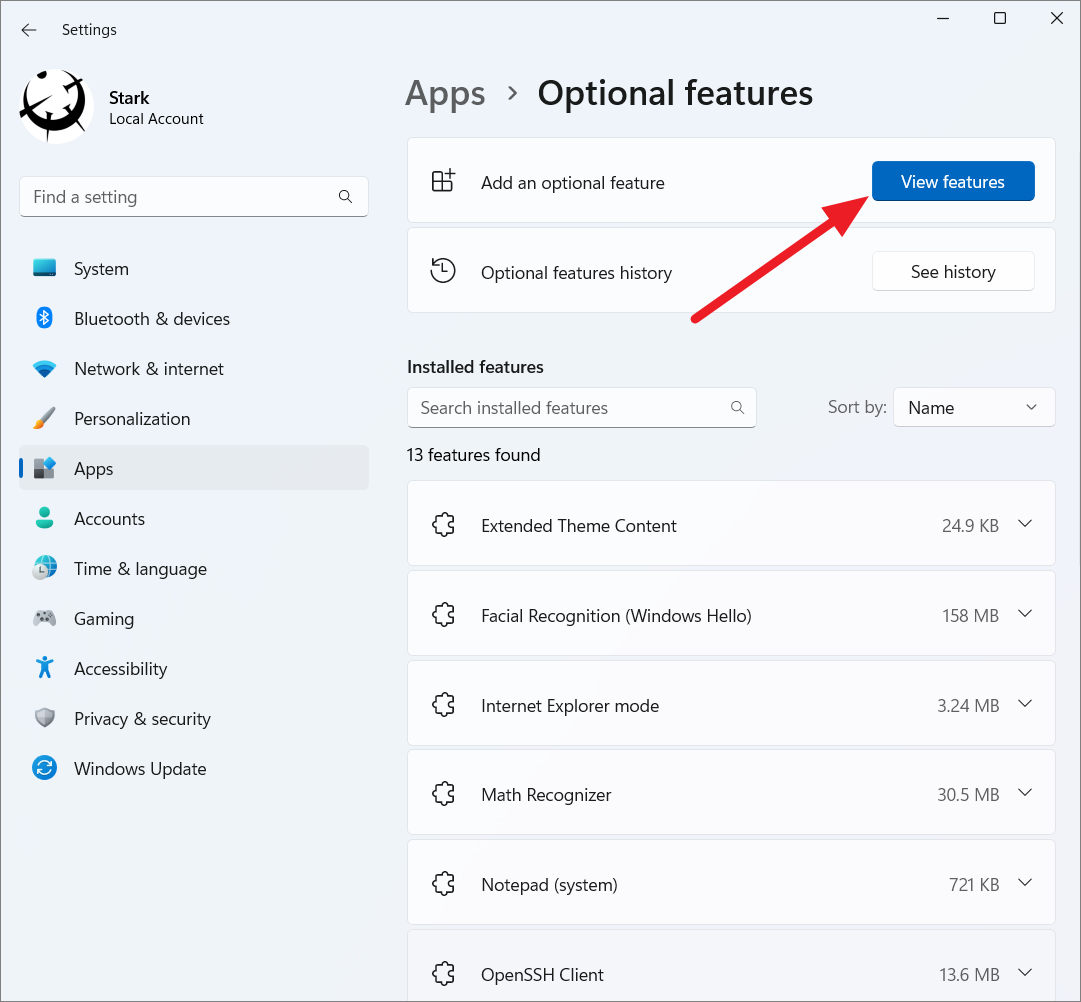
- At the top of the ‘Optional features’ page, click the ‘View features’ button next to ‘Add an optional feature’.
- In the pop-up window, you’ll see a list of available features. Use the search bar or scroll through the list to find the feature you want to install. Check the box next to the desired feature and click ‘Next’.

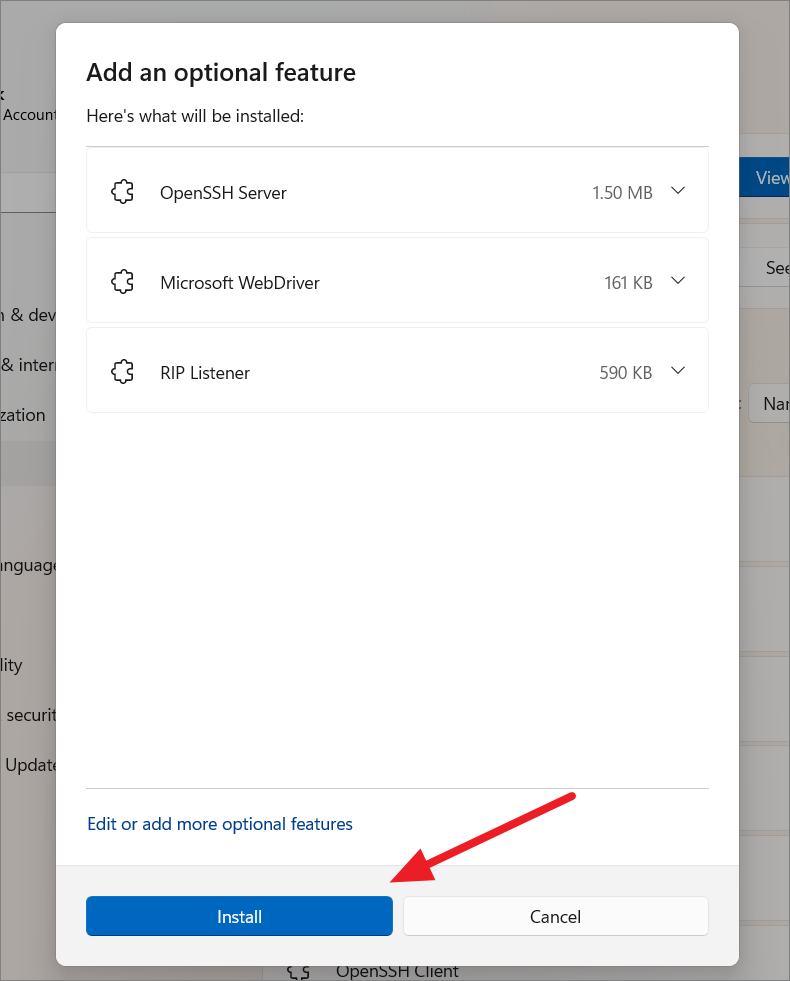
- Review your selections and click ‘Install’ to begin the installation process.
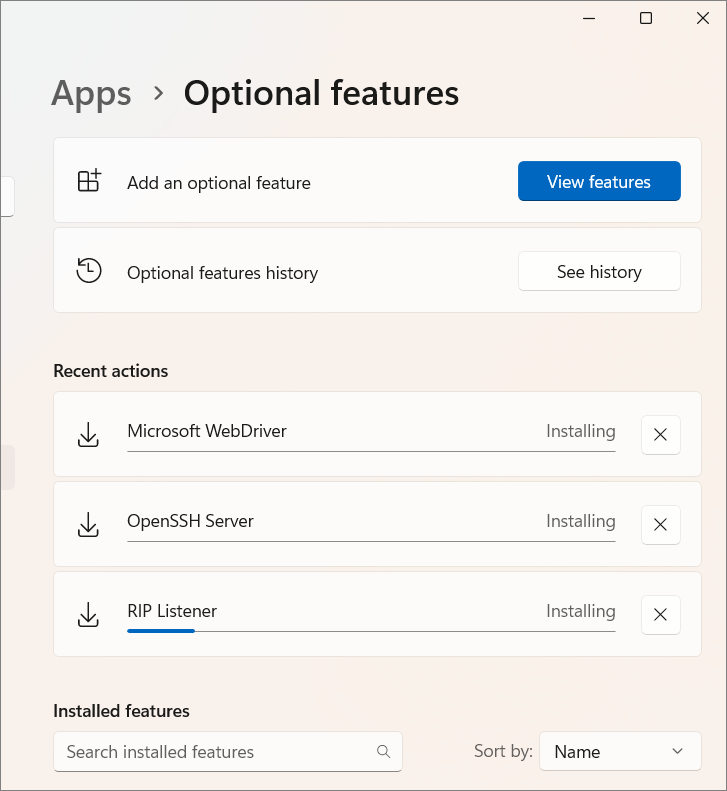
The selected features will be downloaded and installed on your system.
Check Optional Features History
You can view the history of optional features you’ve installed or removed:
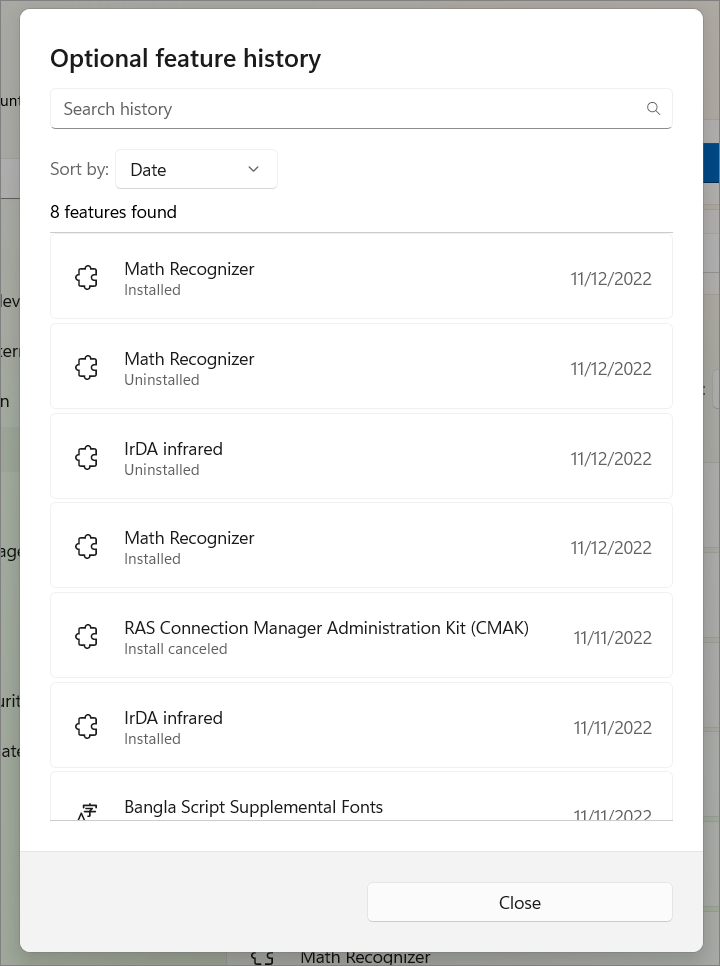
- In the ‘Optional features’ settings page, click on the ‘See history’ button.
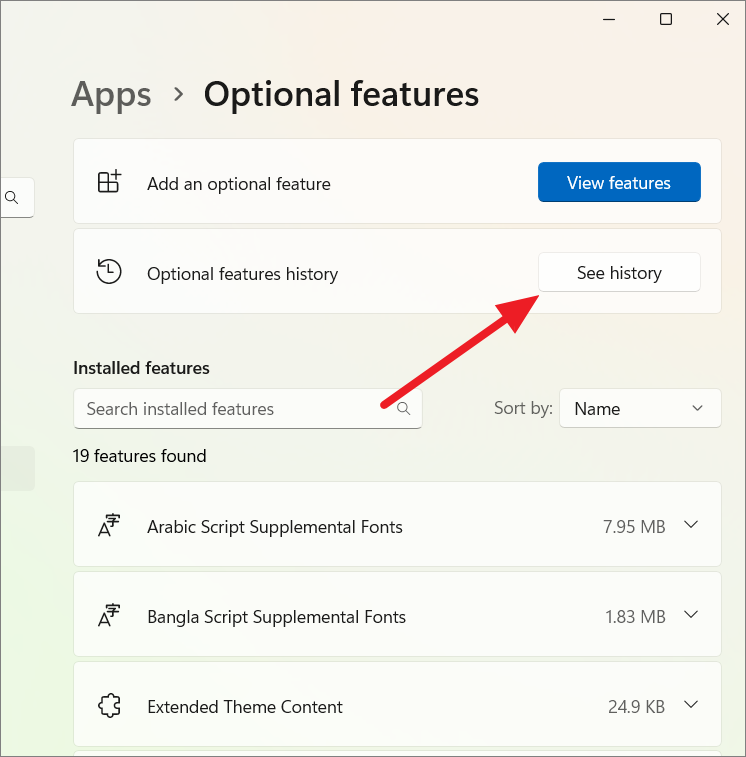
- A list will display all the features you’ve added or removed since you installed Windows 11.
Enable Windows Optional Features Using DISM Command
The Deployment Image Servicing and Management (DISM) tool allows you to install optional features via the command line. This method provides access to all optional features, including those not available through the Settings app or Control Panel. Here’s how to use DISM:
- Open Command Prompt as an administrator. Type ‘Command Prompt’ in the Start menu, right-click the app, and select ‘Run as administrator’.
- List all available optional features by executing the command:
Dism /Online /Get-Capabilities
This will display a list of features along with their ‘Capability Identity’ and installation status.

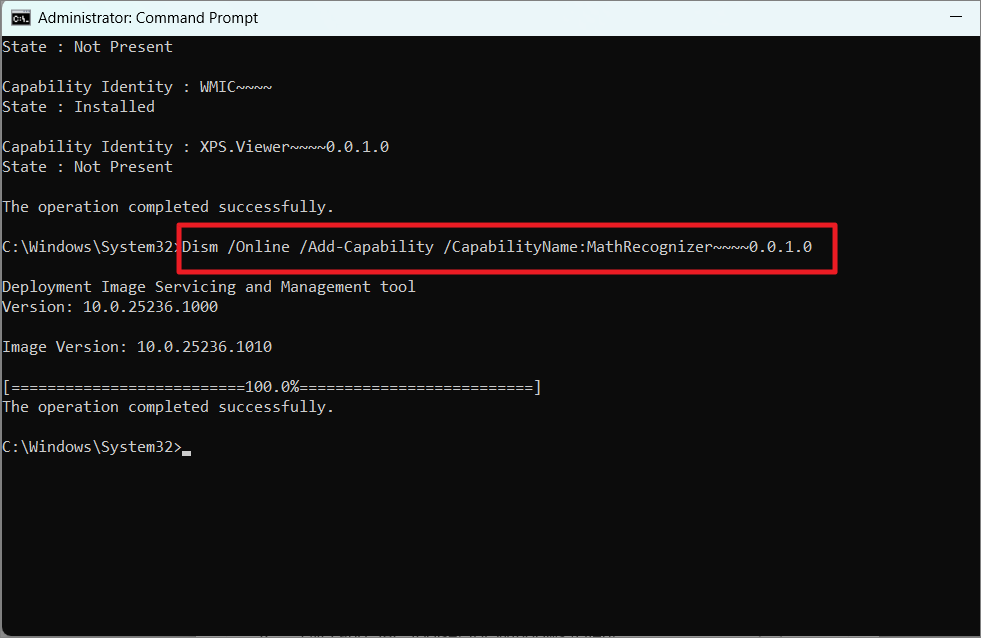
- Identify the ‘Capability Identity’ of the feature you want to install. For example, ‘MathRecognizer~~~~0.0.1.0’ for Math Recognizer.
- Install the feature by running:
Dism /Online /Add-Capability /CapabilityName:Feature_Name
ReplaceFeature_Namewith the appropriate capability identity.
- Once the installation is complete, restart your computer to apply the changes.
Install Optional Features Using PowerShell
PowerShell provides another way to manage optional features via the command line. Here’s how:
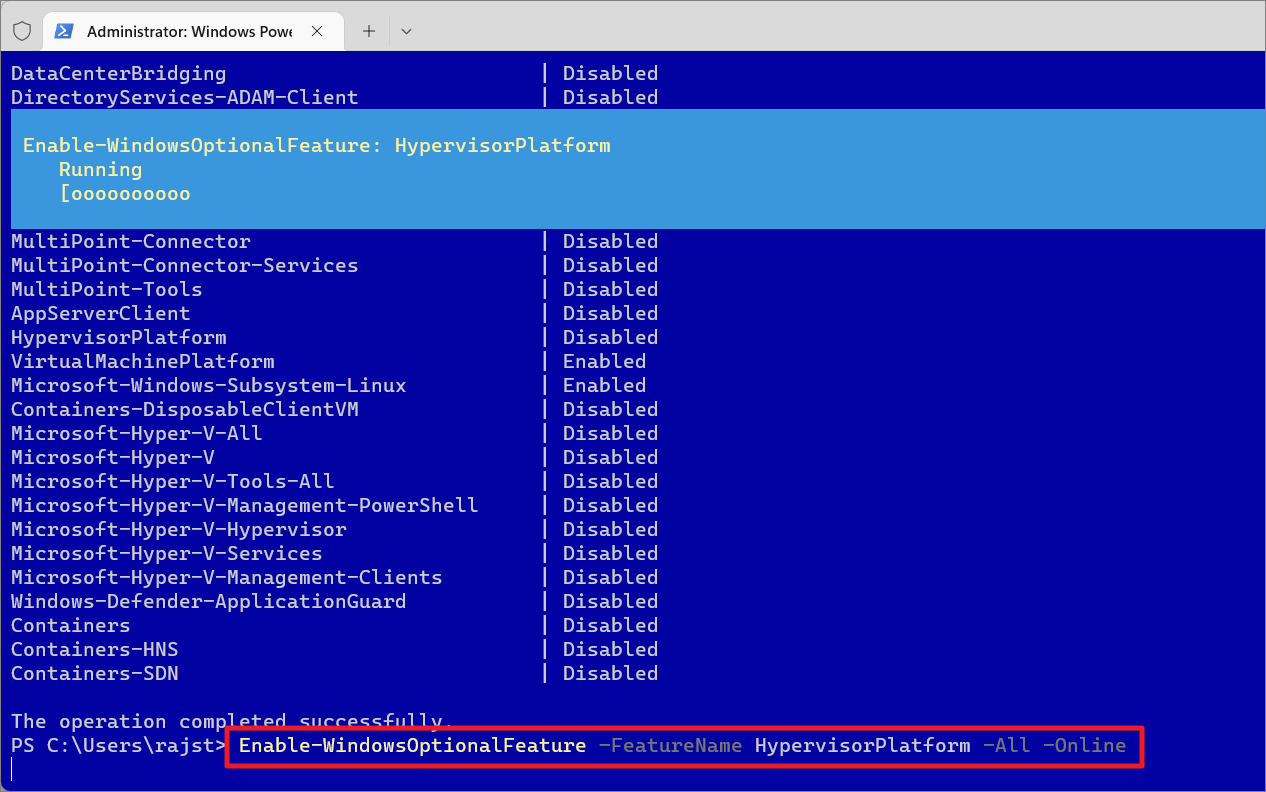
- Open PowerShell as administrator. Right-click the Start menu and select ‘Windows PowerShell (Admin)’.
- List all optional features by executing:
Get-WindowsOptionalFeature -Online
This command will display a list of features along with their statuses.
- Install a feature by running:
Enable-WindowsOptionalFeature –FeatureName Feature_Name -All -Online
ReplaceFeature_Namewith the name of the feature you wish to install.
- If prompted to restart your computer, type ‘Y’ and press
Enterto initiate the restart.
Remove Optional Features in Windows 11
If you no longer need a particular optional feature, you can disable or uninstall it using any of the methods below.
Uninstall an Optional Feature Using the Settings App
- Press
Win+Ito open Settings, then navigate to ‘Apps’ > ‘Optional features’.

- Scroll through the list to find the feature you want to remove, click on it, and select ‘Uninstall’.
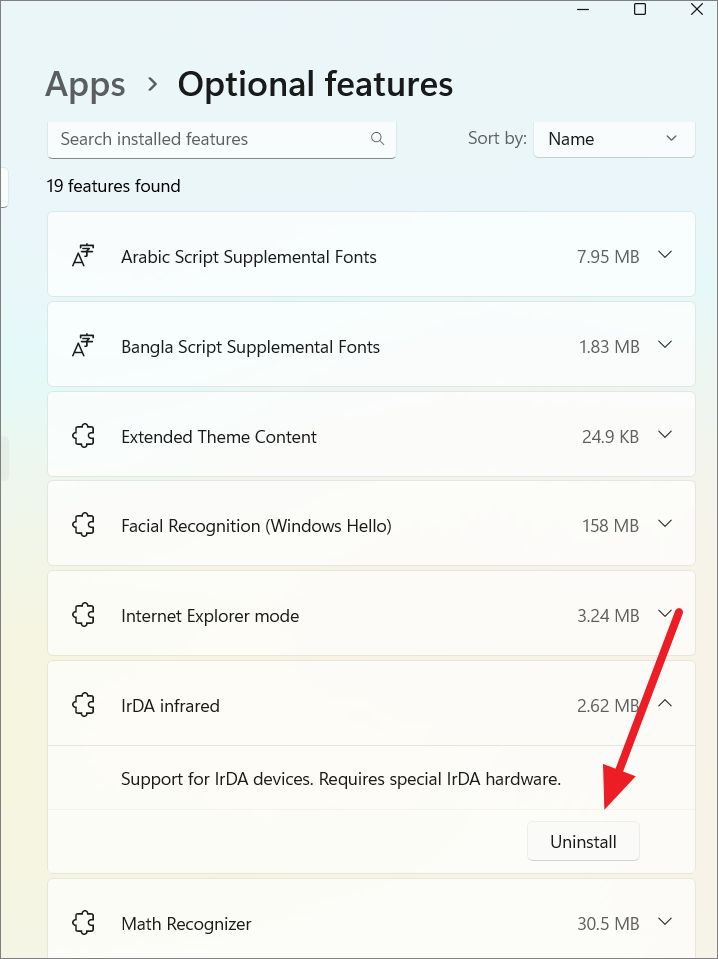
- After the feature is uninstalled, restart your computer if prompted.
Uninstall Optional Features Using Windows Features Applet
- Press
Win+R, typeoptionalfeatures, and pressEnterto open the Windows Features dialog. - Uncheck the box next to the feature(s) you wish to disable and click ‘OK’.
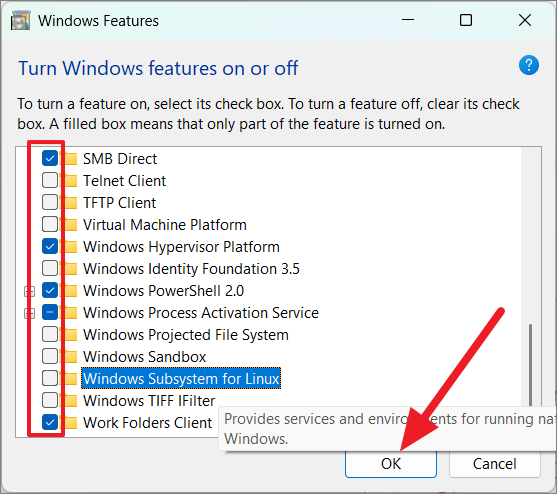
Wait for Windows to apply the changes. You may need to restart your computer.
Uninstall Optional Features Using DISM
- Open Command Prompt as an administrator.
- Execute the command:
Dism /Online /Remove-Capability /CapabilityName:Feature_Name
ReplaceFeature_Namewith the capability identity of the feature you want to remove.
For example, to remove ‘Math Recognizer’, you would run:
Dism /Online /Remove-Capability /CapabilityName:MathRecognizer~~~~0.0.1.0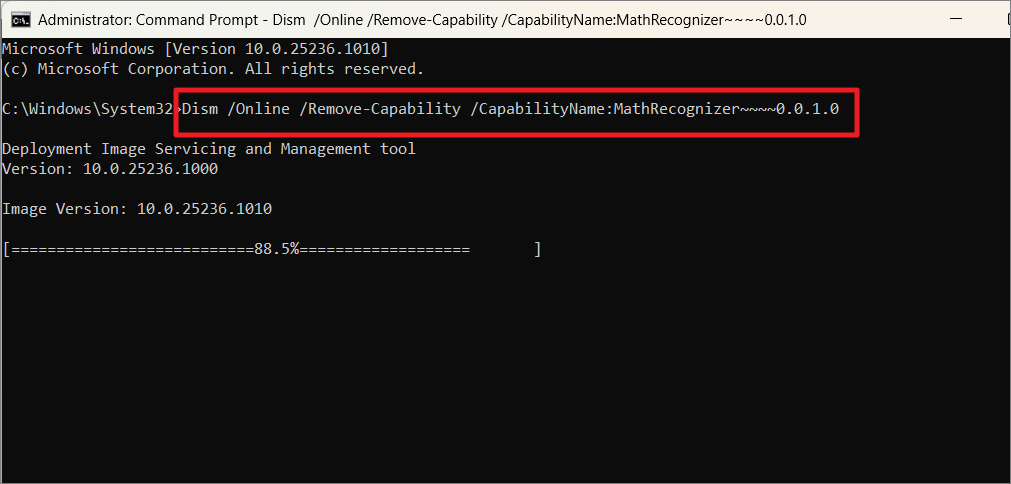
Uninstall Optional Features Through PowerShell
- Launch PowerShell as an administrator.
- Run the command:
Disable-WindowsOptionalFeature –FeatureName Feature_Name -Online
ReplaceFeature_Namewith the name of the feature.
For example:
Disable-WindowsOptionalFeature –FeatureName HypervisorPlatform -Online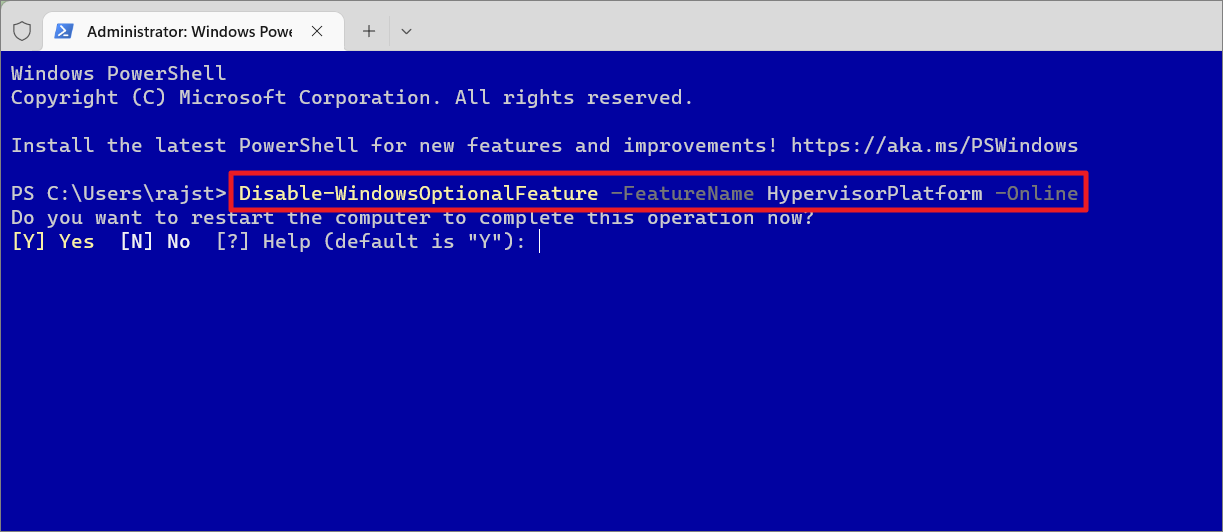
- If prompted, type ‘Y’ and press
Enterto restart your computer and complete the uninstallation.
Install Windows Optional Features Offline
In scenarios where you don’t have an internet connection, you can still install optional features using the source files from the Windows installation media. These files are located in the ‘sxs’ folder within the ‘Sources’ directory.
Enable Windows Optional Features Offline Using Command Prompt
- Insert the Windows installation media (USB or DVD) into your computer and note its drive letter (e.g.,
J:\). - Open Command Prompt as an administrator.
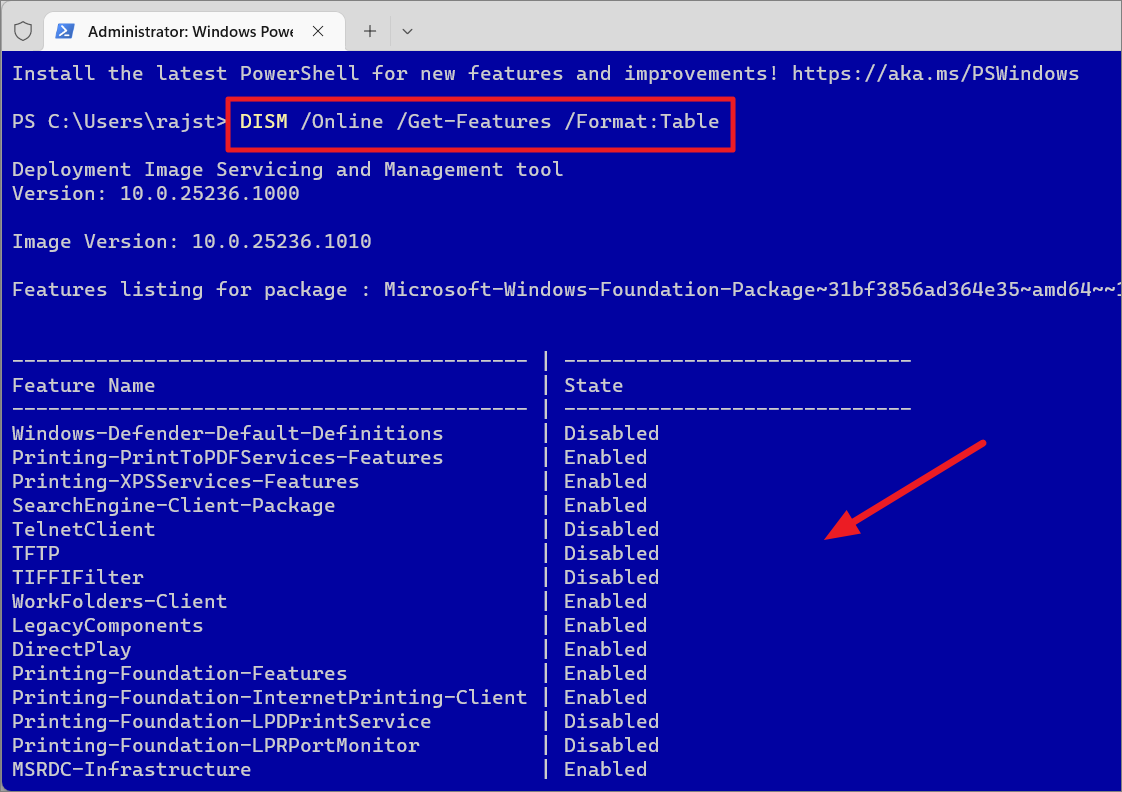
- List the technical names of optional features by running:
Dism /Online /Get-Features /Format:Table
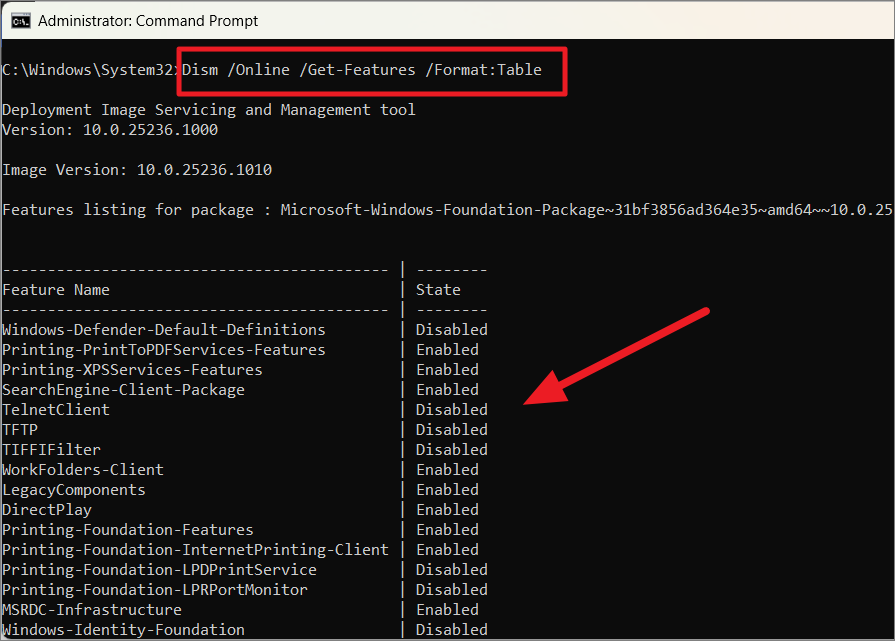
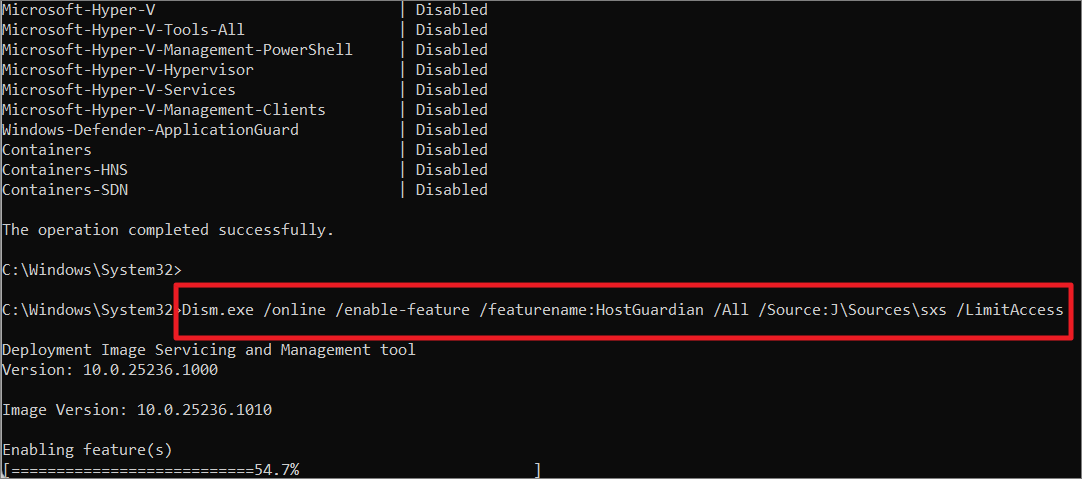
- Install the desired feature using the command:
Dism.exe /online /enable-feature /featurename:Feature_Name /All /Source:J:\Sources\sxs /LimitAccess
ReplaceFeature_Namewith the technical name andJ:with your drive letter.
Enable Windows Optional Features Offline Using PowerShell
- Mount the Windows installation media and note the drive letter.
- Open PowerShell as an administrator.
- List available features by running:
Get-WindowsOptionalFeature -Online | FT
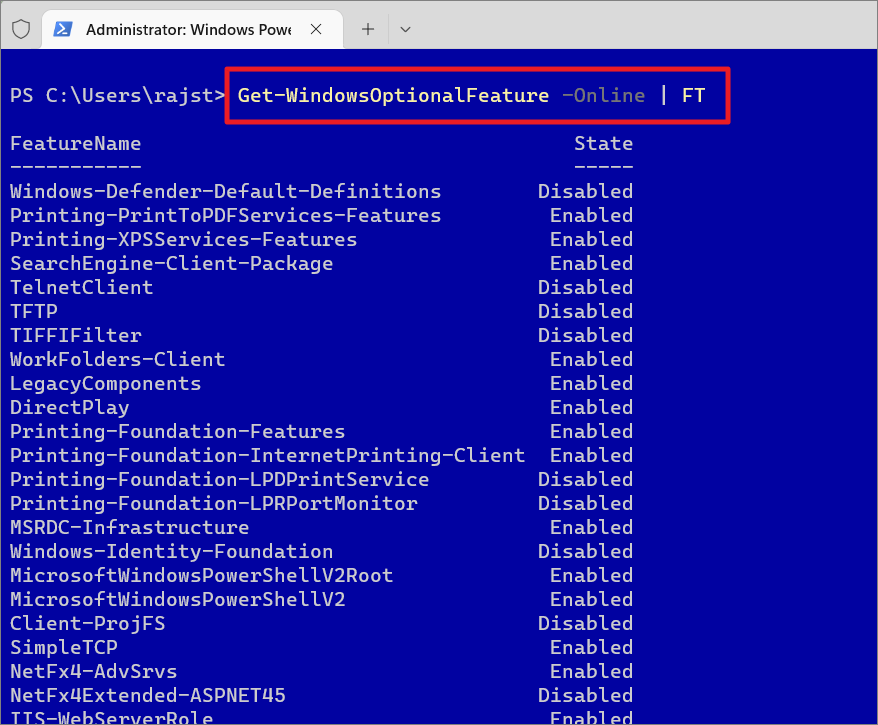
- Install the feature using:
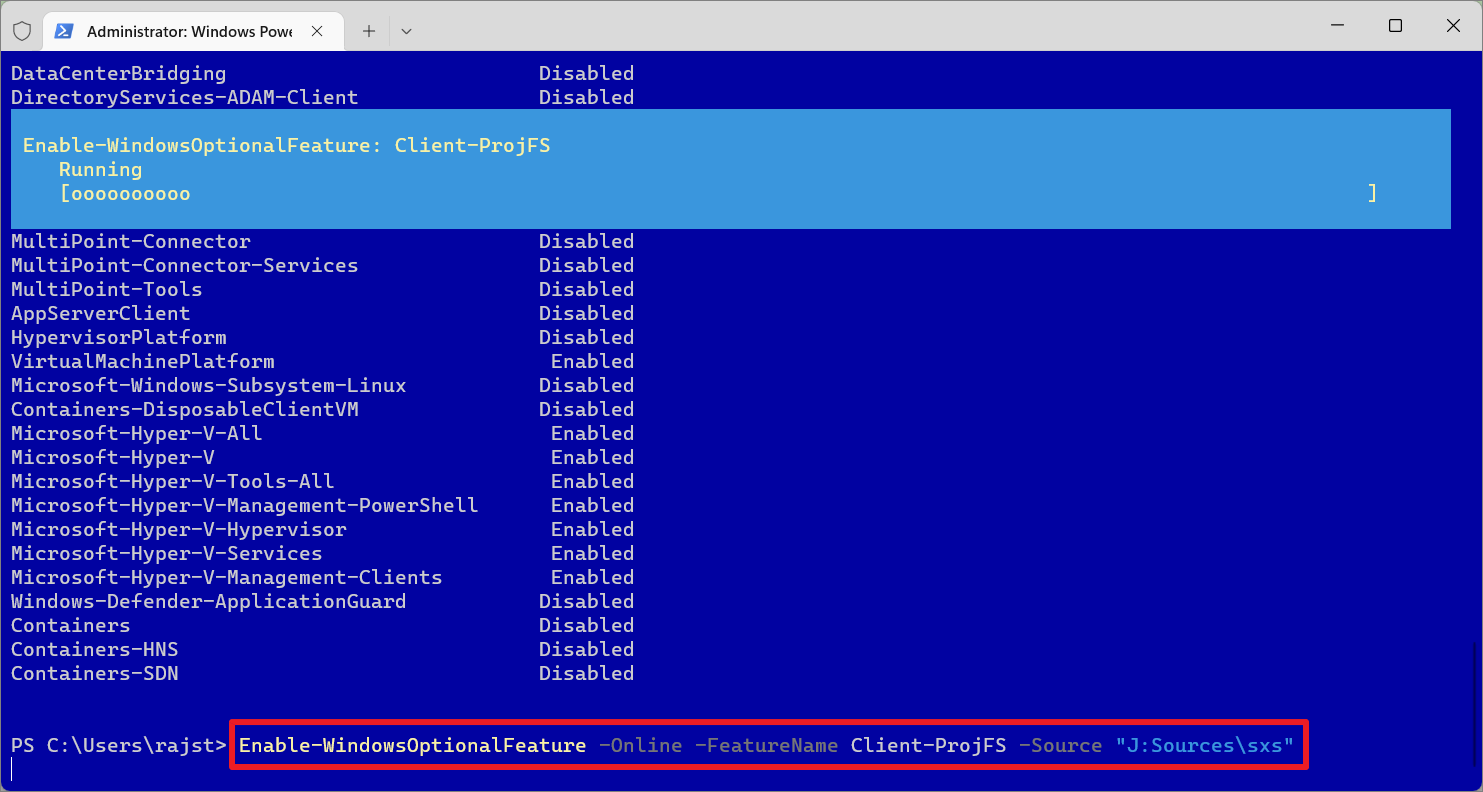
Enable-WindowsOptionalFeature -Online -FeatureName Feature_Name -Source "J:\Sources\sxs"
Replace Feature_Name with the technical name and J: with your drive letter.
- If prompted, type ‘Y’ and press
Enterto restart your computer.
Install Optional Features Offline Through Group Policy Editor
- Copy the ‘sxs’ folder from the ‘Sources’ directory of the installation media to a local directory (e.g.,
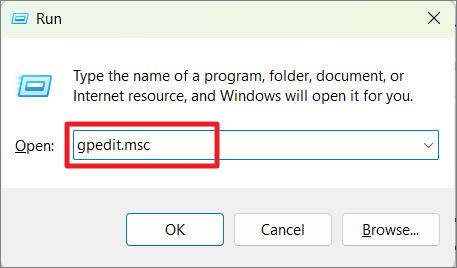
C:\Sources\sxs). - Press
Win+R, typegpedit.msc, and pressEnterto open the Group Policy Editor.
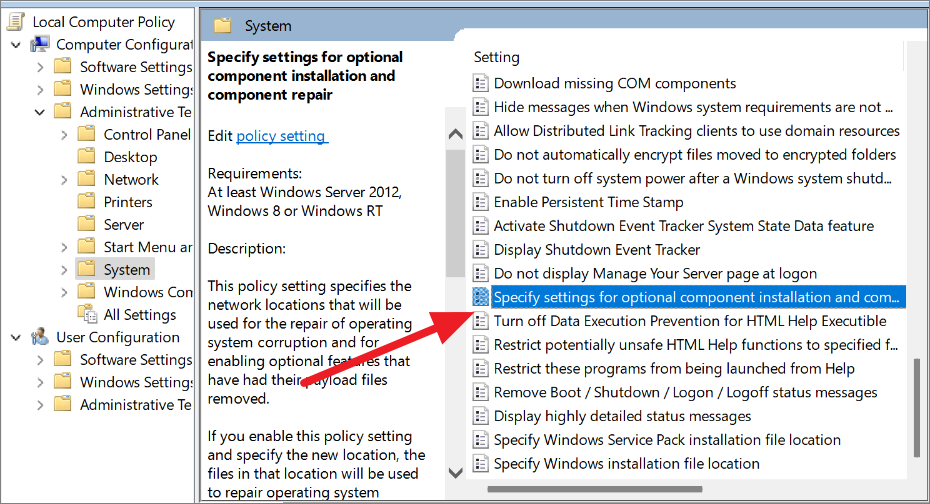
- Navigate to
Computer Configuration > Administrative Templates > System.

- Double-click on ‘Specify settings for optional component installation and component repair’.
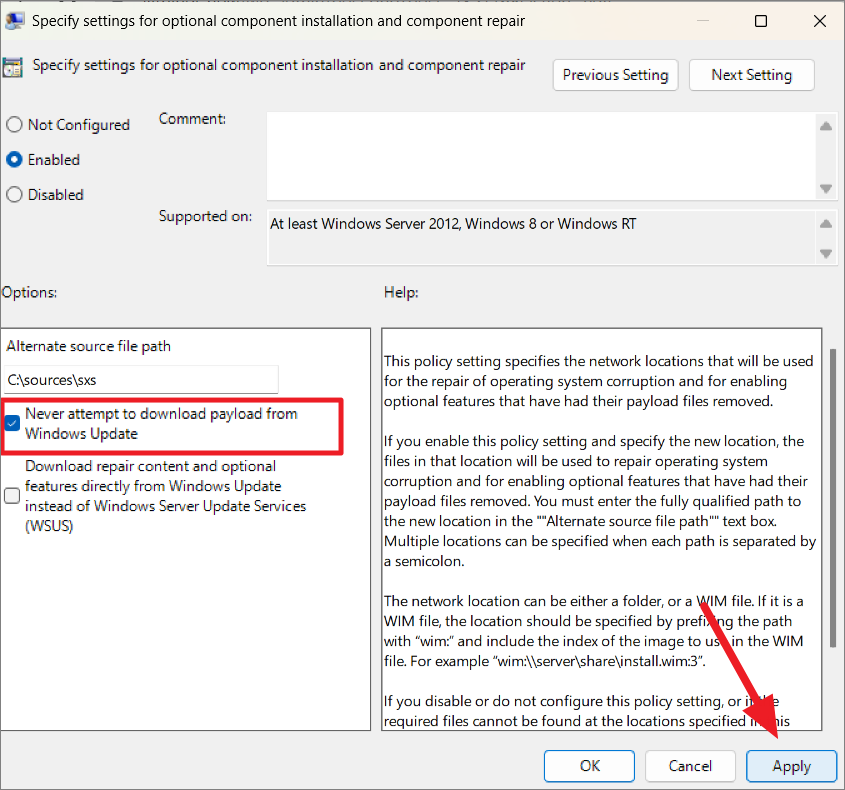
- Select ‘Enabled’, enter the path to the ‘sxs’ folder in the ‘Alternate source file path’ field, and check the ‘Never attempt to download payload from Windows Update’ option. Click ‘Apply’ and then ‘OK’.
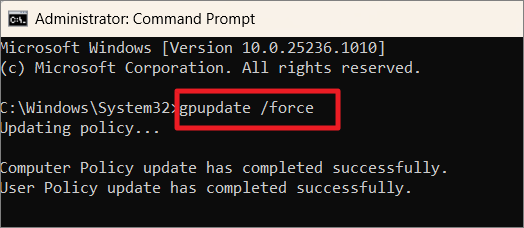
- Open Command Prompt as an administrator and run the command:
gpupdate /force
- Now, open the Windows Features dialog, select the features you want to install, and click ‘OK’. The system will use the local source files to install the features offline.
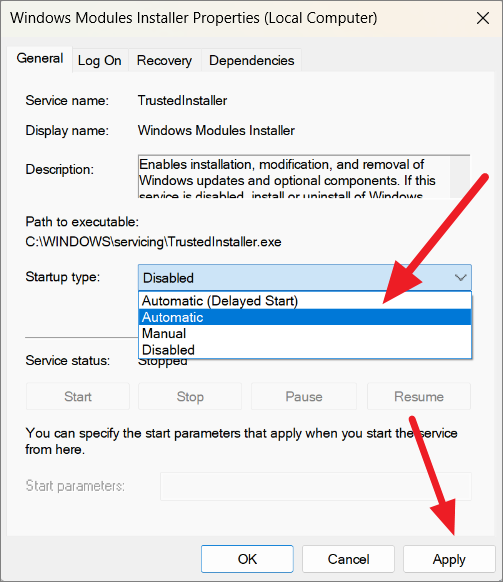
Fix Windows Features Dialog Box Is Blank or Empty
If the Windows Features dialog box appears blank or empty, it’s usually because the ‘Windows Modules Installer’ service is disabled. This service is responsible for installing, modifying, and removing Windows updates and optional components. To fix this issue:
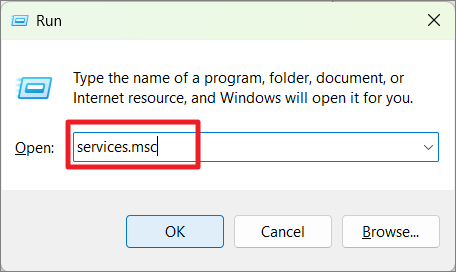
- Press
Win+R, typeservices.msc, and pressEnterto open the Services console.
- Scroll down and double-click on ‘Windows Modules Installer’.
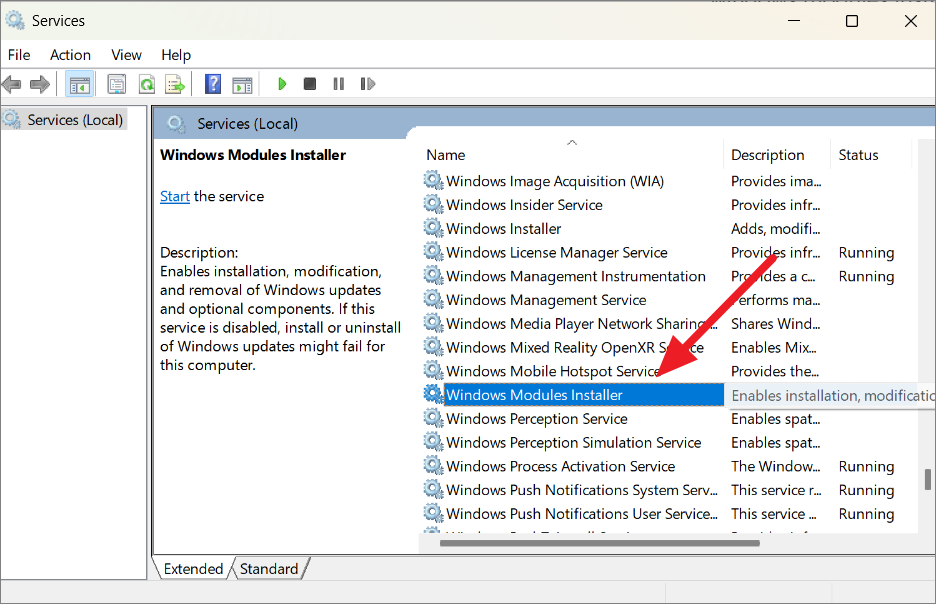
- Set the ‘Startup type’ to ‘Automatic’, click ‘Apply’, and then ‘OK’.
- Restart your computer to ensure the changes take effect. The Windows Features dialog should now display the available features.
If it still not working, try running SFC and DISM scan, create a new admin account, or restore your PC using the restore point.


