Notes on our iPhones are versatile. There are all sorts of notes on there from our late-night epiphanies to grocery lists. And sometimes, they even contain personal and confidential information that you wouldn’t want any unauthorized persons to have access to them, even if they have access to your phone.
Apple has offered a way to lock your notes for quite a while now. But previously, the only way to lock a note was with a custom password. It just created an additional hassle for you. And if you forgot your password, there was no way to reset it for the notes that were already locked with the old password.
Thankfully, on iOS 16, you can lock such notes with your iPhone passcode which will restrict them and also not hassle you with remembering an extra password just to view a note. Locking your notes with your iPhone passcode makes the whole ordeal much less cumbersome. But Apple still hasn’t taken away the choice to lock the notes with a custom password. You can choose whichever method suits you best. All notes you lock, whether using a custom password or your device passcode, are end-to-end encrypted and even Apple doesn’t have access to the information in them.
Note: Keep in mind that you cannot lock Quick Notes and notes that use tags.
Lock Notes with your iPhone Passcode
If you used a password to lock your notes before iOS 16, you’ll need to change the setting so your notes are now locked with the iPhone passcode. Fortunately, the process is extremely simple and hardly requires a couple of taps from your side. You can change the setting while locking a new note from the notes app itself or the Settings app on your iPhone. For your convenience, let’s see both.
Changing the Method from the Notes App
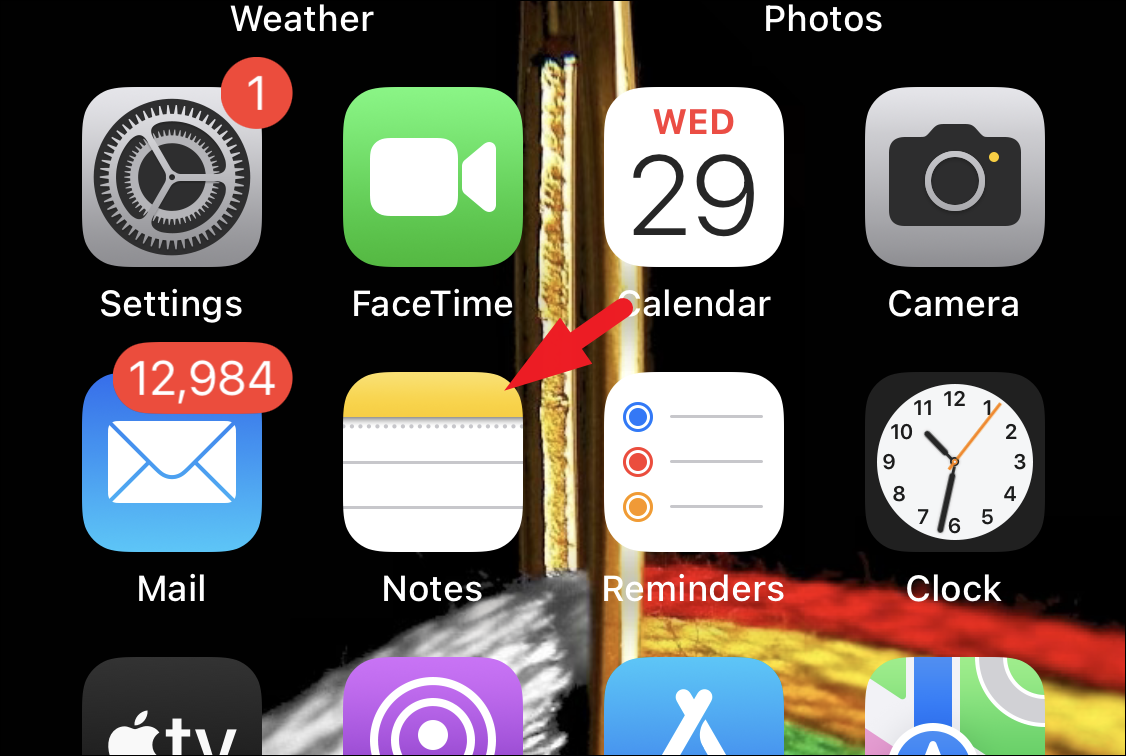
First, head to the Notes app, either from the home screen or the app library of your device.
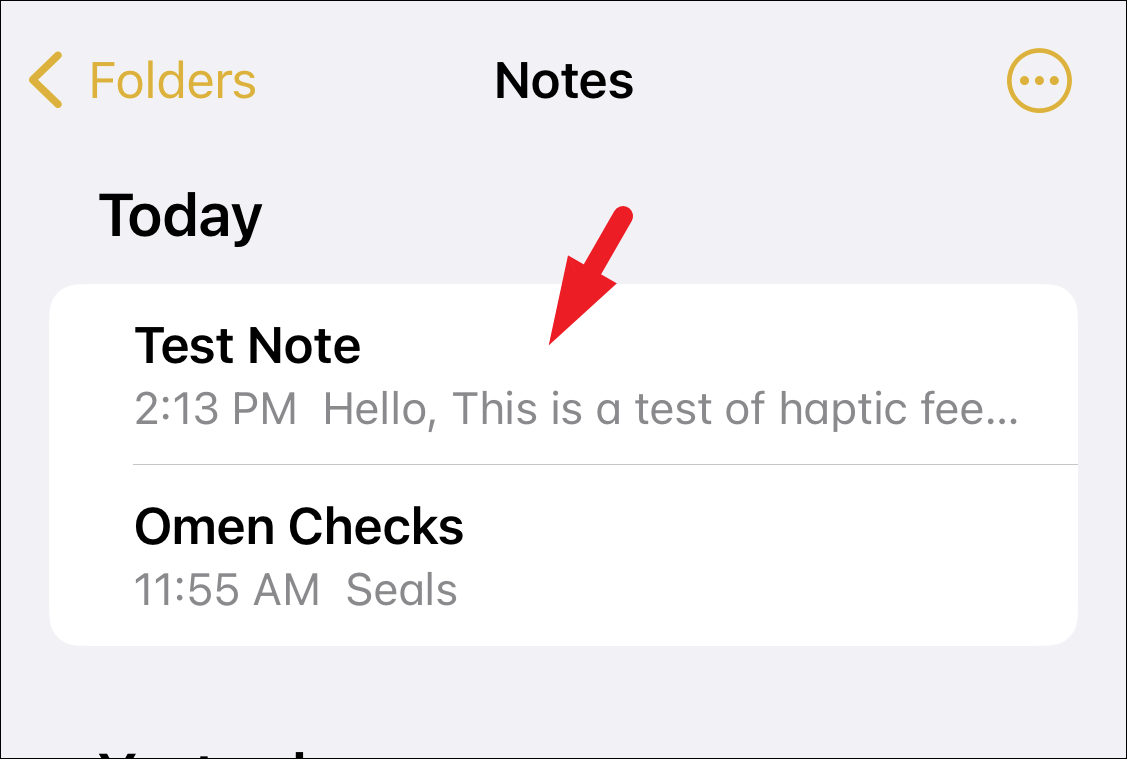
After that, navigate to the note that you wish to lock.
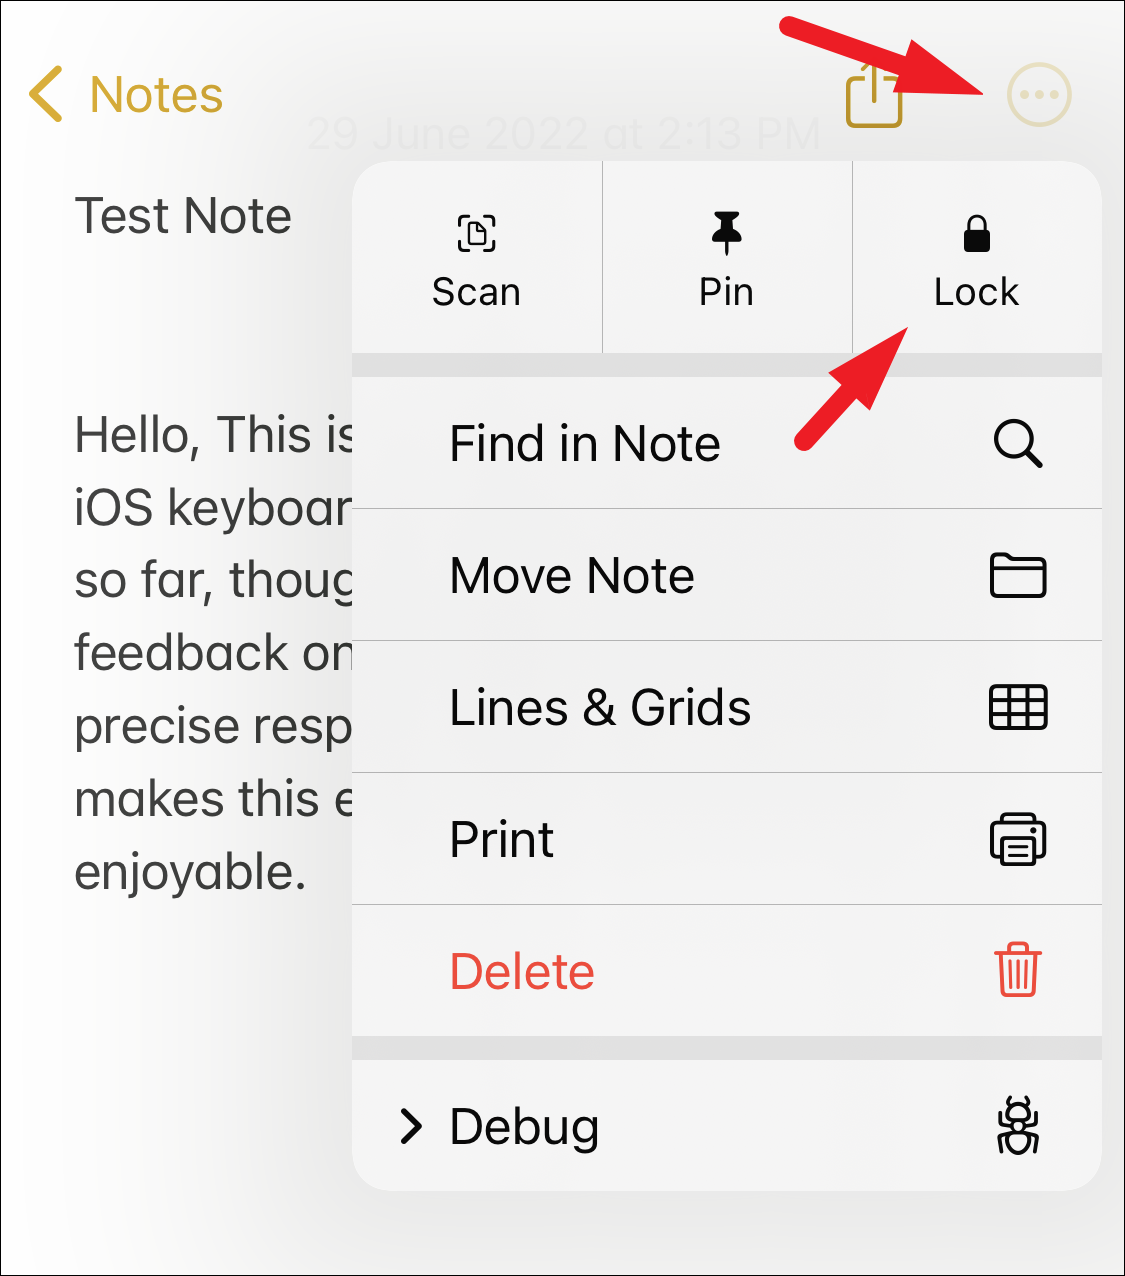
Now, tap on the ‘ellipsis’ icon (three horizontal dots) icon and then tap on the ‘Lock’ button to proceed.
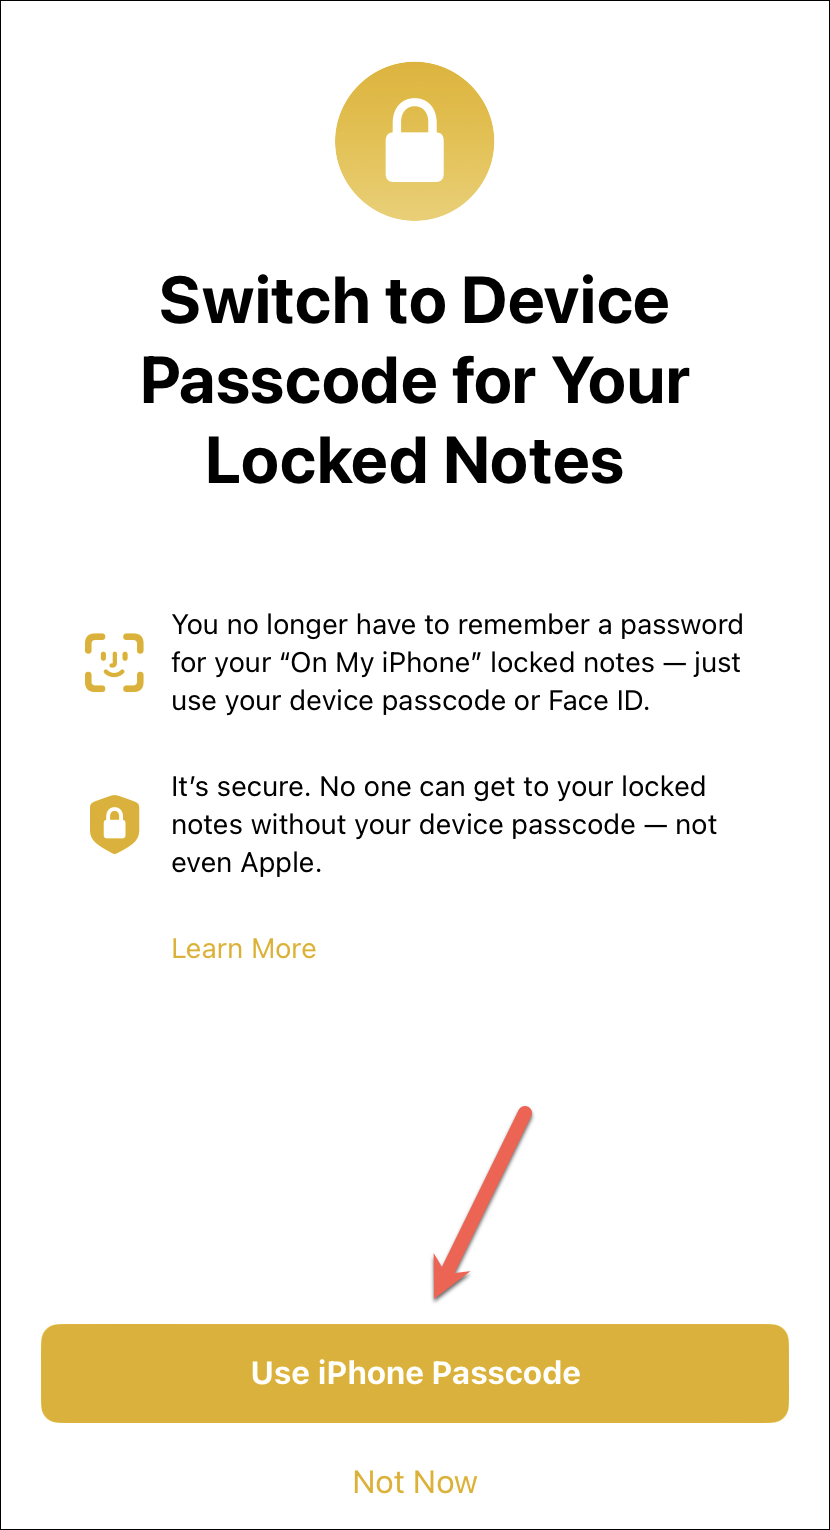
If you’re locking a note first time since upgrading to iOS 16, an overlay screen will appear with the message “Switch to Device Passcode for Your Locked Notes”. Tap ‘Use iPhone Passcode’ to make the switch.
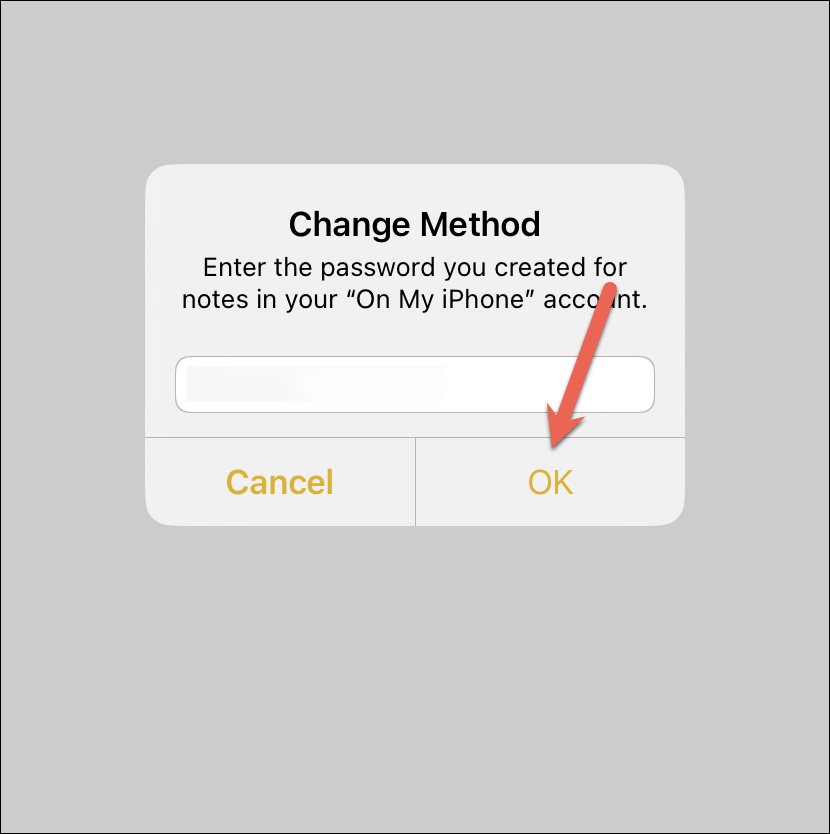
If you never previously locked your notes using a password, you can right away use the iPhone passcode to lock your notes. Otherwise, a prompt will appear asking you to enter the password you used to lock your notes previously to change the locking method. Enter your old Notes password and tap ‘OK’ to continue.
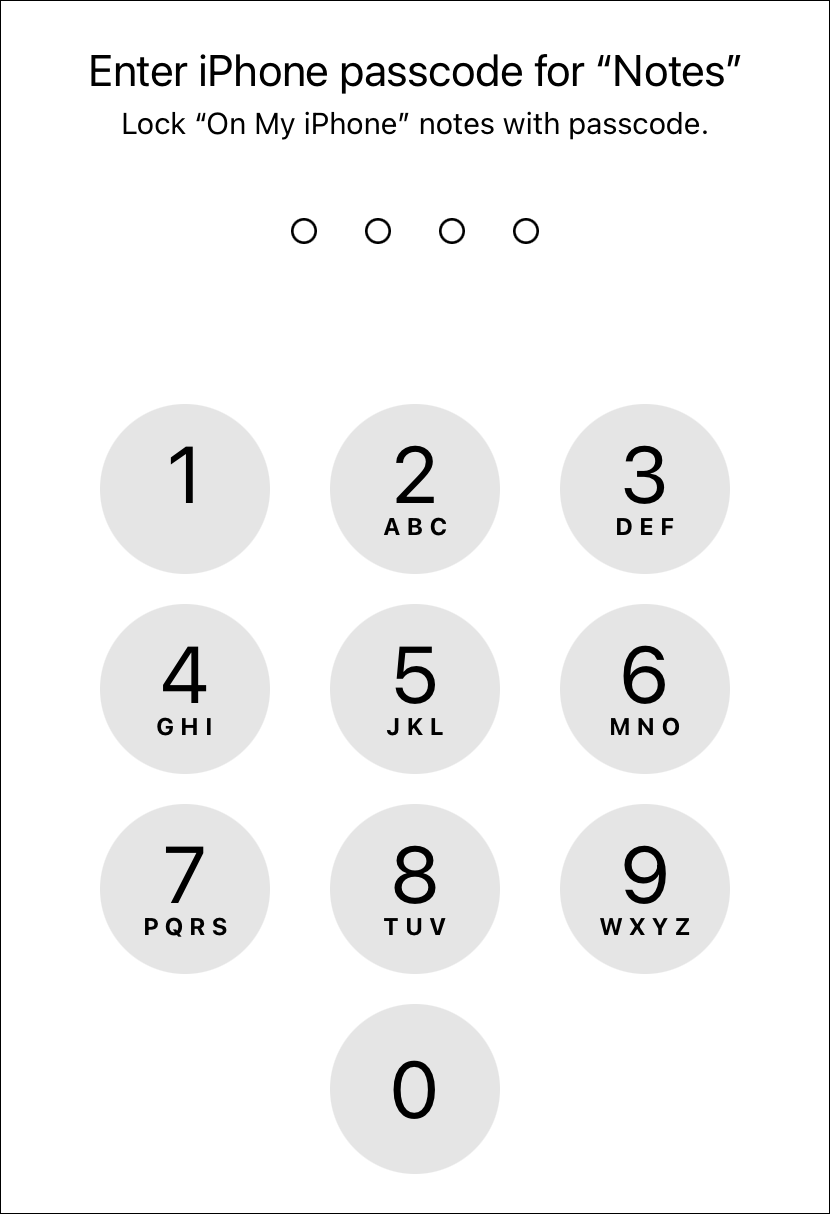
On the next screen, enter your iPhone passcode to use it to lock your Notes.
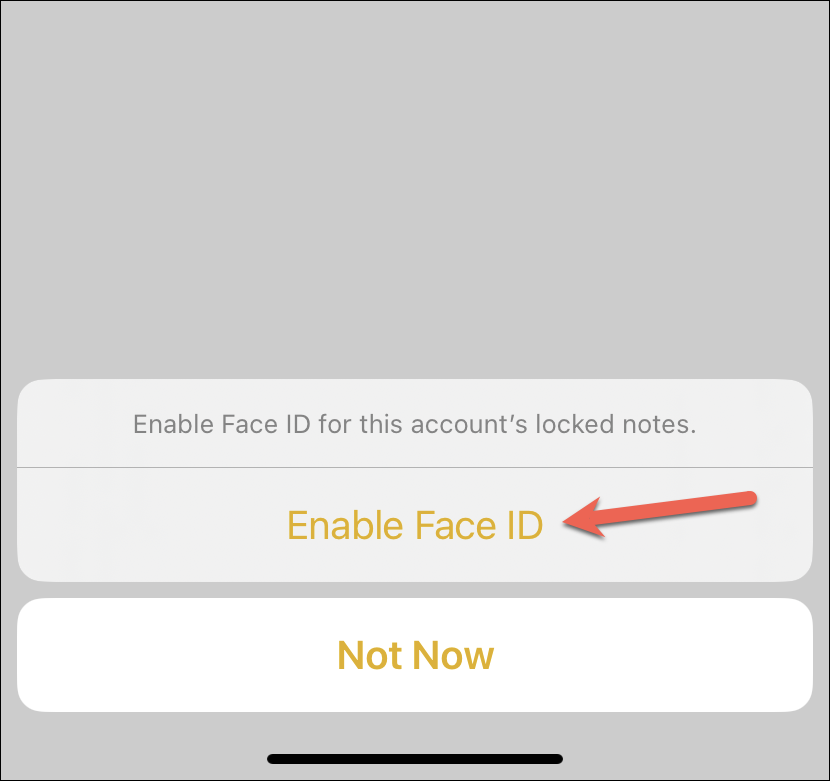
Then, you can also use Face ID or Touch ID to authenticate your locked notes, instead of having to enter a device passcode every time. Tap ‘Enable Face ID’ (or Touch ID, depending on your iPhone) from the prompt at the bottom and authenticate yourself to use it.
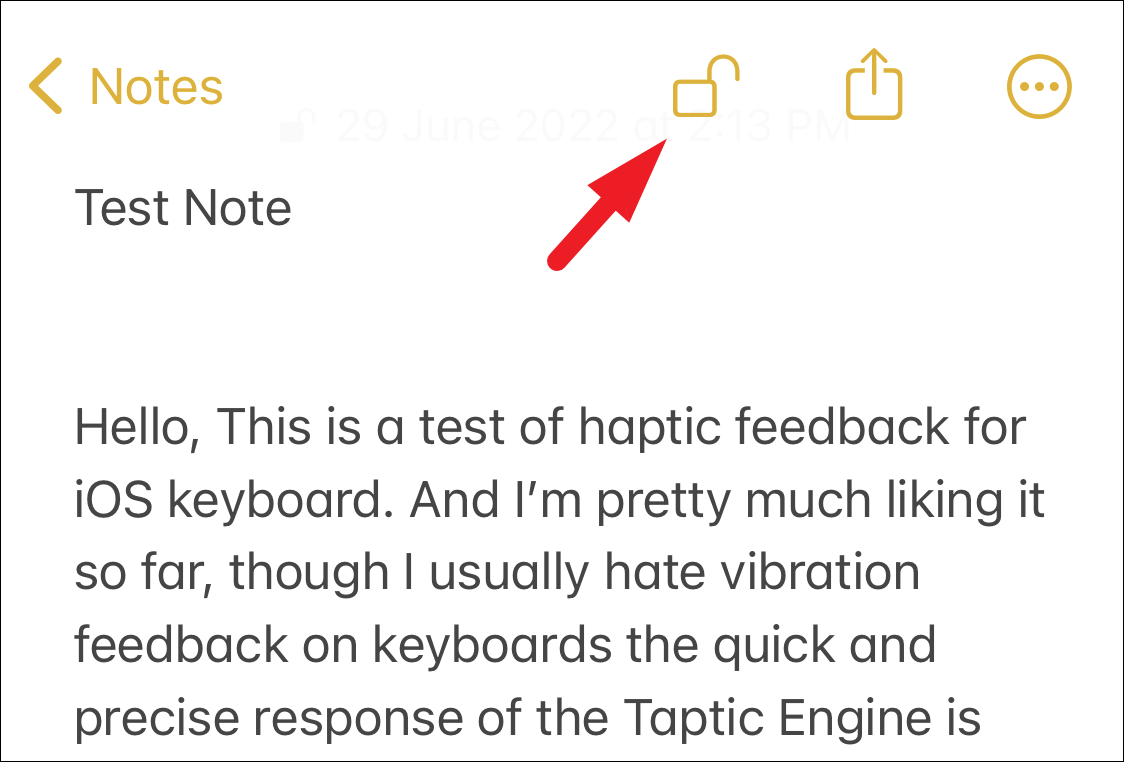
And that’s it. This note and your previous locked notes will be locked using the iPhone passcode from now on, eliminating the need to remember a separate password. Either tap on the ‘lock’ icon to lock the note right away or you can also press the Lock key on your iPhone to lock the note (and your phone).
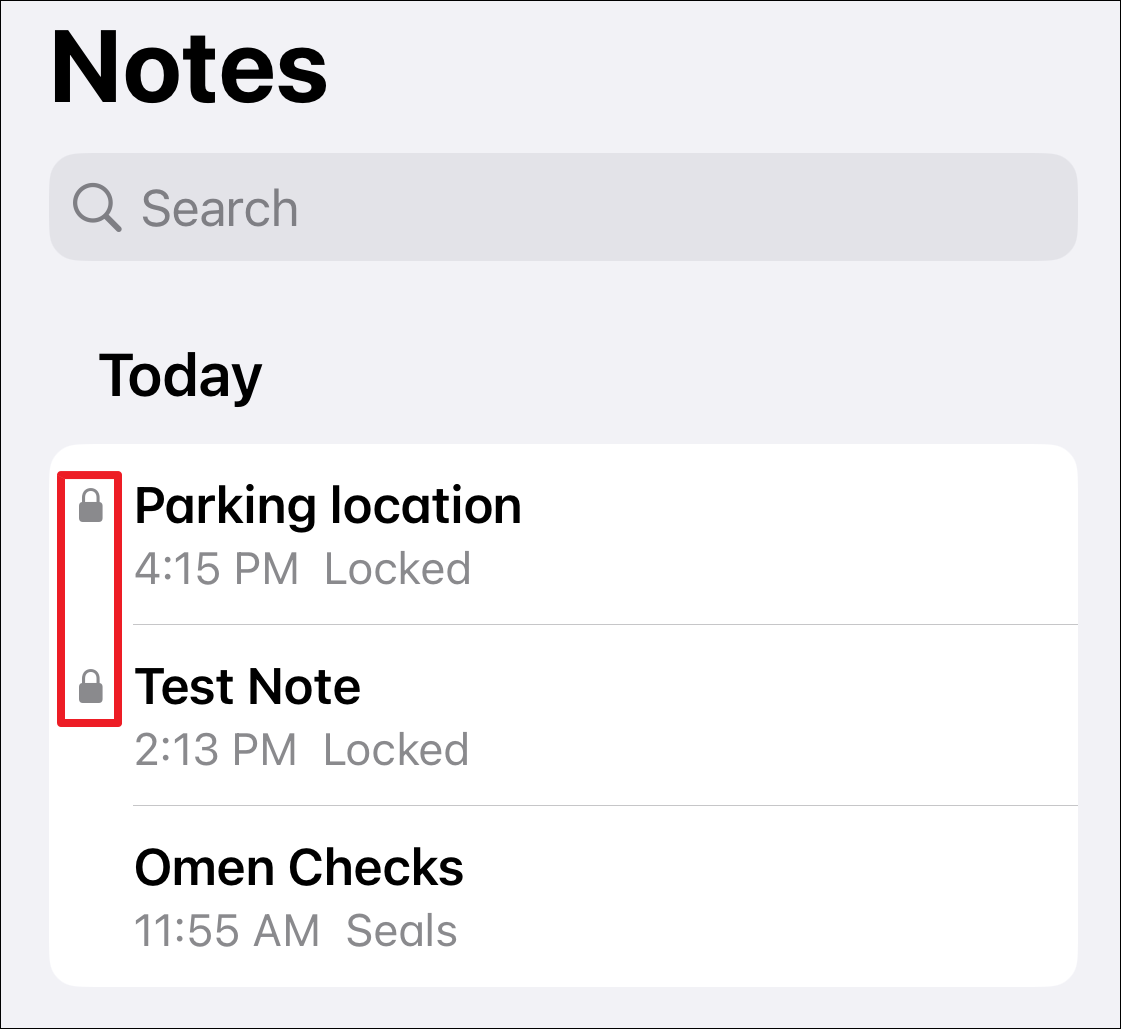
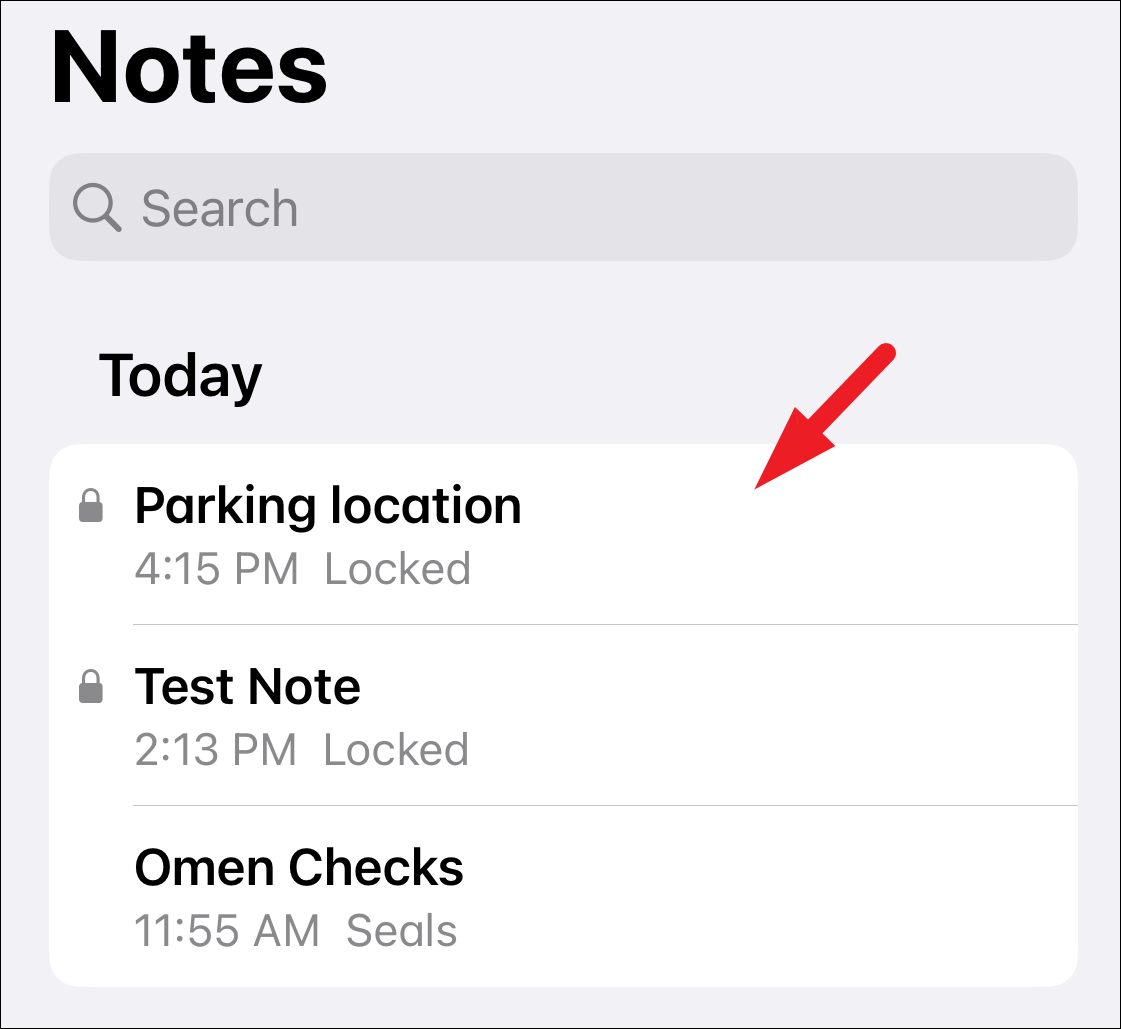
All the notes that require a passcode to view them will be preceded by a little lock icon.
Changing the Method from Settings
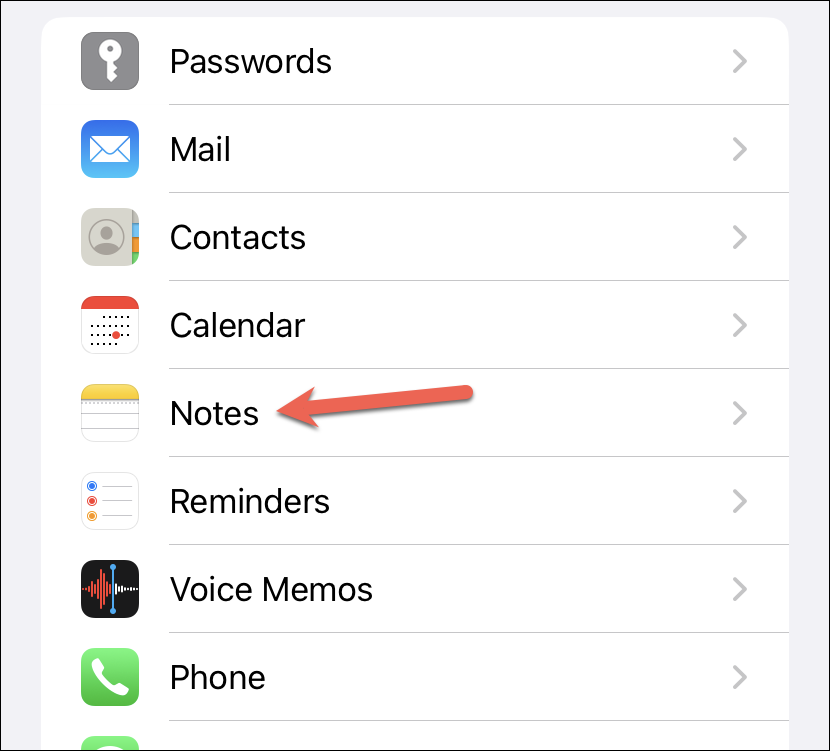
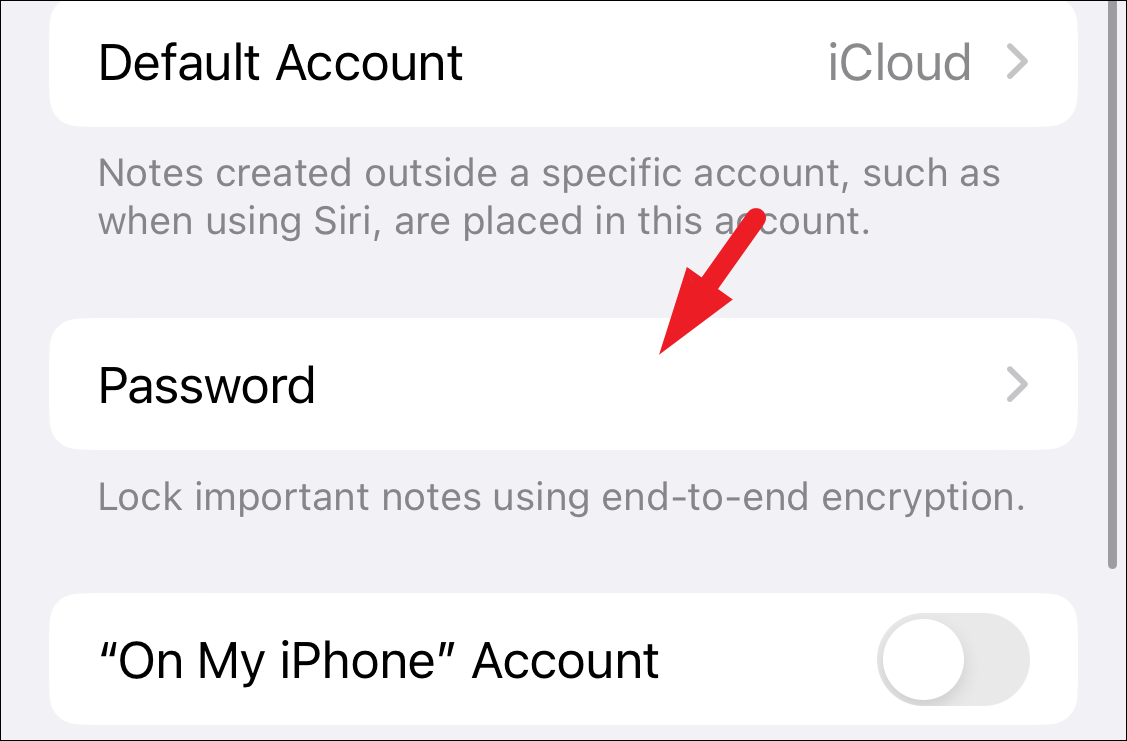
Alternatively, you can also switch to using the iPhone passcode to lock your notes from the Settings. If you previously tapped ‘Not Now’ on the prompt that appears in Notes, this method is the only option available to change the locking method in that case. Open the Settings app on your iPhone and scroll down and tap on ‘Notes’.
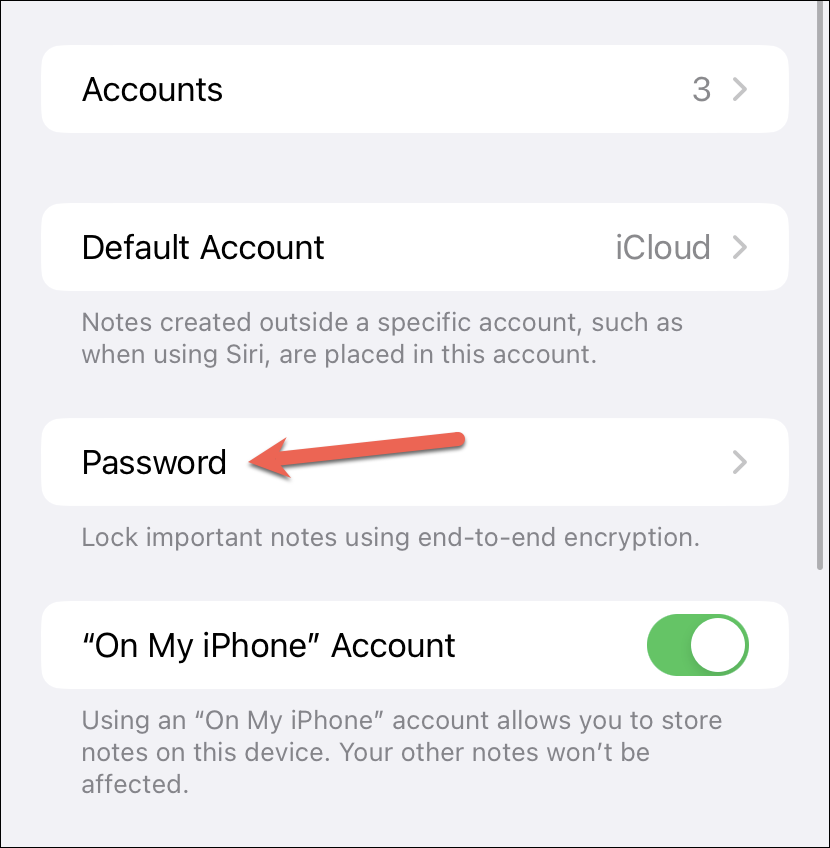
Then, tap the option for ‘Password’.
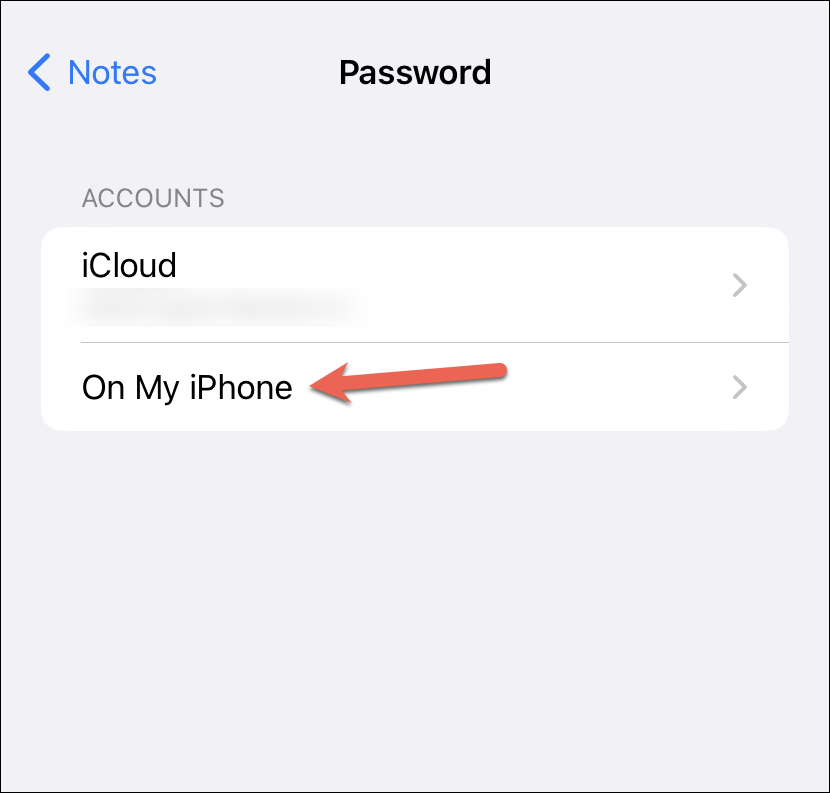
Now, select the account you want to change the input method for (if you have more than one).
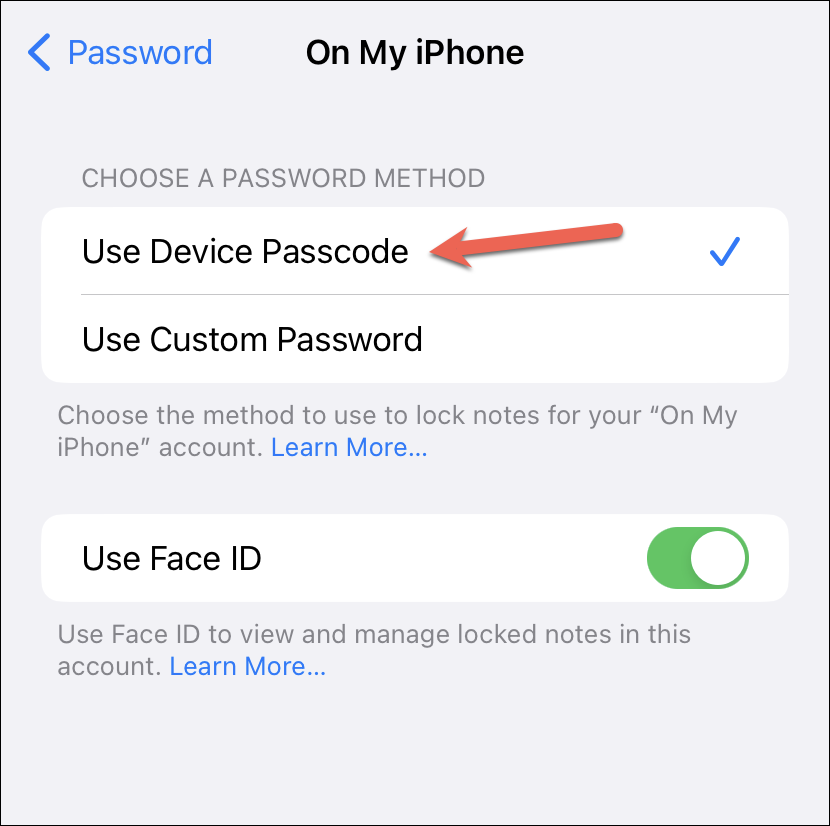
Finally, tap ‘Use Device Passcode’ to select it. You’ll be asked to enter your old Notes password and your iPhone passcode to complete the authentication, just like above.
Lock Notes with a Custom Password
In case you wish to have a separate or custom password to lock the notes on your iPhone, you can set that too. However, do remember that you can only have either the iPhone passcode or the custom password set for all the notes. But you can have different methods for separate accounts.
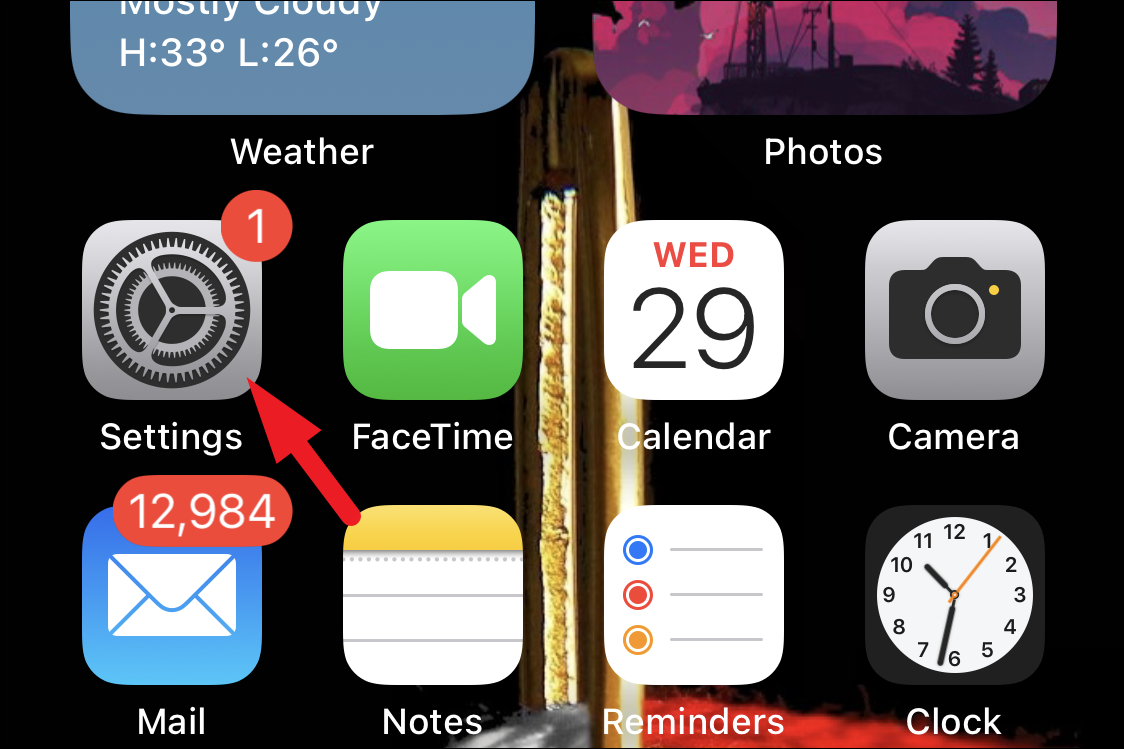
To set a custom password to lock your notes, you will need to change it again from the Settings app on your device. Head to the Settings app, either from the home screen or the app library of your iPhone.

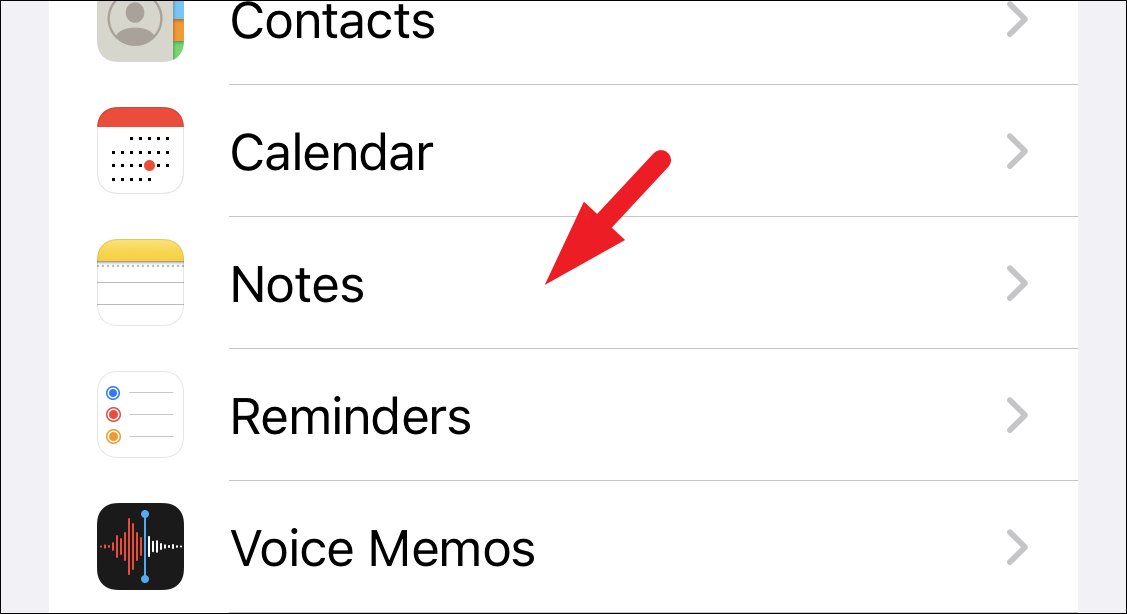
After that, locate and tap on the ‘Notes’ tab from the list to continue.

Next, tap on the ‘Password’ tab on the screen to proceed.
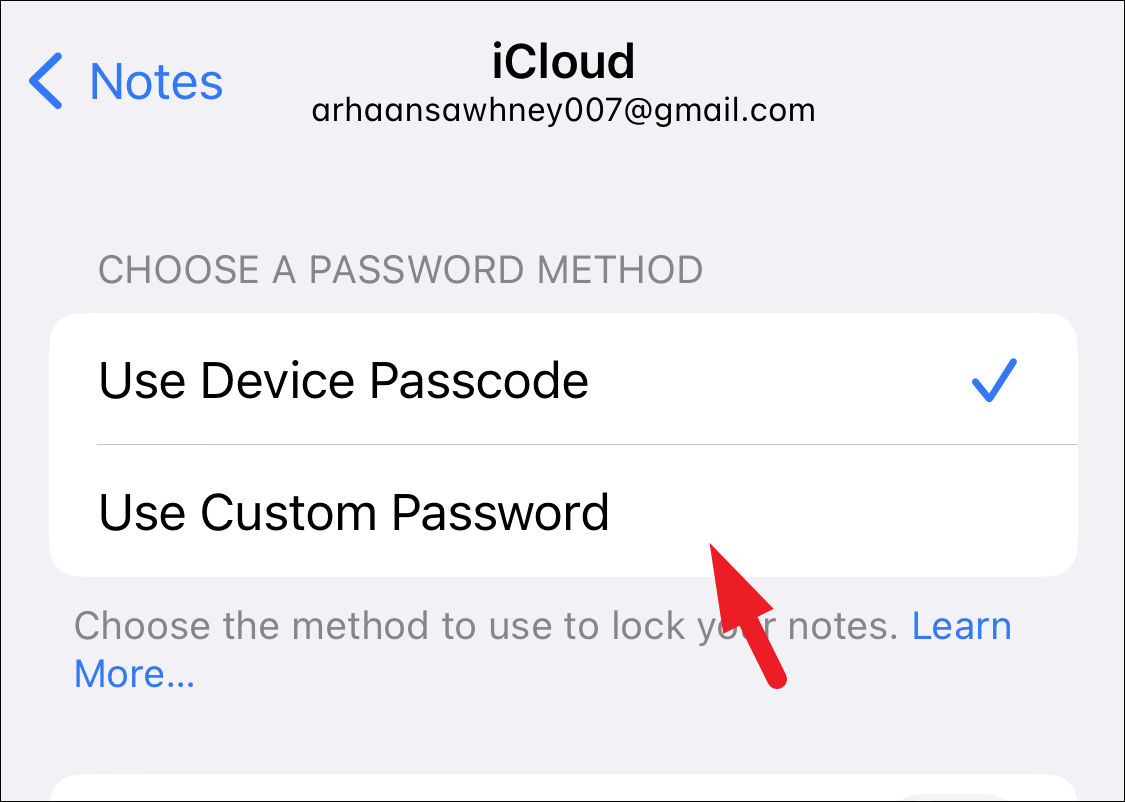
After that, tap on your preferred option. If you choose the ‘Custom Password’ option, an overlay window will appear on your screen.
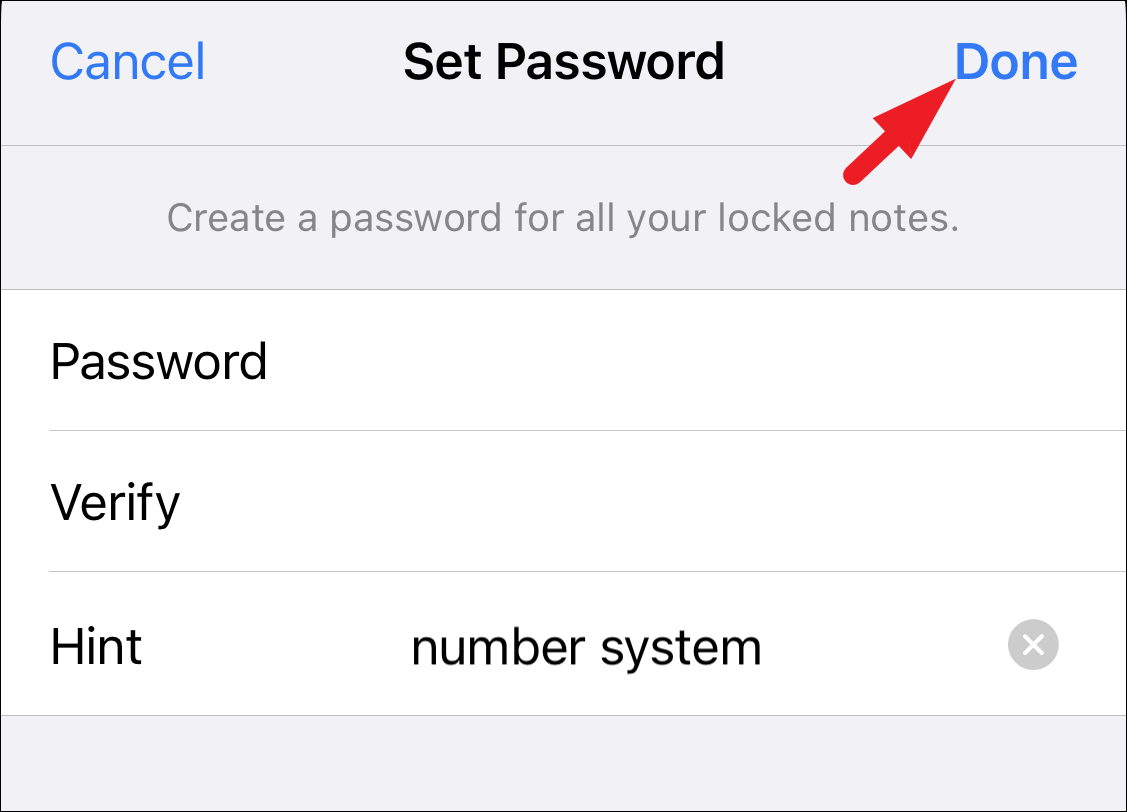
Now, type in the custom password you wish to set and then type it again in the ‘Verify’ field. Also, type in a hint for yourself to help you remember the password in case you forget it. Once entered type on the ‘Done’ button to proceed.
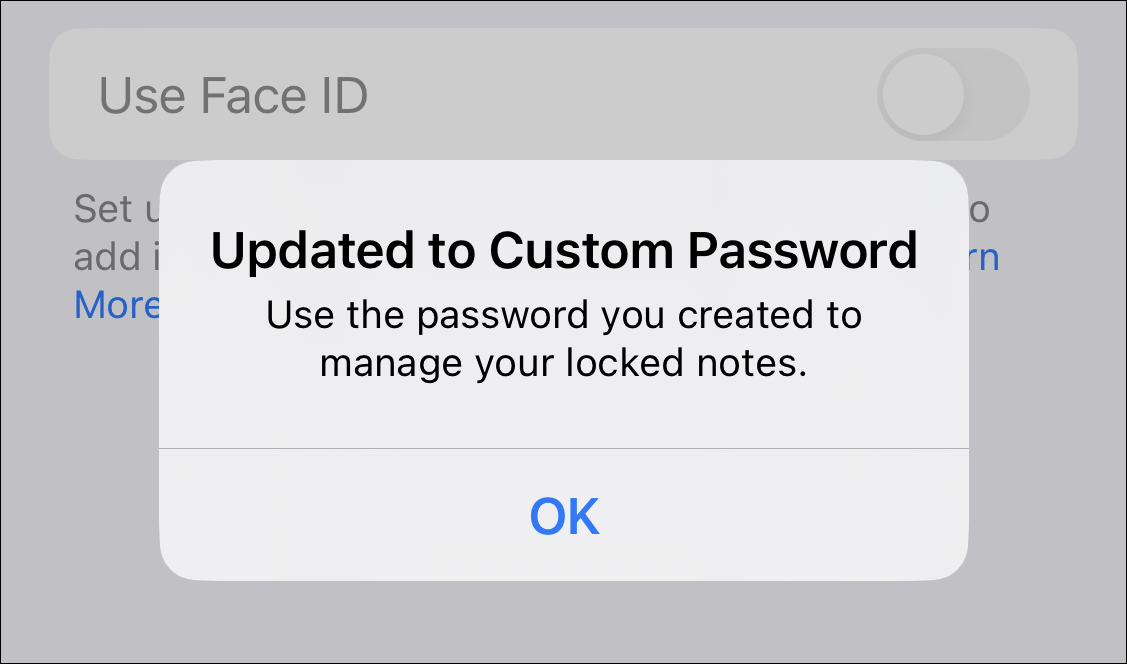
Once set, you will receive an alert of the custom password now in effect.
Now that you have chosen the type of password, you can now simply lock the preferred notes from the app using the process showcased in the above section.
Set Different Passwords for Separate Notes
iOS also allows you to set different passwords for separate notes which facilitates more safety of the information you store in the Notes app.
Once you have one or more notes locked with a custom password, head to the Settings app either from the home screen or the app library.
After that, head to the ‘Notes’ tab to proceed.
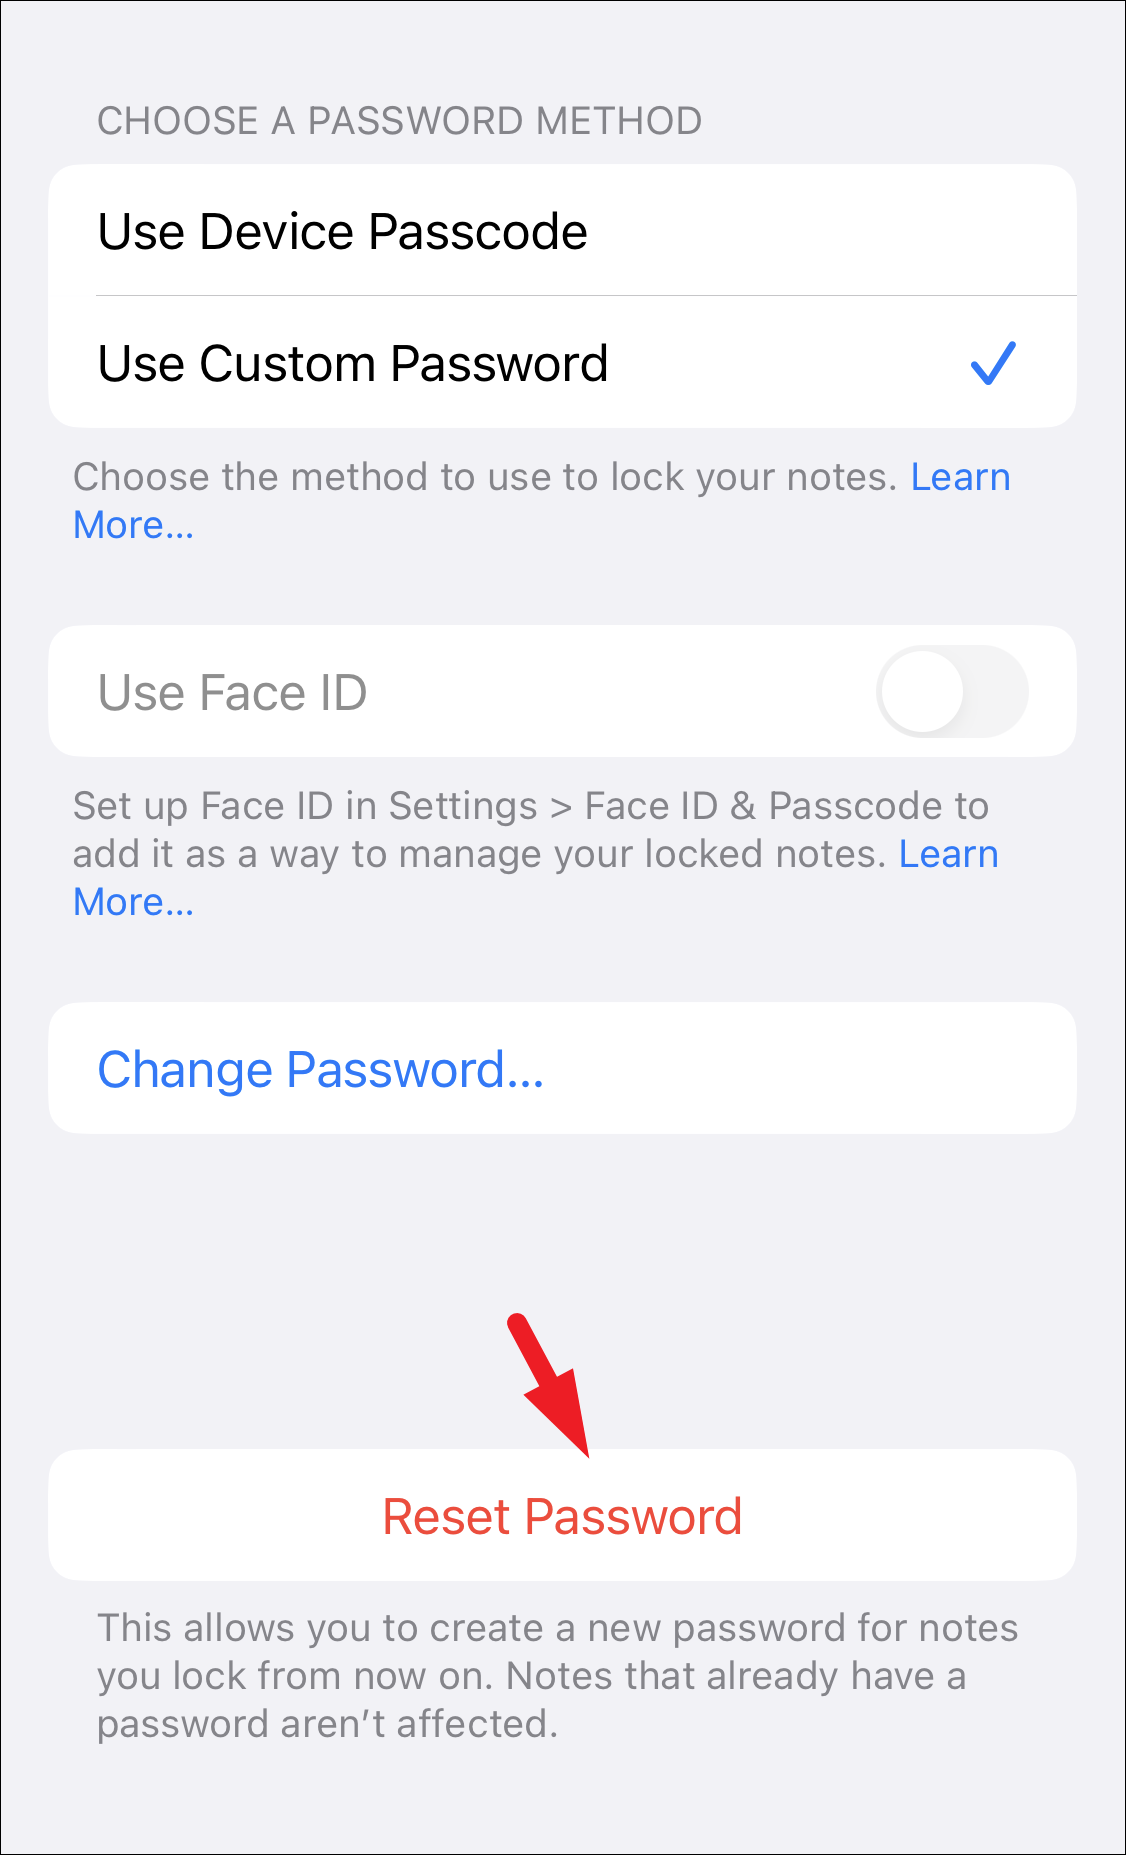
Next, tap on the ‘Password’ option to continue.

After that, tap on the ‘Reset Password’ button from the bottom of the screen to change the custom password for locking the notes. Keep in mind that the new password will not affect the notes that have already been locked and will only apply to the notes that you lock from now on.
On the next screen, provide your Apple ID credentials to authenticate yourself.
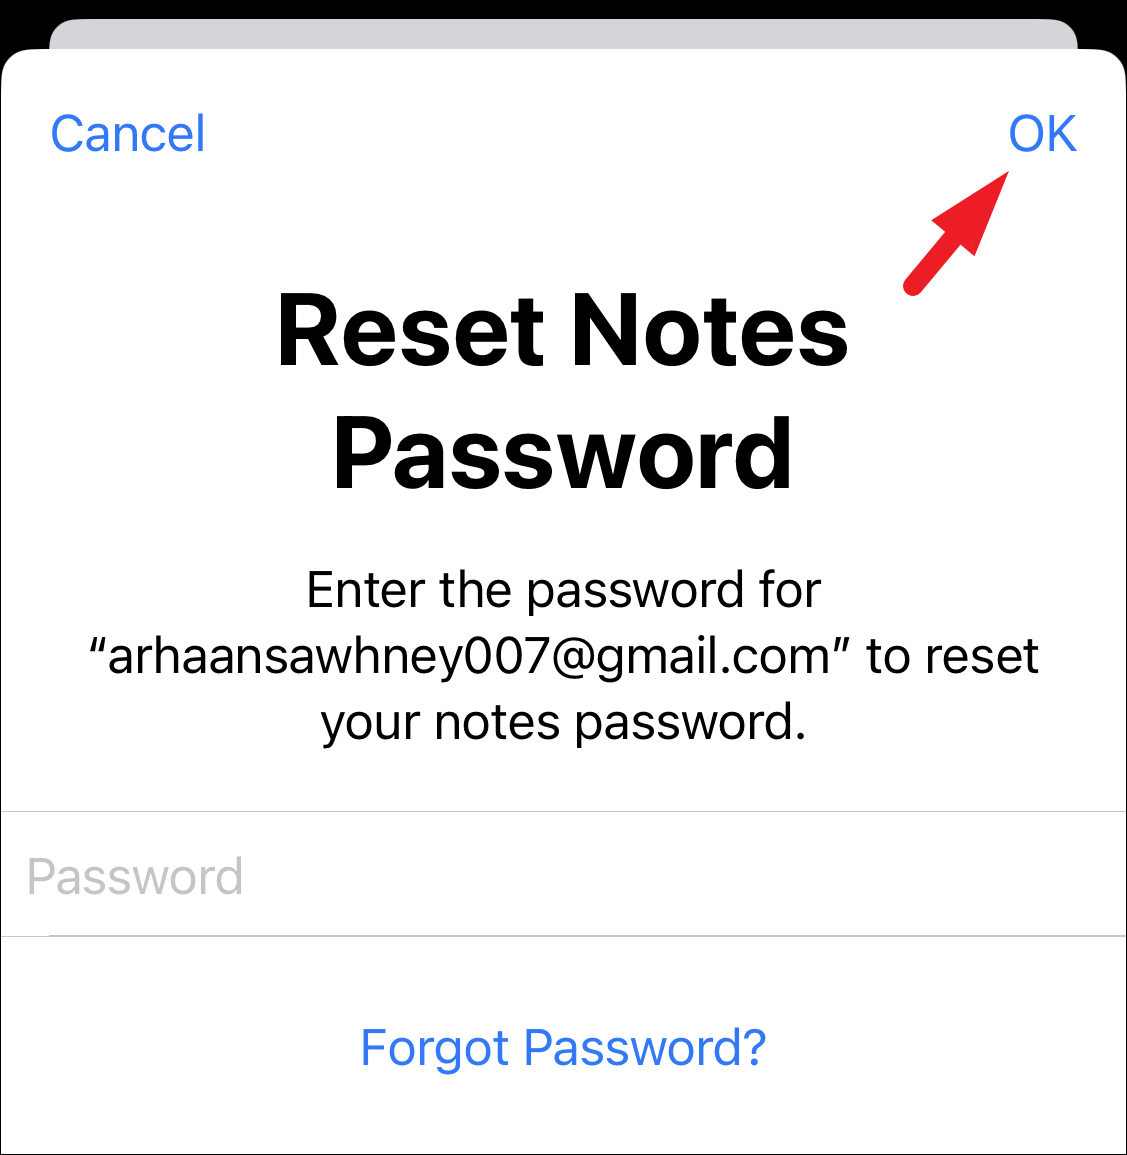
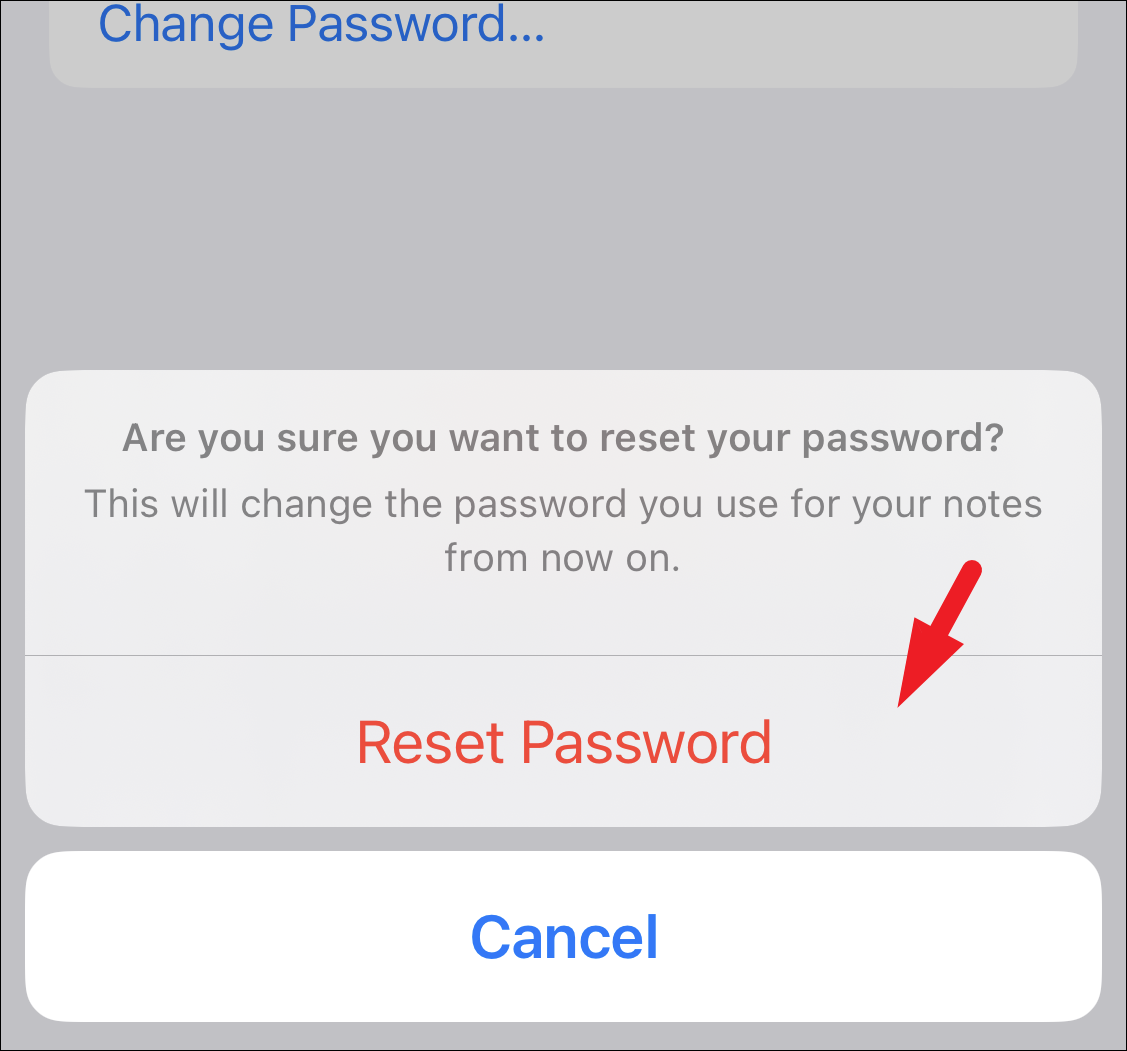
Next, tap on the ‘Reset’ password option to proceed. This will bring an overlay window to your screen.
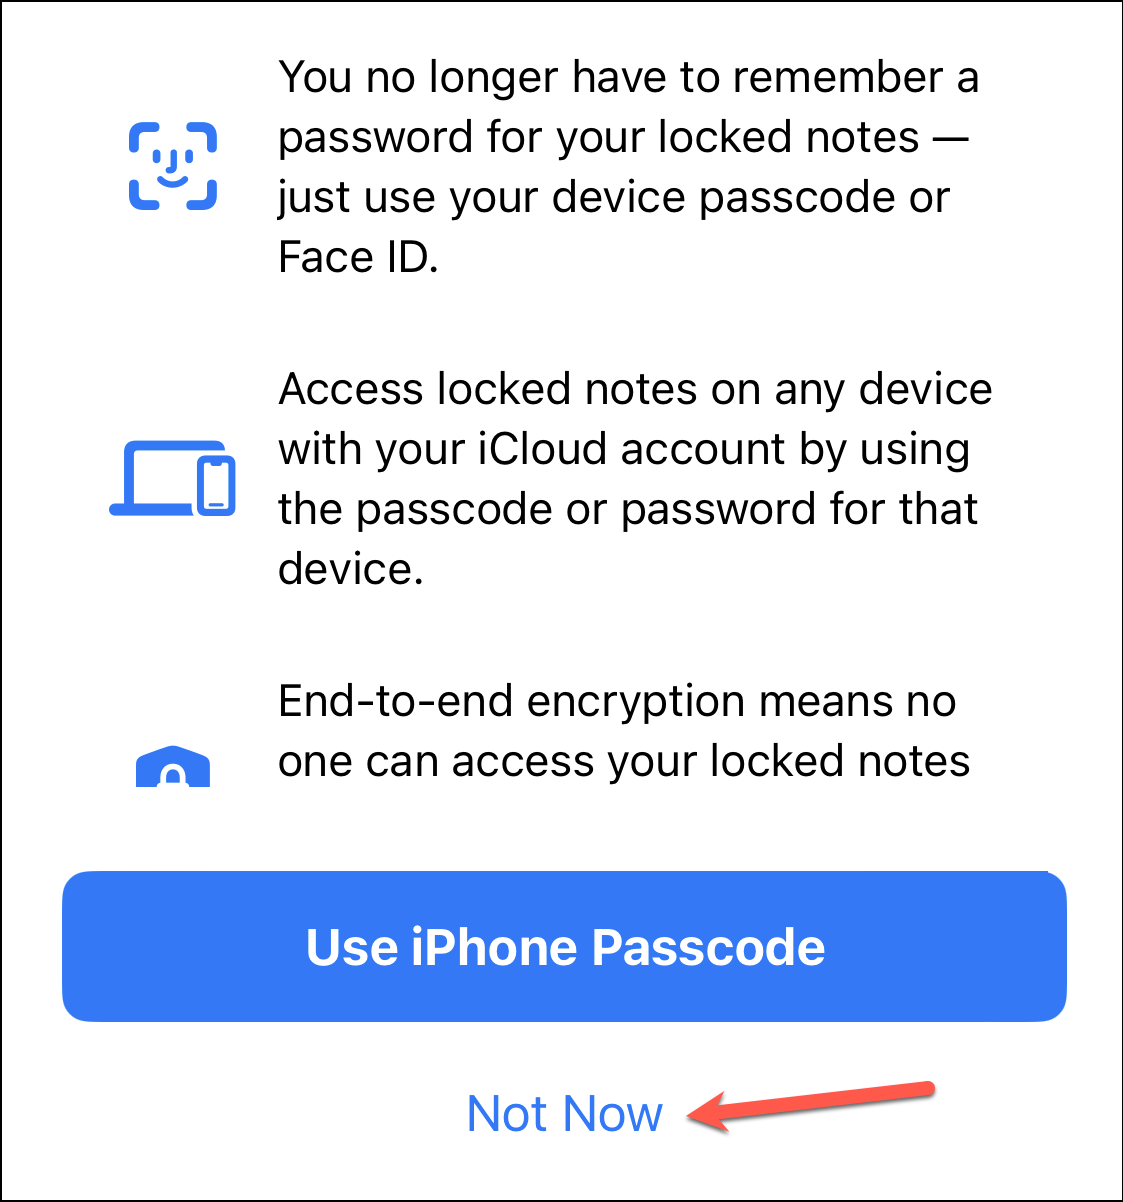
Now, tap on the ‘Not Now’ option to keep using the custom password you had previously set for the already locked notes in the library.
Next, set a new custom password just as you did in the previous section. Once set, you will receive an alert of the custom password being updated.
The notes you lock after changing the password will require the new password whilst the previously locked notes will require the older password to unlock. You can repeat this method to create several new passwords for locking the notes.
How to Remove a Lock from a Note
Removing a lock from the note is as plain sailing as it is to lock it and can be easily done from the Notes app on your iPhone.
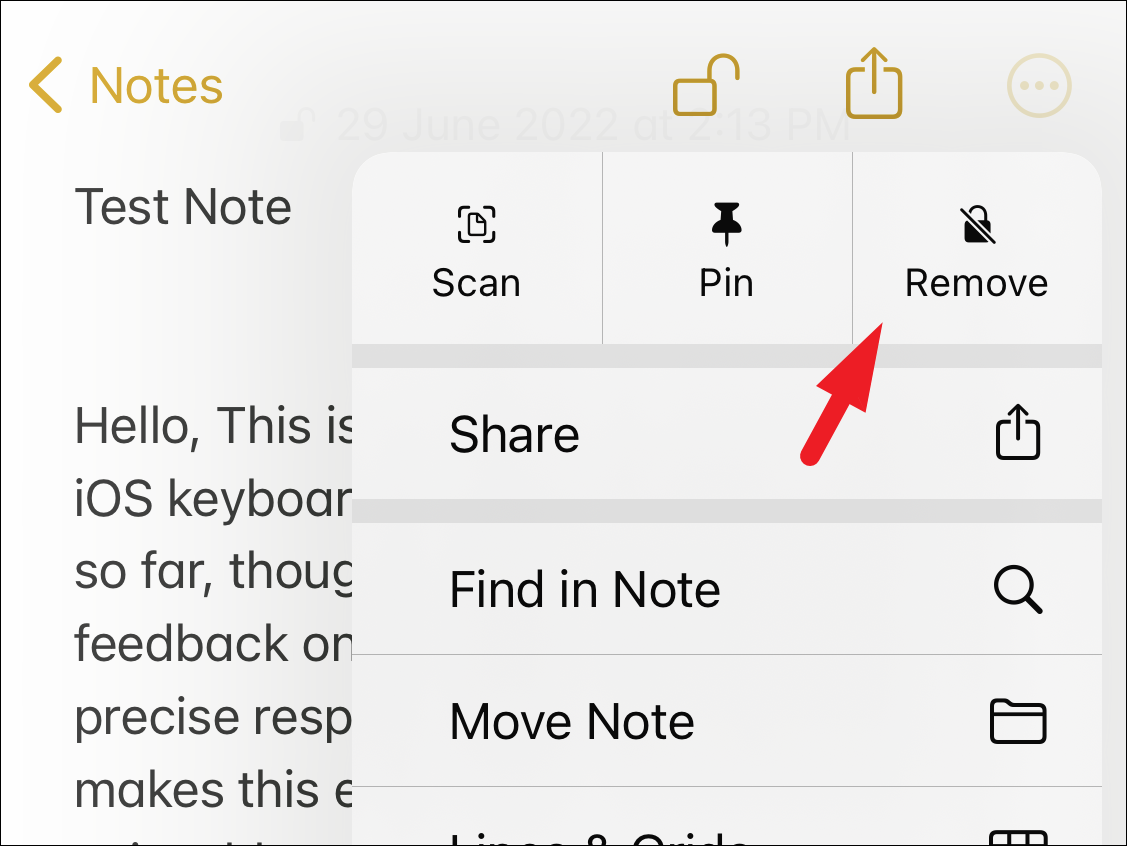
First, head to the Notes app and navigate to the note that you wish to remove the lock from, and unlock the note by entering the password.
After that, tap on the ‘More options’ button (ellipsis) to proceed and tap on the ‘Remove’ option to continue.
And that’s it, you have now successfully removed the lock from a note.
Locking a note can be really helpful to safeguard your personal and private information that you do not wish to be seen by any unauthorized person. And with the newest option in iOS 16 to lock a note using your device passcode, you have more control over your locked notes than ever before!


