A dedicated Valheim server keeps your world running on its own machine, so friends can log in and keep building whether or not you are online. You can run it free on a spare PC, or pay a host to run it 24/7. The setup work is mostly the same either way: install the server files, set a name, world and password, and make sure players can actually reach it.
Quick answer: Install the Valheim Dedicated Server (Steam app 896660), edit start_headless_server.bat with your -name, -world and -password, forward UDP 2456–2457, then join in-game with Add server using IP:port.
Pick a hosting setup before you install anything
Self-hosting on your own PC costs nothing and takes roughly half an hour to an hour, but the world goes dark the moment that machine shuts down, and you handle every update and router change yourself. A rented server runs on someone else’s hardware, updates itself, skips port forwarding entirely, and is usually live within minutes of payment.
- Two or three players, occasional sessions, and you don’t mind the server following your PC’s schedule: self-host.
- A long-running world, a larger group, or players in different time zones: rent one.
- Plan on at least 4GB of RAM for a vanilla server, 6GB or more once mods are involved, plus roughly 512MB extra per two additional players.
- Valheim servers are light on CPU. Upload bandwidth and constant uptime matter far more than raw speed.
Install the Valheim Dedicated Server files
The server is a separate download from the game. It is free, and it does not need a second copy of Valheim on the account running it.
steamcmd +login anonymous +force_install_dir C:\Valheim\ +app_update 896660 validate +quitlibatomic1, libpulse-dev and libpulse0. If your distribution ships older libraries than GLIBC_2.29 and GLIBCXX_3.4.26, run the bundled docker_start_server.sh script instead, which builds a container environment on first launch. You will need Docker Engine installed and your user added to the docker group.Set your server name, world, and password
start_headless_server.bat (Linux: start_server.sh) and edit the copy. Steam resets the original every time the server updates, which wipes your settings. The trade-off is that the copy can’t be launched from the Steam shortcut, so start it directly from the folder.start valheim_server and fill in your own values. A working line looks like this.set SteamAppId=892970
start valheim_server -nographics -batchmode -name "My Server" -port 2456 -world "Dedicated" -password "yourpassword" -crossplay| Flag | What it sets |
|---|---|
-name | Name shown in the server list |
-port | Base port; the server also uses port+1 |
-world | World save name; creates it if missing |
-password | Join password |
-public | 1 lists the server publicly, 0 hides it |
-crossplay | Switches from Steam networking to the relay backend |
-savedir | Overrides where worlds and permission files live |
-saveinterval | Seconds between world saves (default 1800) |
The password must be at least five characters and cannot be the same as the server name. A server that refuses to start, or a password that is rejected on every attempt, is usually this rule.
Port forwarding vs. crossplay
On the Steam backend, players reach your machine directly, so the port range has to be open to the internet. The default range is 2456–2457, and many setups forward UDP 2456–2458 to cover the query port as well. Create a rule in your router pointing those UDP ports at the server PC’s local IP, then hand out your public IP and port 2456. Router menus differ wildly, so check your model’s manual for the exact screen.
Add -crossplay and the picture changes completely. Traffic runs through a relay, so no ports need forwarding and players on Xbox, PlayStation 5, Switch 2, Game Pass and Steam can all join. The port number still matters as an identifier when several servers share one public IP.
Crossplay servers cannot be reached over a LAN address or a loopback address, because nothing is listening locally. Players connect with the public IP and port, a join code, or the server browser. The relay hop also adds latency, so expect slightly worse ping than a direct connection.
Rent a hosted Valheim server instead
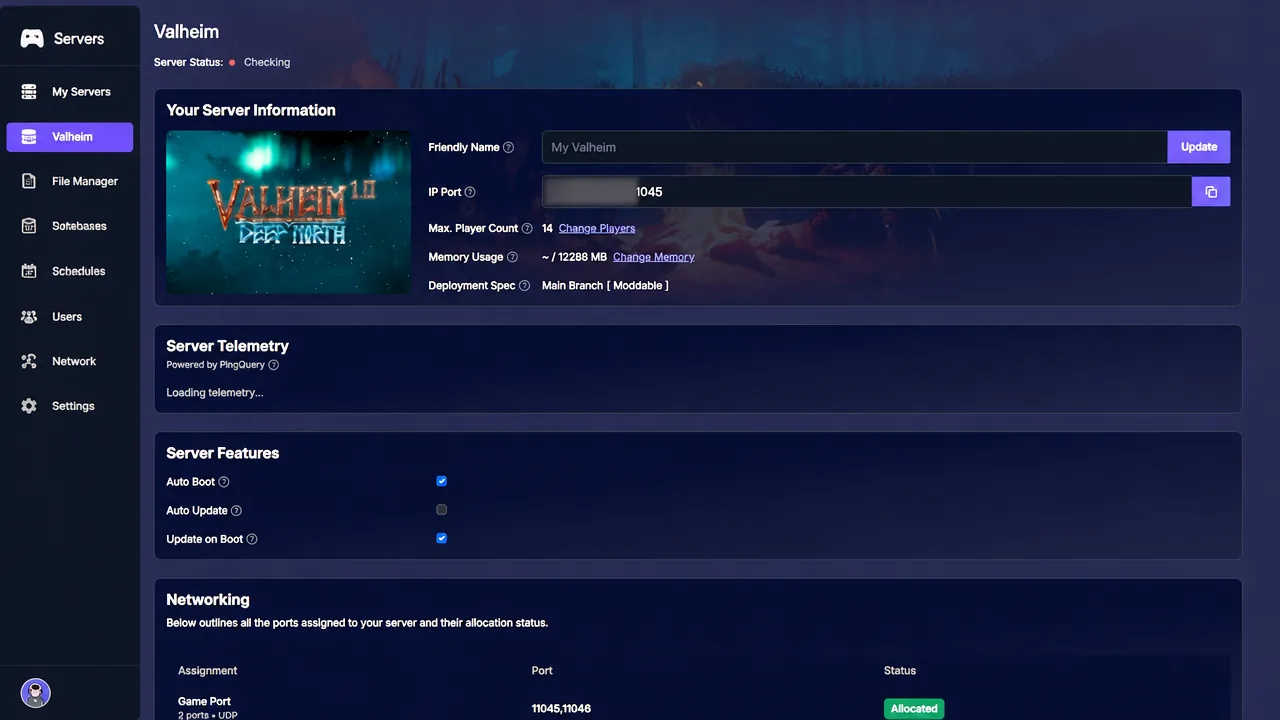
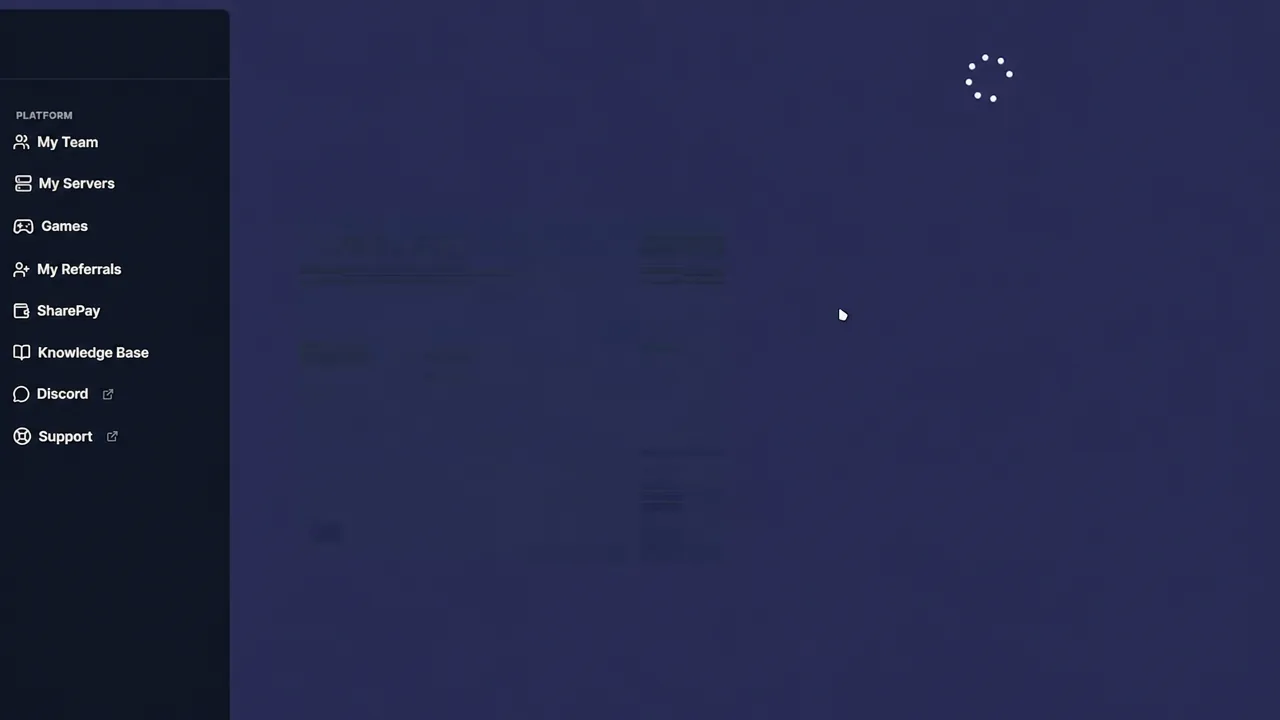
A managed server skips SteamCMD, batch files and router settings entirely. The flow is broadly the same across hosts.
Splitting the bill is worth checking before you commit. Some hosts generate a shareable payment link, such as PingPlayers’ SharePay, so the rest of the group can contribute directly toward the monthly cost rather than paying you back.
Connect to your Valheim server in-game
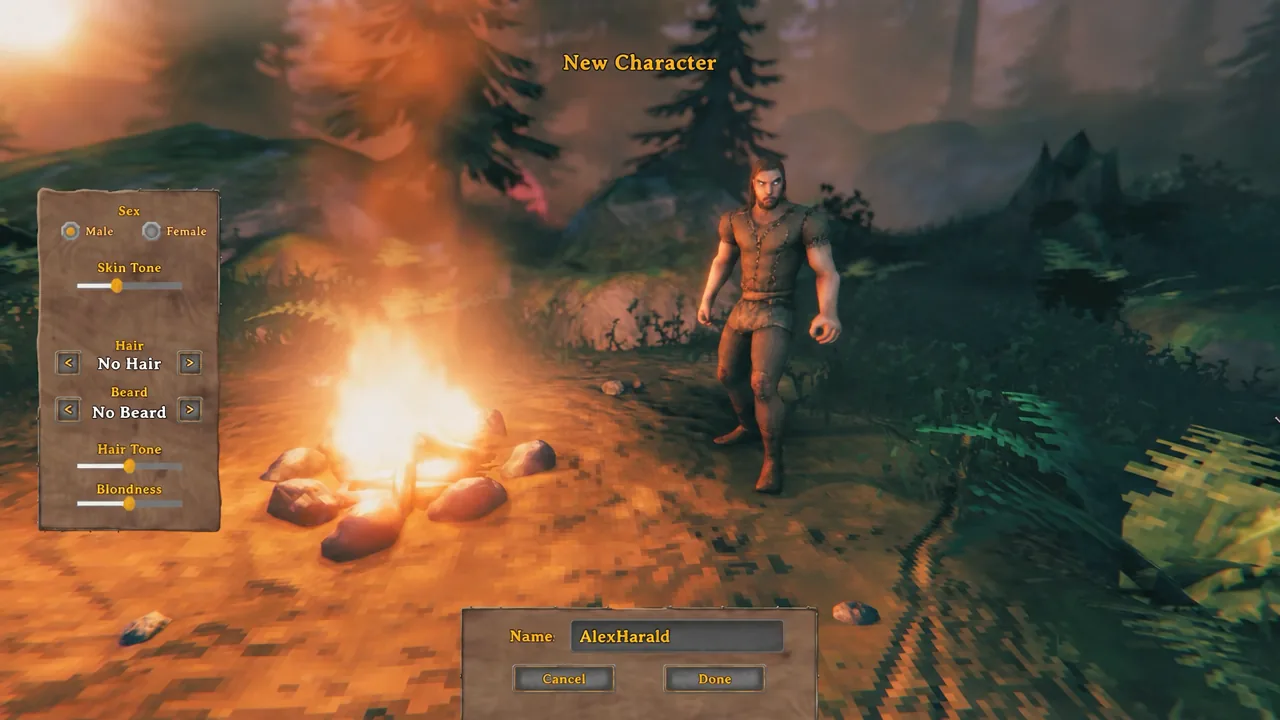
123.45.67.89:2456. Crossplay players can enter a join code here instead.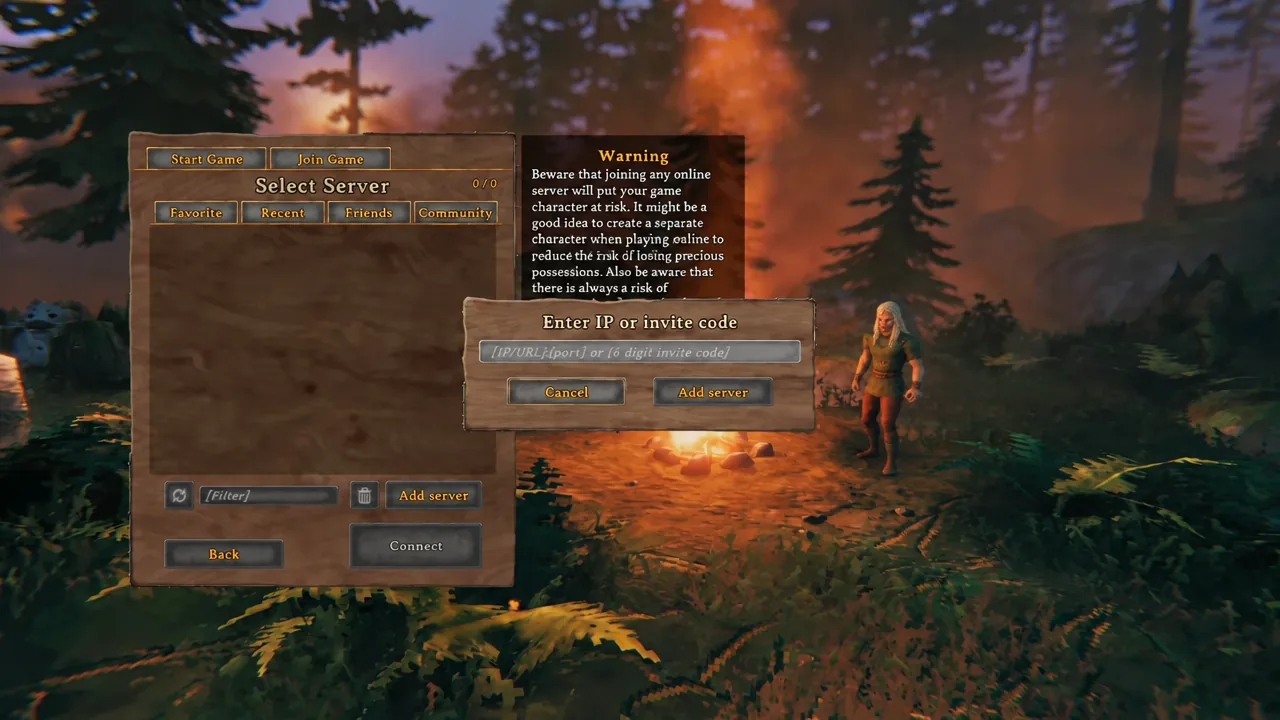
If the server is missing from the browser, connect by IP first. The public list can lag behind, and direct connect bypasses it.
Set up admins, bans, and console commands
Three plain text files in the save directory control permissions: adminlist.txt, bannedlist.txt and permittedlist.txt. Add one player ID per line, then restart the server. IDs come from the server log or the in-game F2 panel, and they are case sensitive. On a managed host, the same lists are usually editable from the control panel.
Adding anyone to the permitted list locks out every player not on it. Leave that file empty unless you want a strict whitelist.
Once you are an admin, press F5 in-game to open the console.
| Command | Effect |
|---|---|
kick [name] | Removes a player from the server |
ban [name] | Blocks a player from rejoining |
unban [name] | Reverses a ban |
banned | Lists every banned player |
save | Forces an immediate world save |
info | Shows server information |
Set world difficulty with modifiers
World modifiers change difficulty without mods, and on a dedicated server they are passed as startup flags. Apply a preset first with -preset hard (valid values are Normal, Casual, Easy, Hard, Hardcore, Immersive and Hammer), then layer individual modifiers after it, since a preset overwrites anything set before it.
| Modifier | Values |
|---|---|
| Combat | veryeasy, easy, hard, veryhard |
| DeathPenalty | casual, veryeasy, easy, hard, hardcore |
| Resources | muchless, less, more, muchmore, most |
| Raids | none, muchless, less, more, muchmore |
| Portals | casual, hard, veryhard |
An example looks like -modifier raids none. Checkbox-style options use a separate flag, -setkey, which accepts nobuildcost, playerevents, passivemobs and nomap. Agree on these with your group before the first session, because changing the rules midway through a playthrough is disruptive.
Backups, updates, and shutting down safely
Stop a self-hosted server by pressing CTRL+C in the command window. Closing the window with the X can leave the process running in the background. Automatic backups are controlled by -backups 4, -backupshort 7200 and -backuplong 43200, which by default keeps one backup around two hours old and three more spaced twelve hours apart. Hosted plans typically run their own backup schedule on top of that.
When Valheim patches, self-hosted servers need updating before players on the new client version can connect. Re-running the SteamCMD app_update 896660 command is the simplest way to do it, and folding that line into your start script means it happens every launch.
Valheim 1.0, released on September 9th, 2026, changed the save format. Worlds are now folders inside worlds_local rather than a paired .db and .fwl, and an older world is converted the first time it loads, which can take several minutes. Back up before updating, and expect BepInEx mods to need time to catch up.
Once the world is saving on schedule and your group can connect by IP, the rest is maintenance. Keep a copy of your edited start script somewhere outside the install folder, note the player IDs of anyone you trust with admin rights, and the server will happily run for months without further attention.