How to Make Windows 11 Search Faster and Improve Accuracy
Proven ways to solve the problem with slow search in Windows 11
Proven ways to solve the problem with slow search in Windows 11
by Parth Sawhney
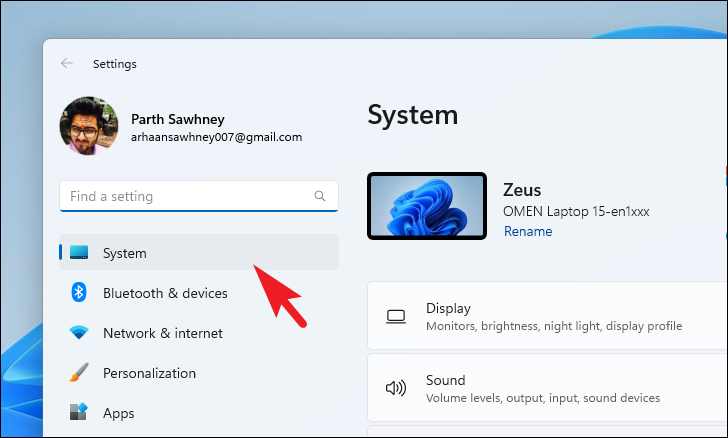
Windows Search is an invaluable tool that helps you quickly find files, folders, and documents stored on your local storage. Over time, however, you might notice that searches take longer to complete or fail to display results from specific directories. Fortunately, there are several ways to improve the speed and accuracy of Windows Search on your Windows 11 PC.
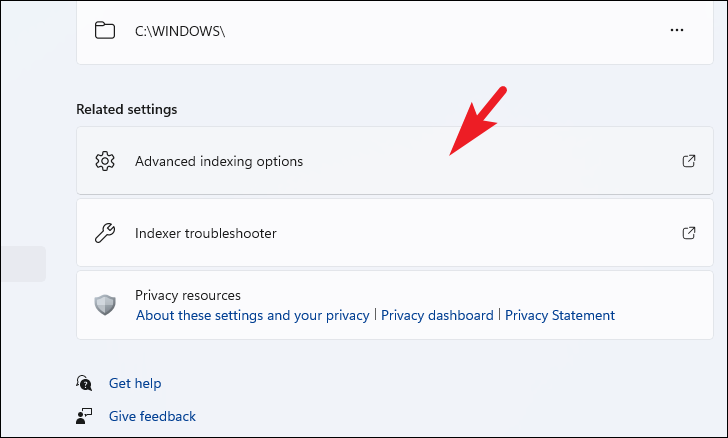
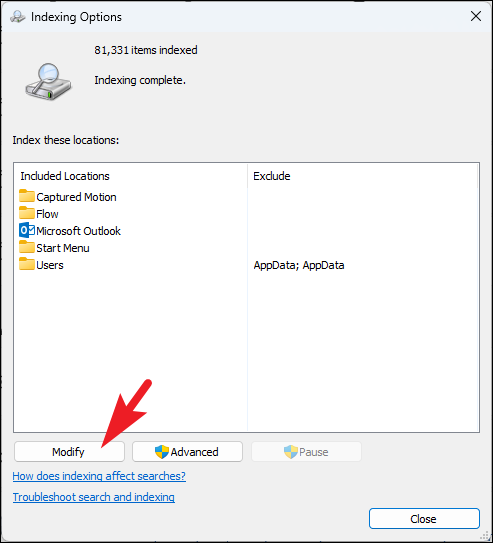
Modify Indexing Options
Customizing the indexing options allows Windows Search to focus on the directories you use most often, which can significantly enhance search performance.
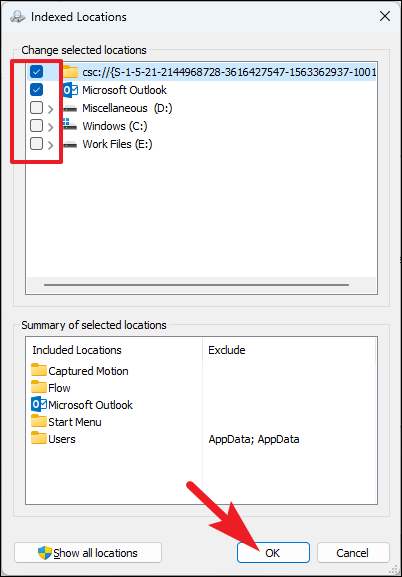
Uncheck the directories that you rarely search or those containing a large number of files. By reducing the number of indexed locations, you can speed up the search process. Make sure to keep the folders where you commonly store important files checked.
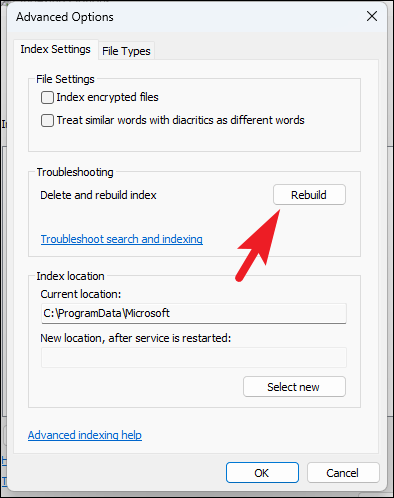
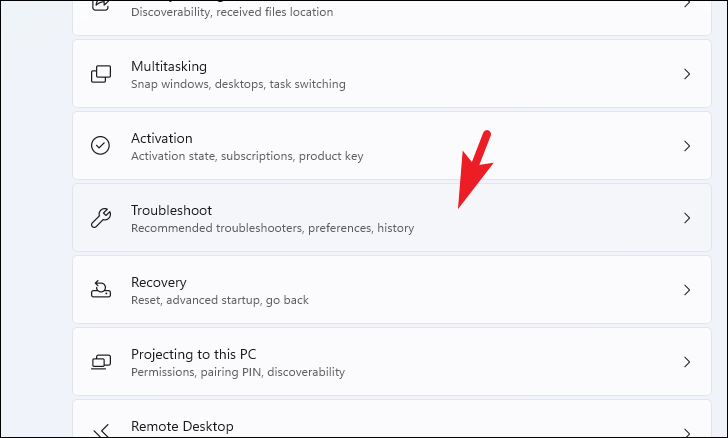
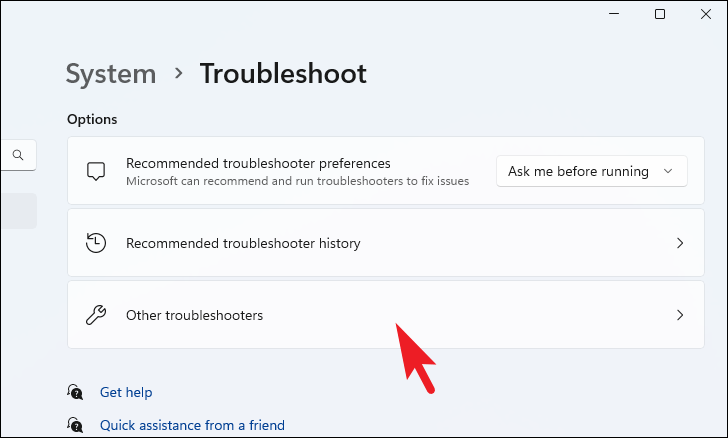
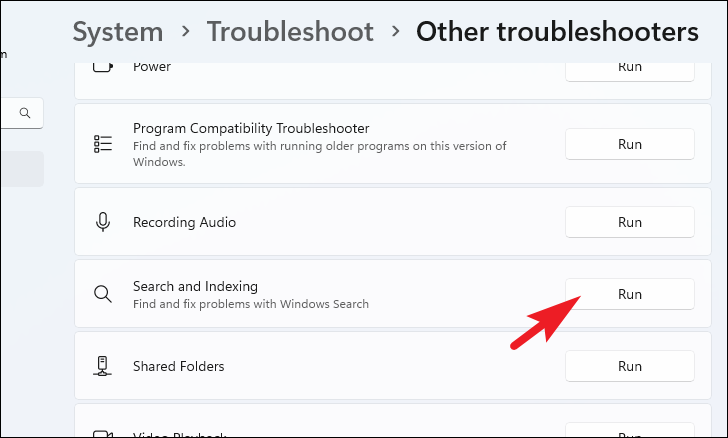
Follow the on-screen prompts to complete the troubleshooting process. The troubleshooter will attempt to identify and fix any issues affecting Windows Search.
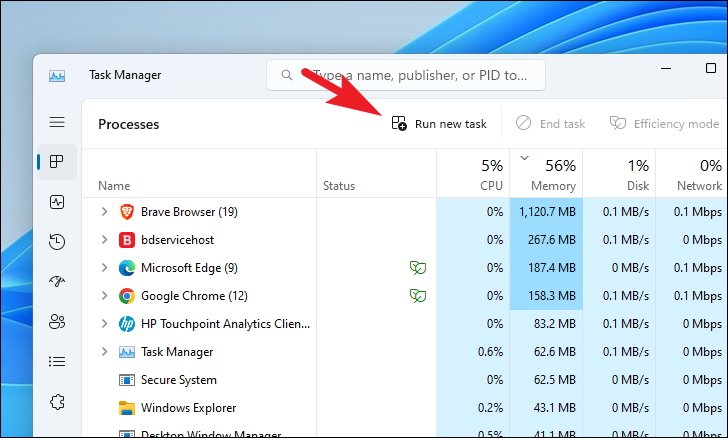
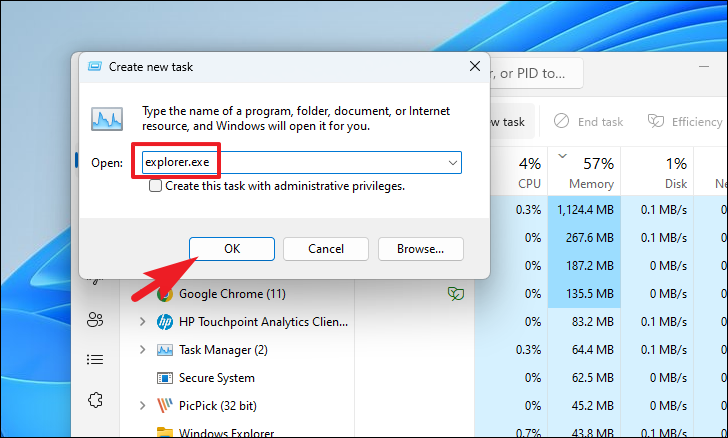
Restart Windows Explorer
Restarting Windows Explorer can resolve temporary glitches that may be slowing down the search function.