Web apps are becoming more and more popular because they have a lot of advantages over traditional desktop apps. For example, web apps are usually smaller and easier to keep up to date, and you can use them on any device with a web browser.
Web apps can run just like native Windows apps, but they don’t automatically launch when you start your computer. That’s why in this article, we’ll show you different ways to open a web app at startup in Windows 11 or 10. This be useful for quickly accessing web apps that you use frequently, such as Gmail, Google Chat, or a favorite news site.
Adding Web Apps to Startup in Windows 11/10
Many web applications can be installed as Progressive Web Apps (PWAs) on Windows desktops and launched like native apps, without installing executables on the computer.
Both Chrome and Edge support progressive web apps (PWAs), and you can launch them when you start your browser. When you visit websites that support PWAs on Chromium-based browsers like Edge or Chrome, you will have the option to install the website as a PWA on your computer.
When you launch a PWA, it will open in a browser window with a minimal interface, making it feel like a native app. PWAs can also be launched without opening the browser.
Install Progressive Web App (PWA) on Windows
To launch web apps during Windows startup, you must first install them as PWAs on your computer. Here’s how:
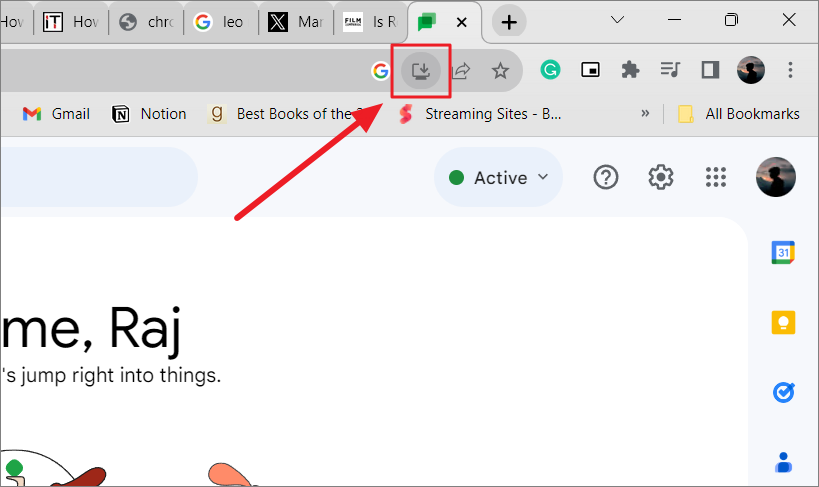
- On Google Chrome, go to the website you want to use as an app. For example, let’s say we want to install ‘Google Chat’ as a PWA, so we would open the Google Chat website on Chrome.
- Next, click the ‘Install’ icon that appears at the end of the address bar.
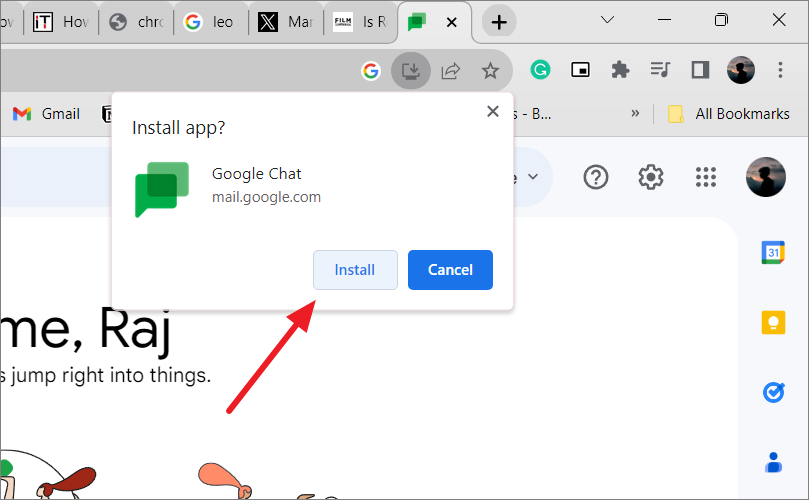
- Then, click the ‘Install’ button on the prompt box. Alternatively, if you open the website in the Microsoft Edge browser, click the three dots menu, select ‘Apps’, and then choose the ‘Install…’ option.
- A shortcut for the web app will be created on your desktop and the Start menu. You can now launch the web app directly from the desktop or the Start menu without having to open your browser.
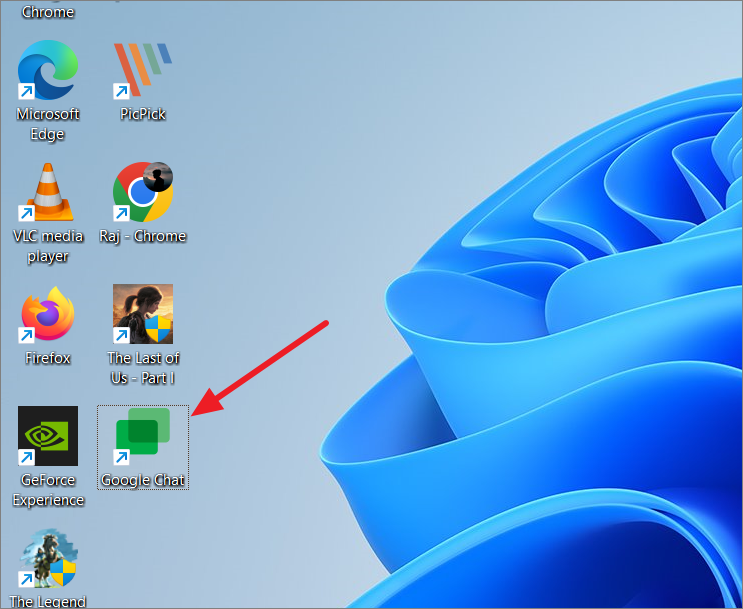
This app shortcut opens a special version of Chrome called “chrome_proxy.exe” with the ID of the PWA that you installed. This allows you to launch the website as a PWA.
This way, you can install any web app as a PWA on your system, as long as the website supports PWAs.
1. Launch Web App at Startup on Windows 11 using Web App Settings
The easiest way to make a Progressive Web App (PWA) run on startup in Windows is to use the web app settings.
Enable Chrome Web App (PWA) Run at Startup
If you installed the PWA through the Chrome browser, follow these steps:
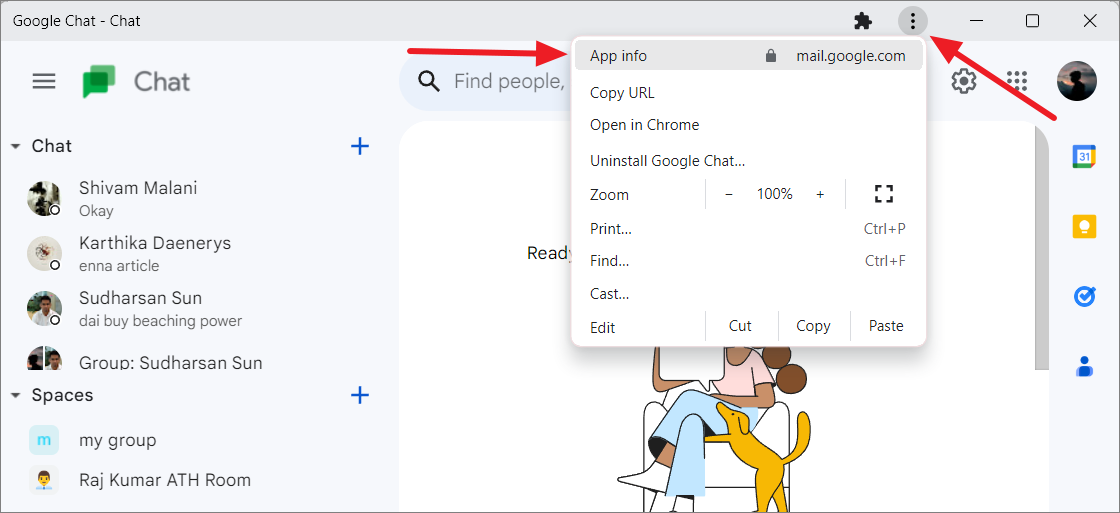
- Launch the PWA from the desktop or the Start menu.
- Click the three dots button at the top right corner and select ‘App info’.
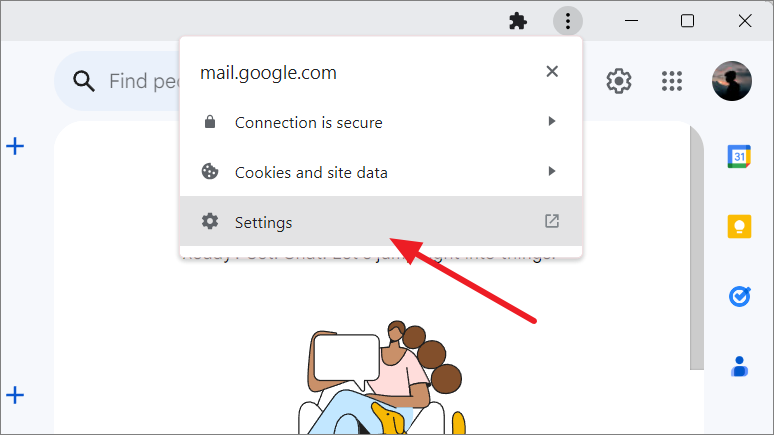
- Then, select ‘Settings’.
- The app settings page will open in your browser. Simply toggle on the ‘Start app when you sign in’ switch.
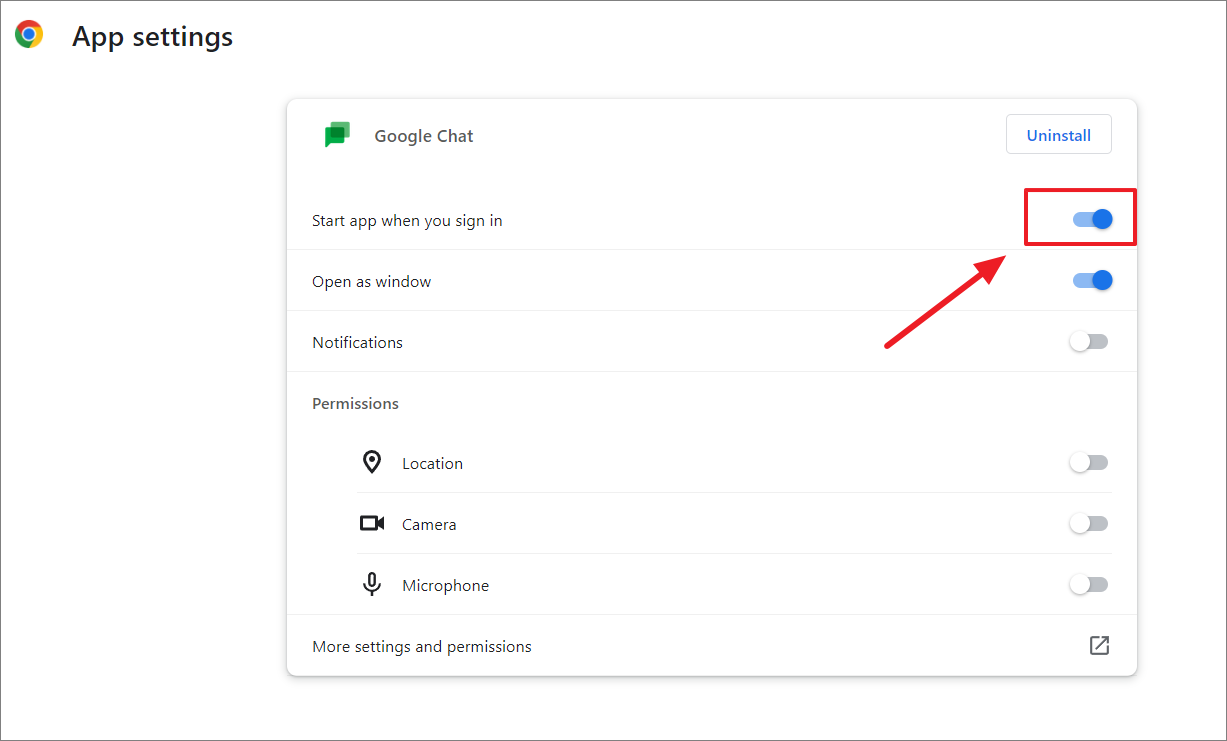
Now, the web app will automatically start when you sign into your Windows.
Enable Edge Web App (PWA) Run at Startup
If you installed your Progressive Web App (PWA) from Microsoft Edge, the steps for adding the PWA to Windows Startup are slightly different.
- Launch the Edge PWA that you want to add to Startup.
- On the app window, click the three dots button at the top right corner and select ‘App settings’.
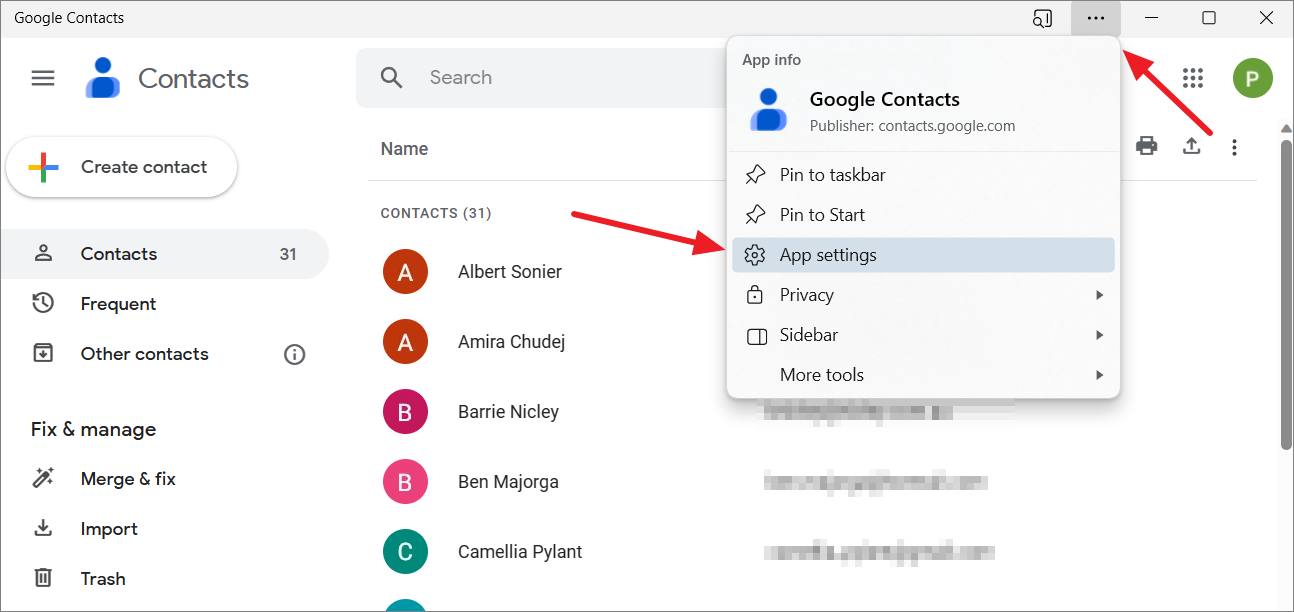
- Then, check the ‘Auto-start on device login’ option to enable it.
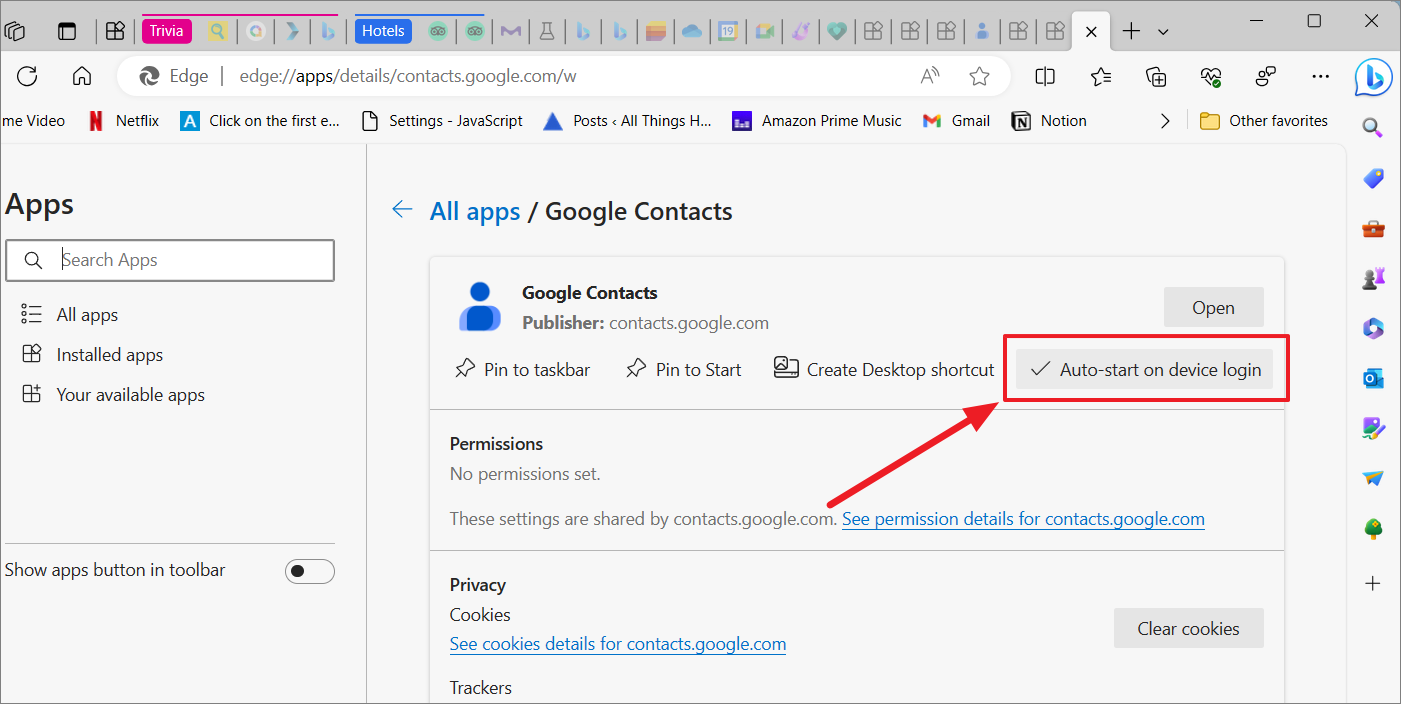
Once you reboot your computer, the web app will start automatically, even if Chrome or Microsoft Edge is not running.
2. Add Web Apps to Startup Using the Startup Folder
Another easy way to add web apps to a startup is to place their shortcuts in the Startup folder. The Startup folder is a special folder on Windows that automatically launches the programs saved inside it.
To find the Startup folder for your individual user account, open File Explorer paste the following path into the address bar, and press Enter,:
%AppData%\Microsoft\Windows\Start Menu\Programs\Startup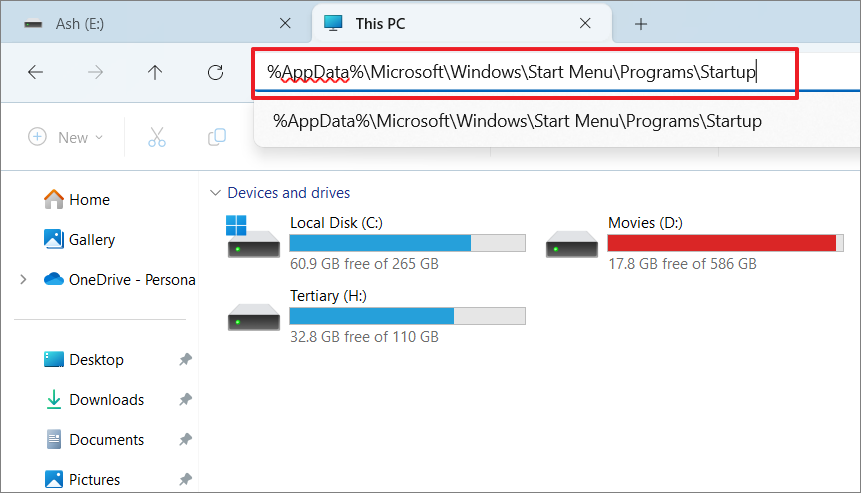
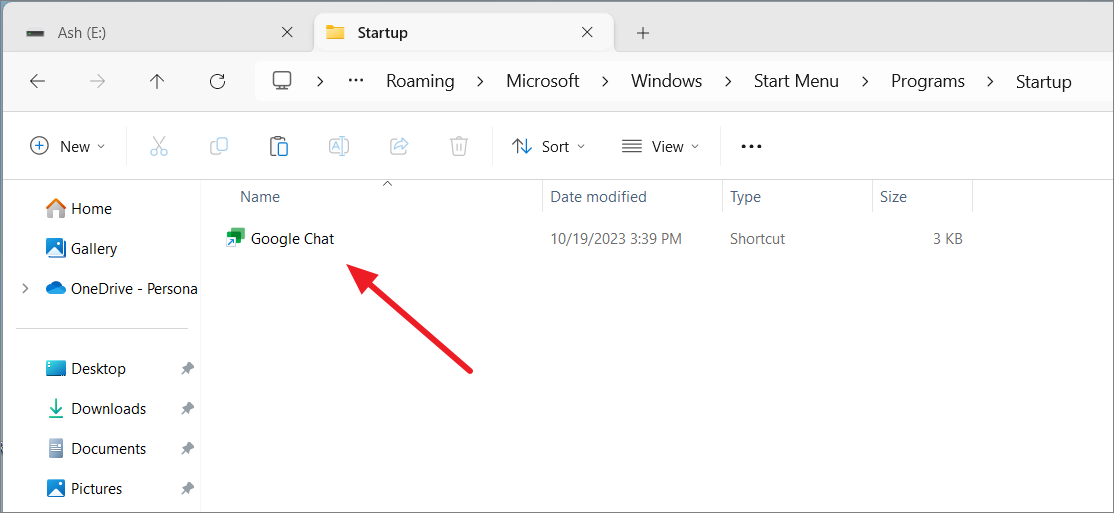
Now, all you need to do is copy and paste the web app shortcut from the desktop to the Startup folder.
To add a web app to startup for all users accounts, go to the following location and paste the web app shortcut in the Startup folder:
C:\ProgramData\Microsoft\Windows\Start Menu\Programs\Startup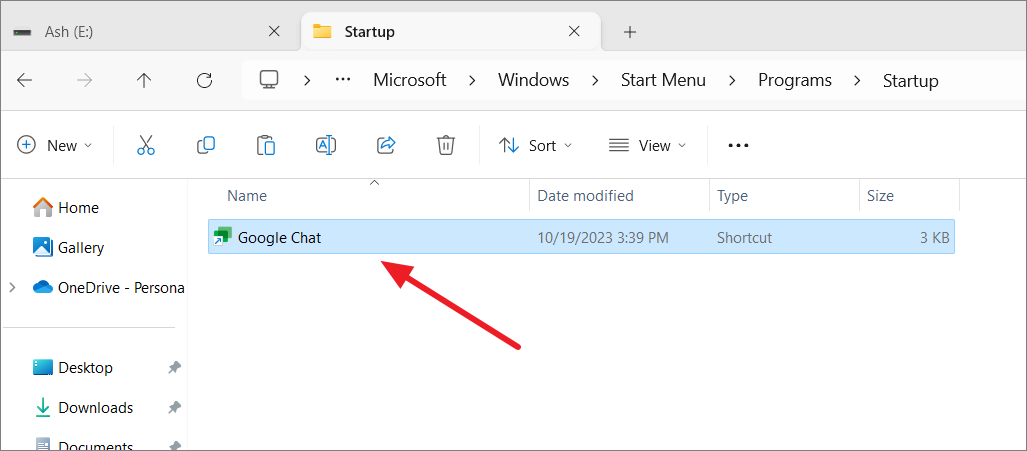
3. Add Web Apps to Startup Using the Registry Editor
You can also add programs to startup using the Registry Editor. However, it is important to back up your registry before making any changes, as a simple mistake could cause your computer to malfunction. Follow these steps to add the web app to Startup:
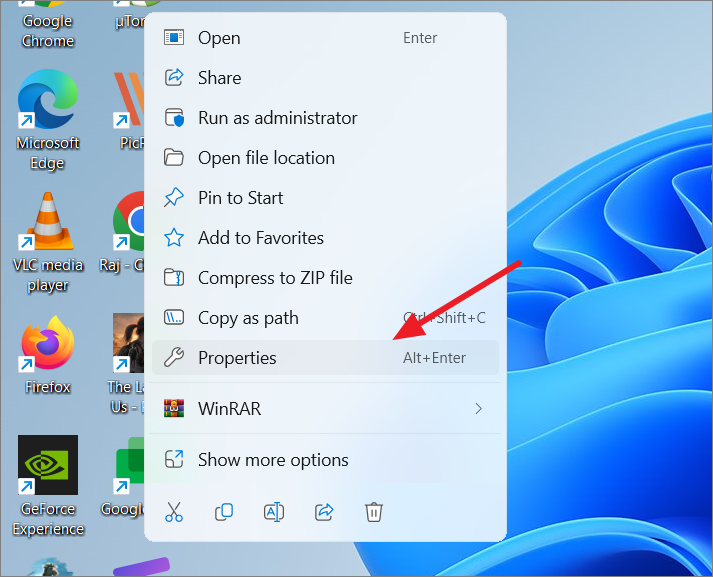
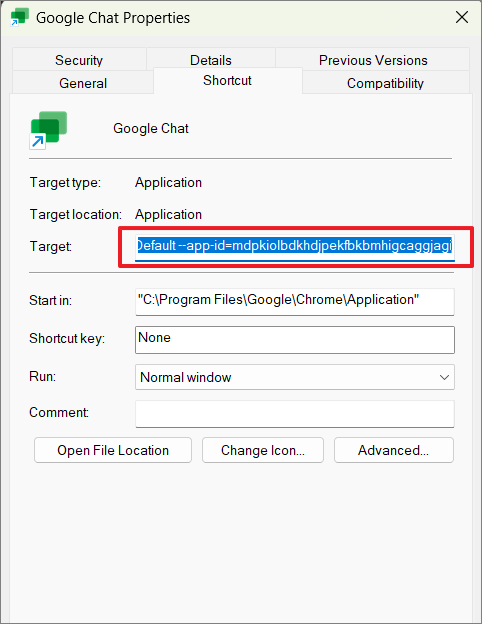
- Right-click on the web app’s shortcut icon that you wish to include in the startup and select ‘Properties’. In the below example, we want to add ‘Google Chat’ to the startup.
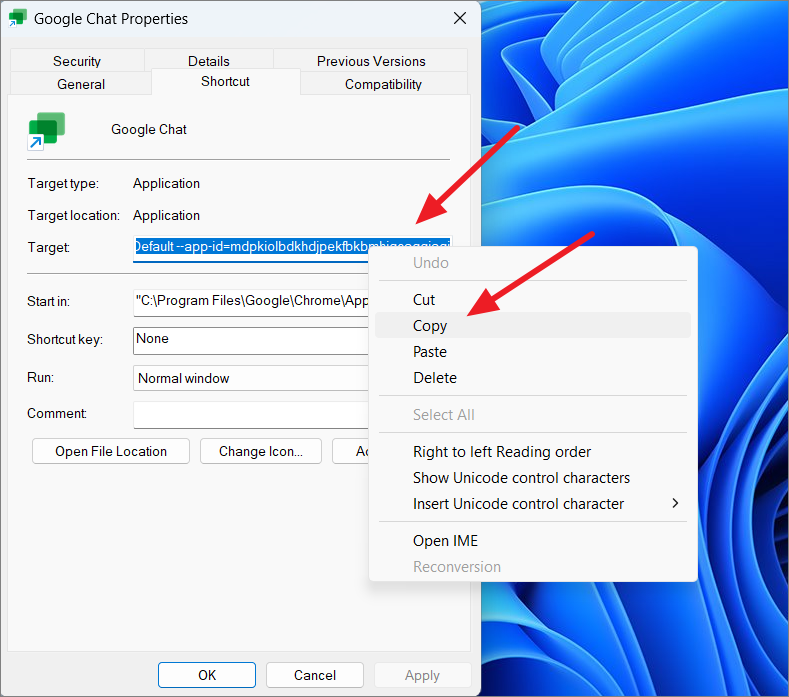
- In the Shortcut tab, copy the app’s location from the textbox next to the ‘Target’ option.
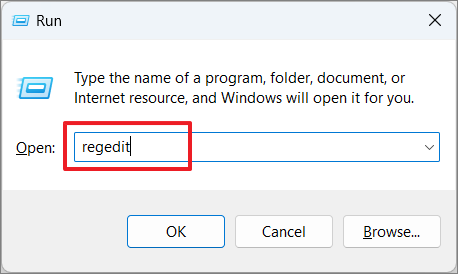
- Next, open the Registry Editor by typing
regeditin the Run command and pressingEnter.
- In the Registry Editor, navigate to the following location:
HKEY_LOCAL_MACHINE\Software\Microsoft\Windows\CurrentVersion\Run
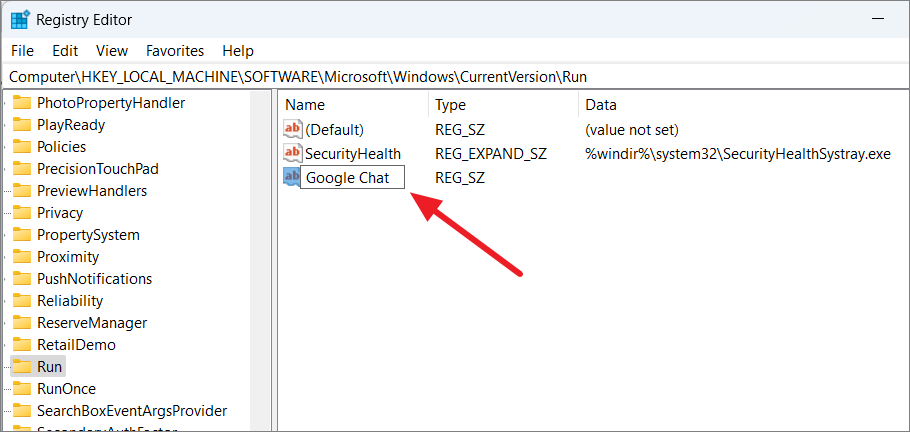
- Right-click in an empty area, choose ‘New’, and then select the ‘String Value’ option.

- Rename the newly created string value to the name of the program you want to add to the startup. For example, if you want to add Google Chat to the startup, name the String Value ‘Google Chat’.
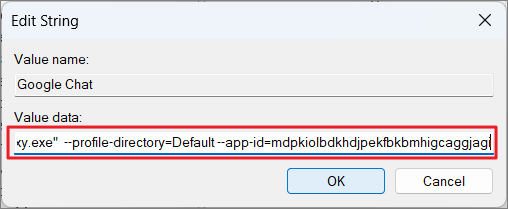
- After renaming the string, double-click on it and paste the ‘Target location’ you copied from the app properties in the ‘Value data’ section. Then, click ‘OK’ to save the changes.
- Then, restart your PC. When your PC restarts, the web app will launch automatically at the startup.
4. Add Web Apps to Startup Using the Task Scheduler
You can also use the Task Scheduler Management Console to schedule apps and programs to start automatically when you sign in to your account. However, this method only works for your individual user account, not for all user accounts on your computer.
- First, you need to copy the app location as we did in the above method. Right-click on the web app’s shortcut icon and select ‘Properties’. In the below example, we want to add ‘Google Chat’ to the startup.
- Then, copy the app’s path from the text field next to the ‘Target’ option.
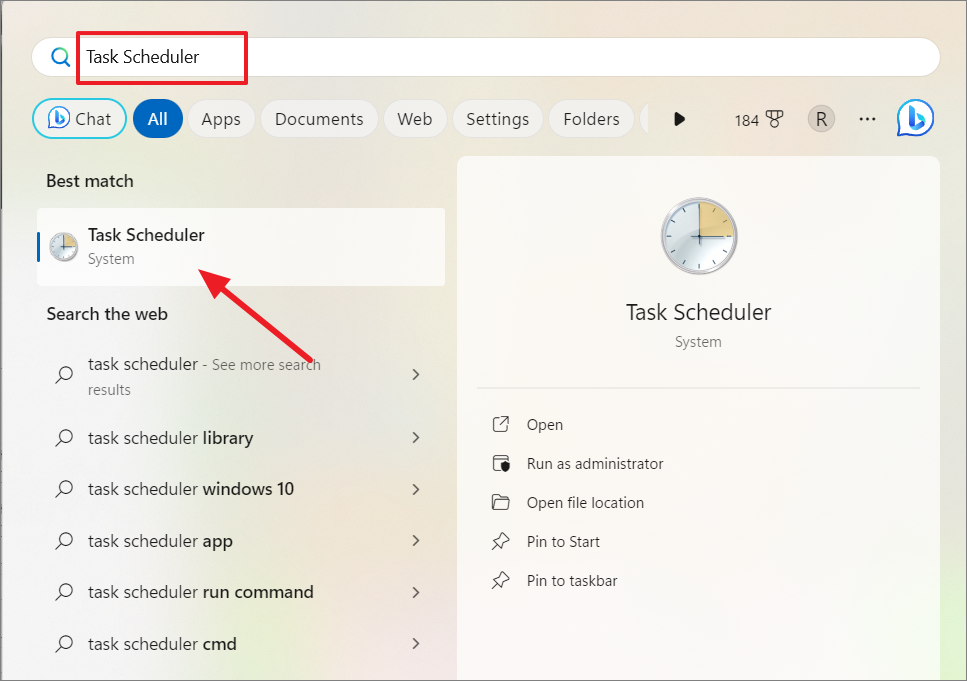
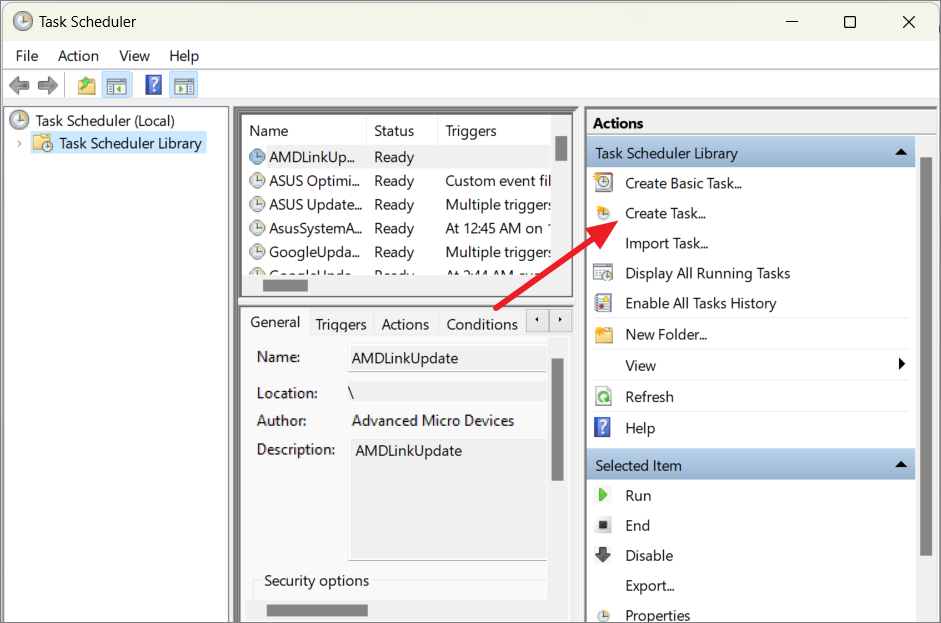
- Next, open ‘Task Scheduler’ by searching for it in the Windows Search.
- In the Actions panel on the right, click on ‘Create Task’.
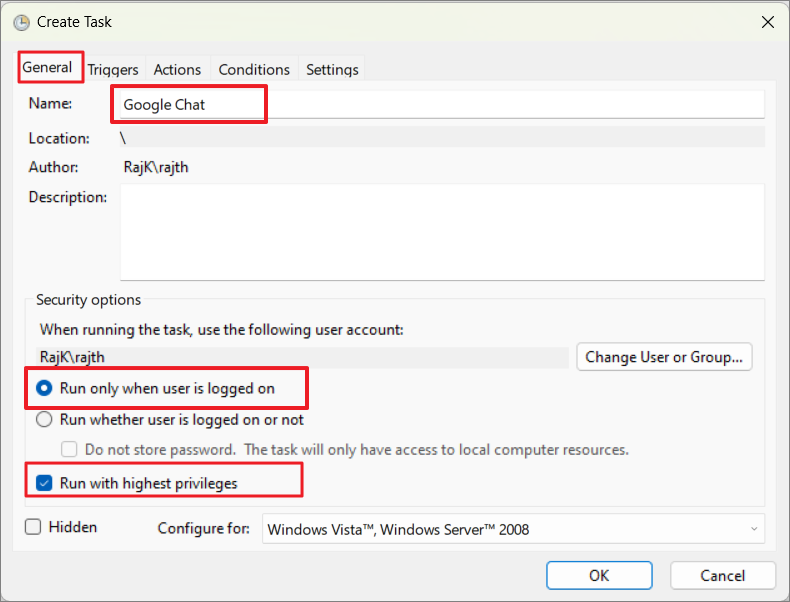
- A new Create Task window will open. In the ‘General’ tab, type the name of the app you want to add to the startup in the ‘Name’ field.
- Make sure the ‘Run only when user is logged on’ option is selected and check the ‘Run with highest privileges’ box.
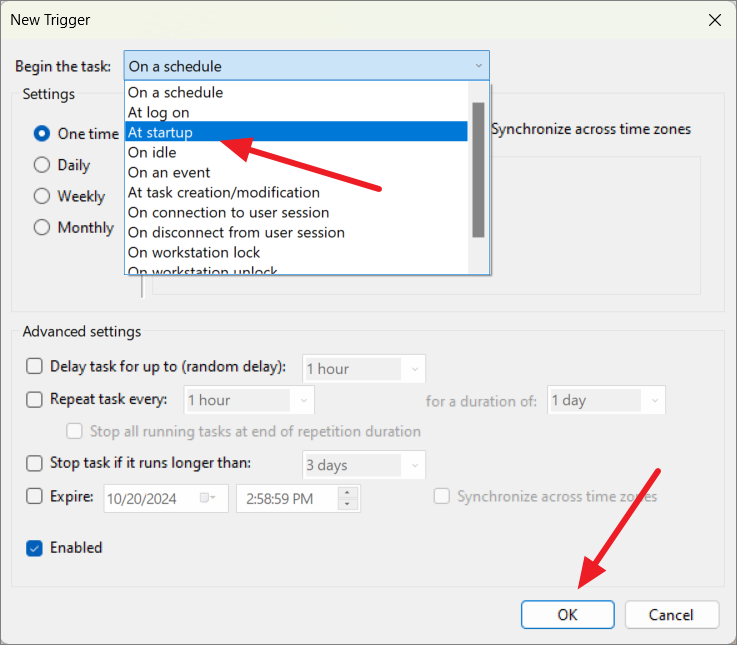
- Next, switch to the ‘Triggers’ tab and click the ‘New’ button below.

8. In the ‘Begin the task’ dropdown, select ‘At startup’ and click ‘OK’.
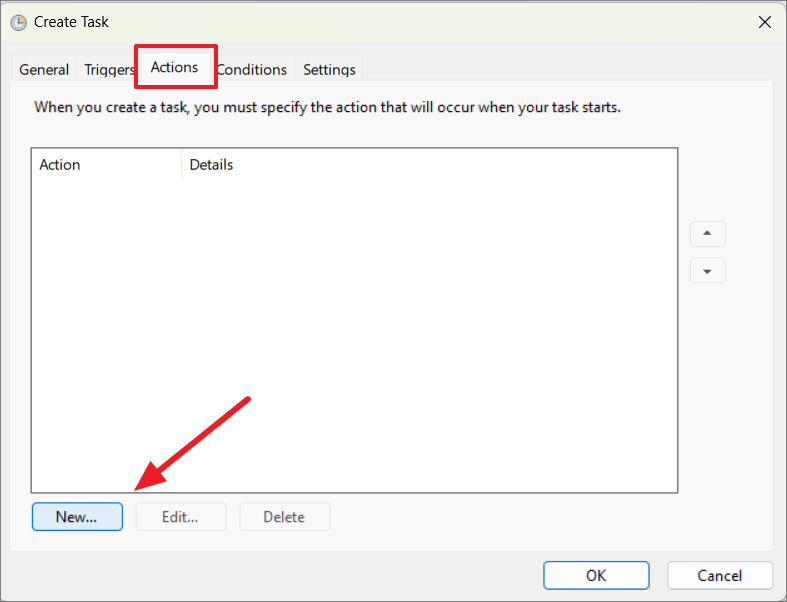
- Now, move to the ‘Actions’ tab and click ‘New’.
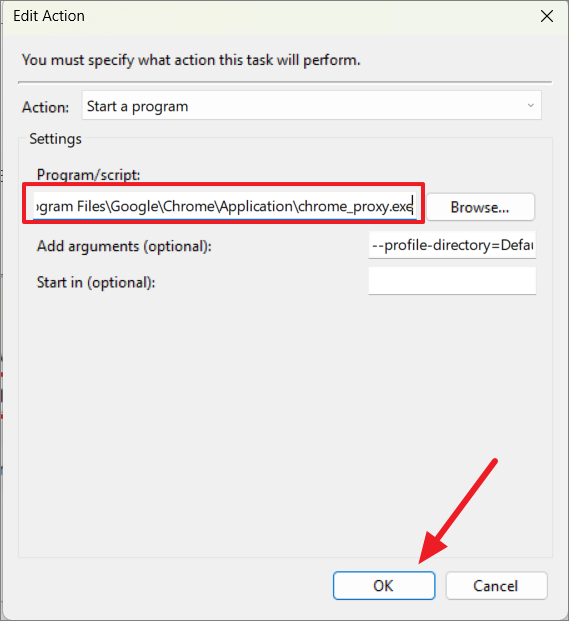
- In the New Action dialog box that pops up, paste the application’s location you copied from the app’s properties into the ‘Program/script’ field, and click ‘OK’. Make sure to remove the double quotes from the path (” “).
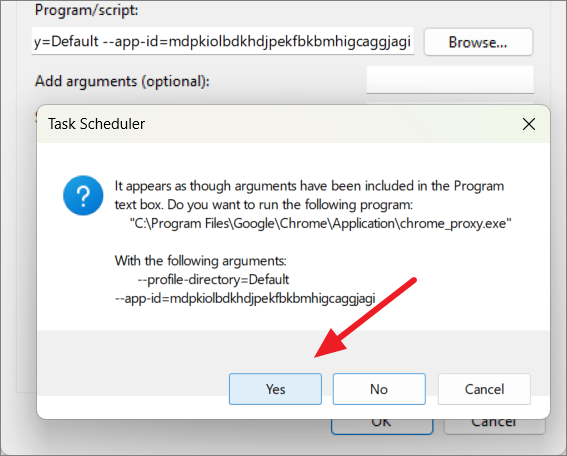
- If prompted, click ‘Yes’ in the confirmation box.
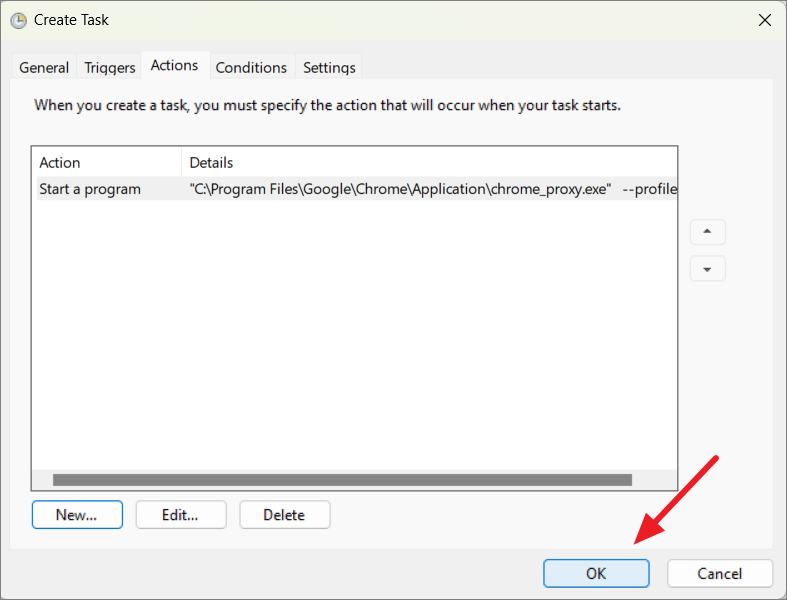
- Finally, click ‘OK’ in the Create Task window to save the task.
- The saved task will now appear in the list of scheduled tasks.
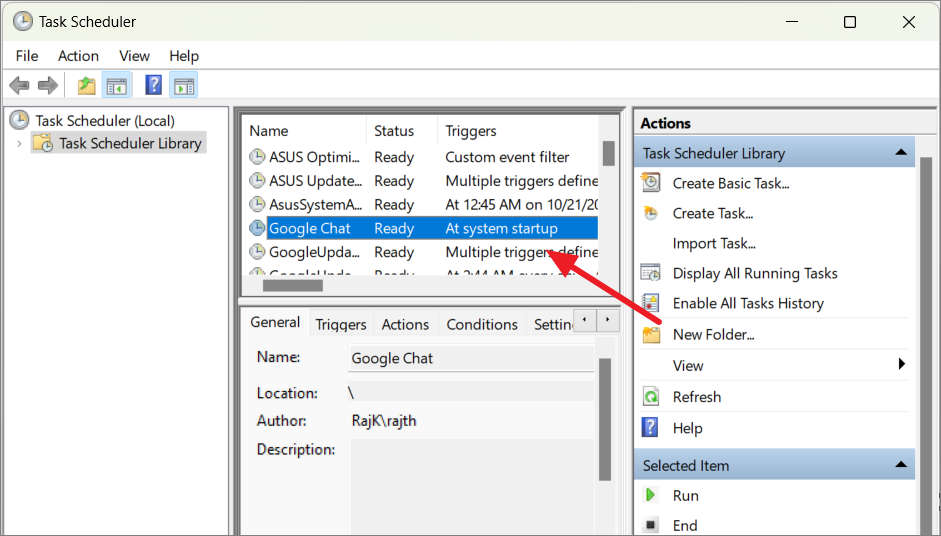
Once you follow the steps above, Task Scheduler will launch the app shortcut file every time you start your computer.
5. Add Web Apps to Startup Using the Command Prompt
The Windows built-in Command Prompt is a versatile tool for troubleshooting system issues and managing files and folders. You can also use the Command Prompt to add apps to startup. To do this, follow these steps:
- Open Command Prompt with administrative privileges.
- In Command Prompt, type the following command and press
Enter:
REG ADD "HKLM\SOFTWARE\Microsoft\Windows\CurrentVersion\Run" /V "AppName" /t REG_SZ /F /D "AppLocation"- Replace
AppNamewith the name of the app you want to add to the startup. - Replace
AppLocationwith the app’s location.
For example, to add the Google Chat app to startup, you would type the following command:
REG ADD "HKLM\SOFTWARE\Microsoft\Windows\CurrentVersion\Run" /V "Google Chat" /t REG_SZ /F /D "C:\Program Files\Google\Chrome\Application\chrome_proxy.exe" --profile-directory=Default --app-id=mdpkiolbdkhdjpekfbkbmhigcaggjagi"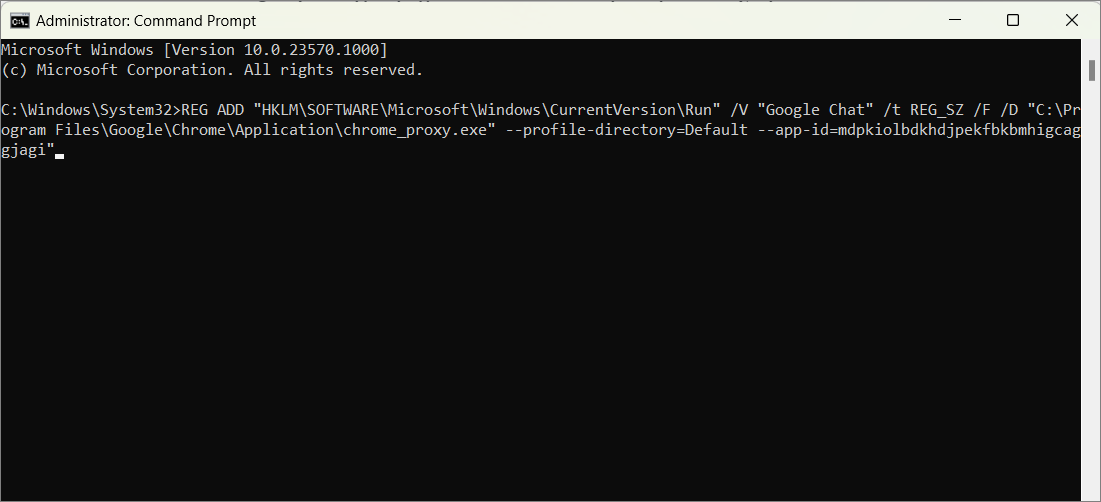
The next time Windows restarts, the app will run automatically.