
Group Policy Editor in Windows 11 enables users to configure and manage advanced system settings. While it’s not available in the Home edition, users with Pro or higher editions can access it through several methods. This guide details the most effective ways to open the Group Policy Editor on your Windows 11 computer.
1. Open Group Policy Editor Using the Run Command
The Run command is a quick way to open applications and execute tasks. Follow these steps to launch the Group Policy Editor using the Run command:
- Press
WINDOWS + Rto open the Run dialog box. - In the text field, type
gpedit.mscand click OK or pressENTER.

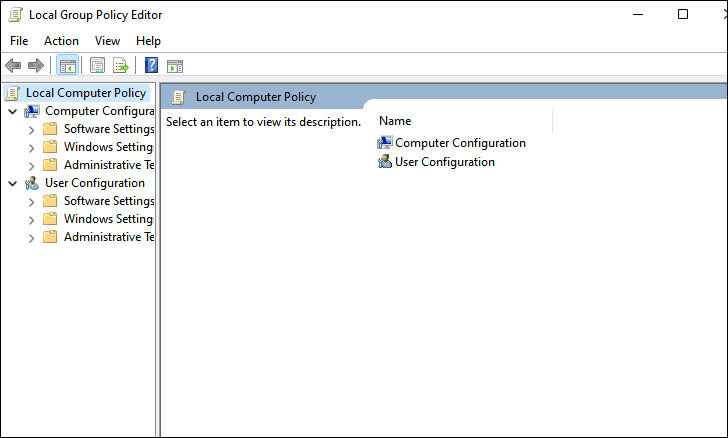
The Group Policy Editor window will open, allowing you to make the necessary changes.
2. Open Group Policy Editor from the Search Menu
You can easily access the Group Policy Editor through the Search menu. Here’s how:
- Press
WINDOWS + Sto open the Search menu. - Type
Edit group policyin the search bar at the top. - Select the relevant search result to open the Group Policy Editor.
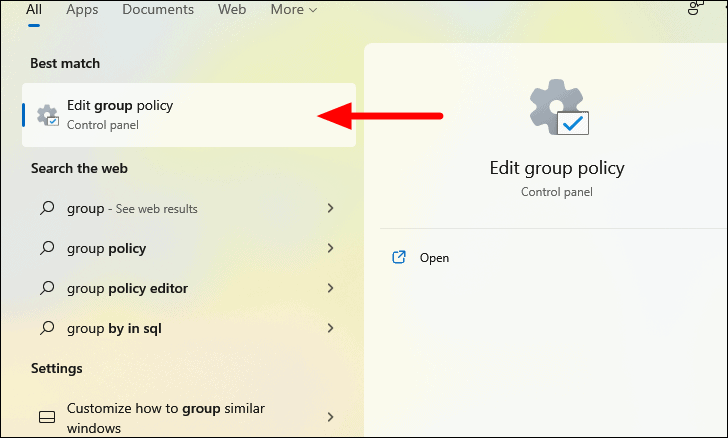
The Group Policy Editor will launch immediately.
3. Open Group Policy Editor Using a Desktop Shortcut
If you frequently access the Group Policy Editor, creating a desktop shortcut can save time. Follow these steps to create one:
- Right-click on an empty space on the desktop.
- Hover over New and select Shortcut.
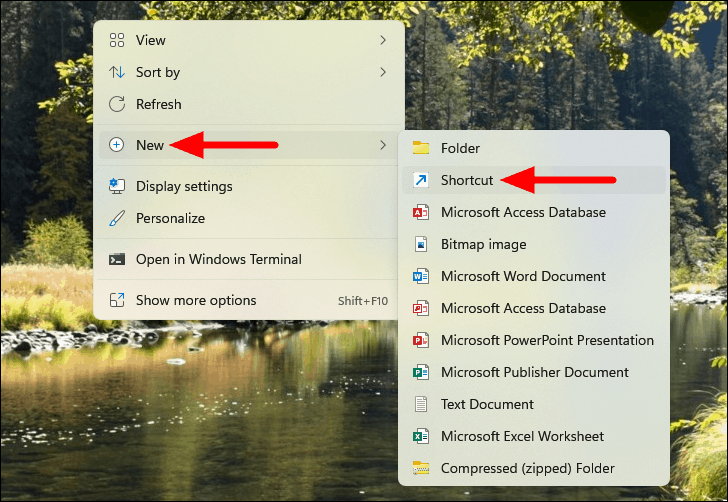
- In the “Create Shortcut” window, type
gpedit.mscin the text field and click Next.
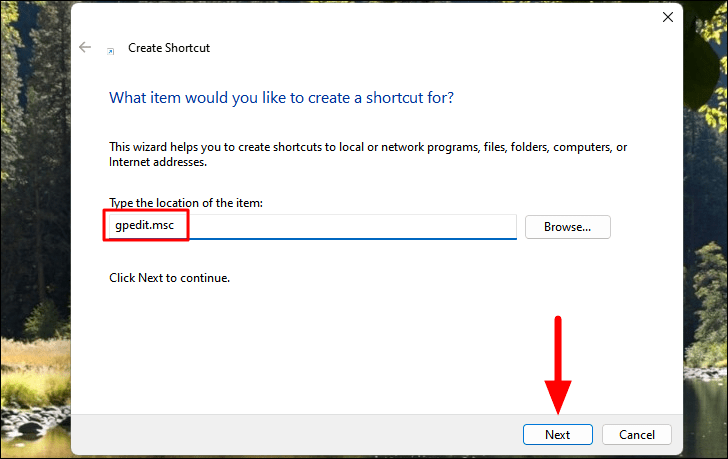
- Enter a name for the shortcut (e.g., Group Policy Editor) and click Finish.
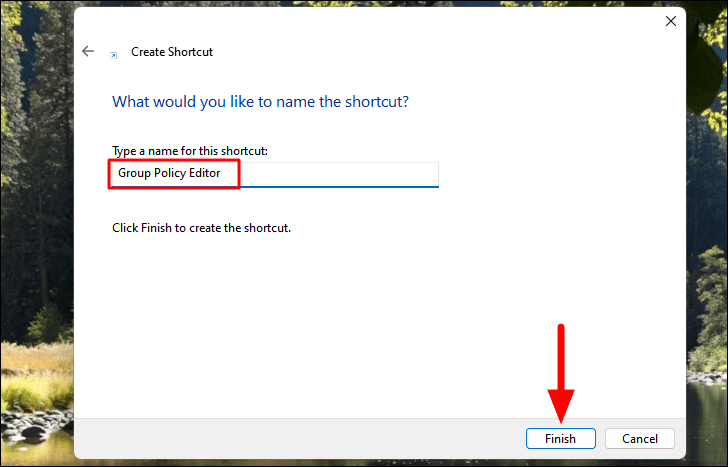
You can now launch the Group Policy Editor by double-clicking the desktop shortcut.

4. Open Group Policy Editor from Settings
You can access the Group Policy Editor through the Settings app as well. Here’s how:
- Press
WINDOWS + Ito open the Settings app. - In the search box at the top-left corner, type
Edit group policy. - Select the relevant result to open the Group Policy Editor.
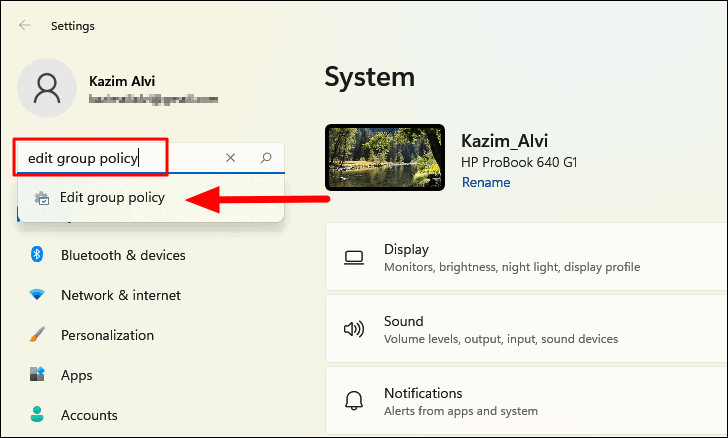
The Group Policy Editor will open, allowing you to configure policies as needed.
5. Open Group Policy Editor from Control Panel
The Control Panel offers another way to access the Group Policy Editor:
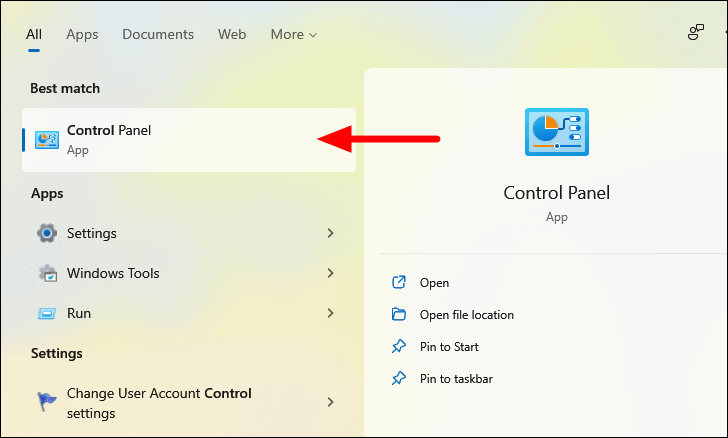
- Press
WINDOWS + Sto open the Search menu. - Type
Control Panelin the search bar and select it from the results.
- In the Control Panel search box at the top-right, type
Edit group policy. - Click on Edit group policy under the “Windows Tools” section.
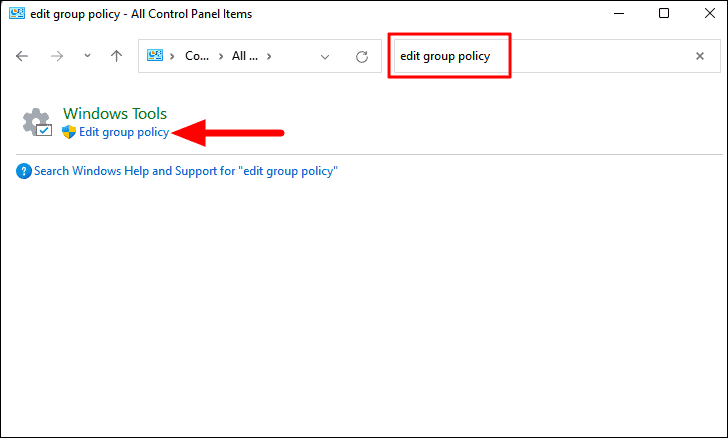
The Group Policy Editor will now launch.
6. Open Group Policy Editor via File Explorer
You can also open the Group Policy Editor directly from File Explorer:
- Press
WINDOWS + Eto open File Explorer.
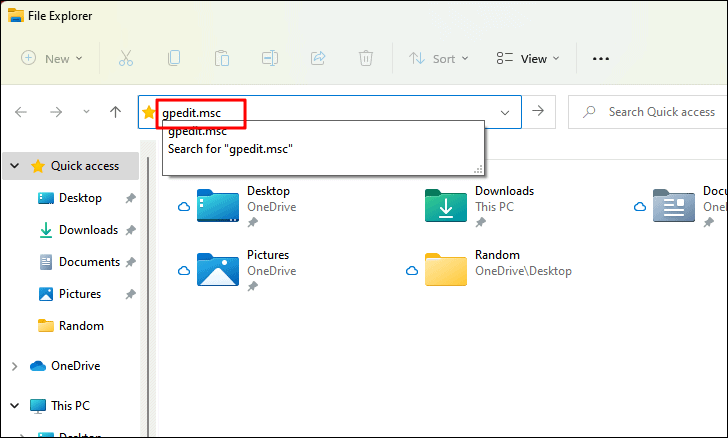
- In the address bar at the top, type
gpedit.mscand pressENTER.
The Group Policy Editor window will open.
7. Open Group Policy Editor from Command Prompt
If you prefer using the Command Prompt, you can launch the Group Policy Editor using a simple command:
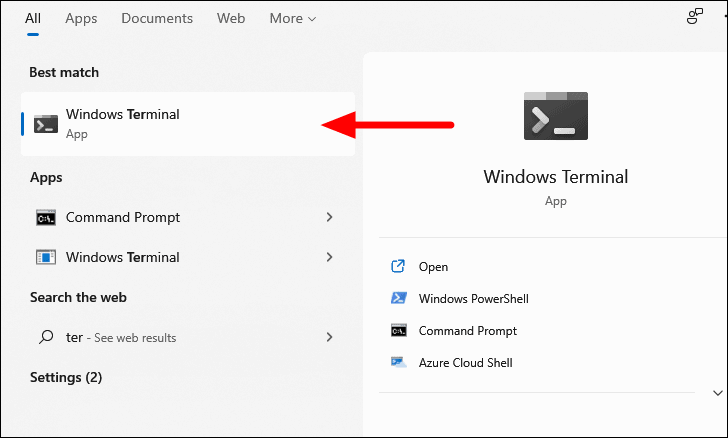
- Press
WINDOWS + Sto open the Search menu. - Type
Command Promptand select it from the search results.
- In the Command Prompt window, type
gpedit.mscand pressENTER.
gpedit.mscThe Group Policy Editor will launch. Note that this command works in Windows PowerShell as well.
8. Open Group Policy Editor Using Task Manager
The Task Manager can also be used to open the Group Policy Editor:
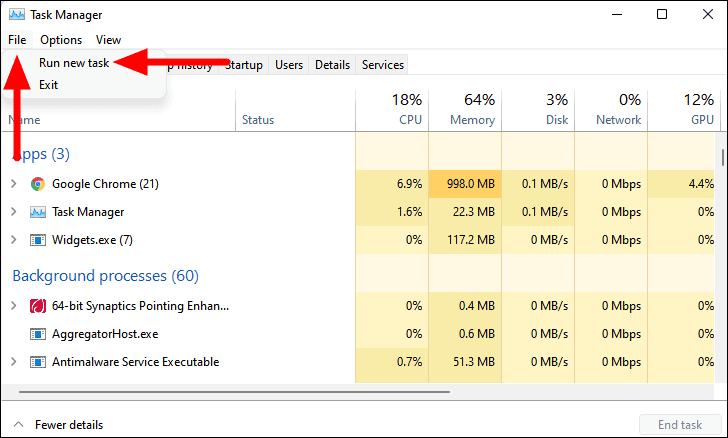
- Press
CTRL + SHIFT + ESCto open the Task Manager. - Click on File at the top-left corner and select Run new task.
- In the “Create new task” window, type
gpedit.mscand click OK.
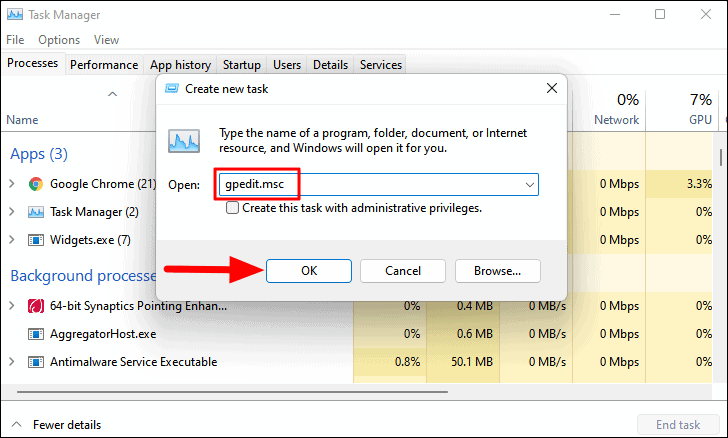
The Group Policy Editor will open for you to use.
9. Open Group Policy Editor from Its Executable File in File Explorer
You can access the Group Policy Editor by launching its executable file directly:
- Press
WINDOWS + Eto open File Explorer. - Navigate to the following path:
C:\Windows\System32.
C:\Windows\System32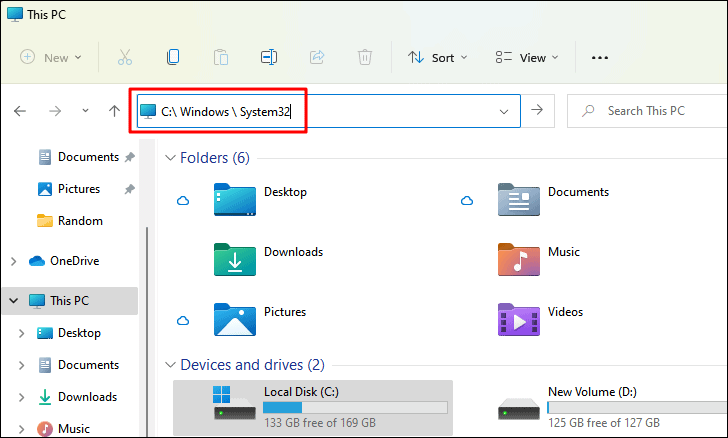
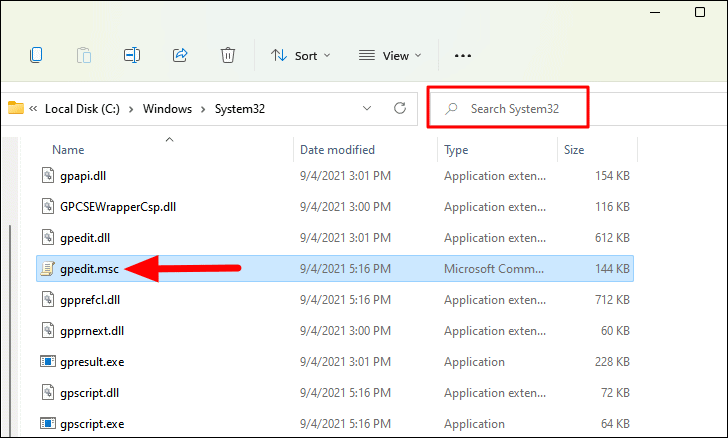
- Locate the
gpedit.mscfile or search for it using the search box at the top-right corner. - Double-click on
gpedit.mscto open the Group Policy Editor.
These methods provide various ways to access the Group Policy Editor on your Windows 11 PC. Depending on your preference, you can choose the method that is most convenient for you.


