Voice Memos are a real asset for many iPhone users who use it to record meetings, lectures, fleeting thoughts, and even their songs when they are secretly moonlighting as a singer! But if you use voice memos quite frequently, you know what a nuisance finding the right voice memo from that untamed list can be. All your recordings thrown together in a single space – what a mess!
But Apple has finally heard our cries of desperation and brought folder organization to Voice Memos. In fact, they did one better. Not only did they bring folders to Voice Memos, but they also brought Smart Folders for all us lazy folks out there. So, let’s sally forth and see how it all works.
What are Smart Folders
These are the folders that your Voice Memos will create automatically on your behalf. Smart Folders will group your Apple Watch recordings, recently deleted recordings, and Favorites – a new feature coming to iOS 14 that lets you mark recordings as favorites –in separate folders automatically so you can always get to them in a wink. As Voice Memos creates them on its own, you have no role to play here. But creating other folders is in your power.
How to Create Folders
If the smart folder organization is not enough for you and let’s be honest, it won’t be if you are a heavy user, you can create folders of your own to organize your voice memos as it pleases you.
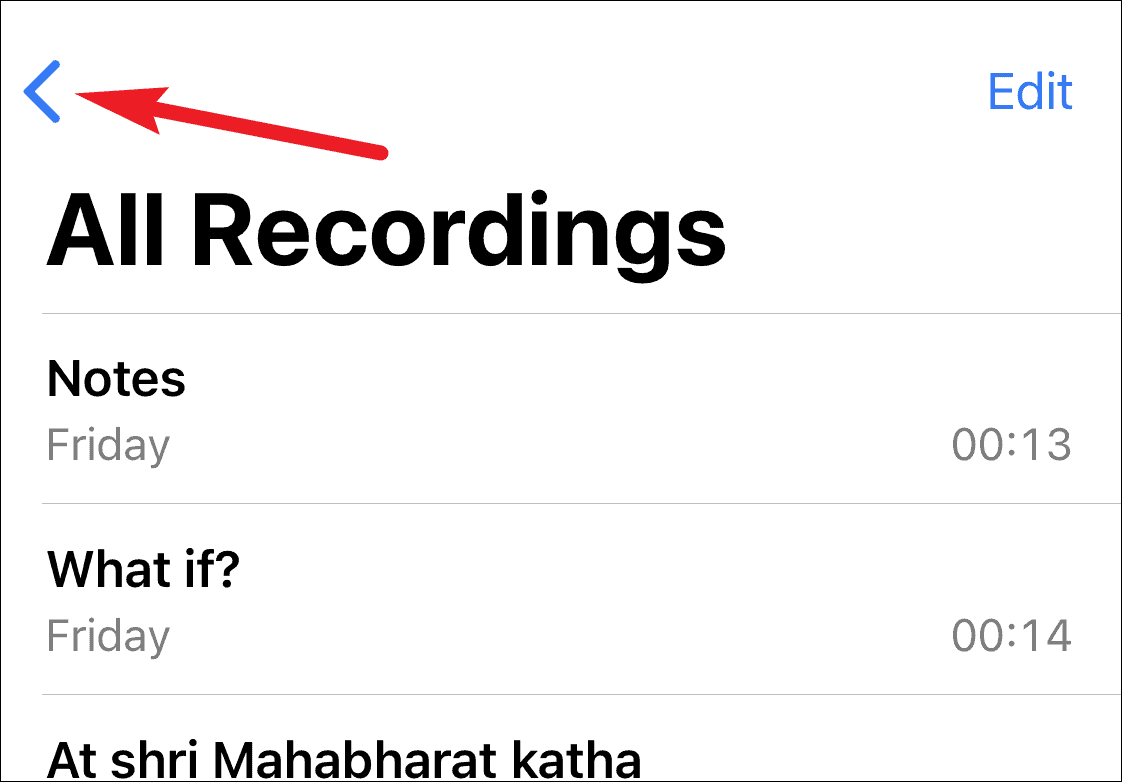
Go to the Voice Memos app on your iPhone. Where previously it used to say only ‘Voice Memos’, it’ll now display ‘All Recordings’ towards the top. You’ll also find a ‘Back button’ towards the top left corner of the screen. Tap on it.
You’ll see that ‘All Recordings’ was, in fact, another folder in your memos. Tap on the ‘New Folder’ icon at the bottom right corner of the screen.
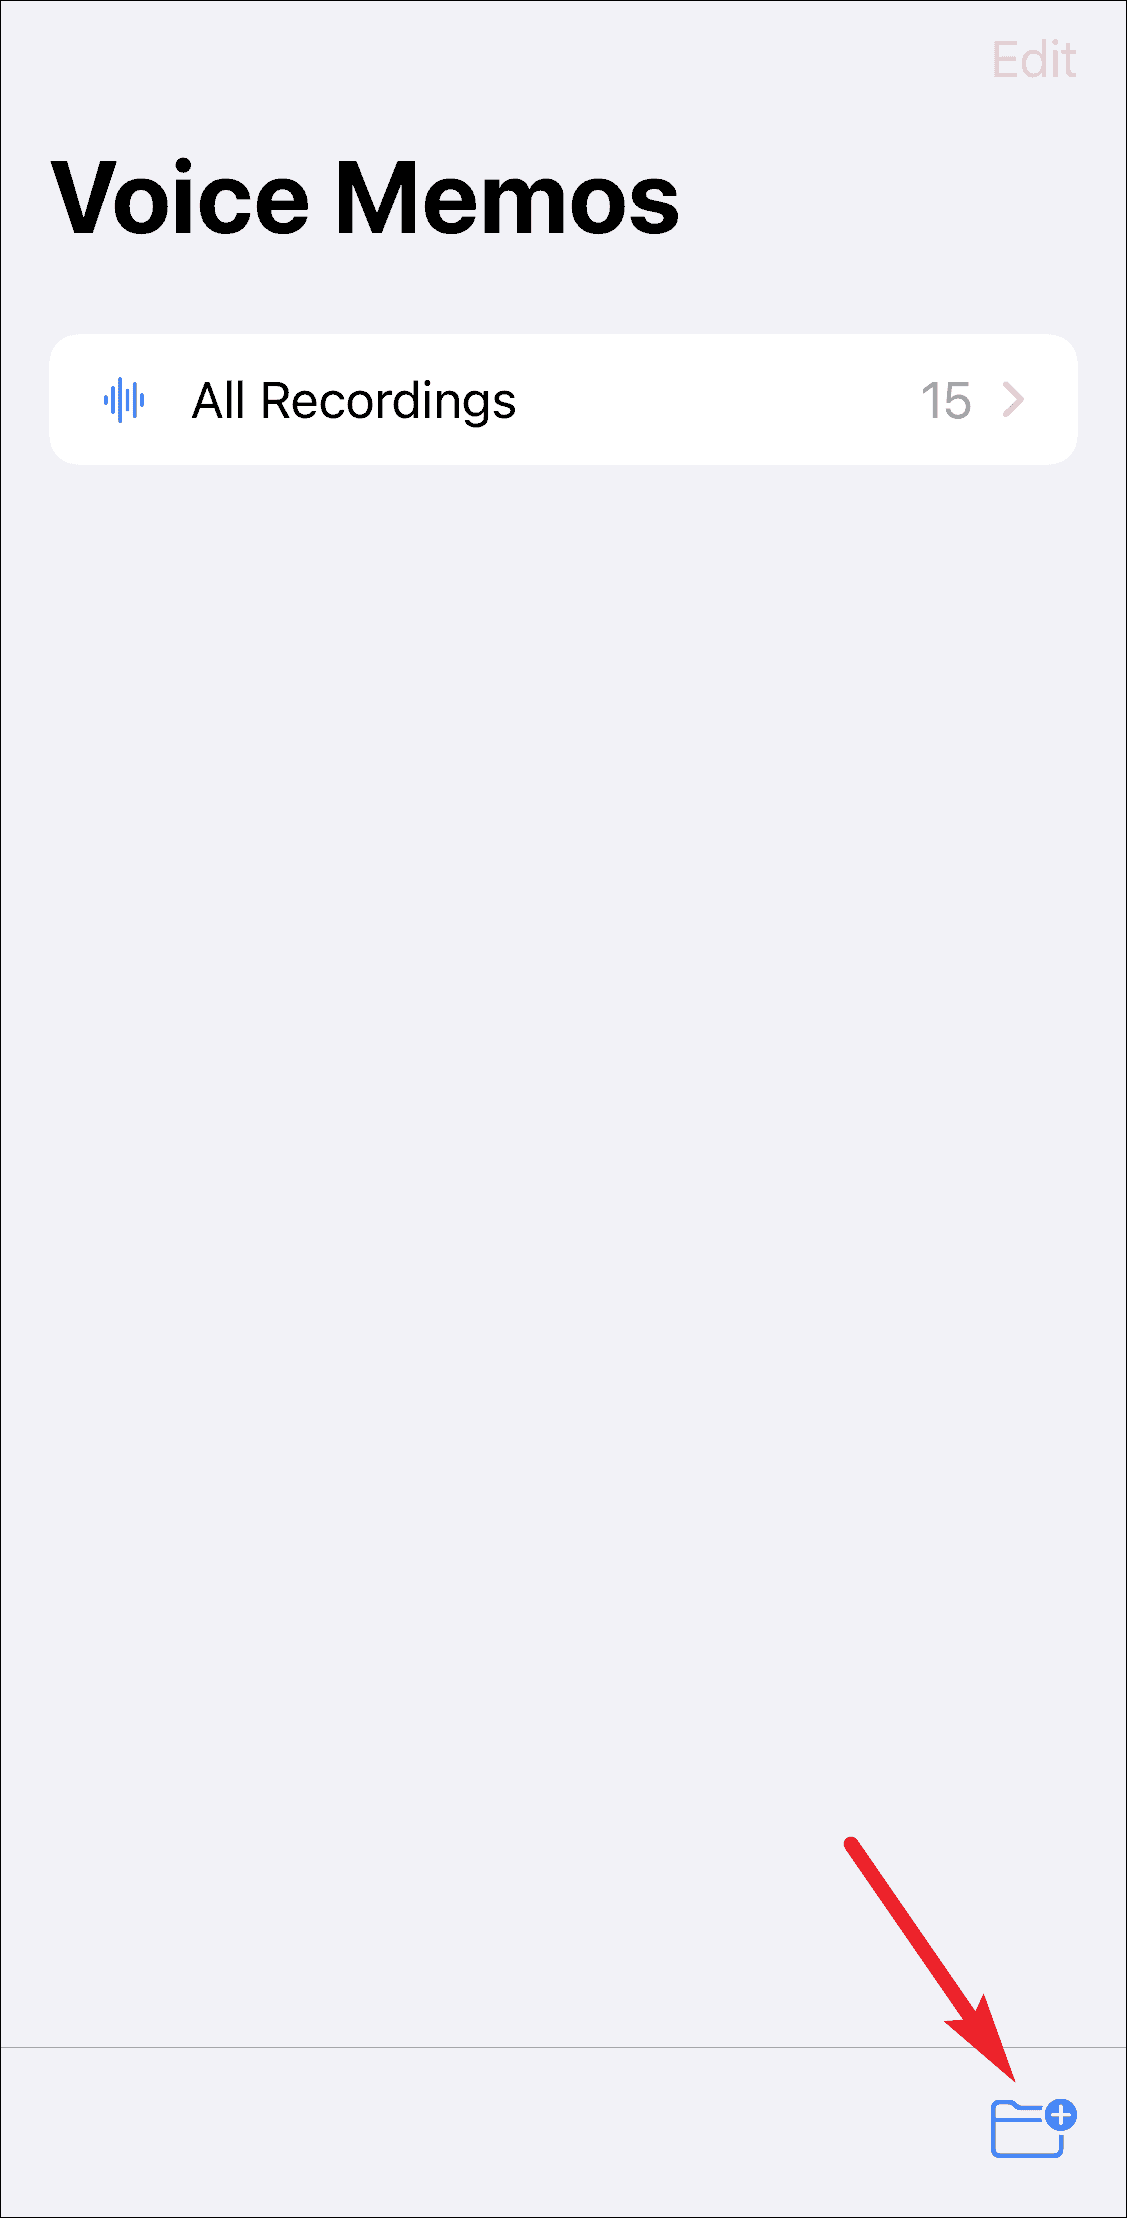
Name your folder and tap ‘Save’ to create a new folder for your recordings.

Now you can record new voice memos directly in this folder, and that’s where they’ll reside. Just go to the folder when you want to record, and tap the ‘Record’ button. Any recordings you save to any other folder will also show in the ‘All Recordings’ folder always.
You can also move your previous recordings to this newly minted folder. Go to the ‘All Recordings’ folder and tap on the ‘Edit’ option.
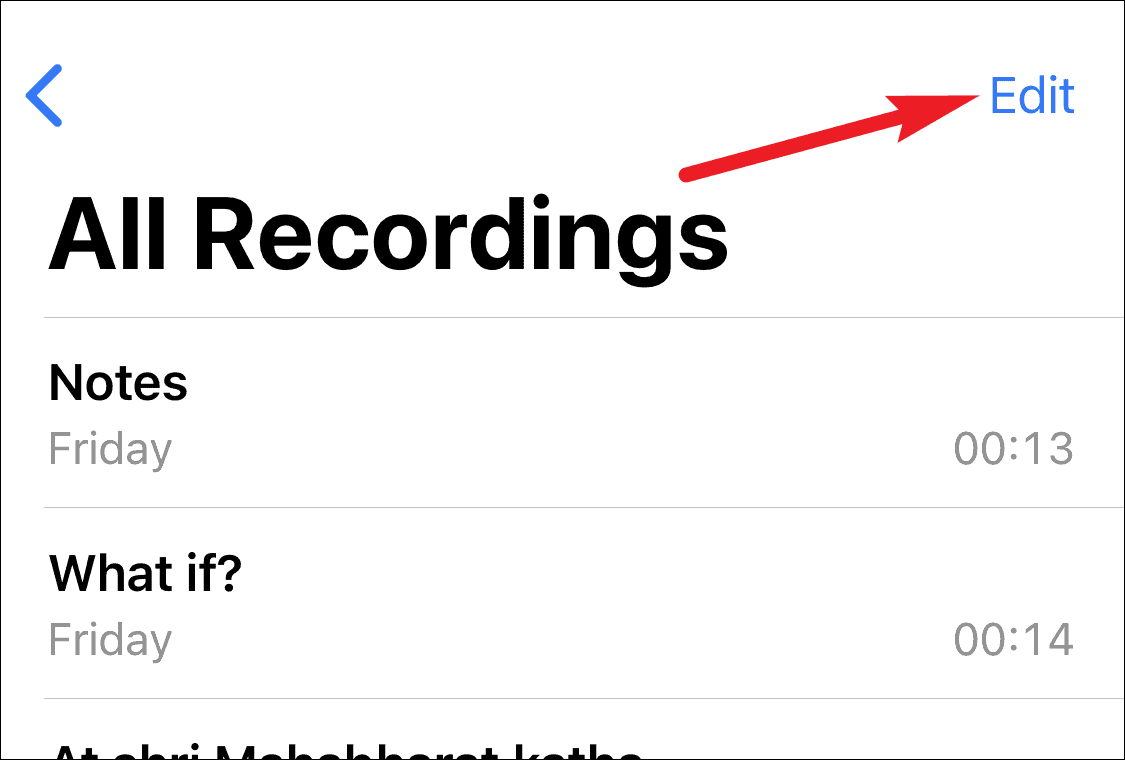
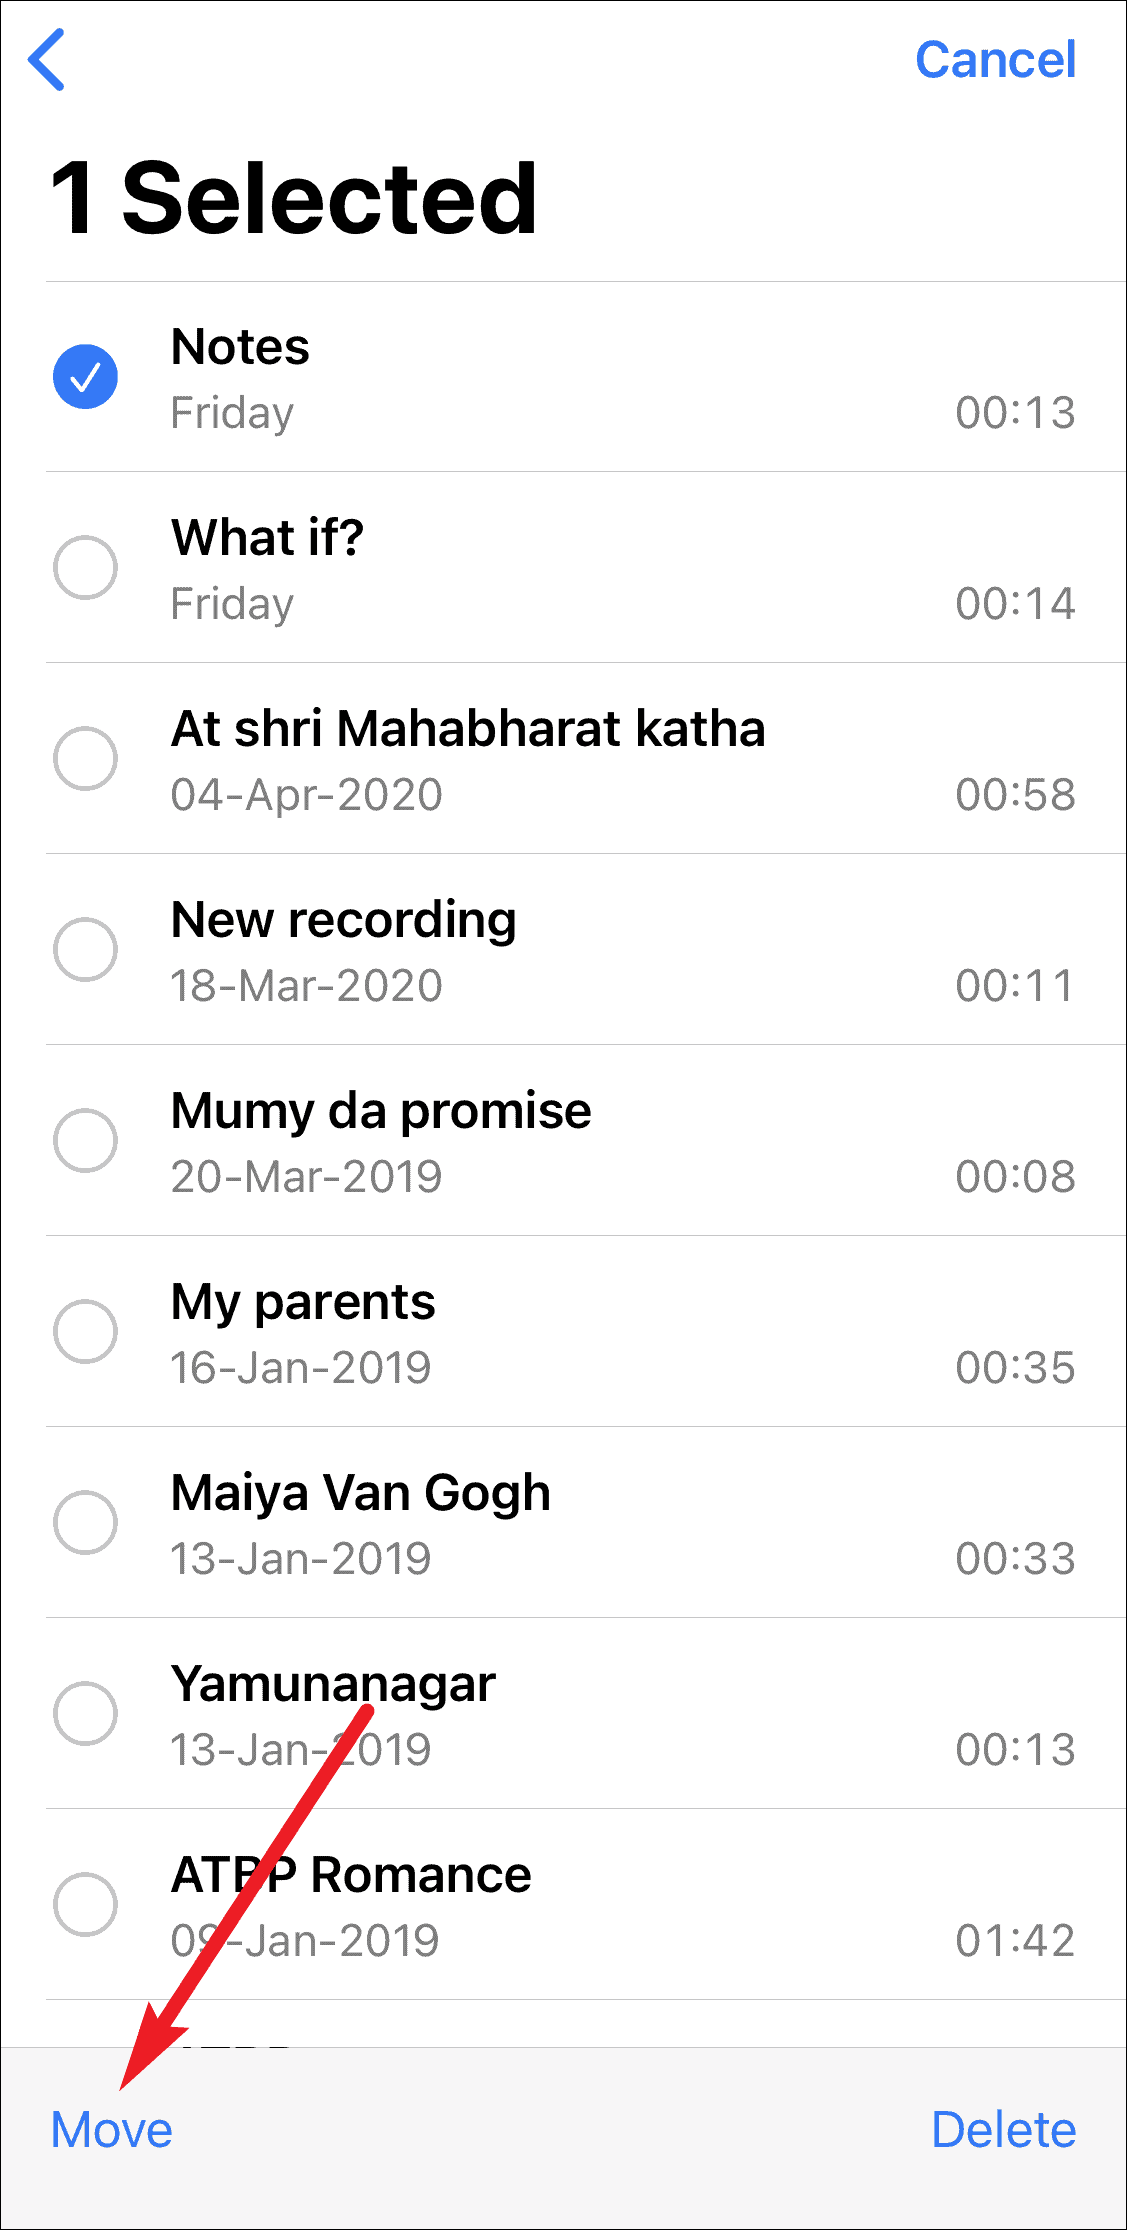
Select the recordings you want to move and tap on the ‘Move’ option.
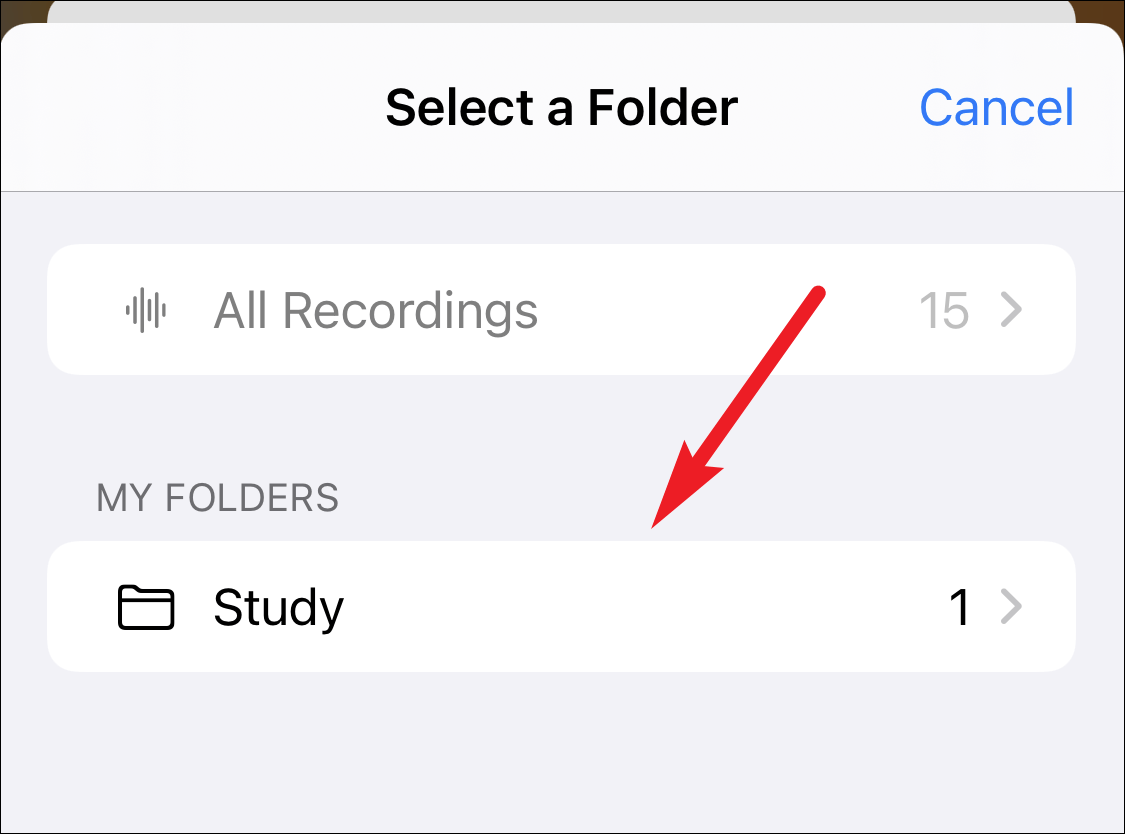
Then, select the destination folder to move the recording. You can also move any recordings between folders similarly when you have more than one folders.
Now you won’t have to frustratingly scroll through the entire list in your voice memos to find the one you need. You can quickly find it from its folder. This might seem like a small change compared to the behemoth changes like the App Library, or App Clips coming to the iOS 14, but it’s just as important and make our experience worthwhile.


