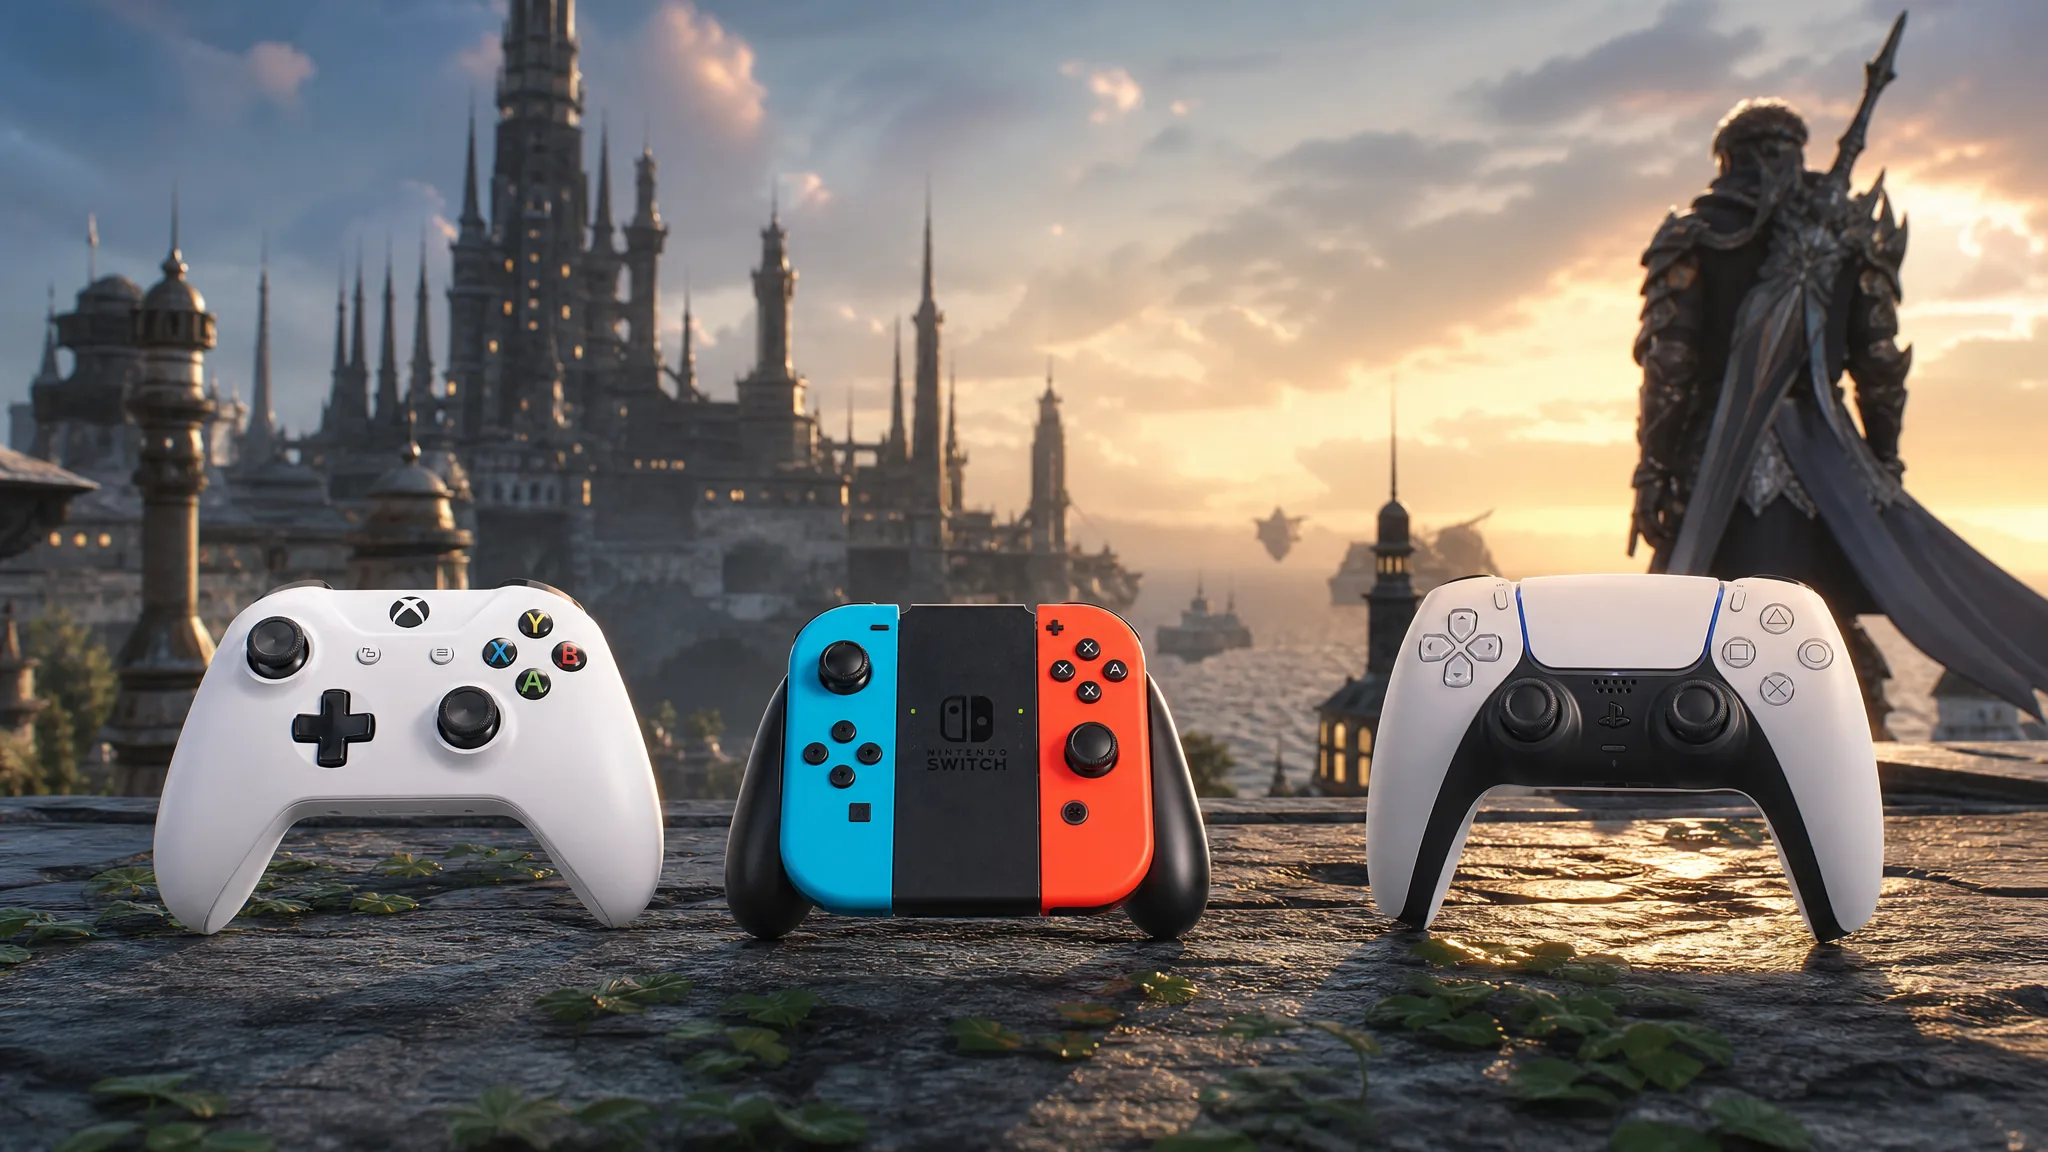
Final Fantasy XIV was built with a controller in mind, and its cross hotbar system rivals the depth of a keyboard and mouse. On consoles, the gamepad works the moment you log in. On Windows and Mac you may need to switch on one setting first, then pair your controller and learn how the cross hotbar maps your skills to the face buttons and triggers.
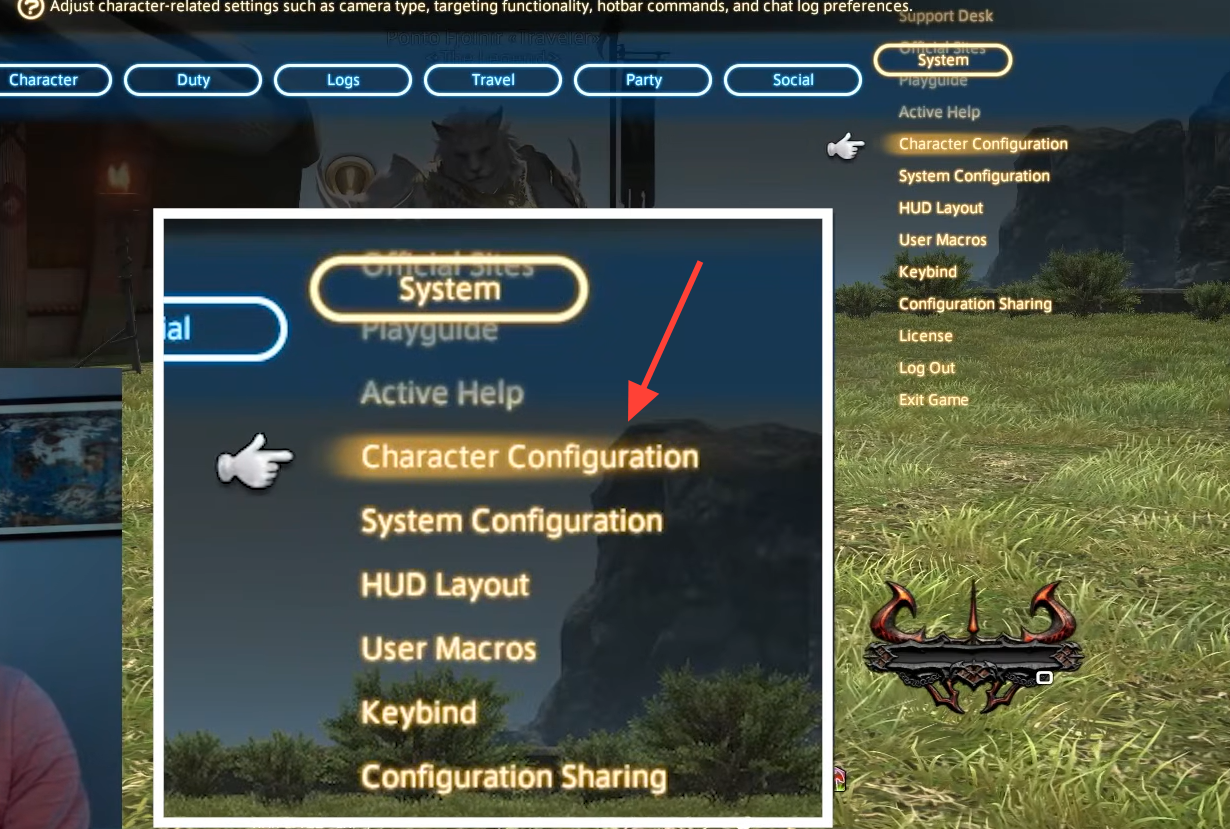
Quick answer: On PC or Mac, press Esc to open the main menu, go to System Configuration, open Gamepad Settings, and turn on Enable Gamepad. Any XInput controller (Xbox 360 and newer) works natively, and the game switches to the cross hotbar automatically once a controller is detected.
Turn on gamepad support (PC and Mac)
Console players can skip this. On PS5, PS4, Xbox Series X|S, and Nintendo Switch 2 the game runs in controller mode by default, and there is no toggle to change. On the Windows and Mac versions, gamepad input is a setting you flip on with the keyboard.
If you cannot adjust button allocations after enabling the pad, unchecking the “Enable POV” option in Gamepad Settings usually fixes it.
Connect your controller to a PC
Xbox controllers (360, One, and Series X|S) work through the built-in Windows drivers with no extra software. PlayStation’s DualShock 4 and DualSense are also recognized natively, though the touchpad only registers its click-in without additional tools. Always try native support first, so you have a working setup if anything else fails.
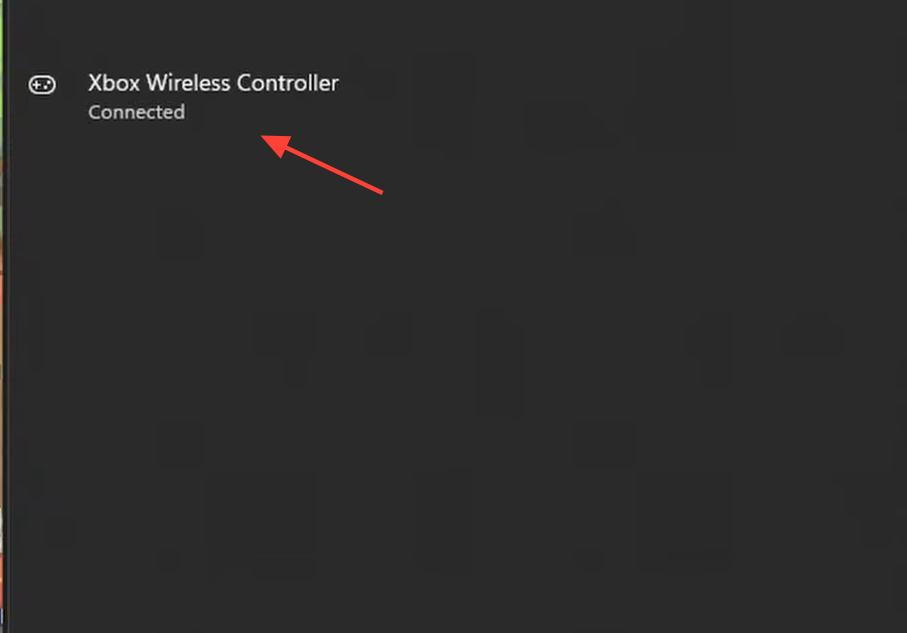
Pair an Xbox Wireless Controller over Bluetooth
Pair a DualShock 4 over Bluetooth
If a wired DualShock 4 does not install a driver, connect over Bluetooth instead. Make sure the light bar is off, then hold the SHARE button while holding the PS button until the light bar flashes. Enable Bluetooth on your computer and select the controller; a solid color confirms the connection. Sony’s official pairing steps for connecting a DualShock 4 to a PC or Mac cover the same process in detail.
For working rumble, deeper dead-zone fixes, or bindings that combine two or more buttons, software like DS4Windows or Steam Input adds those options for PS4, PS5, and Switch controllers.
Picking a controller that has enough buttons
The control scheme was designed around a PlayStation-style pad. You can play with almost anything, but the layout expects a full set of inputs. If you leave gaps, expect to reach for a keyboard or mouse to fill them in.
- Two analog sticks for movement and camera.
- A D-pad and four face buttons.
- Ideally four shoulder inputs (two bumpers and two triggers); three is comfortable, two is the bare minimum.
- Two stick clicks (L3/R3), or spare buttons that can cover them.
- Start and Select buttons are ideal but optional if you use a mouse for menus.
Analog trigger feel matters too. Digital triggers with a long press (like the PS4’s) can make prolonged cross hotbar use uncomfortable. You can set the game to use the bumpers instead of the triggers for the cross hotbar if that suits your hands better.
Using the cross hotbar to fire off skills
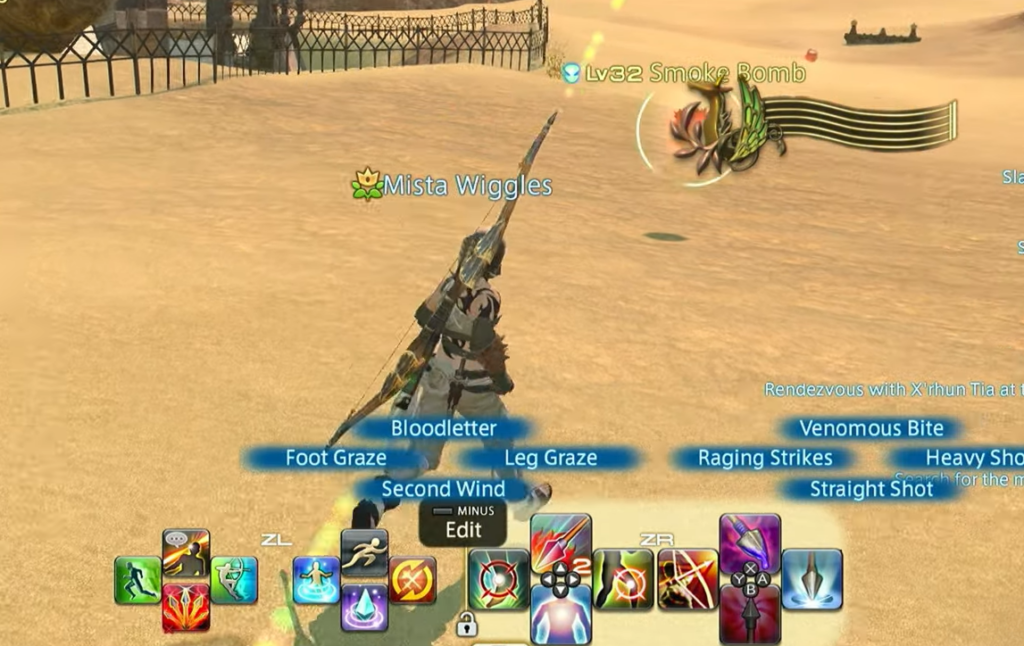
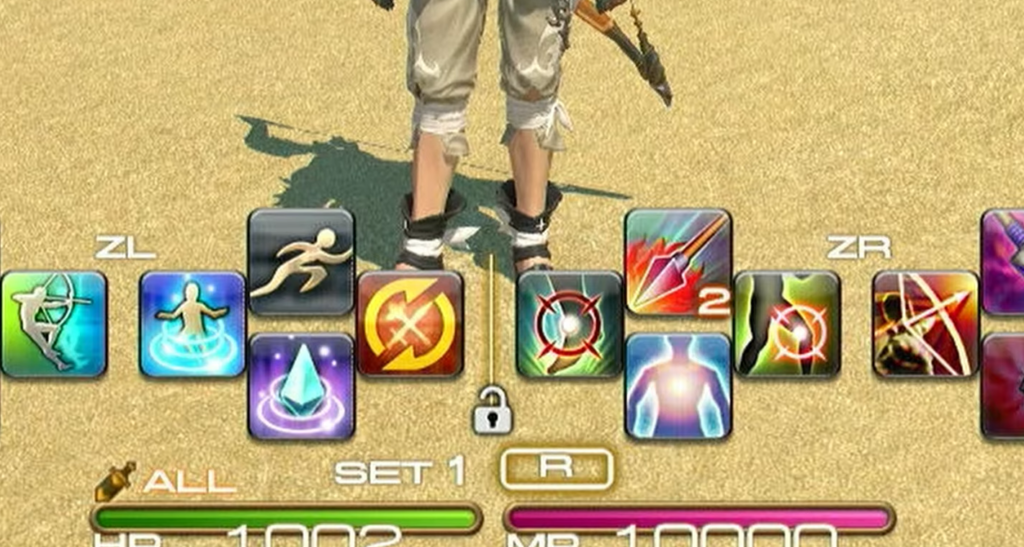
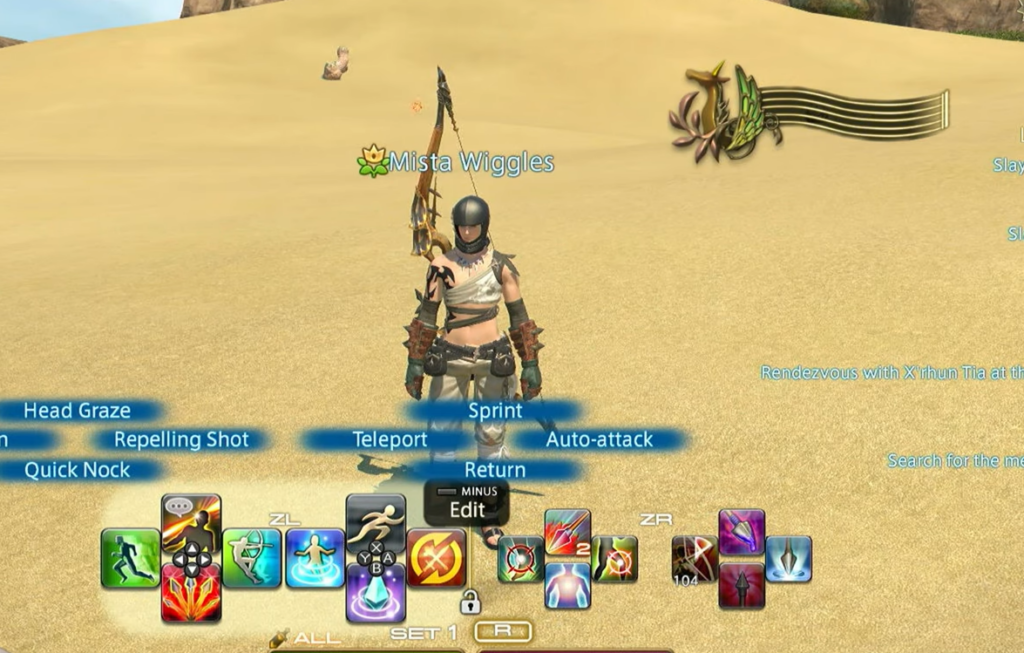
The cross hotbar is the heart of controller play. Holding a trigger lights up a half of your action bar, and pressing a D-pad direction or face button then executes the mapped skill. This gives you 16 actions per set from a single trigger-and-button motion.
Default button layout by controller type
You can set the on-screen prompts to match an Xbox, PlayStation, or Nintendo layout in System, then Gamepad Settings. The core functions stay the same across pads; only the labels change.
| Function | Xbox (One/Series) | PlayStation (PS4/PS5) | Switch 2 |
|---|---|---|---|
| Jump / Cancel casting | Y | Triangle | X |
| Cancel | B | Circle | A |
| Select target / Confirm | A | Cross | B |
| Open map / Subcommands | X | Square | Y |
| Auto-run | Left Bumper | L1 | Left Shoulder |
| Change Hotbar Set | Right Bumper | R1 | Right Shoulder |
| Highlight Left Hotbar | Left Trigger | L2 | ZL |
| Highlight Right Hotbar | Right Trigger | R2 | ZR |
| Draw weapon / Lock on | Left Thumb-click | L3 | Left Thumb-click |
| Change camera | Right Thumb-click | R3 | Thumb-click |
| Select HUD | View | Touch Pad Button | Minus |
| Open Main Menu | Menu | OPTIONS | Plus |
Movement, camera, and targeting on a pad
Move with the left stick and steer the camera with the right. Hold the left bumper (LB/L1) while pushing the left stick to start auto-run, and press it again to stop. Hold the left bumper while using the right stick to zoom the camera in and out.
Targeting runs through the D-pad. Left and right cycle through targets on screen, while up and down move through your party list. To lock a target, face it and press the confirm button (A/Cross) once to soft target, then again to hard target and begin auto-attacking. Soft targeting is useful for a quick heal on an ally without dropping your main enemy target.
Two movement styles change how the character reacts. Standard keeps your character facing where the camera points, which allows sidestepping and backstepping. Legacy lets the character and camera move more independently, which many players prefer for dodging in combat. You can switch between them under Character Configuration, then Control Settings, then Movement Settings.
Customize the HUD and controller settings
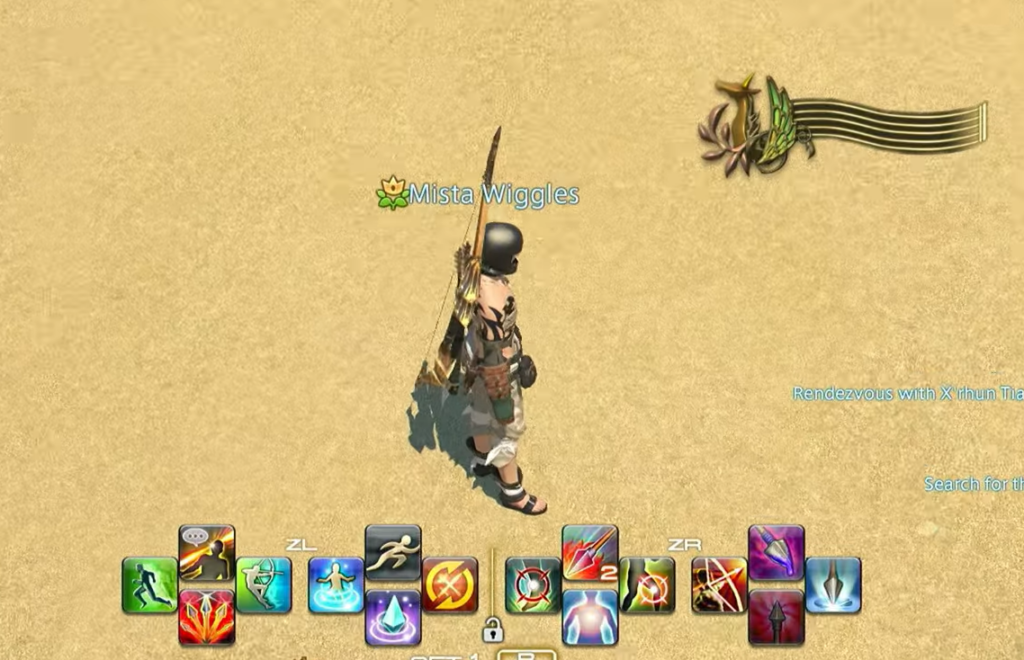
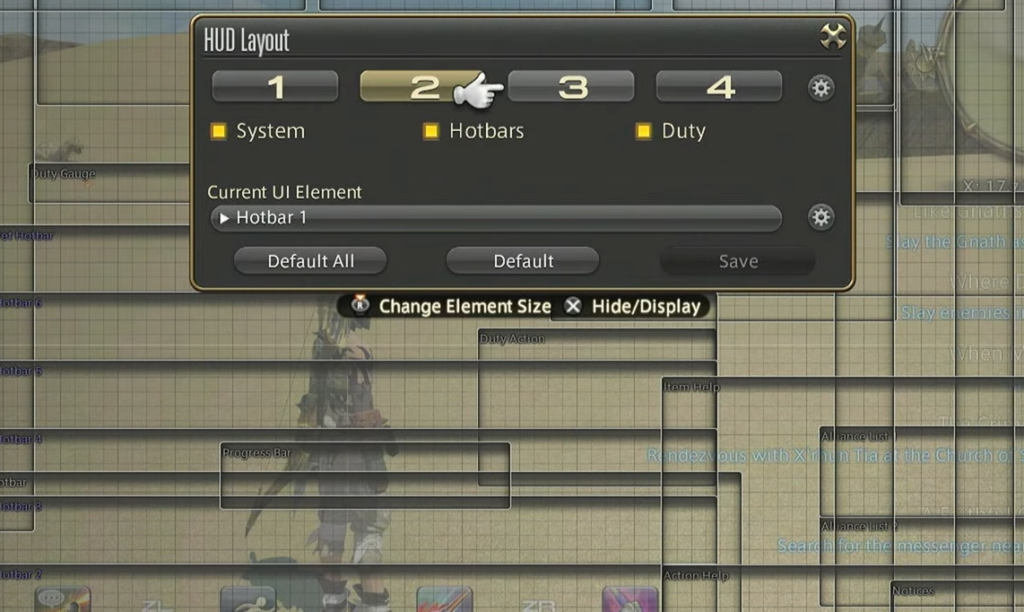
Open the main menu, then System, then HUD Layout to move, resize, and set the transparency of on-screen elements such as your mini-map, chat window, and party list. This is where you fit the interface to your screen and reading distance.
Deeper options live in Character Configuration. UI Settings control menu style and party list sorting, Control Settings hold camera axis inversion and target filters, and Gamepad Settings under System Configuration cover button configuration and calibration. On PC, you can calibrate a controller through the Windows Game Controllers menu first if the sticks or triggers behave oddly. The full game manual on The Lodestone lists every default binding if you want to remap things precisely.
How to confirm it worked
You know the setup is active when the interface swaps to the cross hotbar and the on-screen prompts match your controller’s buttons. Moving the left stick should move your character, and holding a trigger should light up a bank of skills. If nothing responds, recheck that Enable Gamepad is ticked and that the Character Configuration toggle is set to Gamepad Mode. If button reassignment is greyed out, disable Enable POV. If a wired PlayStation pad is not detected, connect it over Bluetooth instead.
Switching from keyboard and mouse takes time, so give it several days rather than an hour. Practicing on a job with a shorter action list, or on solo content like FATEs and dungeons, is the fastest way to build the muscle memory that makes the cross hotbar feel second nature across every version of the game.