
Recording your screen on Windows 11 has become increasingly straightforward, especially with the built-in tools and software available. Whether you need to capture gameplay, create a tutorial, or save a video call, Windows 11 offers multiple methods to record your screen with audio. This guide covers the most effective ways to record your screen, including using the Xbox Game Bar, OBS Studio, and NVIDIA’s GeForce Experience.
Recording Screen with Audio Using Xbox Game Bar
Windows 11 comes with the Xbox Game Bar pre-installed, providing a quick and easy way to record your screen without the need for additional software. The Game Bar functions as an overlay, allowing you to capture your screen while in any application or game.
- Open the application or game you want to record.
- Press
Windows+gto open the Xbox Game Bar overlay.
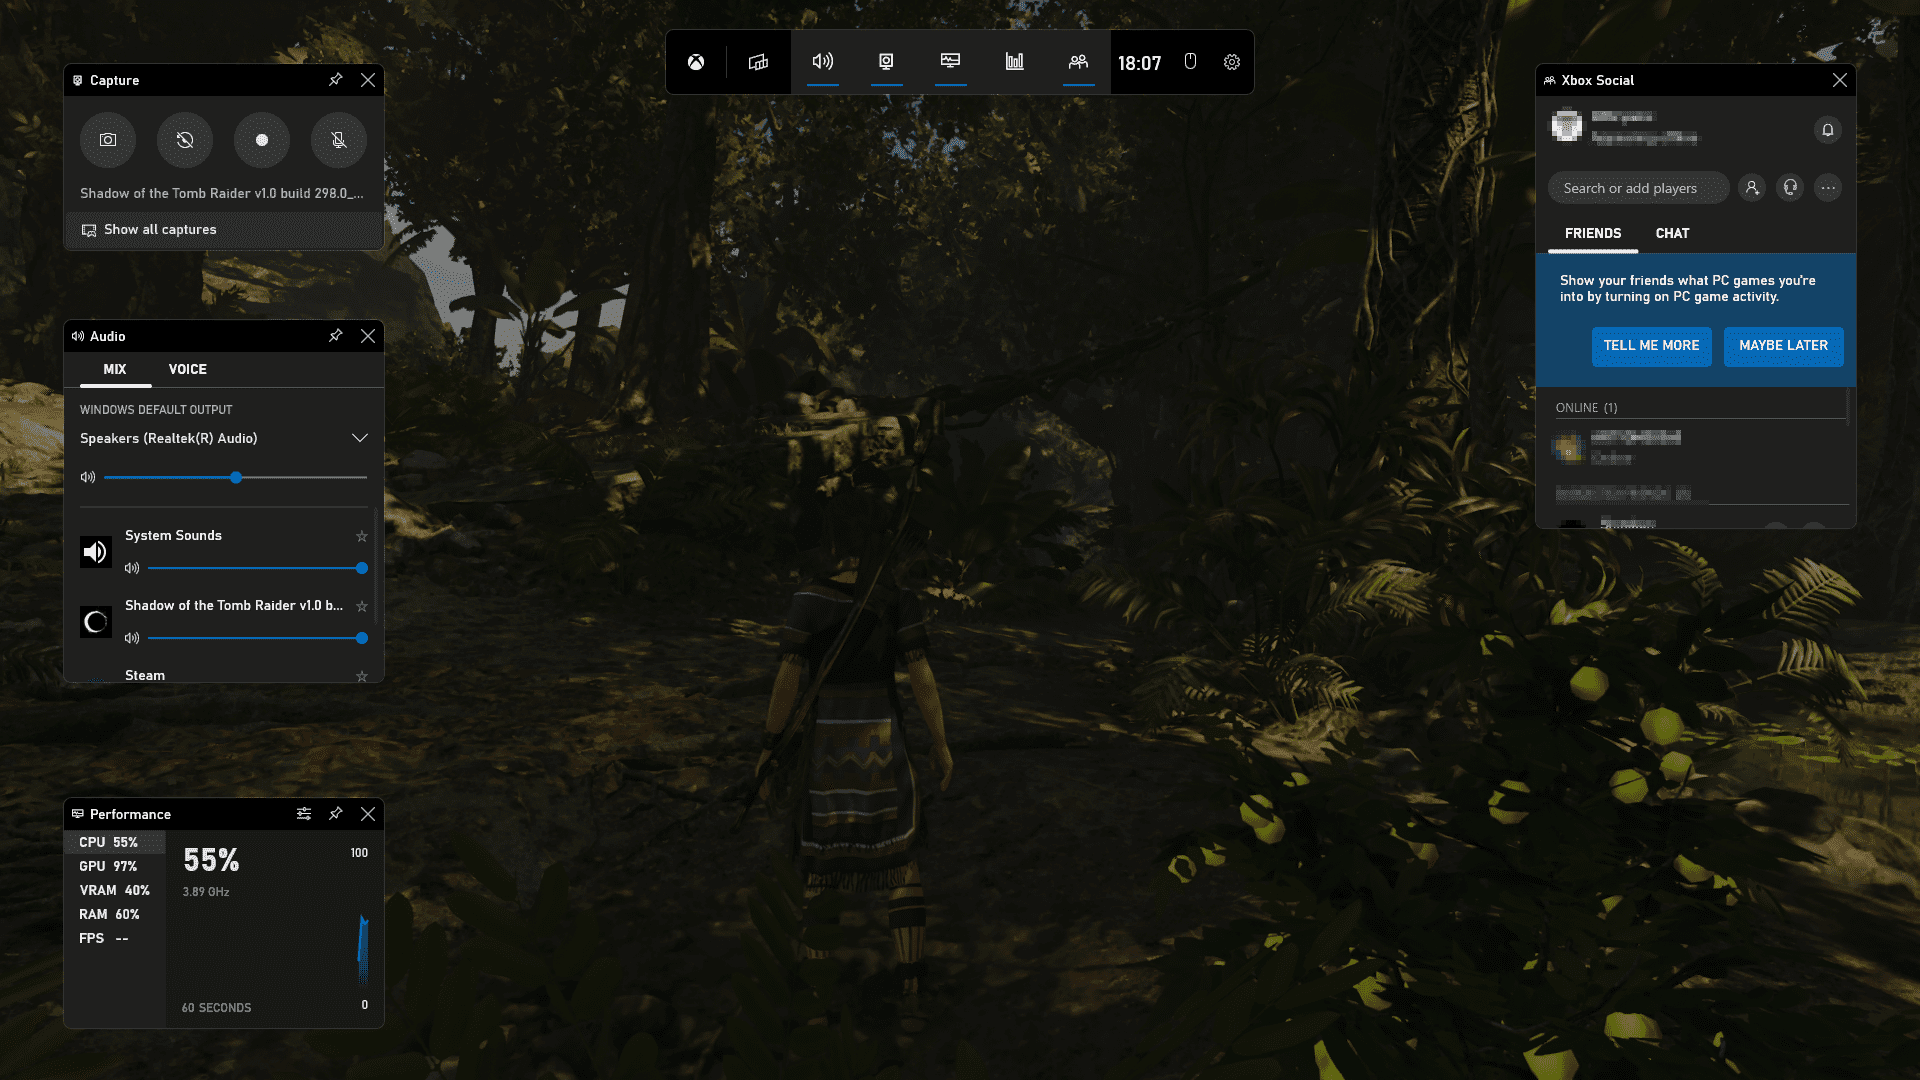
- Locate the Capture widget in the top-left corner of the screen.
- Before recording, ensure audio is enabled:
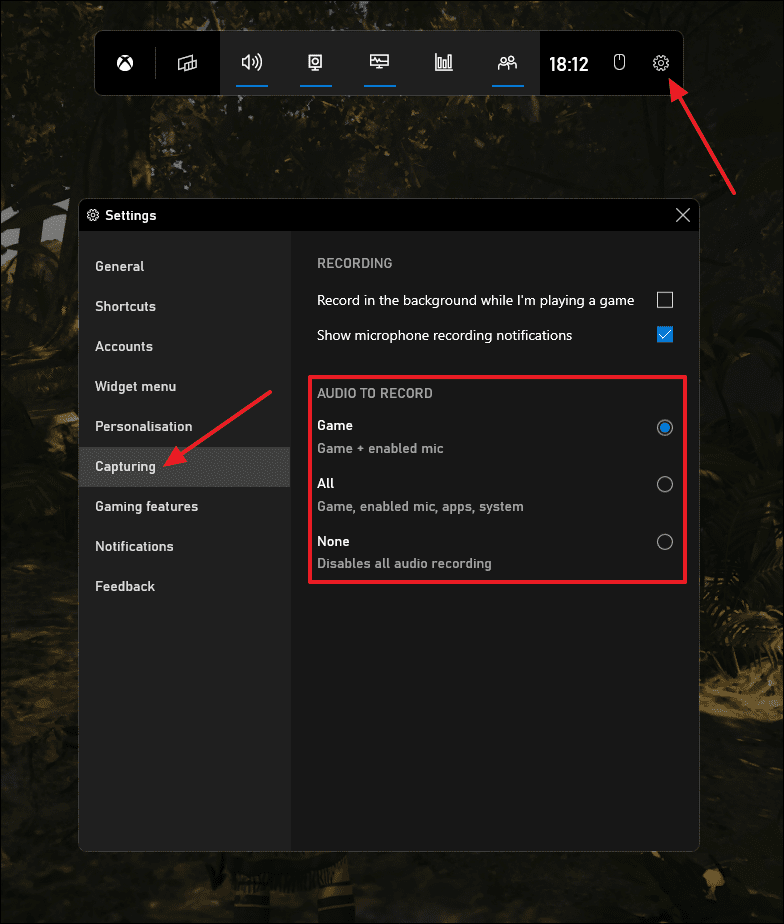
- Click the Settings (cog) icon on the Game Bar.
- Select Capturing from the left panel.
- Under AUDIO TO RECORD, choose:
- Game to record the application/game and your microphone.
- All to record all system audio along with your mic.
- To start recording:
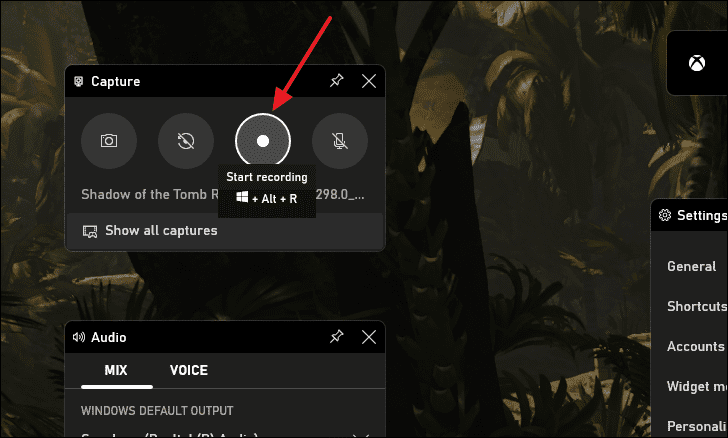
- Click the Record (circle with a dot) button on the Capture widget.
- Or press
Windows+ALT+ron your keyboard.
A small Capture Status window will appear, showing the recording duration. You can mute or unmute your microphone using this widget.
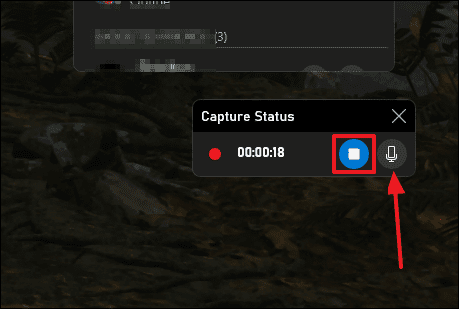
- To stop recording:
- Click the Stop (square) button on the Capture Status widget.
- Or press
Windows+ALT+ragain.
- After stopping, a notification will appear saying “Game clip recorded.”

- To view your recordings:
- Click on Show all captures in the Capture widget.
Alternatively, navigate to the default save location:
C:\Users\[Your Username]\Videos\Captures
Recording Screen with Audio Using OBS Studio
For those seeking more control and customization over their screen recordings, OBS Studio is a powerful, free, and open-source software that offers advanced features.
Advantages of Using OBS Studio:
- Completely free to use.
- Offers extensive control over recording quality and settings.
- Supports advanced features like multiple sources and scenes.
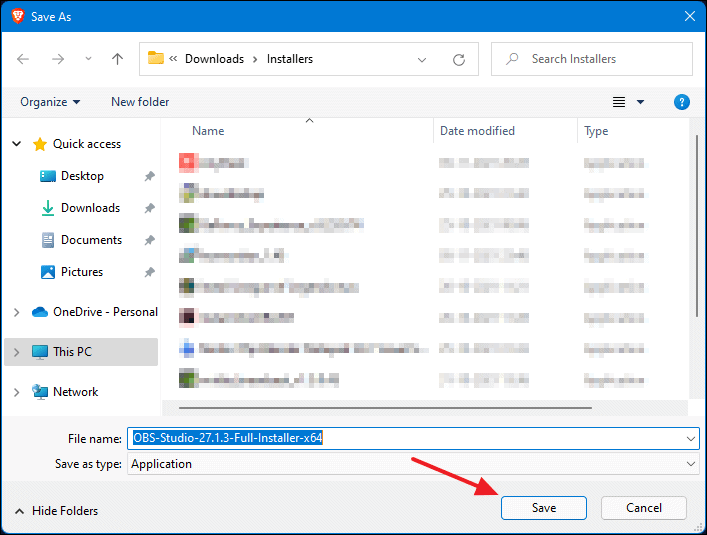
- Download OBS Studio from the official website.
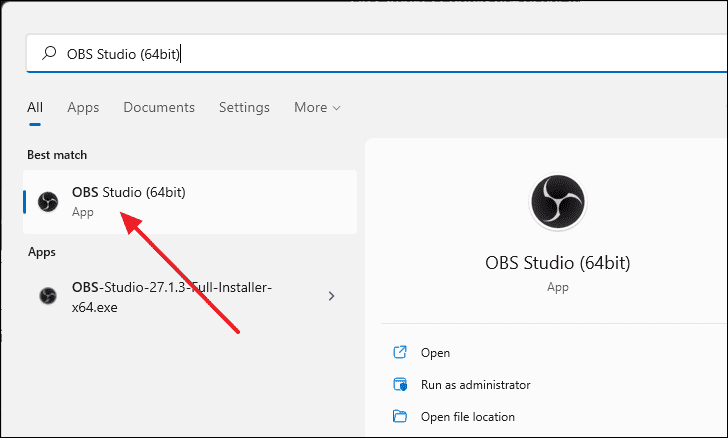
- Run the installer and follow the on-screen instructions to install OBS Studio.
- Launch OBS Studio from the Start Menu.
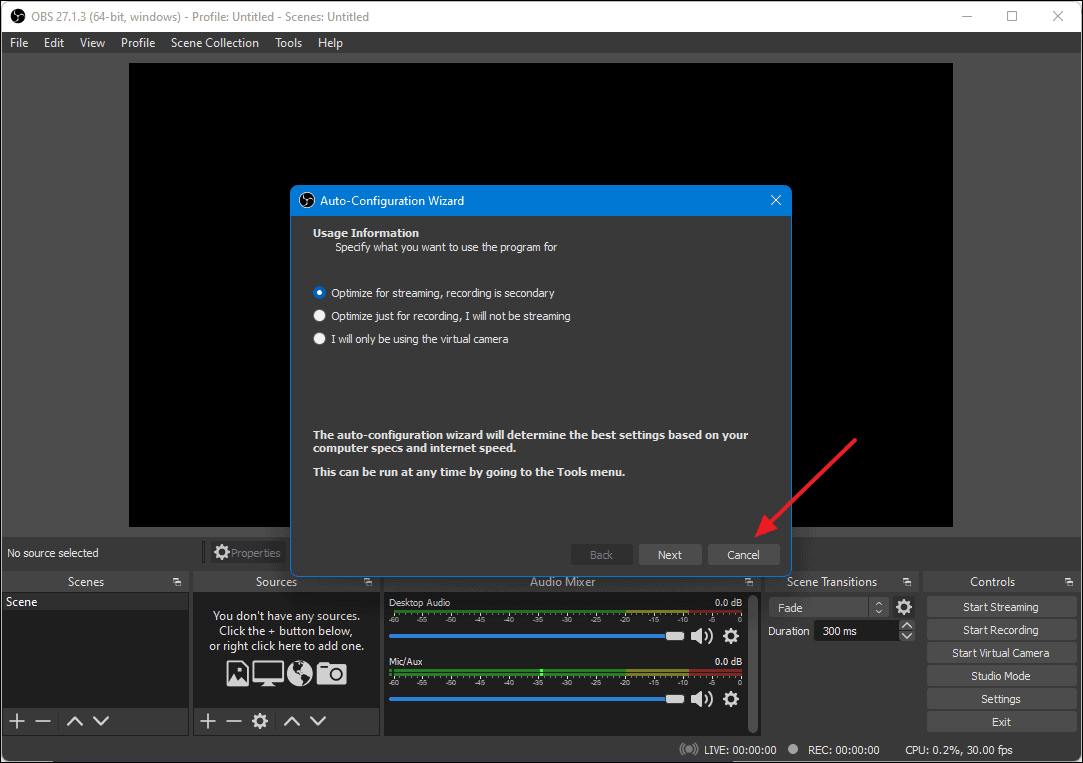
- When prompted by the Auto-Configuration Wizard, click Cancel.
Configuring OBS Studio Settings
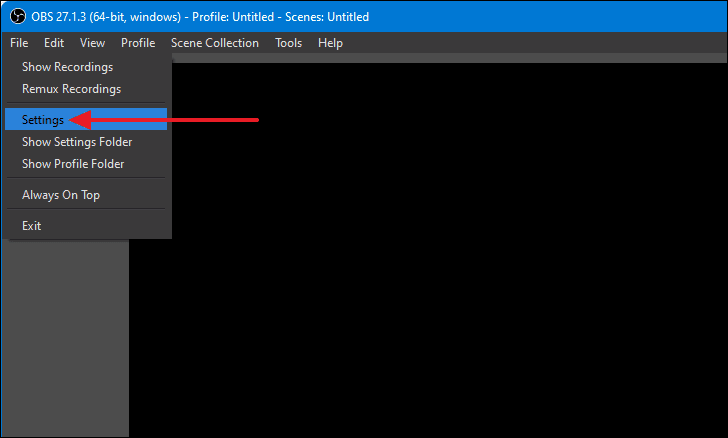
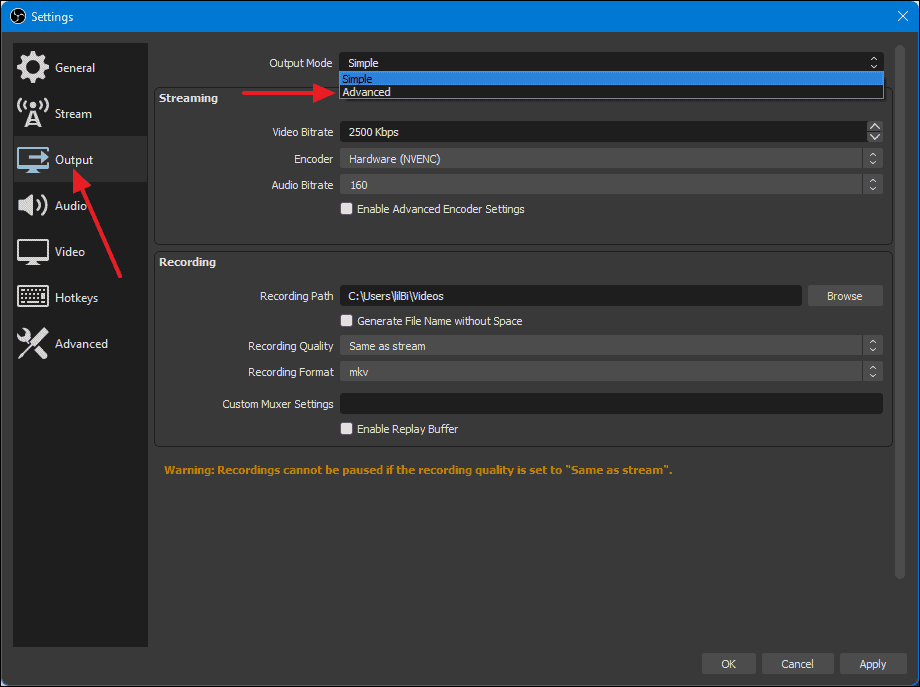
- Go to File > Settings to open the settings window.
- Under the Output tab:
- Change Output Mode to Advanced.
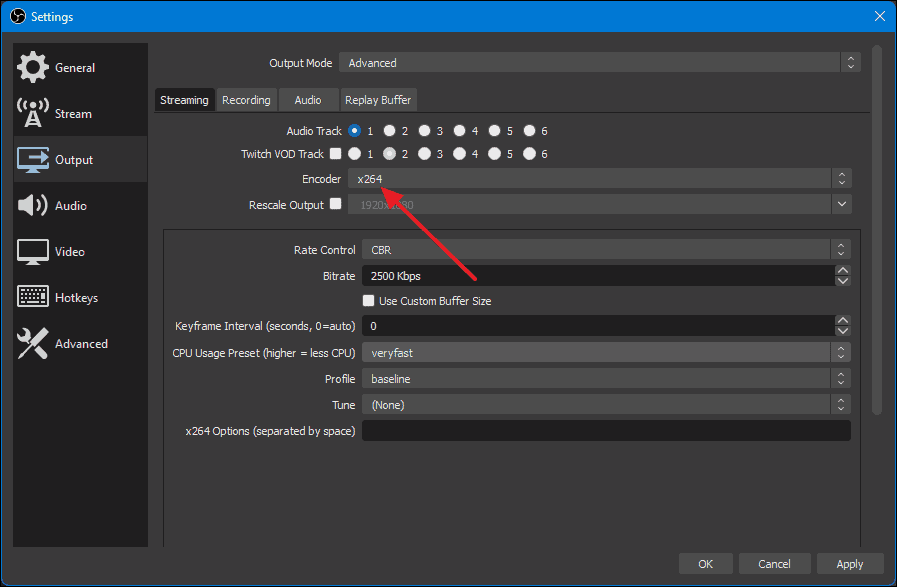
- Navigate to the Recording tab.
- Select an Encoder:
- If you have a dedicated GPU, choose your GPU encoder (e.g., NVIDIA NVENC H.264).
- If not, select x264.
- Set Rate Control to CBR (Constant Bitrate).
- Set the Bitrate:
- For 1080p at 60fps, 4000 to 6000 Kbps is recommended.
- Choose a Preset:
- Quality for higher quality recordings (requires more resources).
- Performance for lower-end systems.
- Click Apply to save the changes.
Note: If using the x264 encoder, you might need to lower the bitrate (e.g., 2500 Kbps) and set the CPU Usage Preset to veryfast for better performance on lower-end machines.
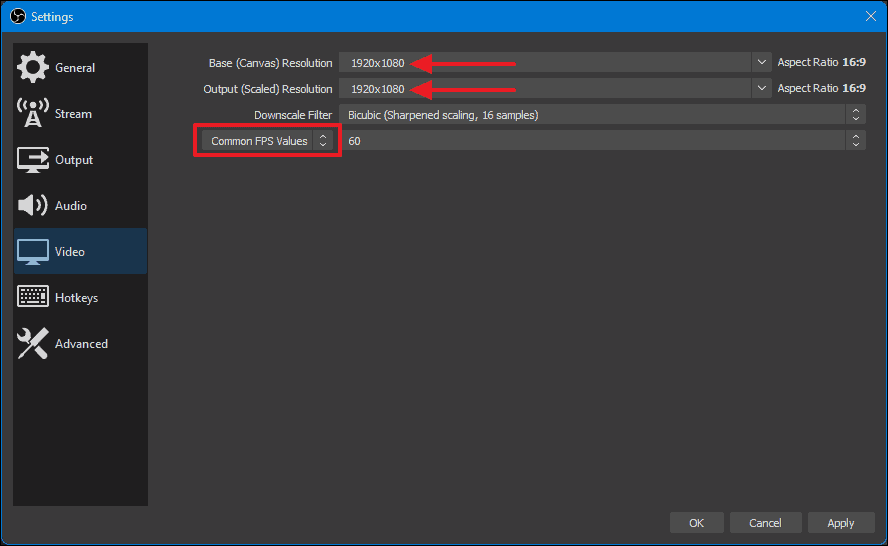
- Under the Video tab:
- Set the Base (Canvas) Resolution to your monitor’s resolution.
- Set the Output (Scaled) Resolution to the desired recording resolution.
- Choose the Common FPS Value (e.g., 60).
- Click Apply.
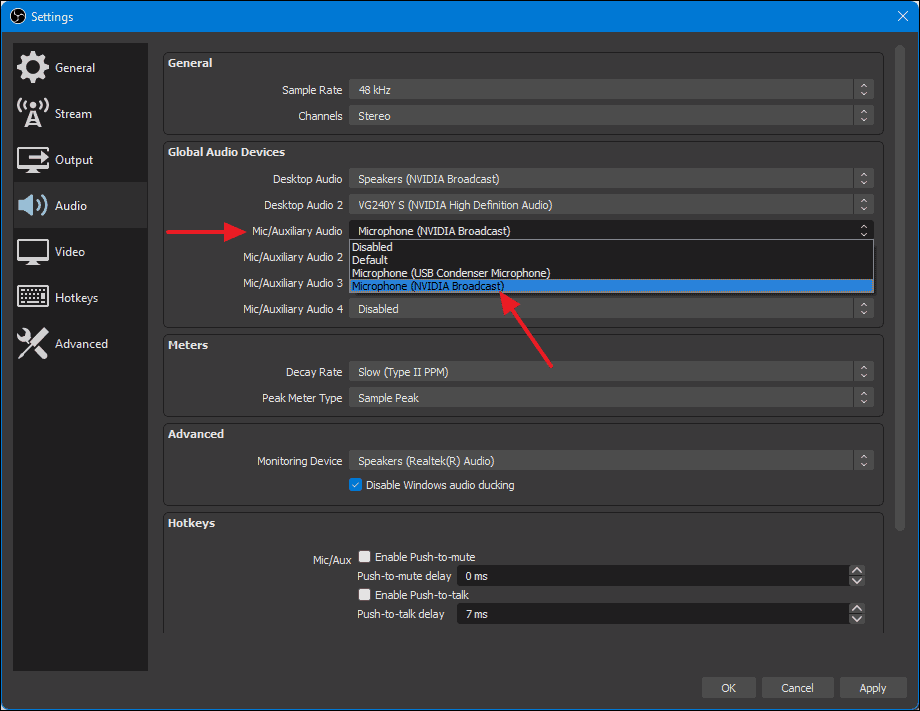
- Under the Audio tab:
- Set Desktop Audio to your default playback device (e.g., Speakers).
- Set Mic/Auxiliary Audio to your microphone.
- Enable Push-to-Mute or Push-to-Talk if desired.
- Click Apply.
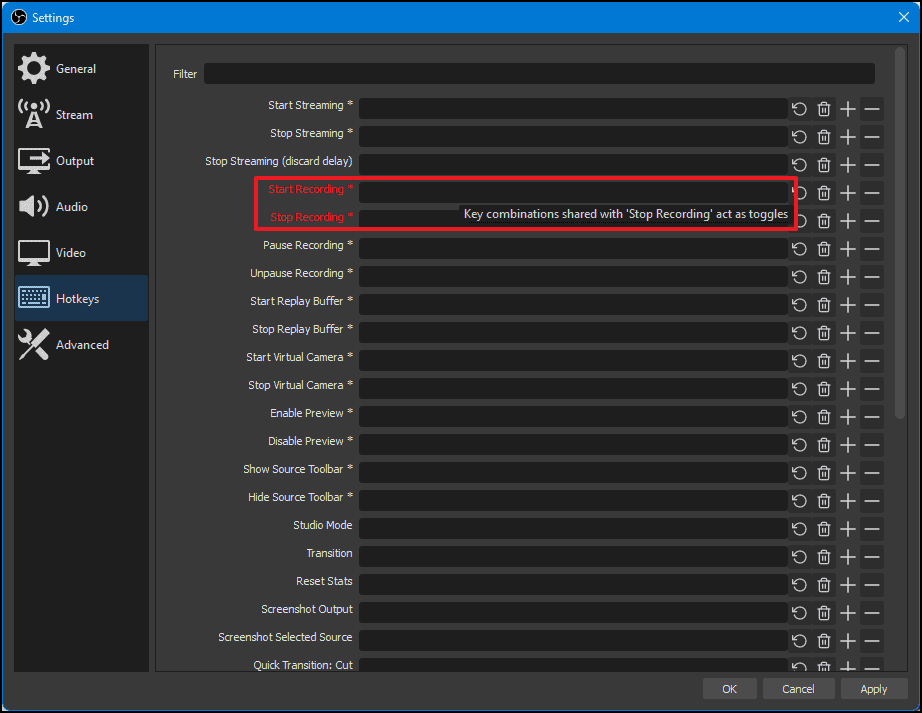
- Under the Hotkeys tab:
- Assign hotkeys for Start Recording and Stop Recording.
- Assign hotkeys to mute/unmute audio sources if needed.
- Click Apply and then OK to close the settings.
Setting Up Sources and Scenes
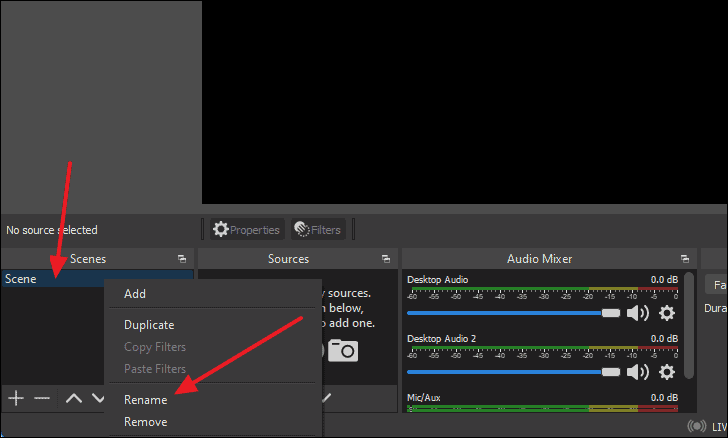
- In the Scenes panel, right-click on the default scene and select Rename. Rename it to something like “Screen Capture.”
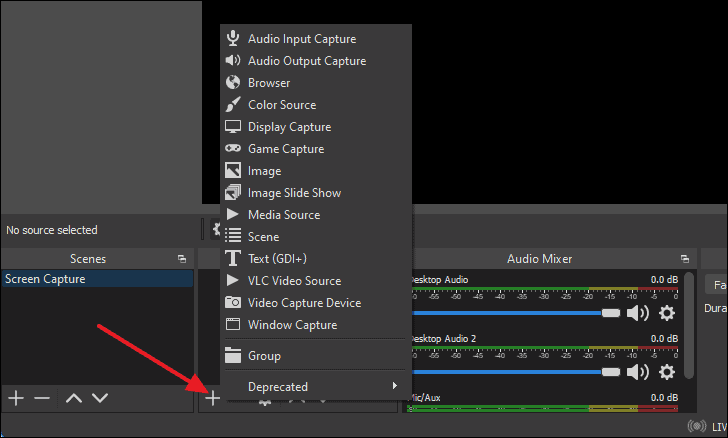
- In the Sources panel, click the + button to add a new source.
- Select the type of source you want:
- Display Capture to record your entire screen.
- Window Capture to record a specific window.
- Game Capture to record a game.
- Name the source and click OK.
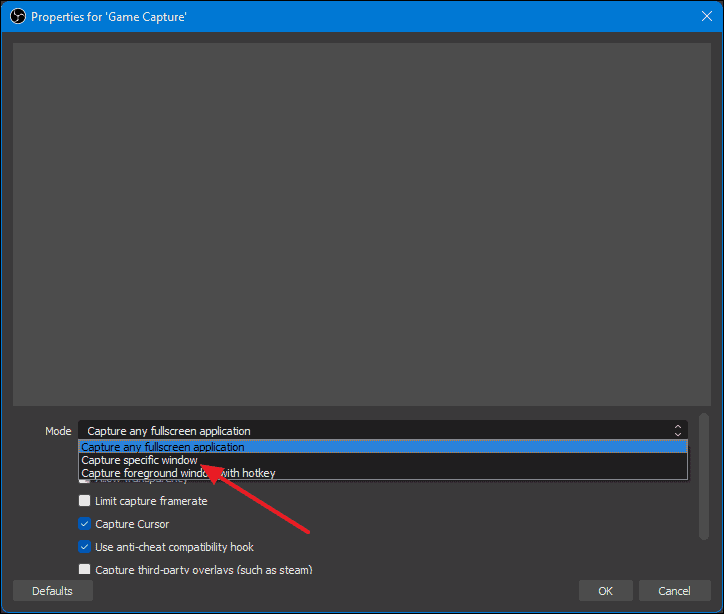
- Configure the source settings:
- If using Game Capture, set Mode to Capture Specific Window.
- Select the window or game you want to record.
- Click OK to confirm.
Starting the Recording
- Ensure the source preview is visible in OBS Studio.
- Click Start Recording in the bottom-right corner or use the assigned hotkey.

- To stop recording, click Stop Recording or use the hotkey.
- To access your recordings, go to File > Show Recordings.

OBS Studio provides a robust platform for recording your screen with audio. While it may require a bit more setup compared to built-in tools, the advanced features and customization options make it a valuable tool for many users.
Alternative Screen Recording Software
If OBS Studio doesn’t suit your needs, here are some alternatives:
- Icecream Screen Recorder: A user-friendly screen recorder with basic features. Note that the free version has recording time limitations.
- Camtasia: Offers advanced recording and video editing features. It is a paid application and has a steeper learning curve.
- DemoCreator: Provides screen recording at up to 120 FPS and includes video editing tools. It’s suitable for creating professional presentations and tutorials.
Recording Screen with Audio Using NVIDIA GeForce Experience
If you have an NVIDIA graphics card, you can use NVIDIA’s ShadowPlay feature within GeForce Experience to record your screen with audio. ShadowPlay is similar to the Xbox Game Bar and provides easy access to screen recording and other features.
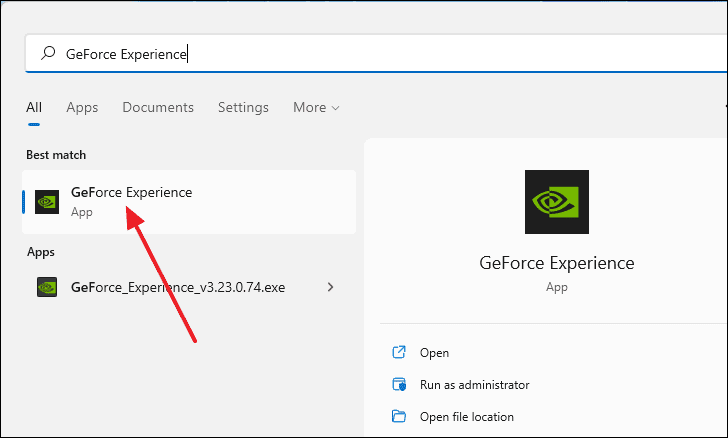
- Ensure that NVIDIA GeForce Experience is installed.
- Open GeForce Experience from the Start Menu.
- Click the Settings (cog) icon in the top-right corner.
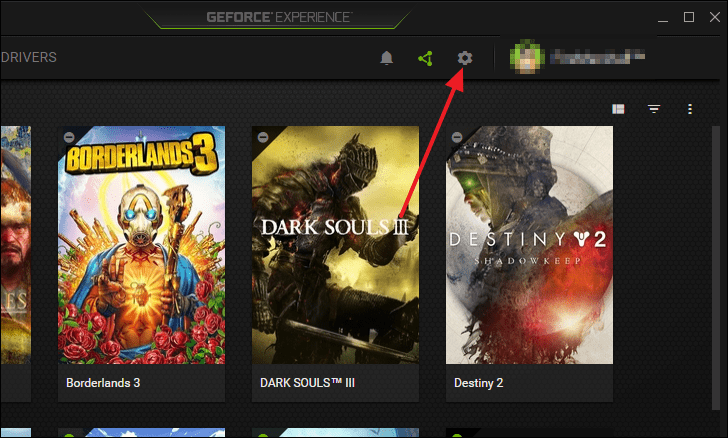
- Ensure that the IN-GAME OVERLAY toggle is enabled.

- Launch the application or game you wish to record.
- Press
ALT+zto open the NVIDIA overlay.
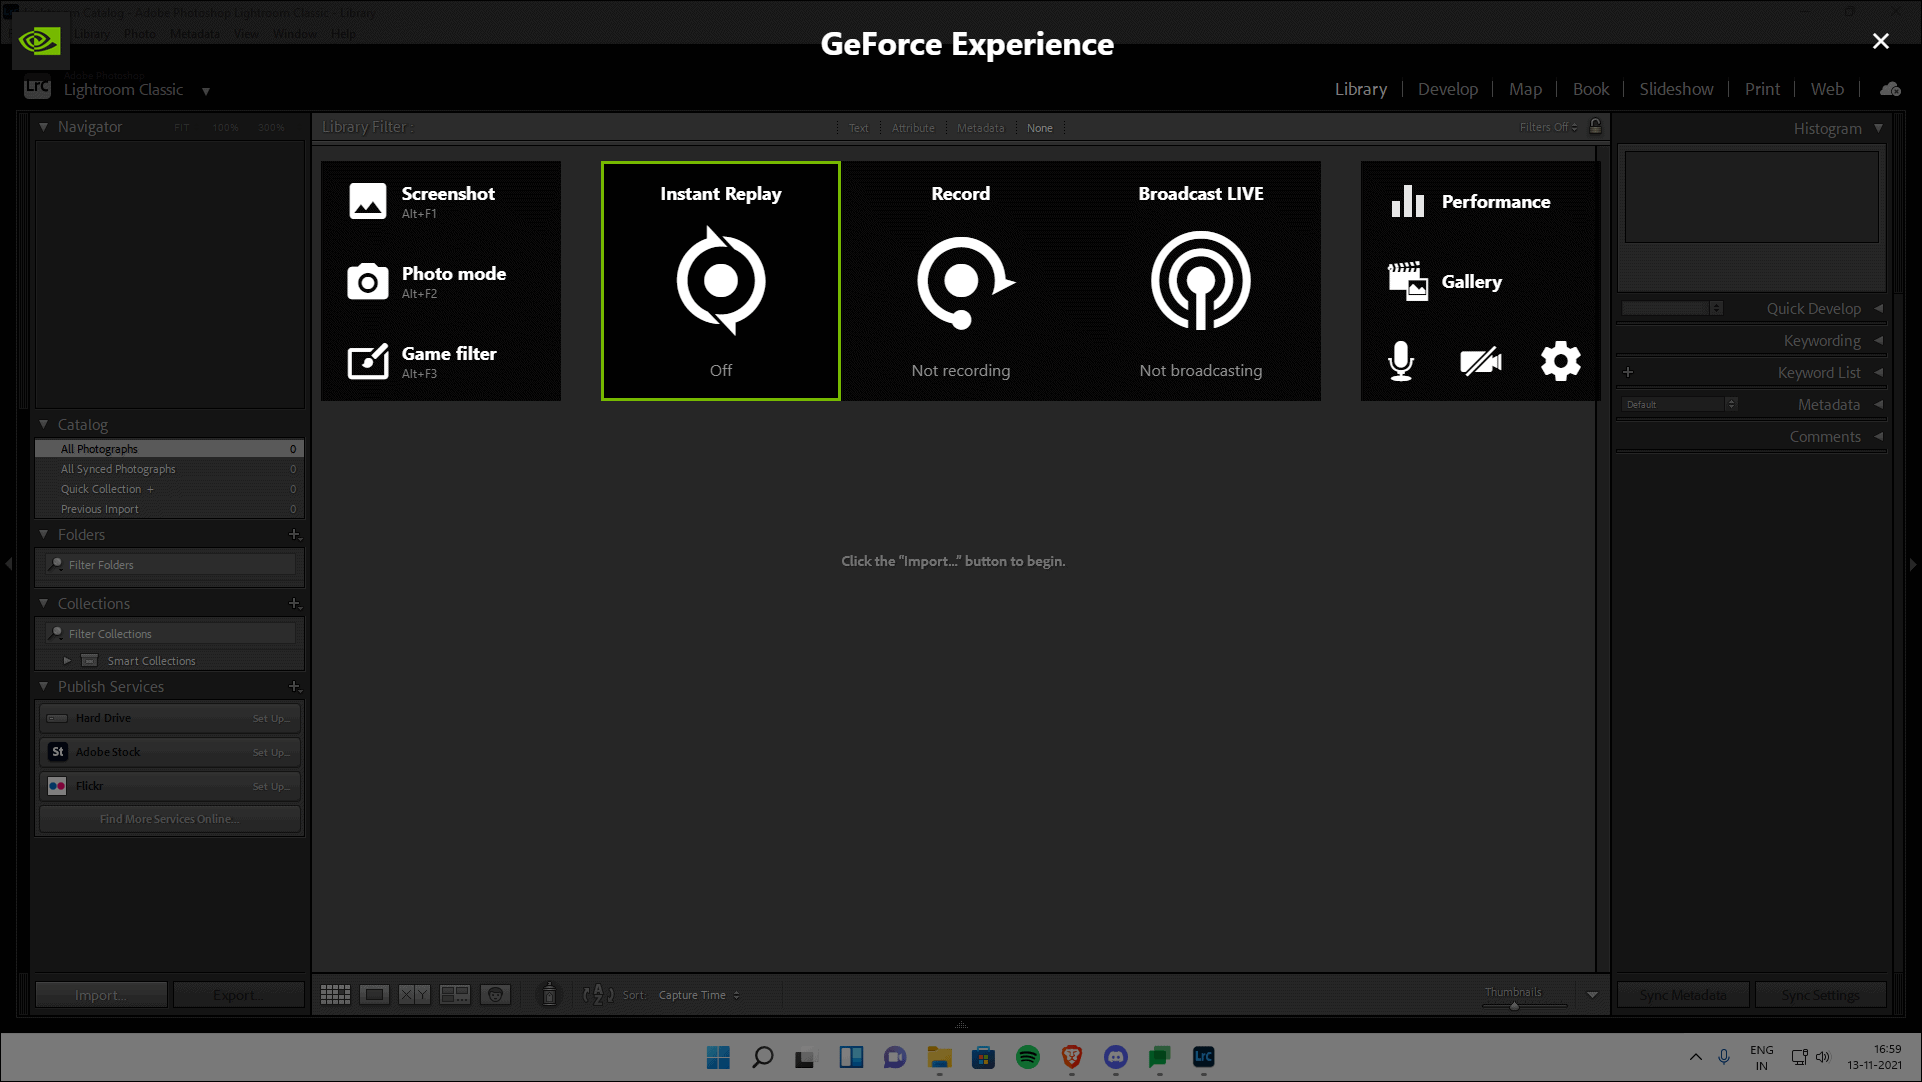
- Click the Settings (cog) icon in the overlay.
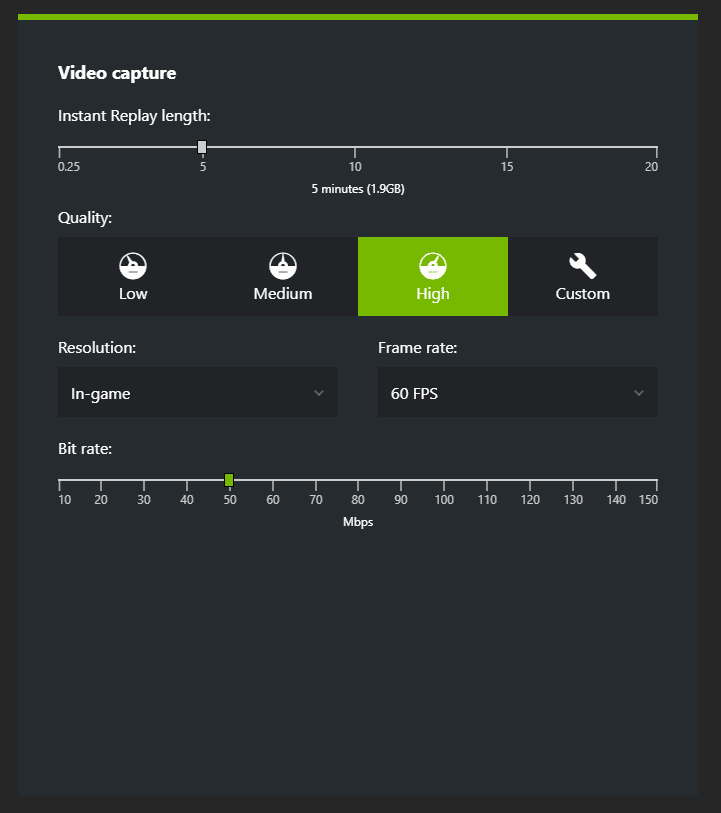
- Adjust your recording settings:
- Select Video Capture to set quality, resolution, and frame rate.
- Adjust the Bitrate as needed.
- Go back and select Audio to configure audio settings, including system sounds and microphone levels.
- Return to the main overlay menu.
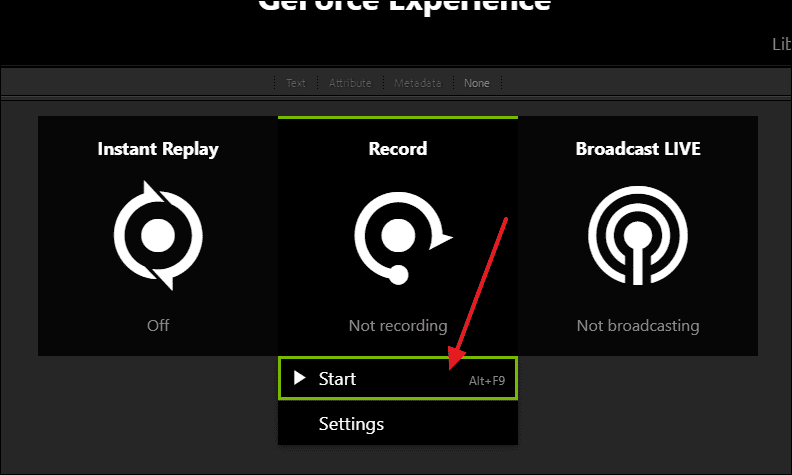
- Click on Record, then select Start to begin recording.
- Alternatively, press
ALT+F9to start or stop recording.
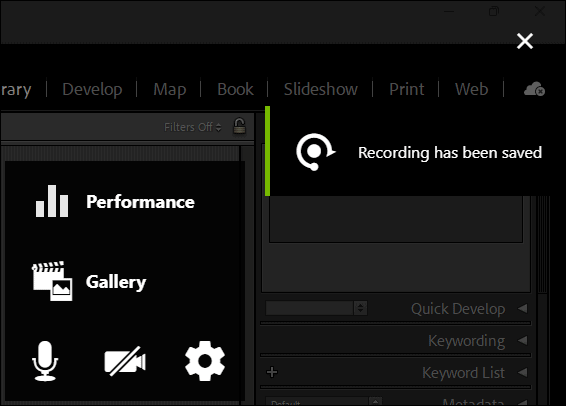
- To stop recording, press
ALT+F9or use the overlay. - A notification will confirm that the recording has been saved.
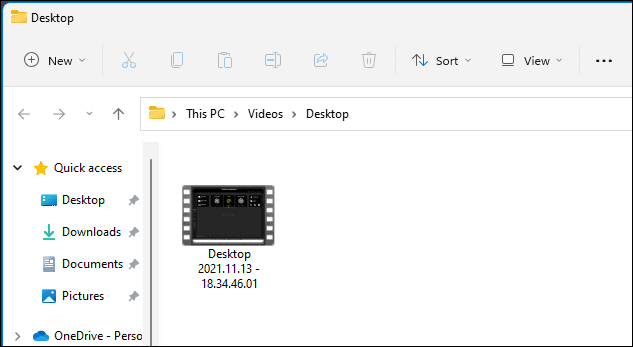
- To access your recordings:
- Press
ALT+zto open the overlay. - Click on Gallery.
- Select your recording and click Open file location to view it in File Explorer.
- Press
NVIDIA’s GeForce Experience provides an easy and efficient way to record your screen with minimal setup, especially suitable for gamers using NVIDIA GPUs.
Whether you opt for the built-in Xbox Game Bar, the feature-rich OBS Studio, or NVIDIA’s GeForce Experience, Windows 11 offers multiple ways to record your screen with audio. Choose the method that best suits your needs and hardware capabilities to start capturing your screen effortlessly.


