
When setting up a new computer, you are required to enter a username. This username becomes your system identity and you will use it to log in. A user folder is also created with the same username. However, if you make a mistake while typing the username or simply want to change it, Windows 10 offers you the option to change it, but the process is different.
Renaming the user folder in Windows 10 is not as simple as it used to be in the earlier versions of Windows.
There are multiple ways to change username, with the Windows Registry method being the most effective. However, it should be your last resort, since the method is intricate and any lapse can severely harm your computer.
Renaming User Folder in Windows 10
We will be discussing two methods, the first one being a workaround or hack, and the other one is the Windows Registry method.
Using a A New Account
Several users are not very comfortable using the registry editor as it can lead to critical system issues if things go wrong. Therefore, the simplest method is to create a new local account with the desired username, grant it administrator access, and then revoke the administrator access of the old account.
Creating A New Account
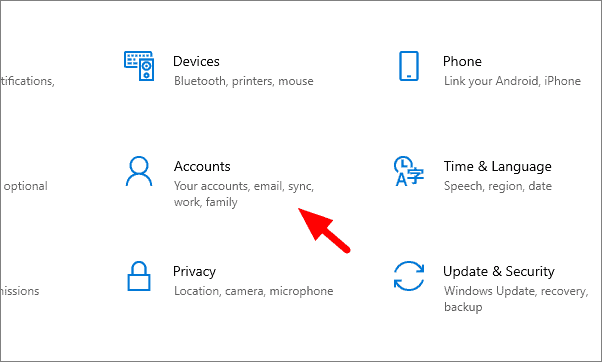
To create a new user account, press WINDOWS + I to open Settings, and then click on ‘Accounts’. You can also access settings from the Quick Access Menu or Start Menu.
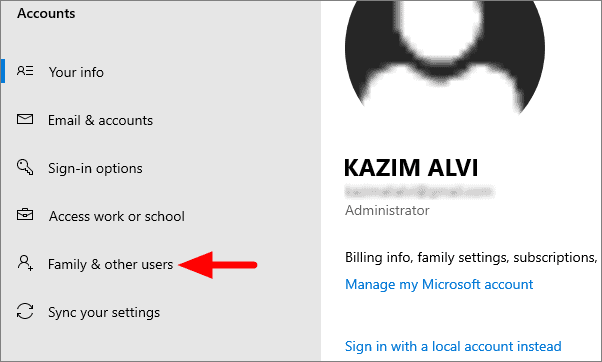
In the Account Settings, select ‘Family and other users’ from the list of options on the left.
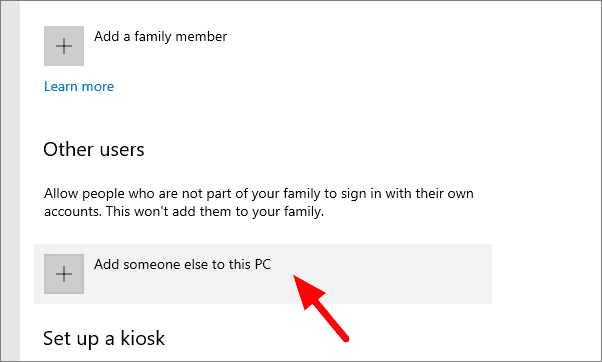
Now select ‘Add someone else to this PC’ under ‘Other users’.
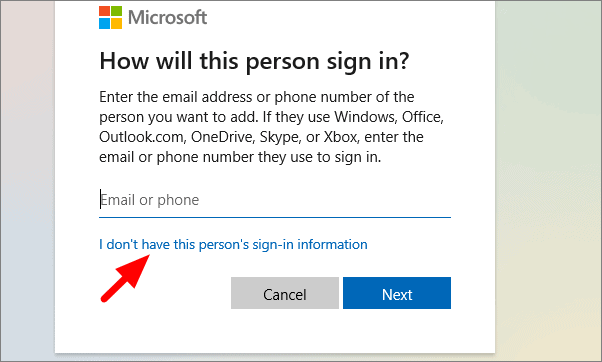
It will now ask you for the email id or phone number of the user. Since we intend to create a local account, click on ‘I don’t have this person’s sign-in information’ at the bottom.
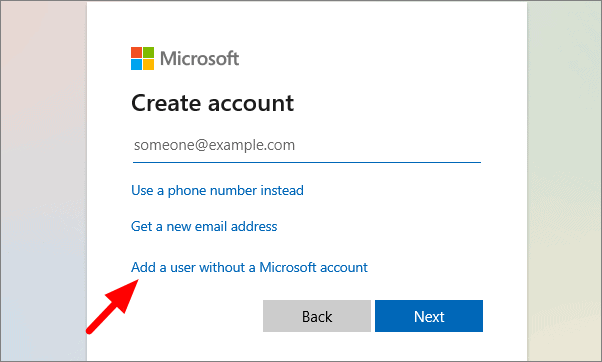
On the next page, select ‘Add a user without a Microsoft account’.
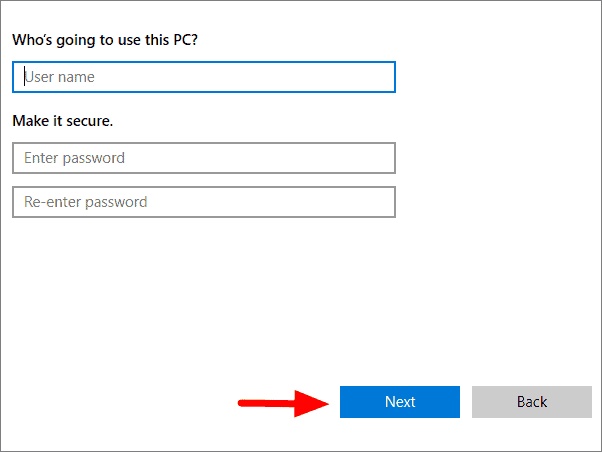
You will now be asked to enter a username and password. Enter the username you planned to use for your old user account. After you enter the password, you will be asked to set three security questions, in case you forget your password. After filling out all the sections, click on ‘Next’ at the bottom.
A new local account has been created with the desired username. Now, all we have to do is to make it an administrator account.
Changing Account Type of New Account
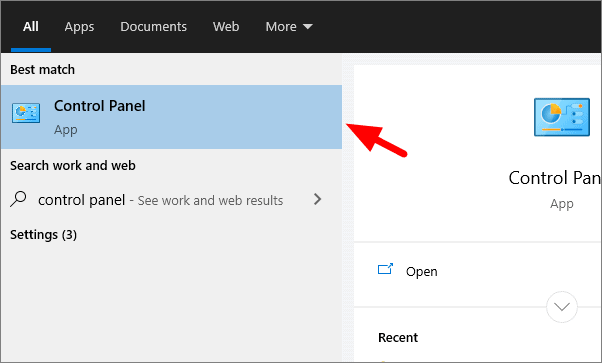
To change the account type to the administrator, search for ‘Control Panel’ in the Start Menu and then open it.
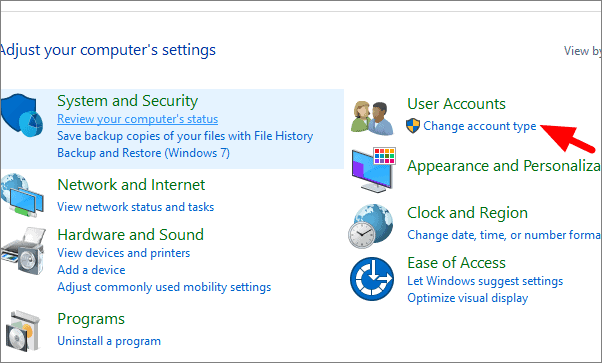
Click on ‘Change account type’ under User Account in the Control Panel.
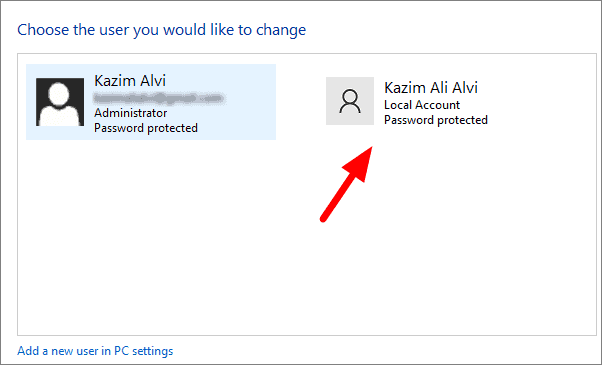
You can now see both the user accounts, the old one and the new one. Click on the new local account.
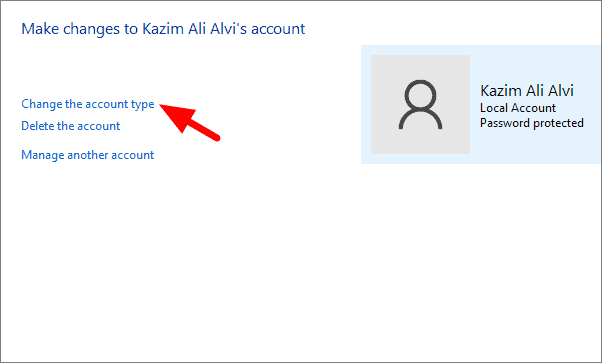
Now, select ‘Change the account type’, the first option.
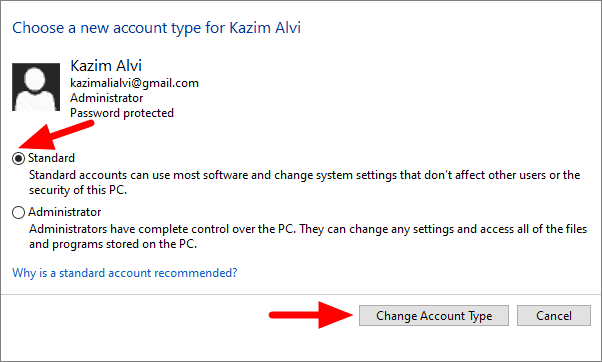
On the next window, click on the circle right before ‘Administrator’ to select it, and then click on ‘Change Account Type’ at the bottom.

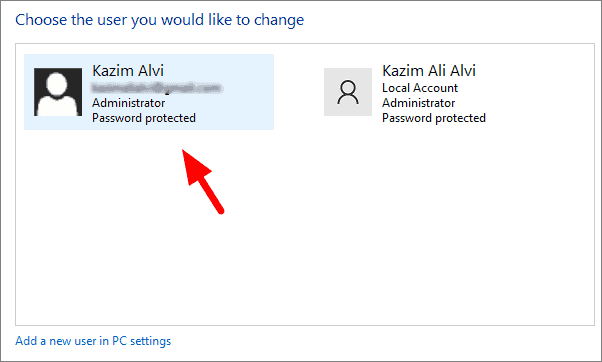
The new local account is now an administrator account. So far, we have achieved what we wanted, having an administrator account with the desired username. There’s just one more thing left to do, changing the account type of the old account.
Changing Account Type of Old Account
Go back to the window where the user accounts are displayed and click on the old account.
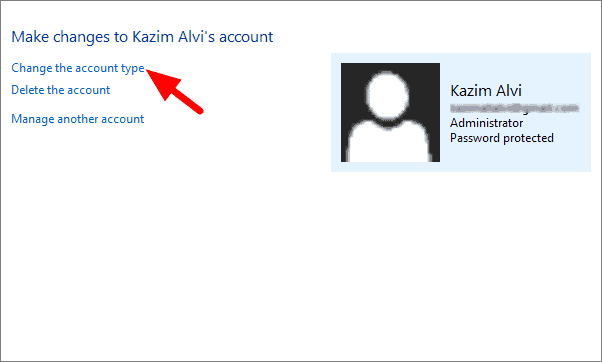
Now, click on ‘Change the account type’.
Select ‘Standard’ and then click on ‘Change Account Type’ at the bottom.
We now have a user account with the desired name and administrator access without making any changes in Windows Registry. You can link the new account anytime to Microsoft. Also, there’s the option to delete the old account.
Using Windows Registry
Now that we have discussed the workaround, we must also see the Windows Registry method to rename the user folder.
Creating a New Account
You must have another administrator user account to rename the user folder using Windows Registry.
Create a new local account using the method discussed above and make it the administrator. The name of the new user account will not affect the process, therefore, name it as per your preference.
Log In to the New Account
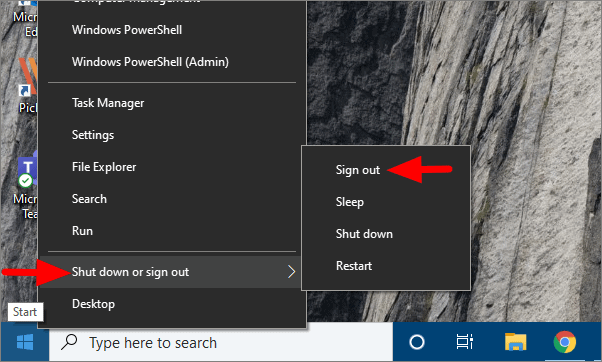
Once you have created the new account, right-click on the windows icon at the left of the taskbar. Now move the cursor over ‘Shut down or sign out’, and then select ‘Sign out’ from the menu.
Now log in using the new user account. It will take a couple of minutes for Windows to set up since you are using the account for the first time. Furthermore, you will be asked to set the settings or go with the default options.
Renaming the User Folder from another Administrator account
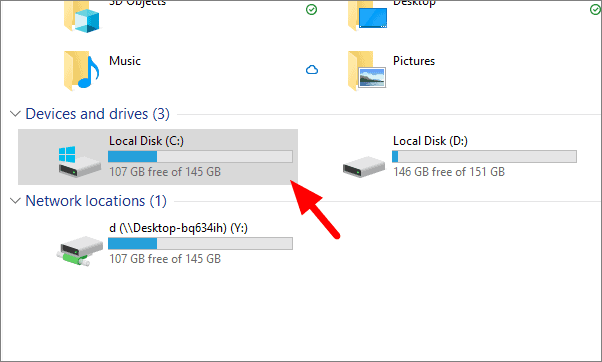
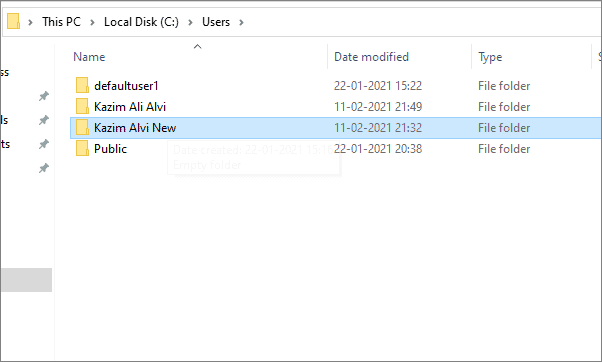
Once you are logged in with the new account, open the file explorer and then click on ‘Local Disk (C:)’.
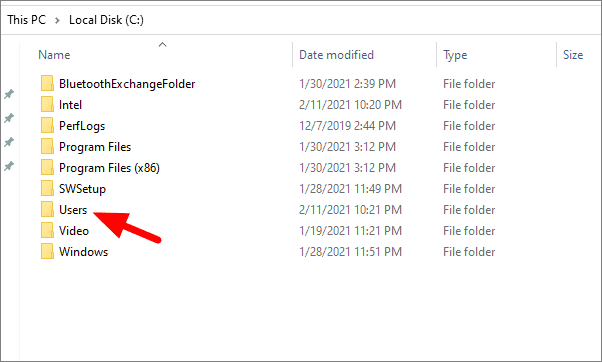
In the C drive, select ‘Users’.
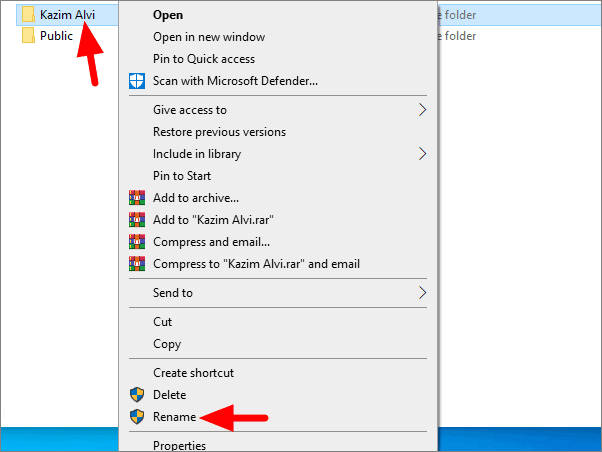
Right-click on your old user account and select ‘Rename’ from the menu. Now, use the desired name for the user folder and press ENTER.
You will see the new user folder name reflecting on the window.
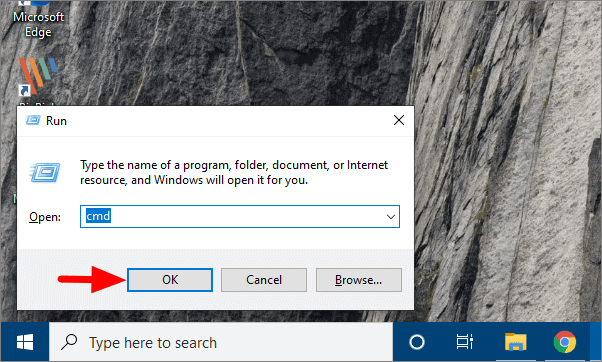
Now, close the File Explorer and press WINDOWS + R to open Run. Type ‘cmd’ in the text box and then click on ‘OK’ at the bottom to open Command Prompt.
Enter the following command in Command Prompt and press ENTER to execute it. This command will show you the SID for the various user accounts. Note the SID of the account, for which you want to rename the user folder.
wmic useraccount get name,SID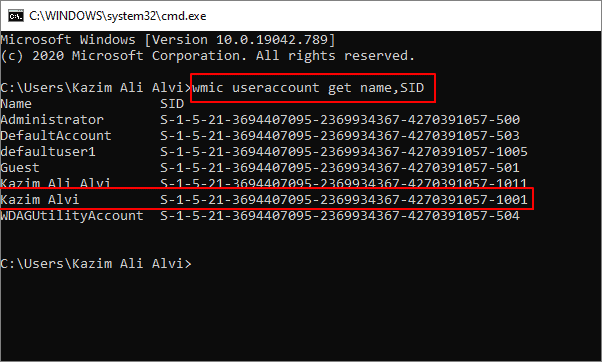
Again, press WINDOWS + R and type ‘regedit’ in the text box of Run to open the Registry Editor.
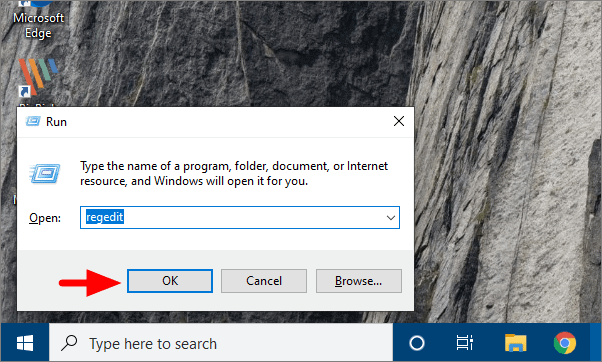
Now, copy-paste the following address in the address bar of Registry Editor, located at the top.
HKEY_LOCAL_MACHINE\SOFTWARE\Microsoft\Windows NT\CurrentVersion\ProfileList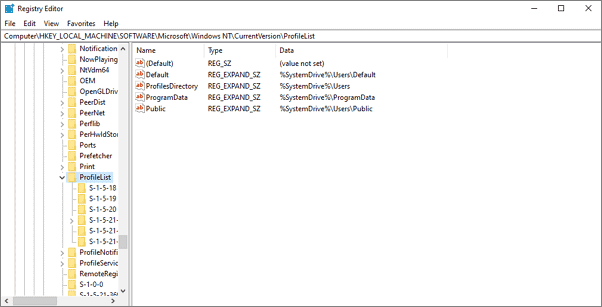
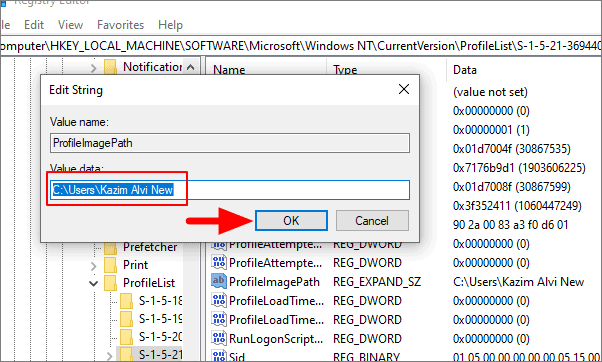
Search for the SID you noted above the sidebar and open it. Now, double click on ‘ProfileImagePath’ key from the list. Enter the new user folder name in the box below ‘Value data’ and then click on ‘OK’. This should be the same as the one entered in the File Explorer.
The user folder name is now successfully renamed. Restart your system, and when the screen with the various user accounts comes, you will see the new name.
Make sure the OneDrive is linked to the new user folder. In case it is not, go to the OneDrive settings and link it. Otherwise, you wouldn’t be able to access files and programs on your system if you have enabled sync.
Now that you know both, the Windows Registry method and the workaround, renaming the user folder would seem a daunting task like it used to earlier.


