
Automatically launching apps at startup in Windows 11 can enhance your efficiency by saving you the hassle of opening them each time you log in. Whether it’s your favorite productivity software or essential utilities, setting them to start automatically ensures they’re ready whenever you need them. Here are several methods to achieve this in Windows 11.
Method 1: Create a Shortcut in the Startup Folder
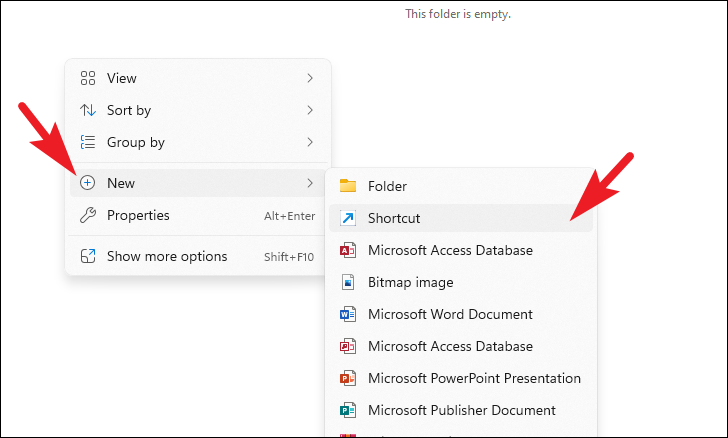
One effective way to run applications automatically at startup is by placing their shortcuts in the Startup folder. This method allows you to add any app and even configure it to launch in a maximized window.
Windows+R keys to open the Run dialog box. Type shell:startup and click OK or press Enter. This will open the Startup folder in File Explorer.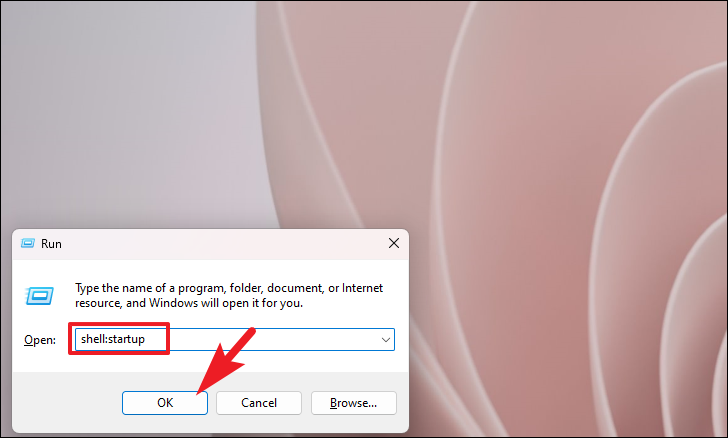
.exe file, and click Open.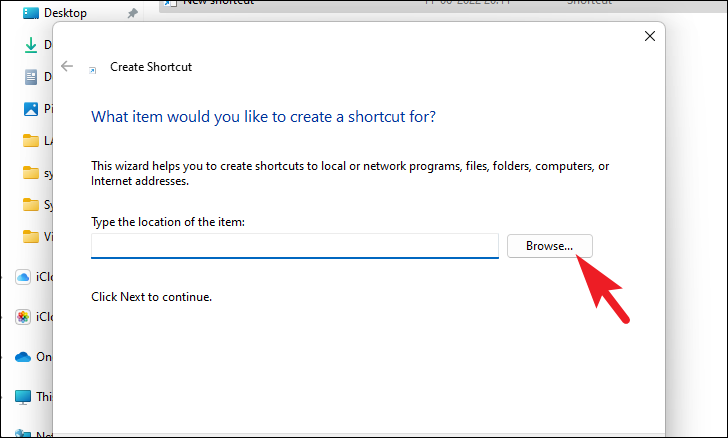
To start the program maximized:

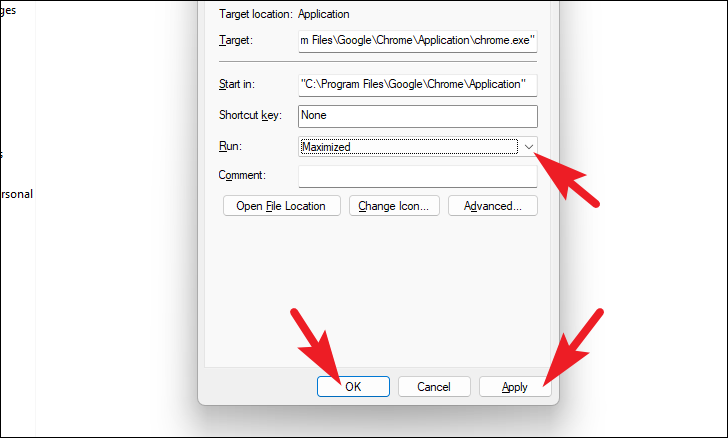
You can repeat these steps to add as many applications as you like to the Startup folder, ensuring they all open automatically when you log in.
Method 2: Copy Applications Directly to the Startup Folder
If you have multiple apps to add to the startup sequence, copying them directly to the Startup folder can be more efficient.

Windows+R, typing shell:appsfolder, and pressing Enter. This folder contains shortcuts to all installed applications.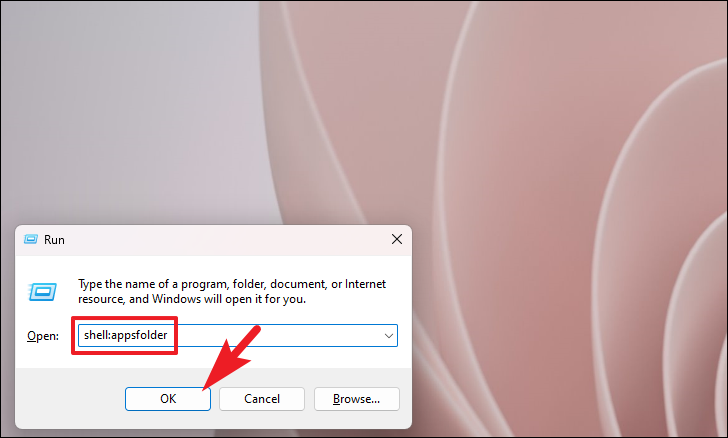
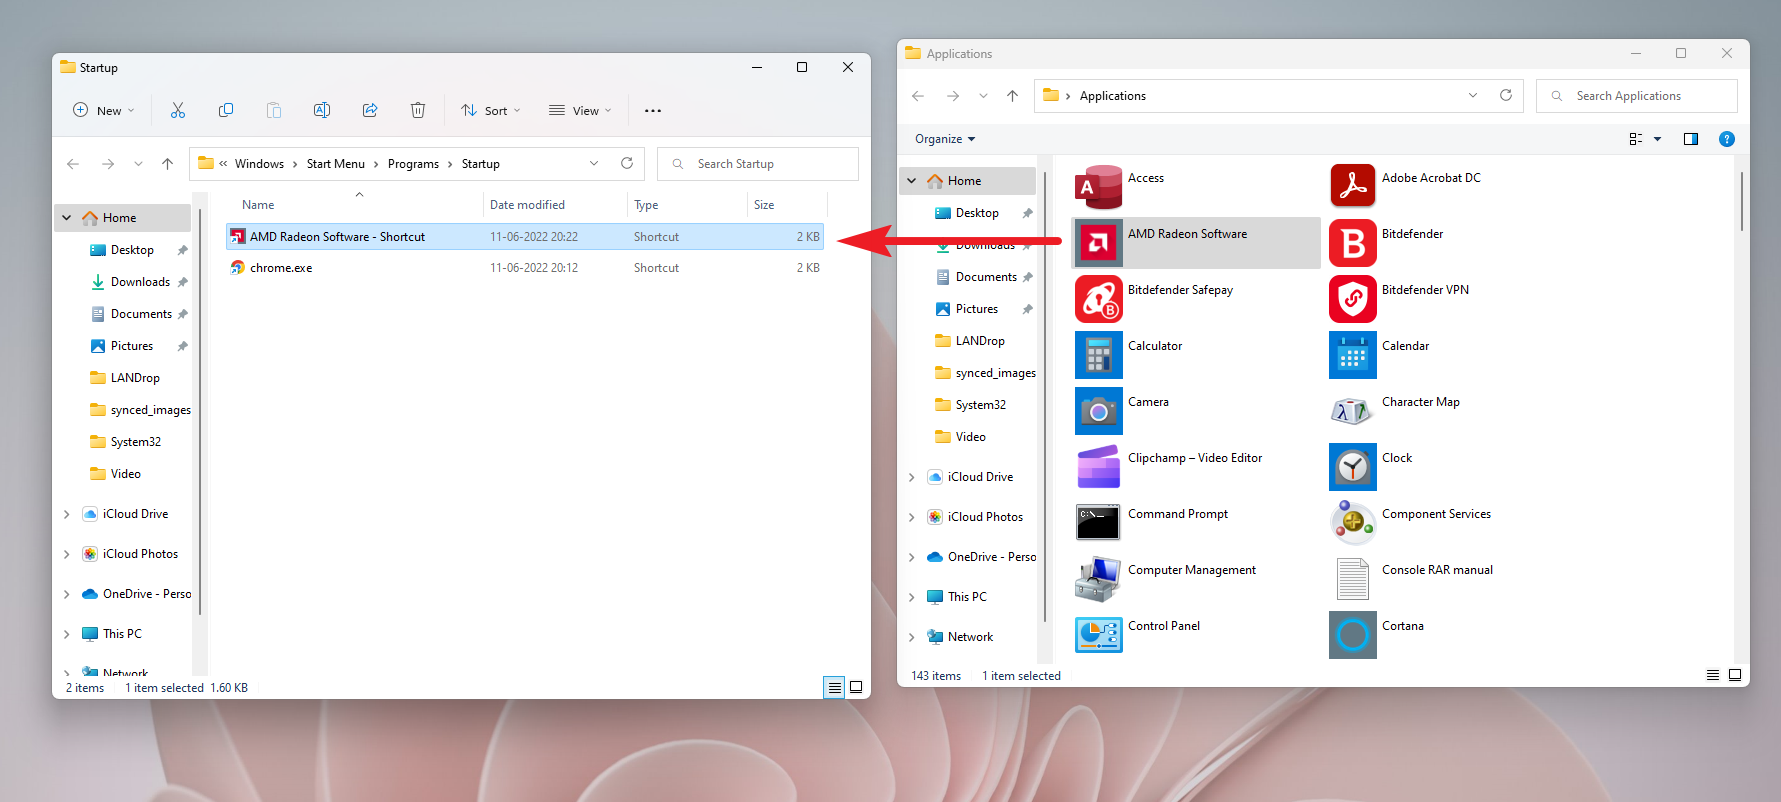
This method allows you to quickly add multiple applications to the startup routine without creating shortcuts manually.
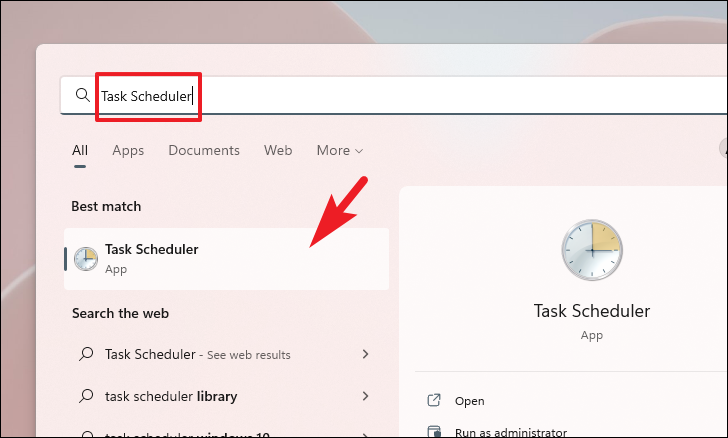
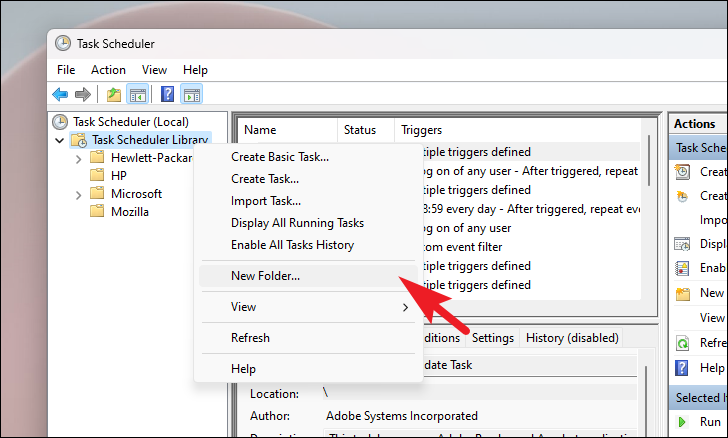
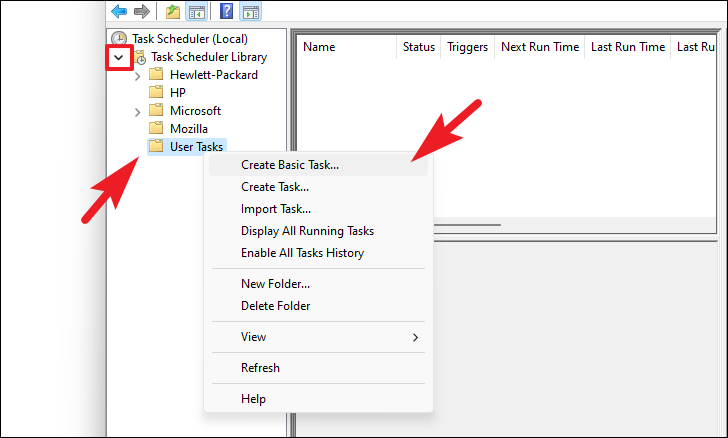
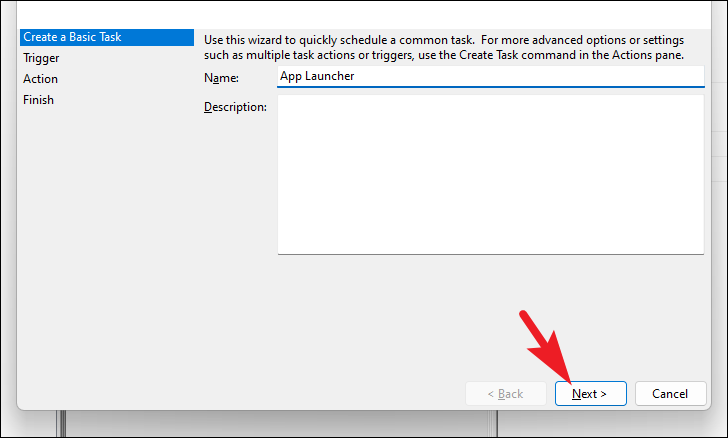
Method 3: Use Task Scheduler to Launch Programs at Startup
Task Scheduler offers advanced options for running programs automatically with additional triggers and settings.
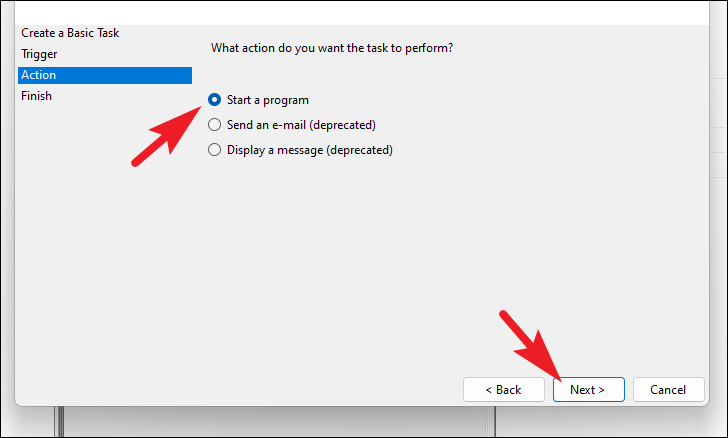
.exe file you want to run. Select it and click Open, then click Next.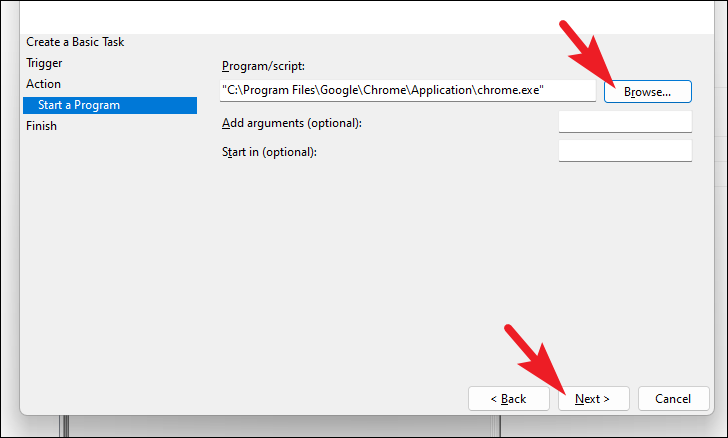
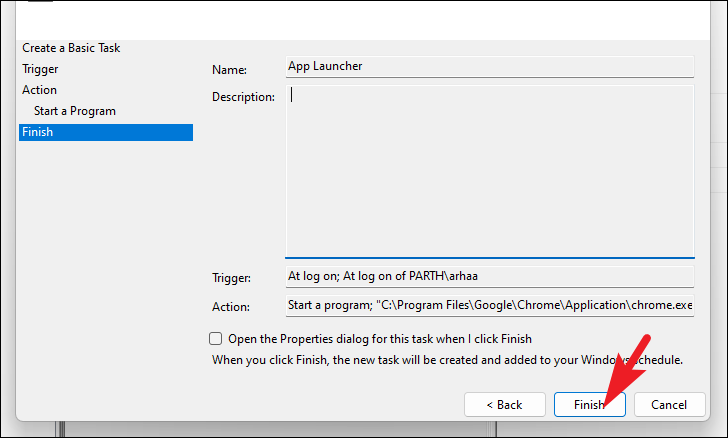
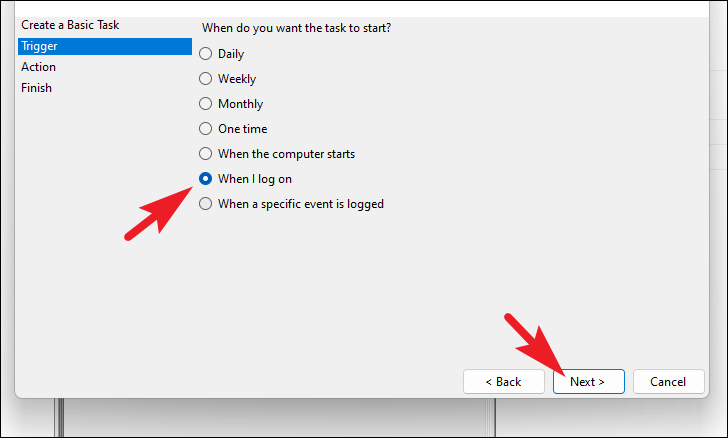
The application will now start automatically when you log in. Task Scheduler provides flexibility for advanced scheduling and conditions.
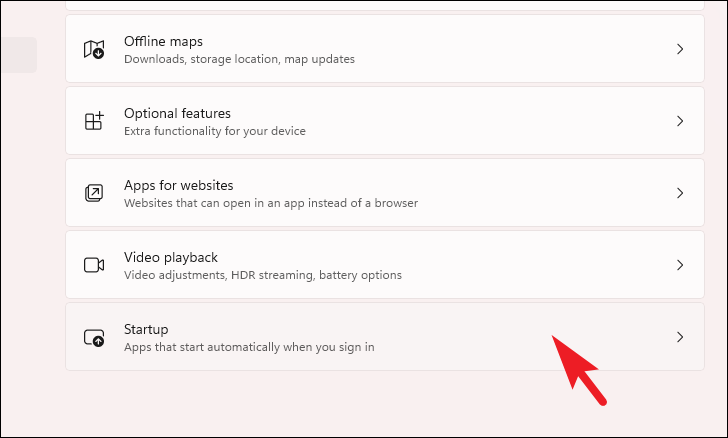
Method 4: Enable Apps to Run at Startup via Settings
Windows 11 allows you to manage startup apps through the Settings app, where you can enable or disable applications easily.
Windows+I.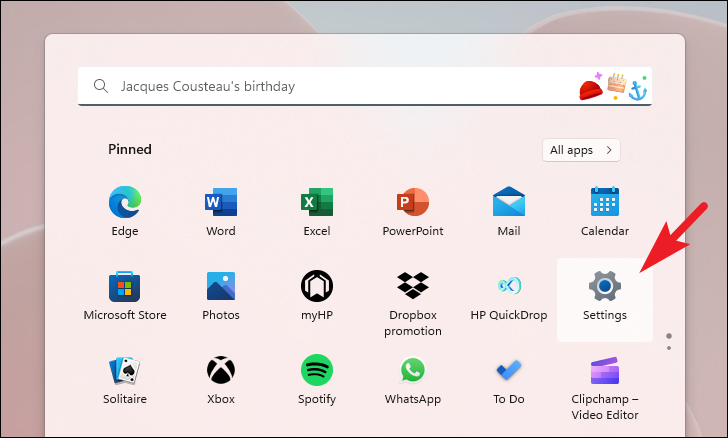
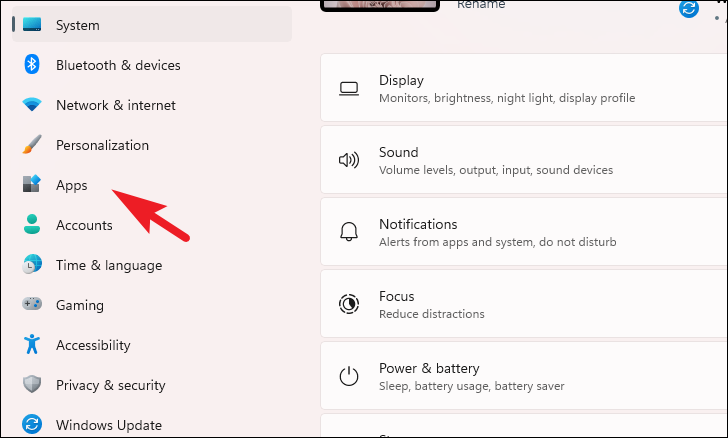
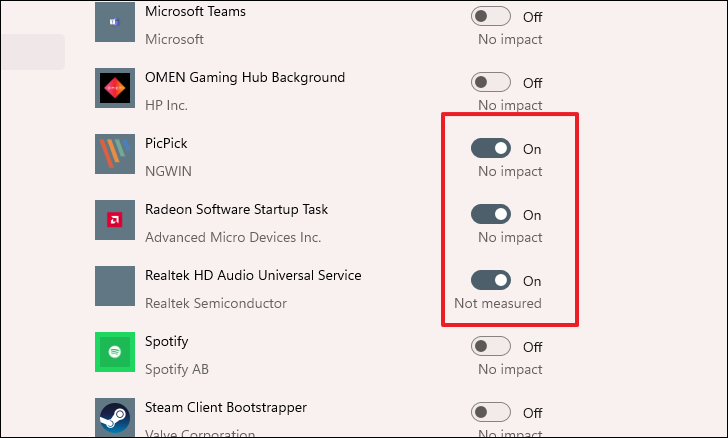
This method is straightforward but limited to the apps that appear in the list and doesn’t allow starting apps maximized or adding new applications not already listed.
By following these methods, you can customize which applications run automatically when you start Windows 11, tailoring your startup experience to best suit your needs. Remember, adding too many apps to startup can slow down your system boot time, so it’s advisable to include only essential programs.


