Google Meet has come a long way since last year when it first opened its doors to everyone due to the pandemic. Previously, you could only use the platform to hold video meetings if you had a G Suite (now, Workspace) account.
When Google Meet was first made available to the uses, though, it had very minimal features. But over time, Google has made significant improvements to the app. The feature that has had the most updates has to be the meeting layout by a mile. From viewing 4 participants to 49 participants at once, Google Meet has made it eerily easy to hold large meetings.
The self-view window has also changed considerably from the first iteration. Before, it used to be really difficult to figure out how you can view your video on Google Meet. There used to be a tiny, little window in the upper-right corner of the screen that showed your video feed. You could add yourself to the tile, but by default, the setting was off. And many users struggled with it.
And many people prefer to be able to view themselves. Whether you want to make sure you look okay or you want to keep an eye on your background, there are many reasons to check out your video.
But the new changes to Google Meet’s layout have also added a floating self-view window that’s on by default. So, the days of struggling with viewing your own video are in the past.
How to Manage your Self-View Window?
By default, your video will appear in the floating video if there are 2 people in the meeting, but you can view yourself in the tile. When there are 3 or more people in the meeting, your video will appear in a tile automatically. But you can switch to the floating video even then. In both cases, Google Meet will remember your choice in the next meeting.
You can view yourself as a floating video (in the spotlight as well as tiled views), in a tile, or completely minimize your video at any time. When you minimize your video, it’s only gone from your screen. But others in the meeting are getting your feed.
When your video is in floating mode, you can change both its size and position on your screen.
To change the size of your floating video, go to the corner of the thumbnail. When a double-headed arrow appears, click and drag the cursor towards inside or outside to decrease/ increase the size of your video respectively.
To move the floating picture anywhere on the screen, go to the thumbnail. A 4-headed arrow will appear. Click and drag the cursor to move your video to any corner of the screen.
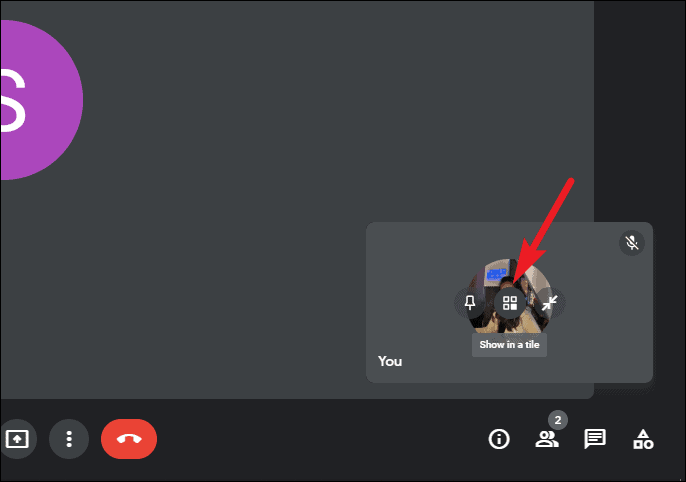
To add your self-view as a tile in the grid, go to your floating video and click the ‘Show in a tile’ button.
To remove your tile from the grid, go to your self-view and click the ‘Remove this tile’ icon. And your video will appear as a floating picture again.
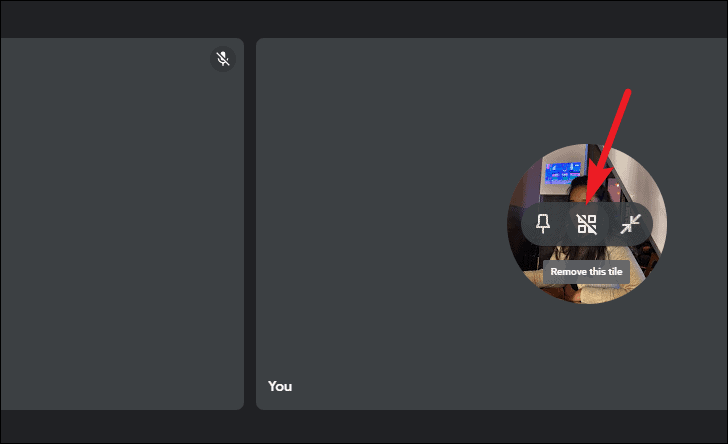
In both the view, i.e., floating and tile, you can minimize your video completely. Go to your self-view and click the ‘Minimize’ button.
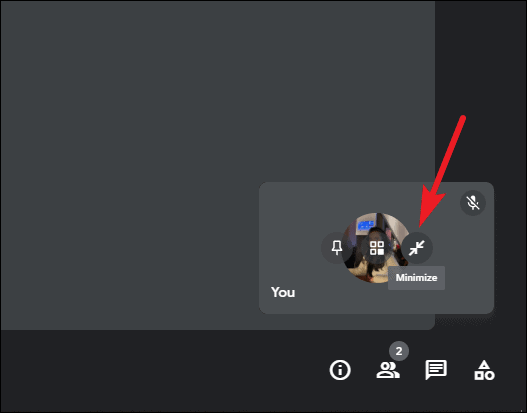
Your video will be minimized and appear as a small toolbar. You can also move this toolbar anywhere on the screen.
To view your video again, click the ‘Expand’ button.
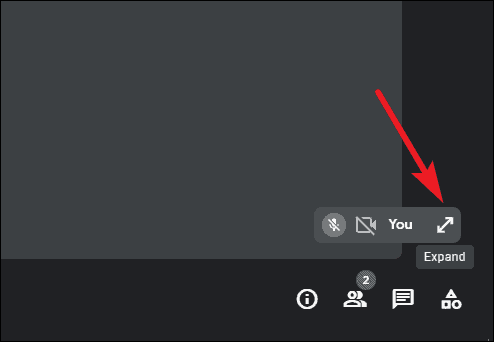
Your self-view will appear as a floating picture or tile, depending on what it was when you minimized it.
Seeing your video on Google Meet isn’t a challenge anymore like it used to be. In fact, your self-view has now become more flexible, making it easier for you to keep an eye on yourself during meetings.