
In iOS 17, Apple has enhanced the iMessage app to make sending voice messages more intuitive and user-friendly. The interface has seen significant improvements, streamlining the process of recording and sending audio messages.
Previously, recording longer voice messages required you to continuously hold down the voice message icon, which could be inconvenient and often resulted in accidental stops or multiple fragmented recordings. With the latest updates, these issues have been addressed, making the experience much smoother.
Locating the audio message button in iMessage on iOS 17
With the introduction of iOS 16 and continuing in iOS 17, the voice message button has been moved from its traditional spot. While a 'Microphone' icon still appears next to the message field, tapping it now activates Voice Typing instead of recording a voice message. This change aligns with the enhancements made to the dictation feature in recent updates.
To access the voice message option, you need to use the iMessage app drawer, which received its own overhaul in iOS 17. Unlike other apps in the app drawer that may require adding from the App Store, the audio messages app is readily available for direct access.
Sending a voice message using the audio messages app
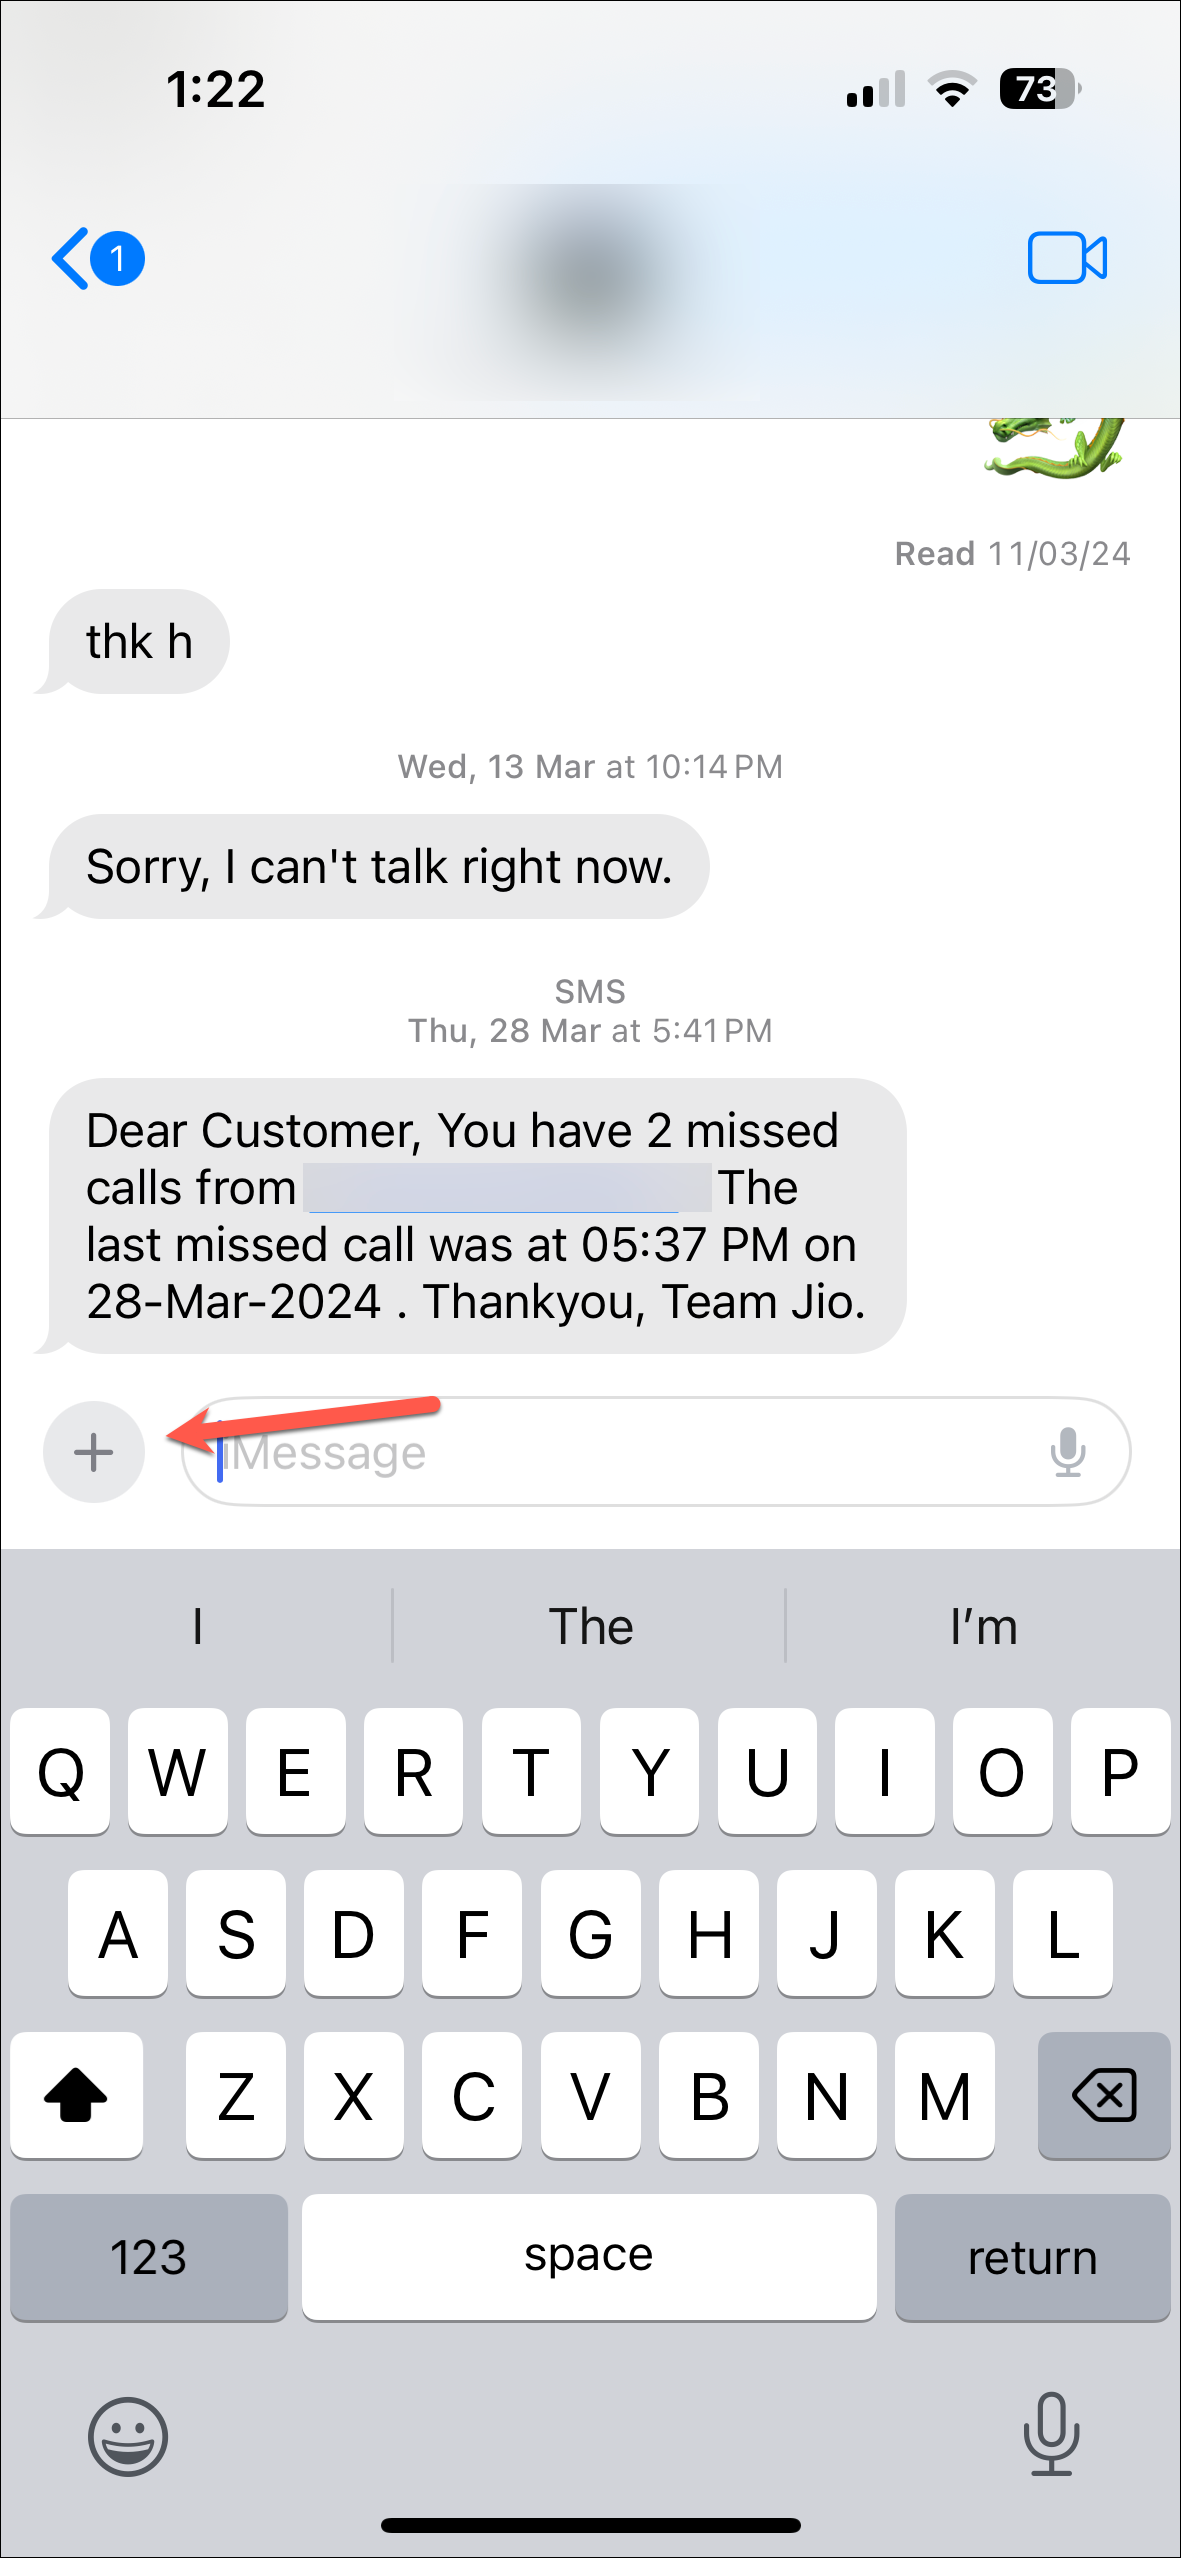
Step 1: Open the Messages app on your iPhone running iOS 17 and navigate to the conversation where you want to send a voice message.
Step 2: Tap the '+' icon located to the left of the message input field to open the iMessage app drawer.
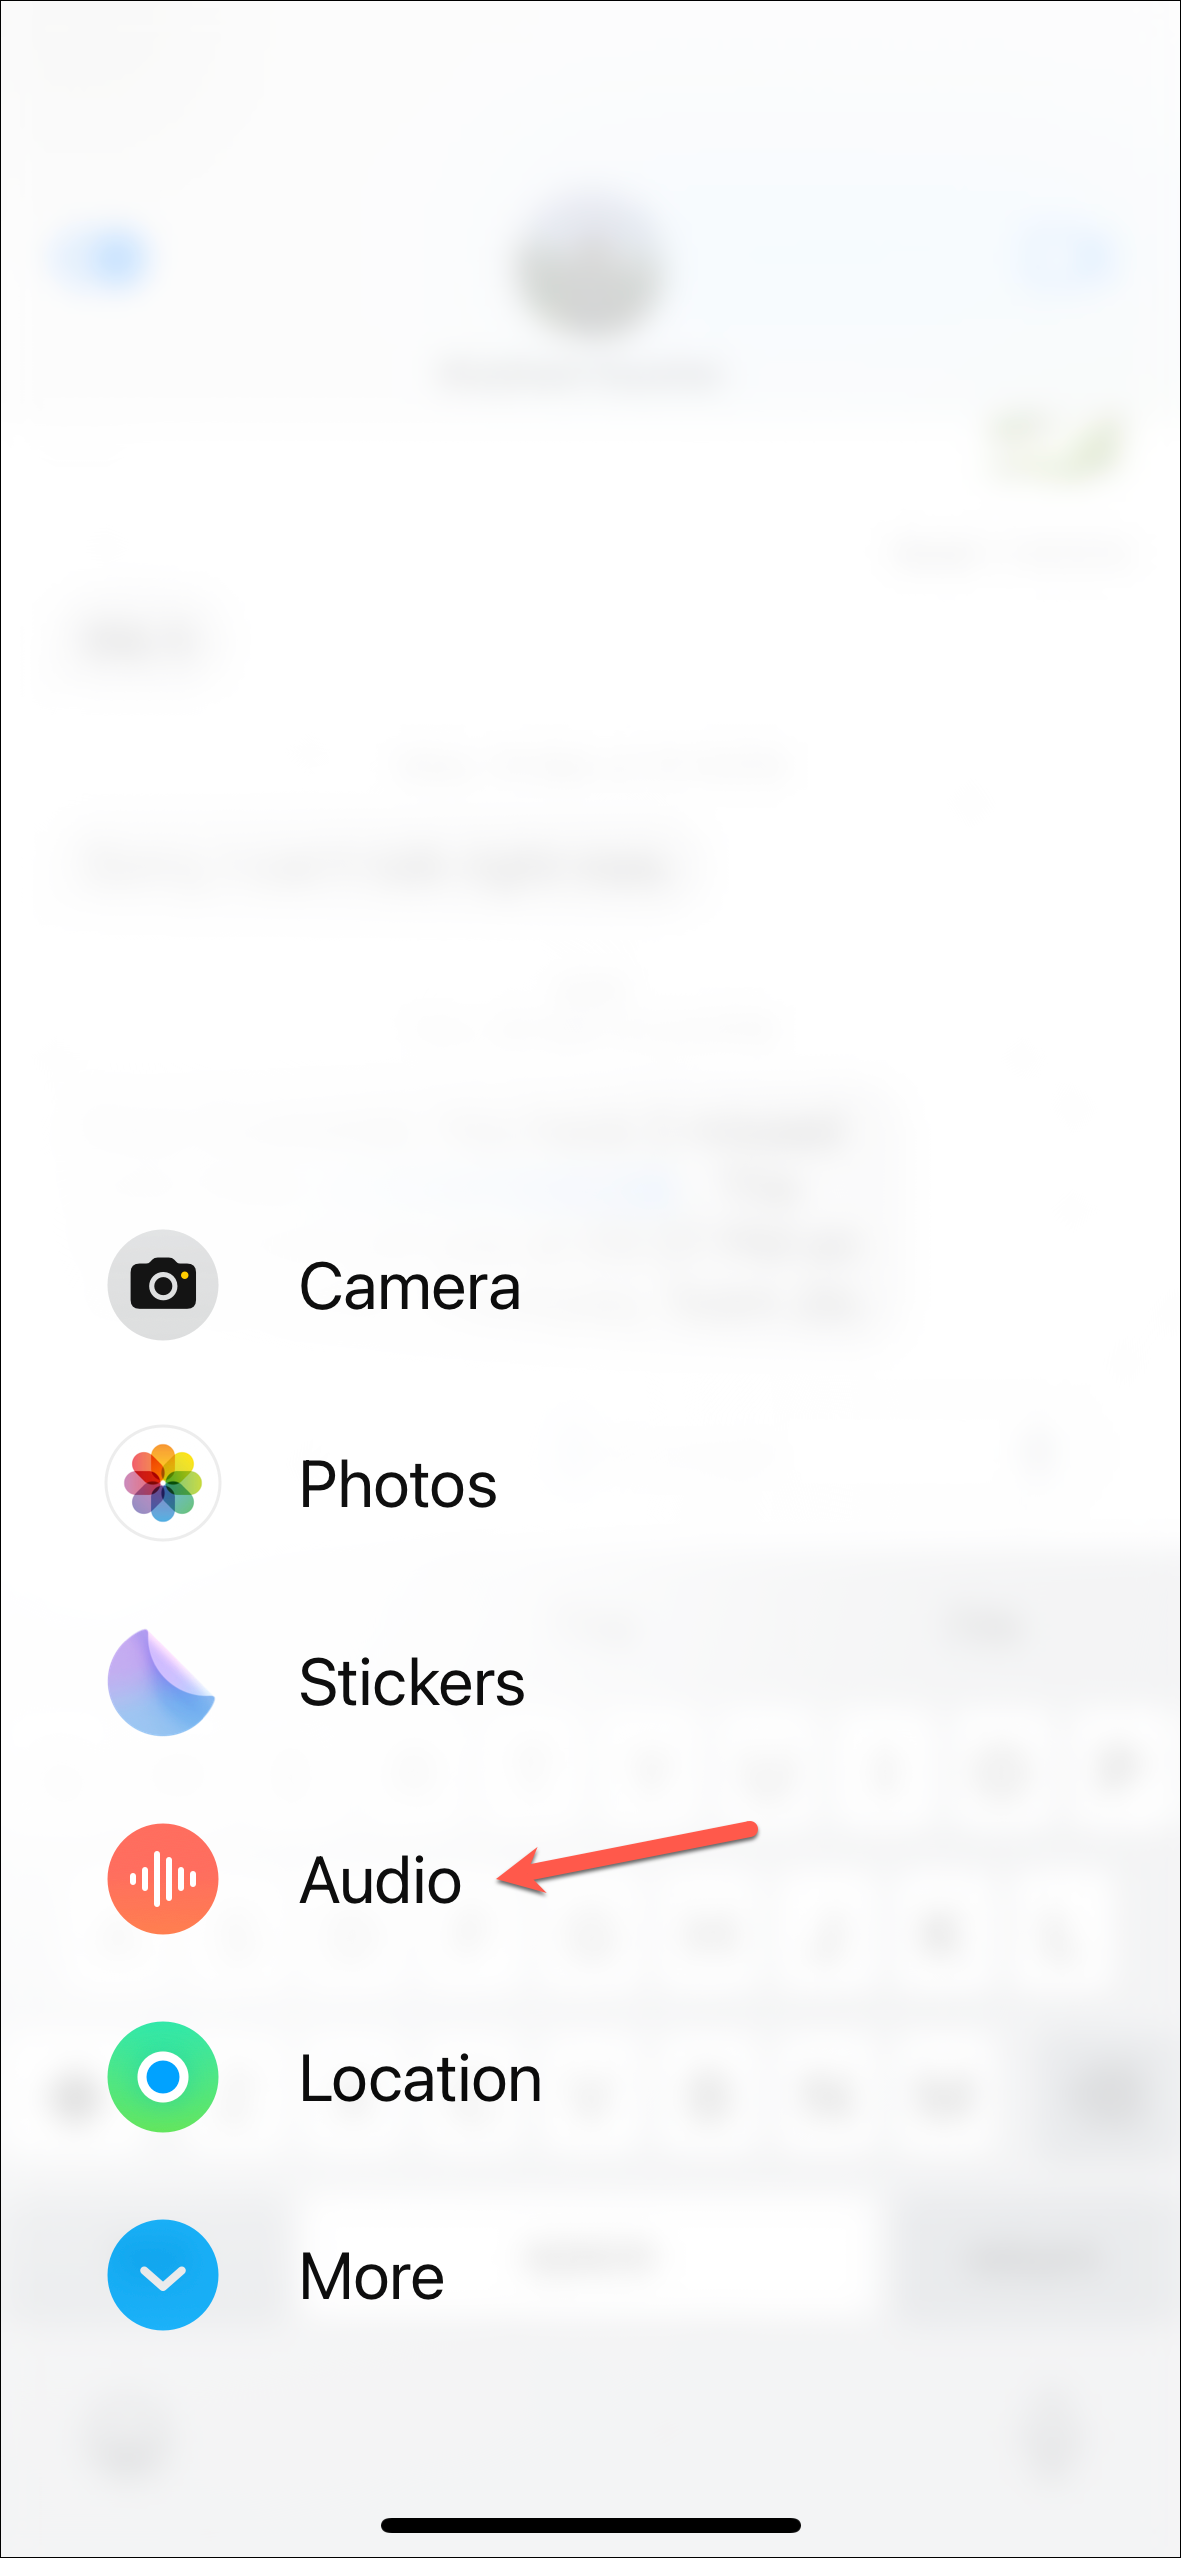
Step 3: In the app drawer, tap the 'Audio' button to access the voice message feature.
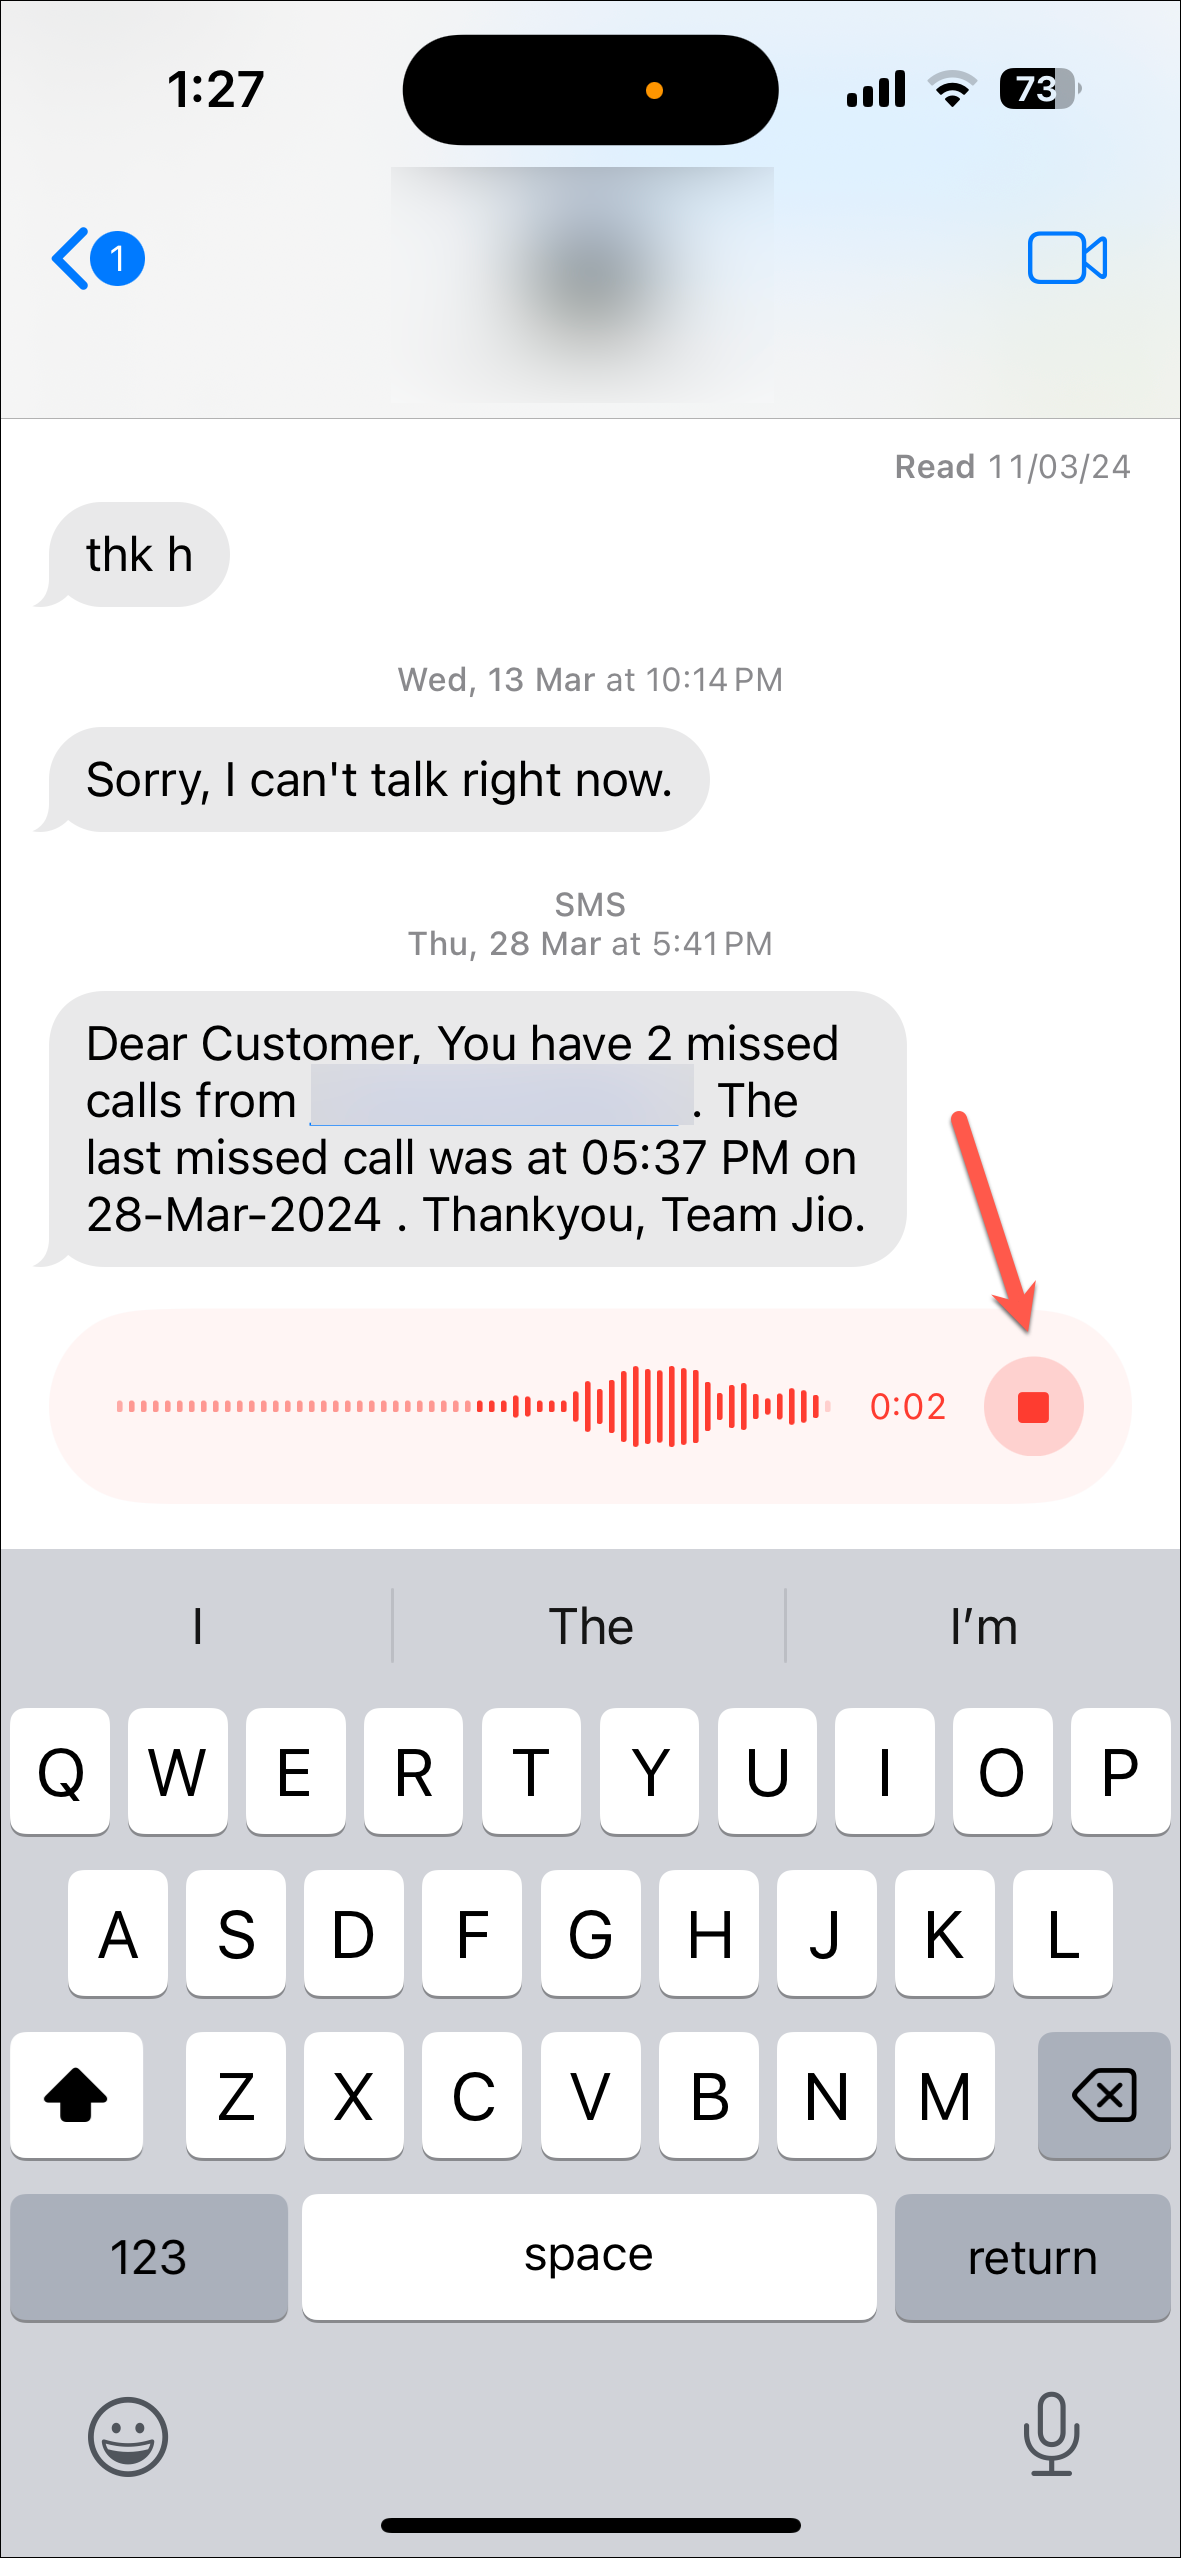
Step 4: Recording will begin immediately, and you'll see the audio waveform in the message field as it records.
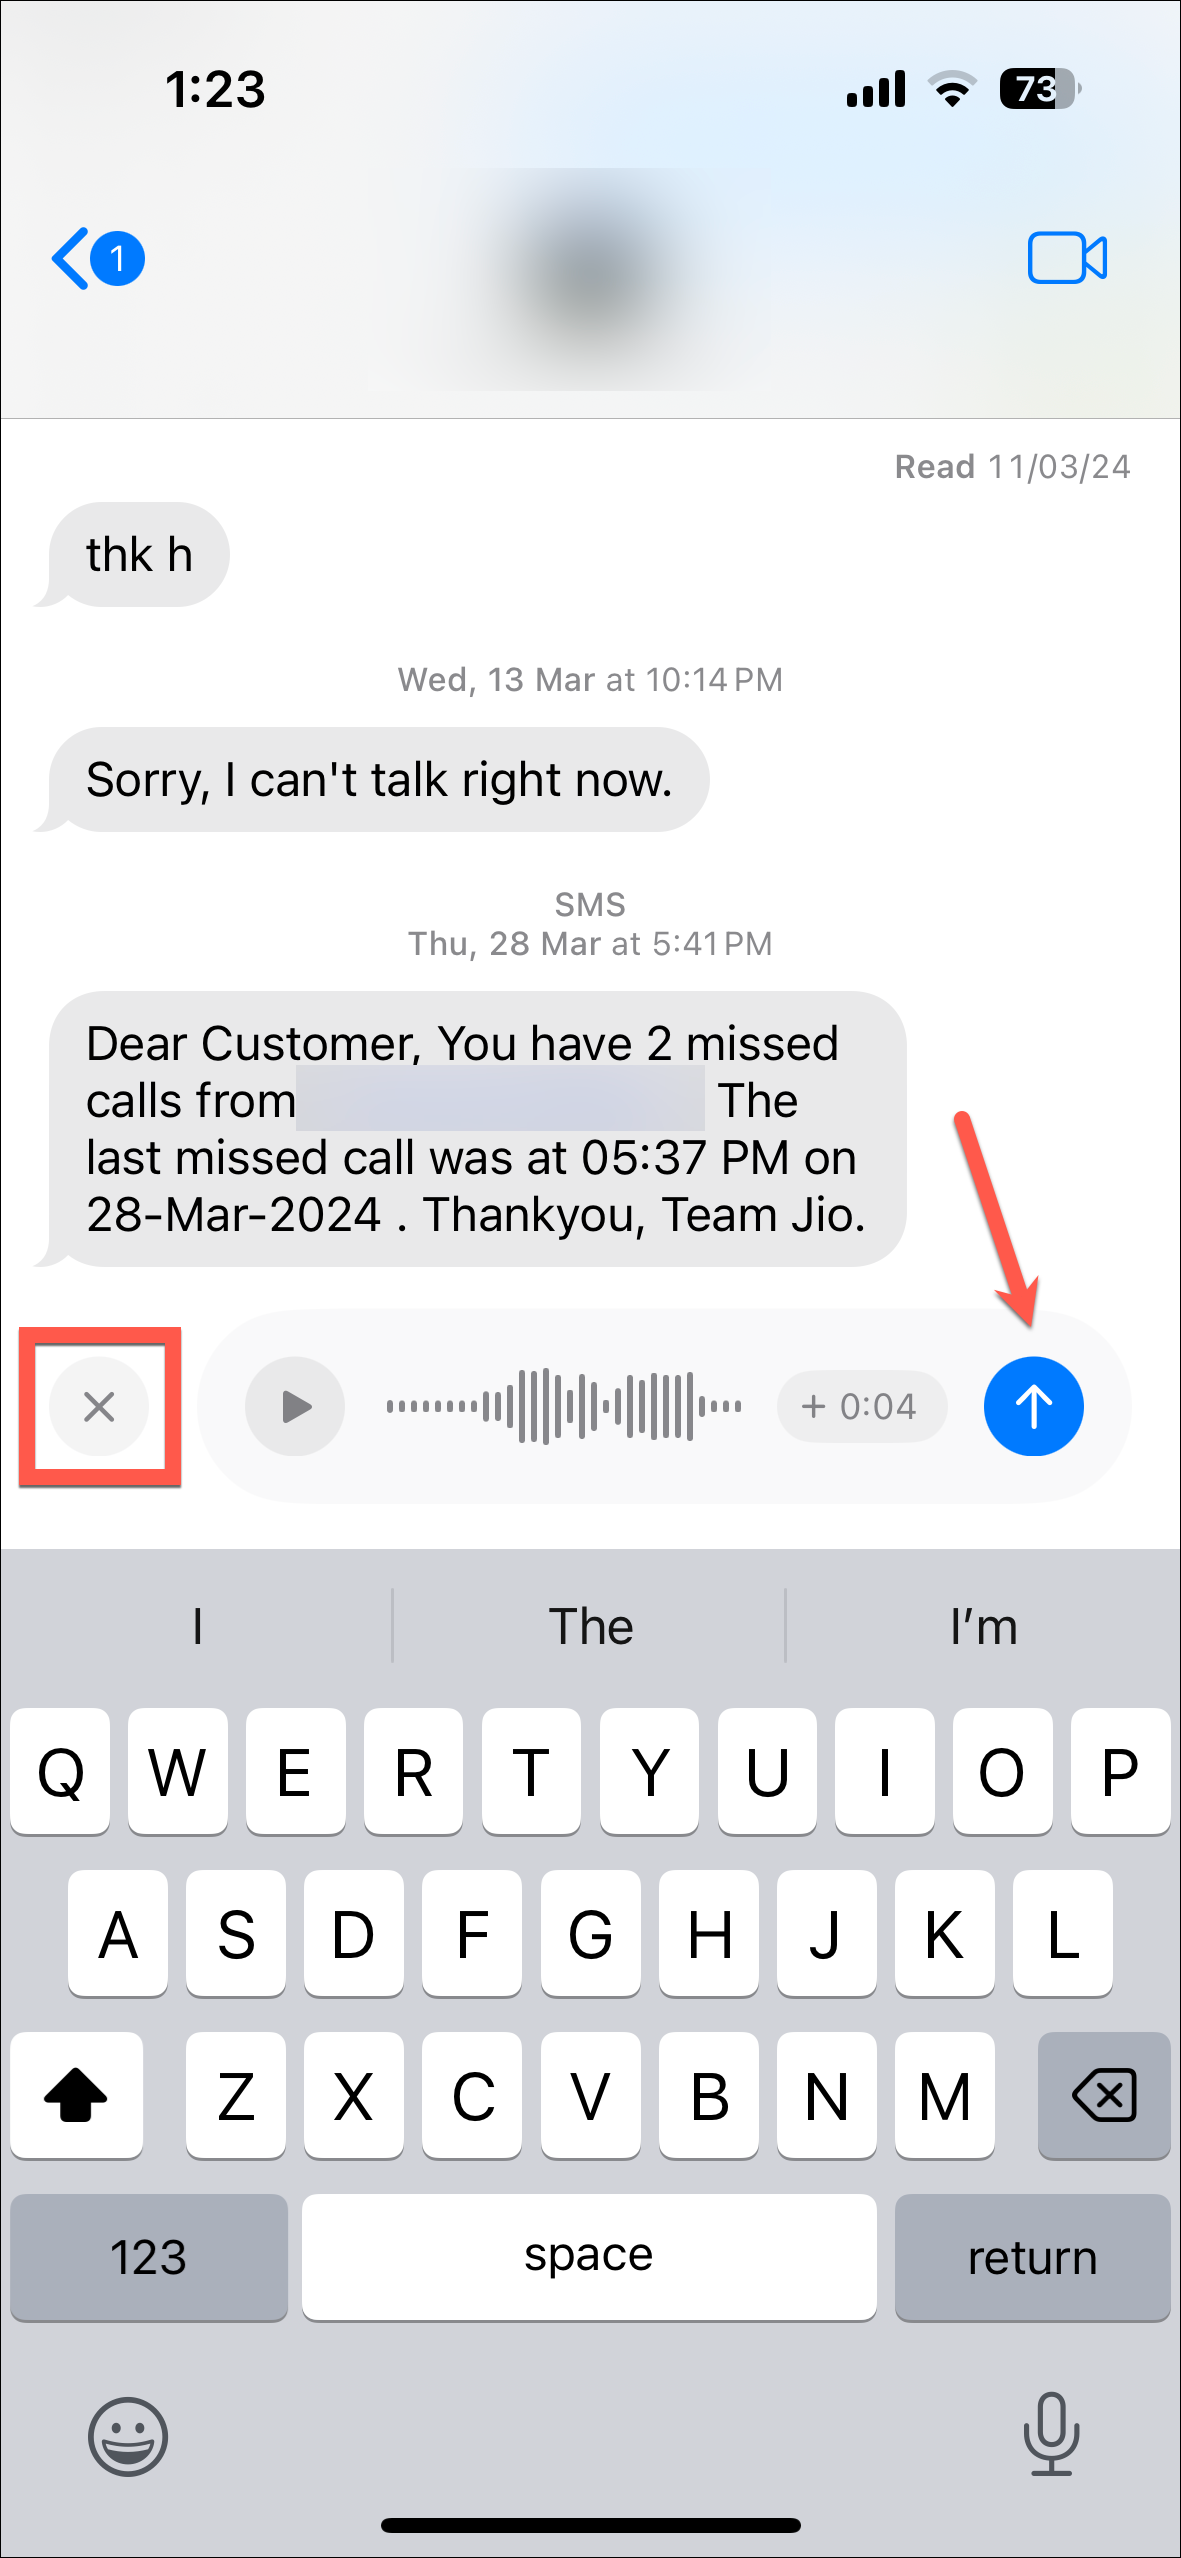
Step 5: To pause or stop the recording, tap the 'Stop' button.
Step 6: After stopping, the audio message appears in the message box. You can listen to it by tapping the 'Play' button.
Step 7: If you wish to continue recording, tap the '+' button at the end of the voice message (displaying the message duration) to resume.
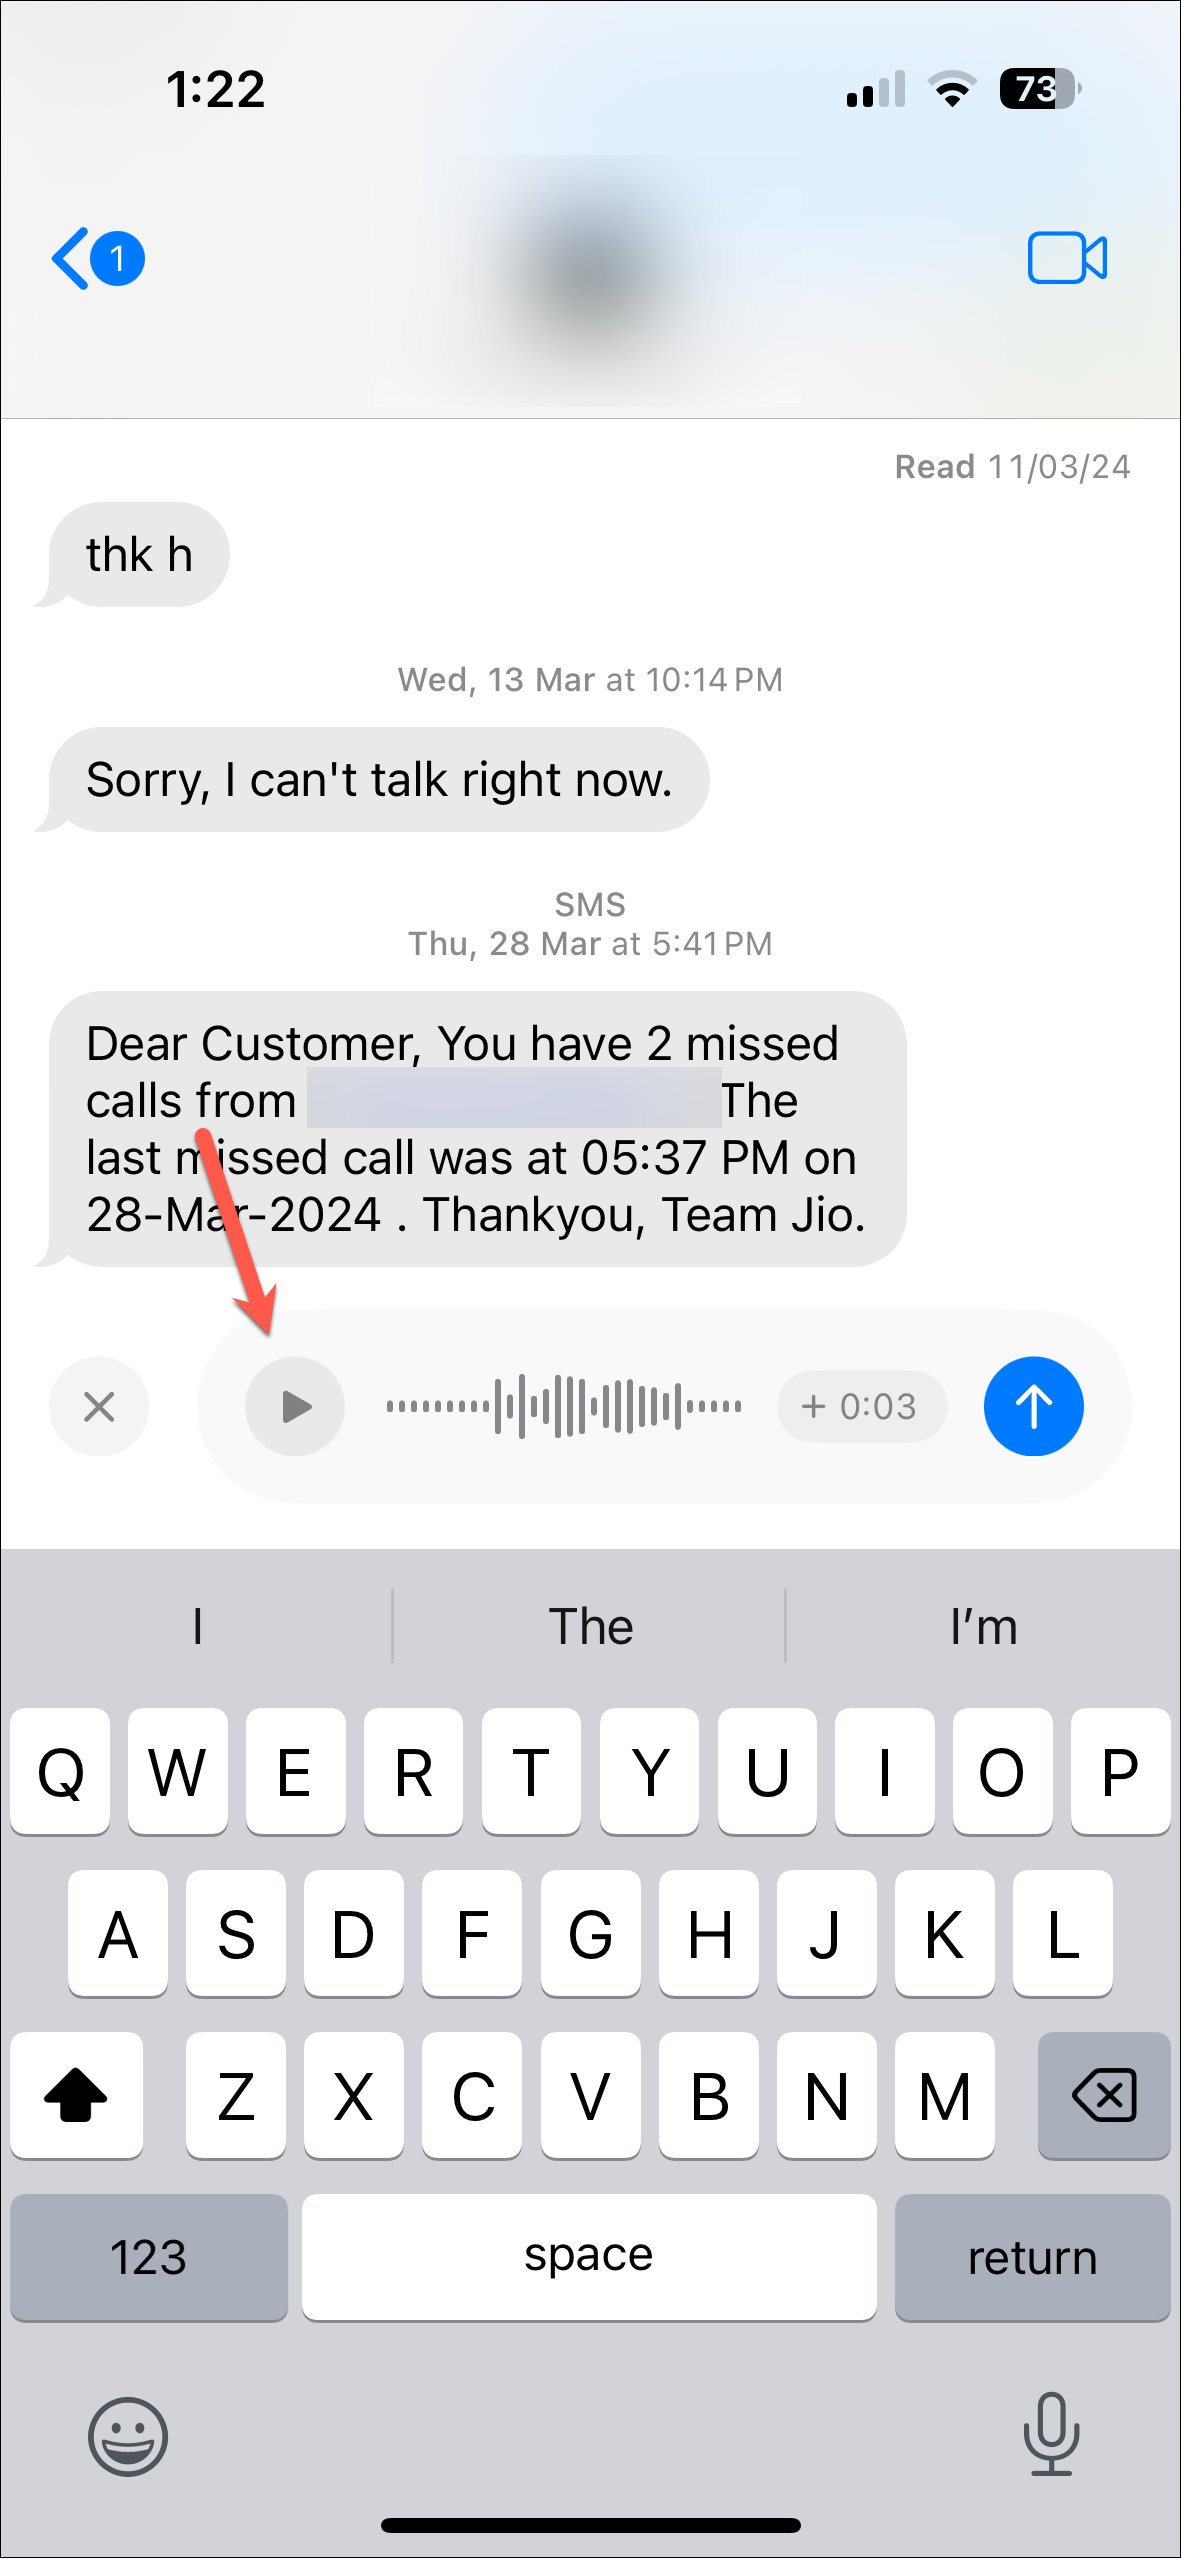
Step 8: Once you are satisfied with the recording, tap the 'Send' button (the blue arrow) to send the voice message. If you want to discard it, tap the 'X' button to the left of the message field.
Step 9: The voice message will be sent to the recipient, and if the language is supported, a transcript of the message will also be available.
Step 10: After sending a voice message, the option to record a new voice message will appear to the right of the text message field for easier access. However, if you use the dictation feature again, the microphone icon will switch back to dictation. Essentially, the icon next to the message field reflects the feature you last used in a particular chat.
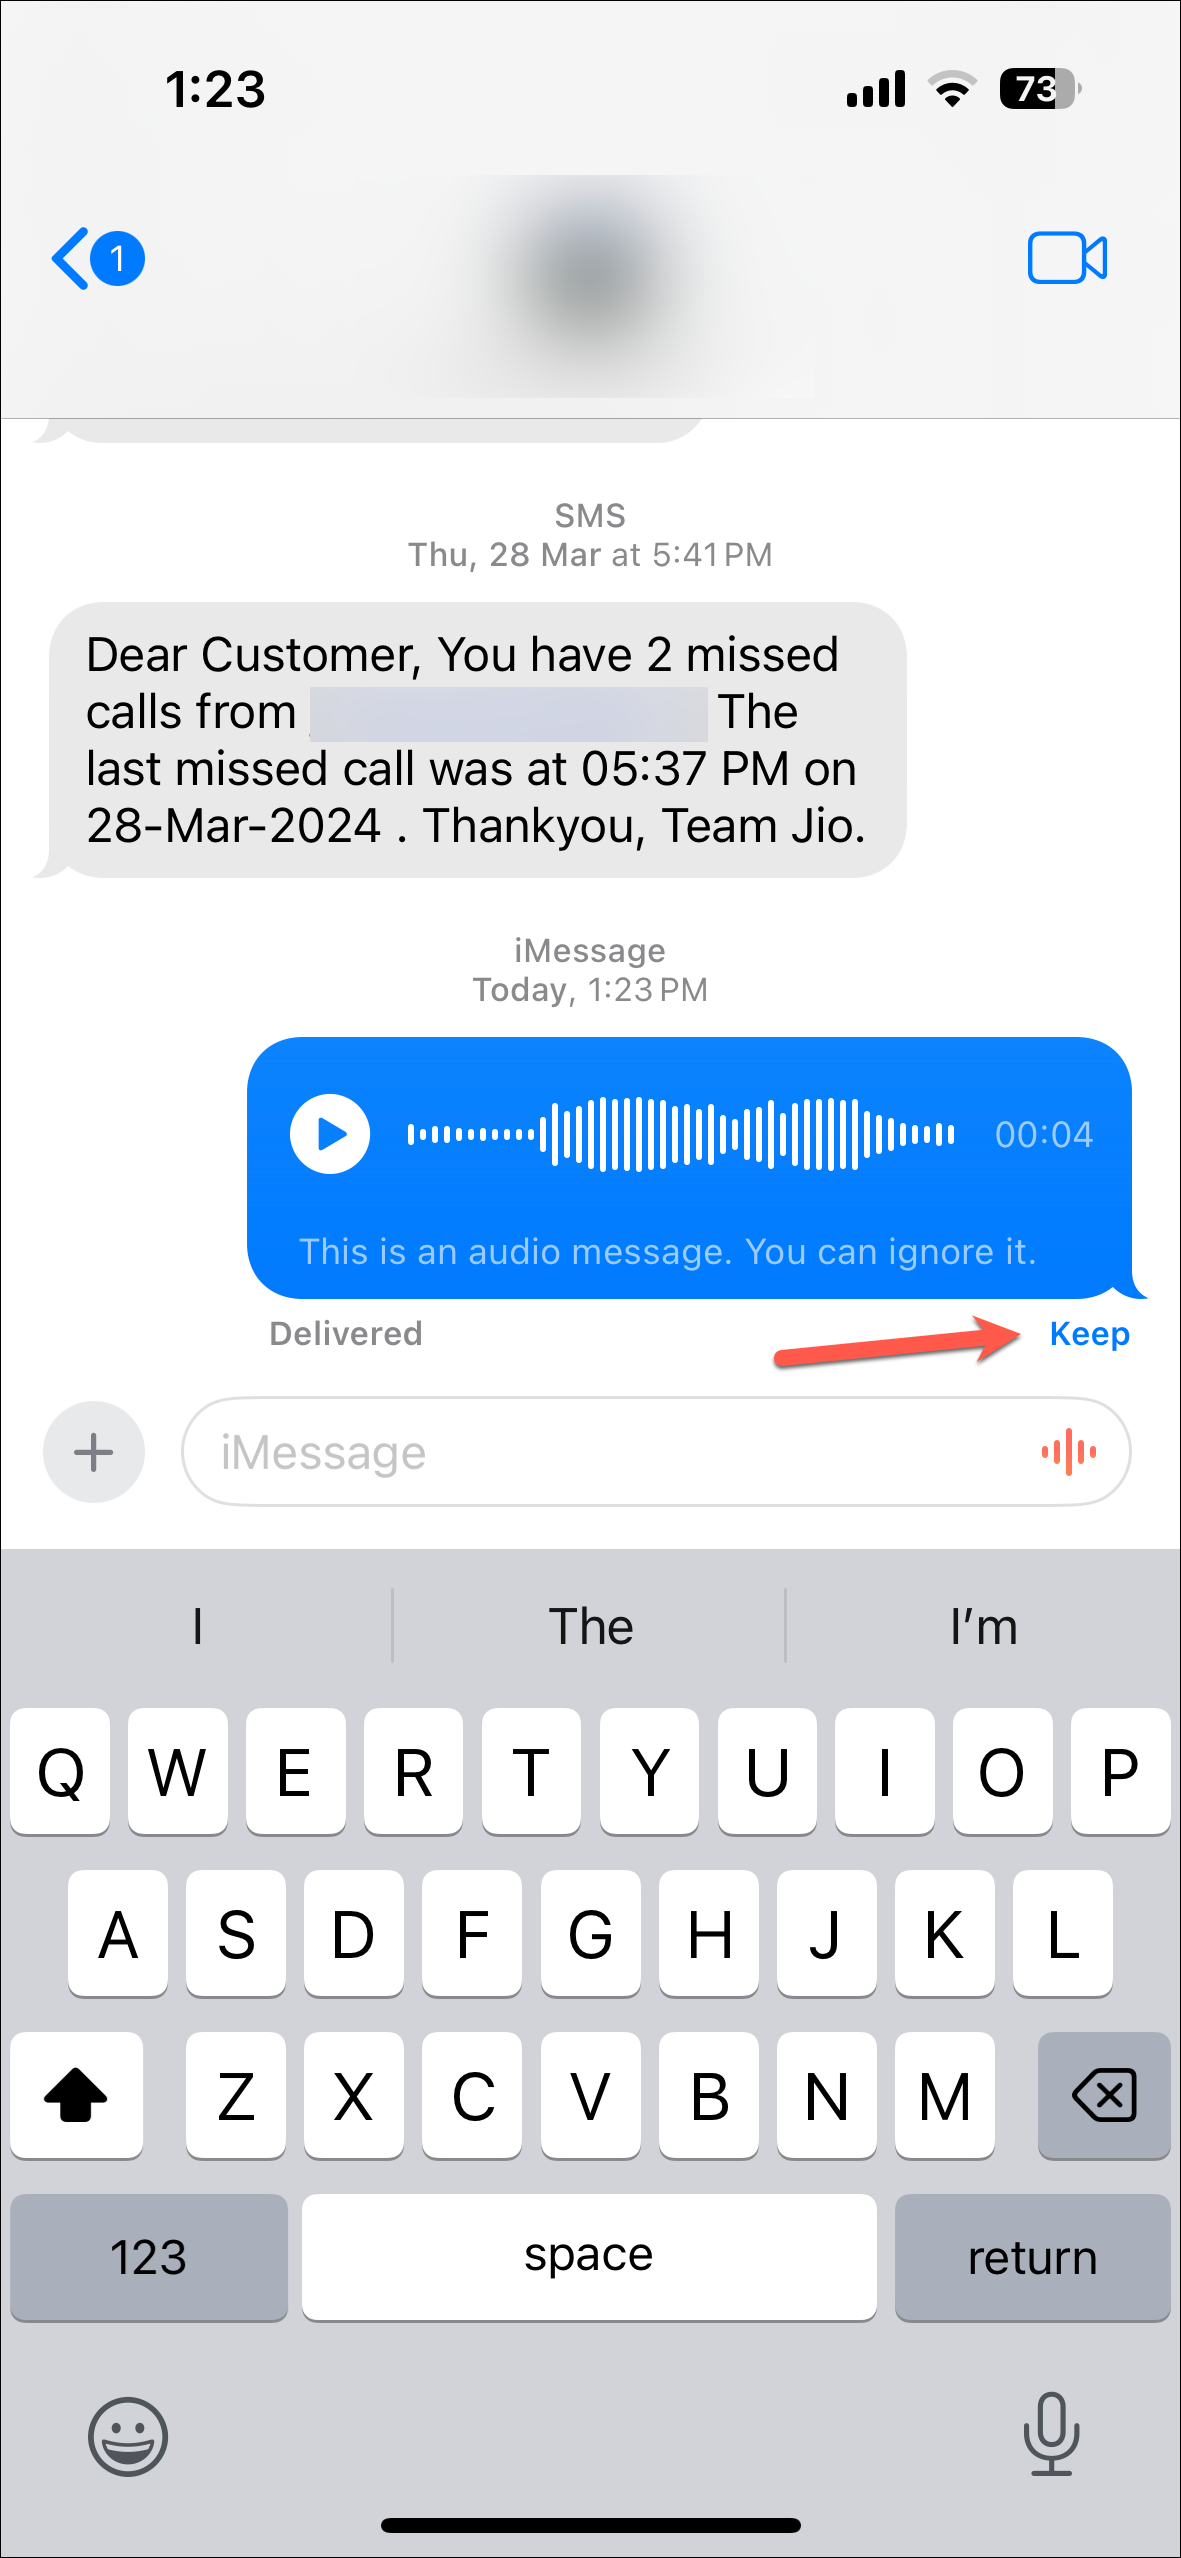
Step 11: Be aware that voice messages you send are automatically deleted from your device after two minutes unless you choose to keep them. To save an audio message from being deleted, tap the 'Keep' button beneath the message.
Step 12: For the recipient, the audio message remains available to listen at any time. However, once they have listened to the message, it will be deleted after two minutes unless they also select 'Keep' to save it.
Step 13: If you change your mind after sending a voice message, you can use the 'Undo Send' option. Simply press and hold the sent message and select 'Undo Send'. Additionally, you can save both sent and received audio messages to the Voice Memos app on your iPhone.

Sending voice messages in iMessage on iOS 17 is now a seamless experience thanks to the revamped interface. While the automatic deletion of voice messages after two minutes remains, you have the option to keep important messages in your chat history.