
Enhancing the security of your Windows 11 PC is essential, and setting up a PIN is a simple yet effective way to safeguard your device. A PIN allows for quick and secure access without the need to enter a lengthy password. In this guide, we’ll show you how to set up a PIN, as well as how to change or remove it when necessary.
Benefits of Using a PIN Instead of a Password
Choosing a PIN over a password offers several advantages. Since the PIN is tied specifically to your device, it ensures that even if someone knows your Microsoft account password, they can’t access your PC without the PIN. This is particularly useful if you need to share your computer but want to keep your Microsoft account secure.
A PIN is also more convenient. It’s typically shorter and easier to remember than a complex password, speeding up the sign-in process. Additionally, if you decide to use biometric sign-in options like facial recognition or fingerprint scanning through Windows Hello, you’ll need to set up a PIN as a fallback method.
How to Set Up a PIN on Windows 11
Setting up a PIN on your Windows 11 computer is straightforward. Follow these steps to create your PIN:
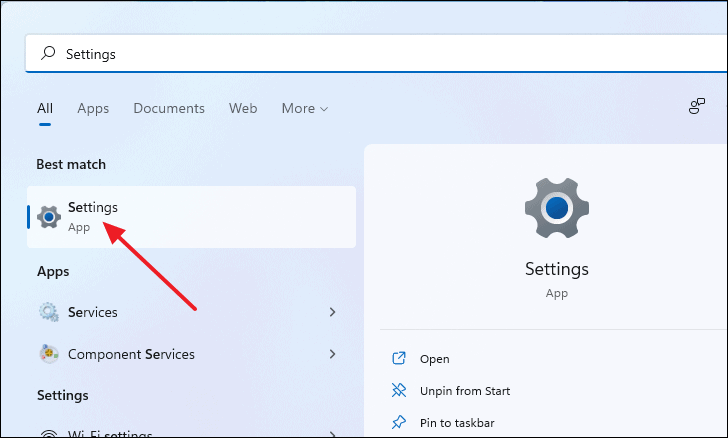
- Open the Settings app by pressing
Windows+Ion your keyboard, or by searching for “Settings” in the Start menu.
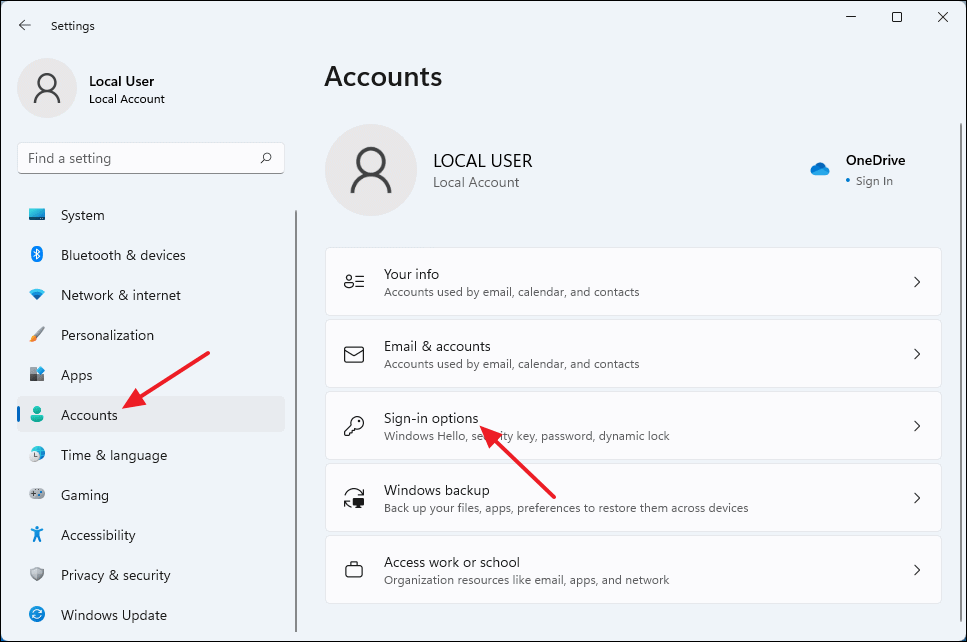
- In the Settings window, select Accounts from the left-hand menu.
- Click on Sign-in options on the right side.
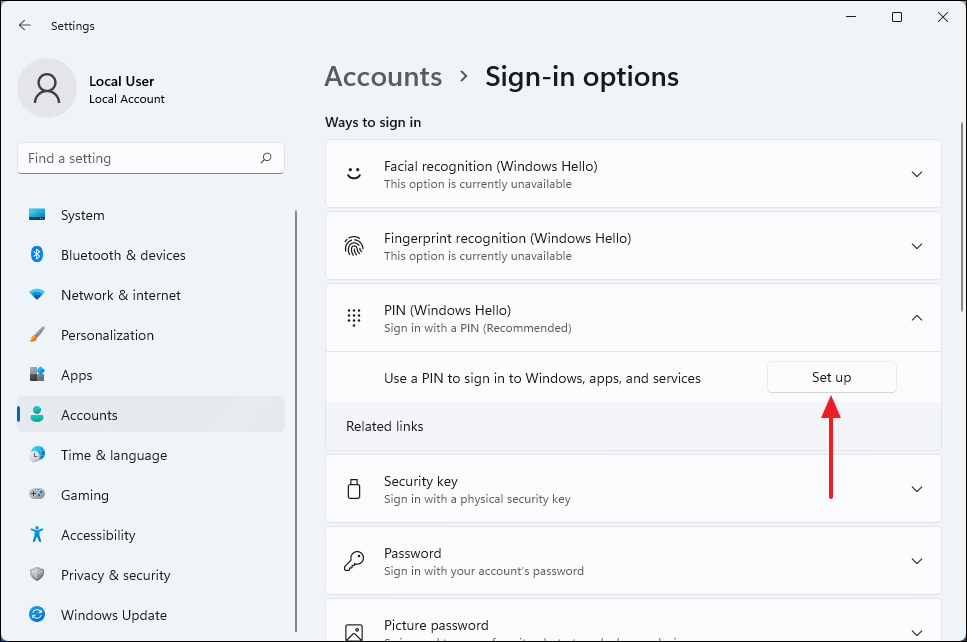
- Under the Ways to sign in section, find PIN (Windows Hello) and click on Set up.
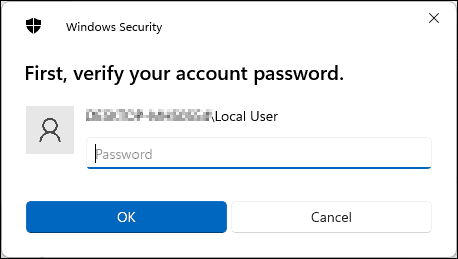
- A Windows Security window will prompt you to verify your identity. Enter your Microsoft account password and click OK.
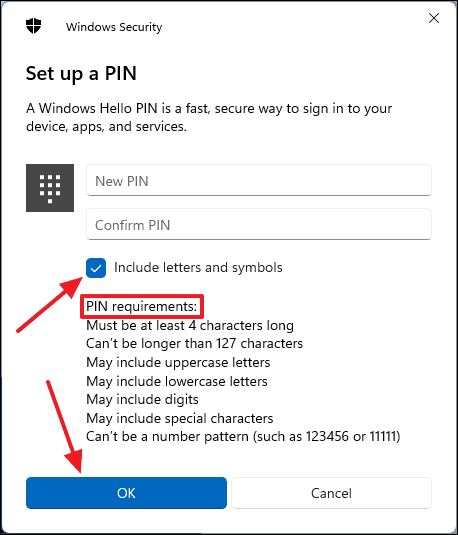
- In the Set up a PIN window, enter your desired PIN in the New PIN and Confirm PIN fields.
- If you want to include letters and symbols in your PIN, check the box next to Include letters and symbols.
- Click OK to finish setting up your PIN.
Once completed, your PIN is set up, and you’ll see new options under the PIN (Windows Hello) section indicating that your PIN is active.
How to Change or Remove Your PIN in Windows 11
If you need to update or delete your PIN, you can do so through the Sign-in options:
- Open the Settings app by pressing
Windows+I. - Select Accounts from the left menu.
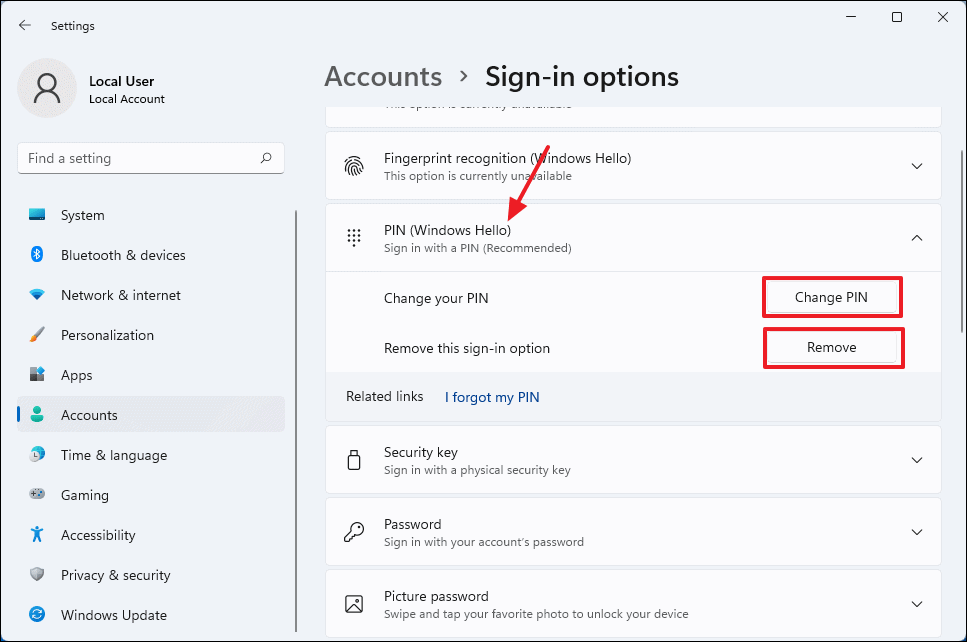
- Choose Sign-in options on the right.
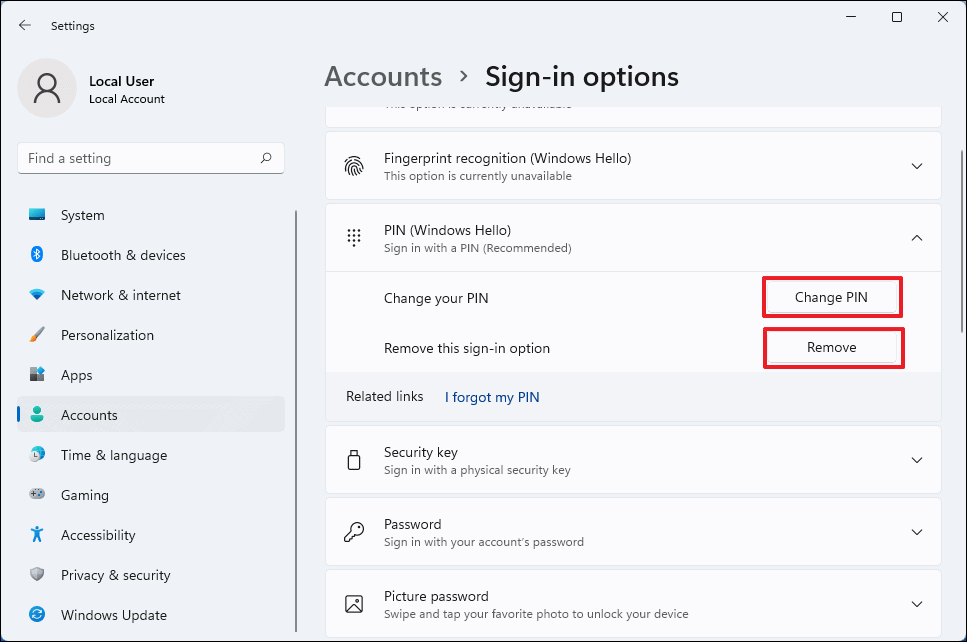
- Click on PIN (Windows Hello) to expand the options.
To change your PIN:
- Click on Change PIN.
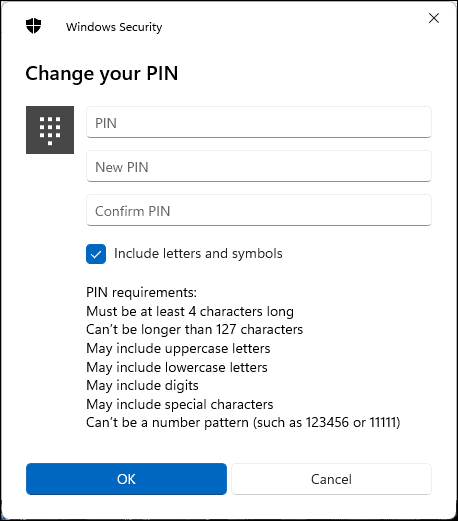
- In the Change your PIN window, enter your current PIN in the Current PIN field.
- Enter your new PIN in the New PIN and Confirm PIN fields.
- If you want to include letters and symbols, check the Include letters and symbols option.
- Click OK to save your new PIN.
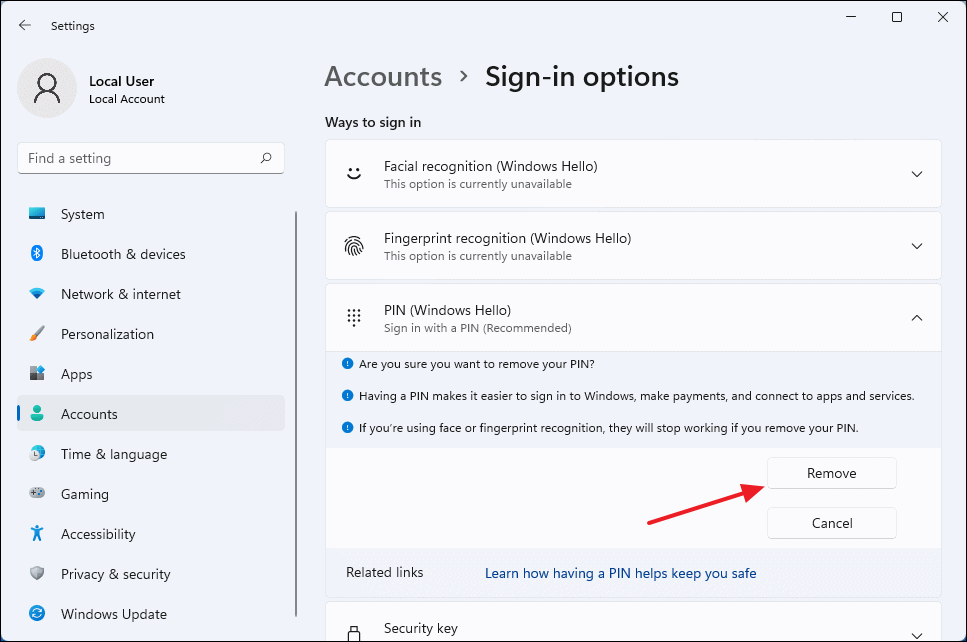
To remove your PIN:
- Click on Remove under the PIN options.
- A confirmation prompt will appear. Click Remove again to confirm.
- You’ll be asked to verify your identity. Enter your Microsoft account password and click OK.
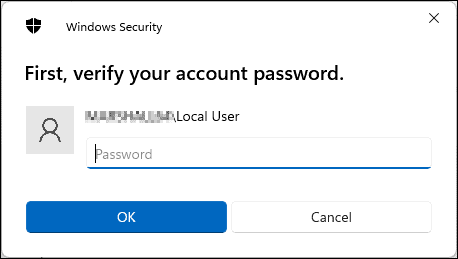
Your PIN has now been removed from your account.
By setting up a PIN, you add an extra layer of security to your Windows 11 PC that is both convenient and efficient. Whether you’re creating a new PIN or managing an existing one, these steps will help you keep your device secure.


