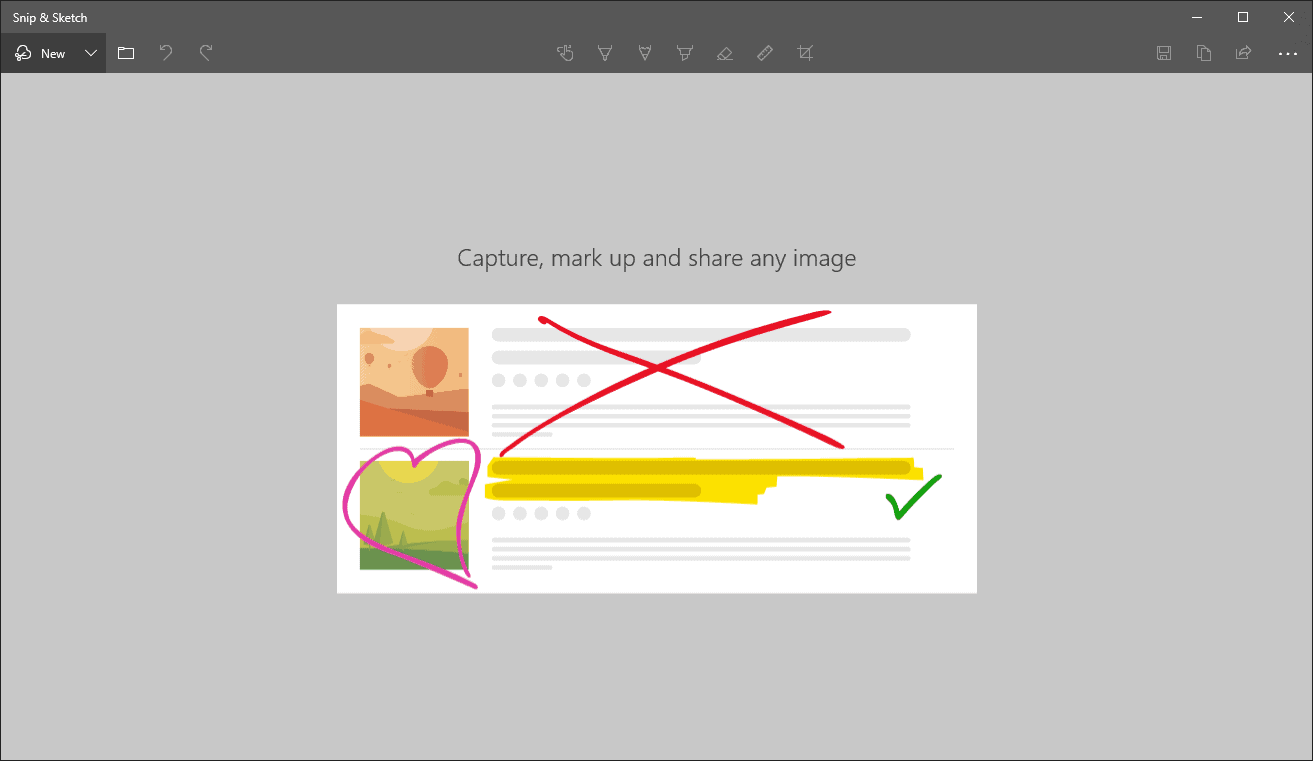
Starting with the October 2018 Windows update, Microsoft has combined the “Snipping Tool” and the “Screen Sketch” tools to build a powerful all-in-one tool called “Snip & Sketch Tool.” This tool offers advanced screenshot capturing and editing options. Here’s a quick guide to using the Snip & Sketch Tool on your Windows PC.
- To open the Snip & Sketch Tool, click on Start » type Snip & Sketch Tool in the search box and select the tool from the results.
- To choose the type of clip, select New » choose Free-form Clip, Rectangular Clip, or Full-screen Clip.
└ Note: If you are capturing free-form or rectangular clips, use your mouse correctly to select the area of the screen that you want to capture. - Right after you take a screenshot, it’ll instantly open in the Snip & Sketch app where you can edit it with tools like pen, pencil, marker, eraser, and more.
- Once you’re done making edits, click the Floppy disk icon on the toolbar or press Ctrl + S to save the screenshot. You can also copy or share the screenshot directly from the app using the icons next to the floppy disk.
Cheers!





Member discussion