


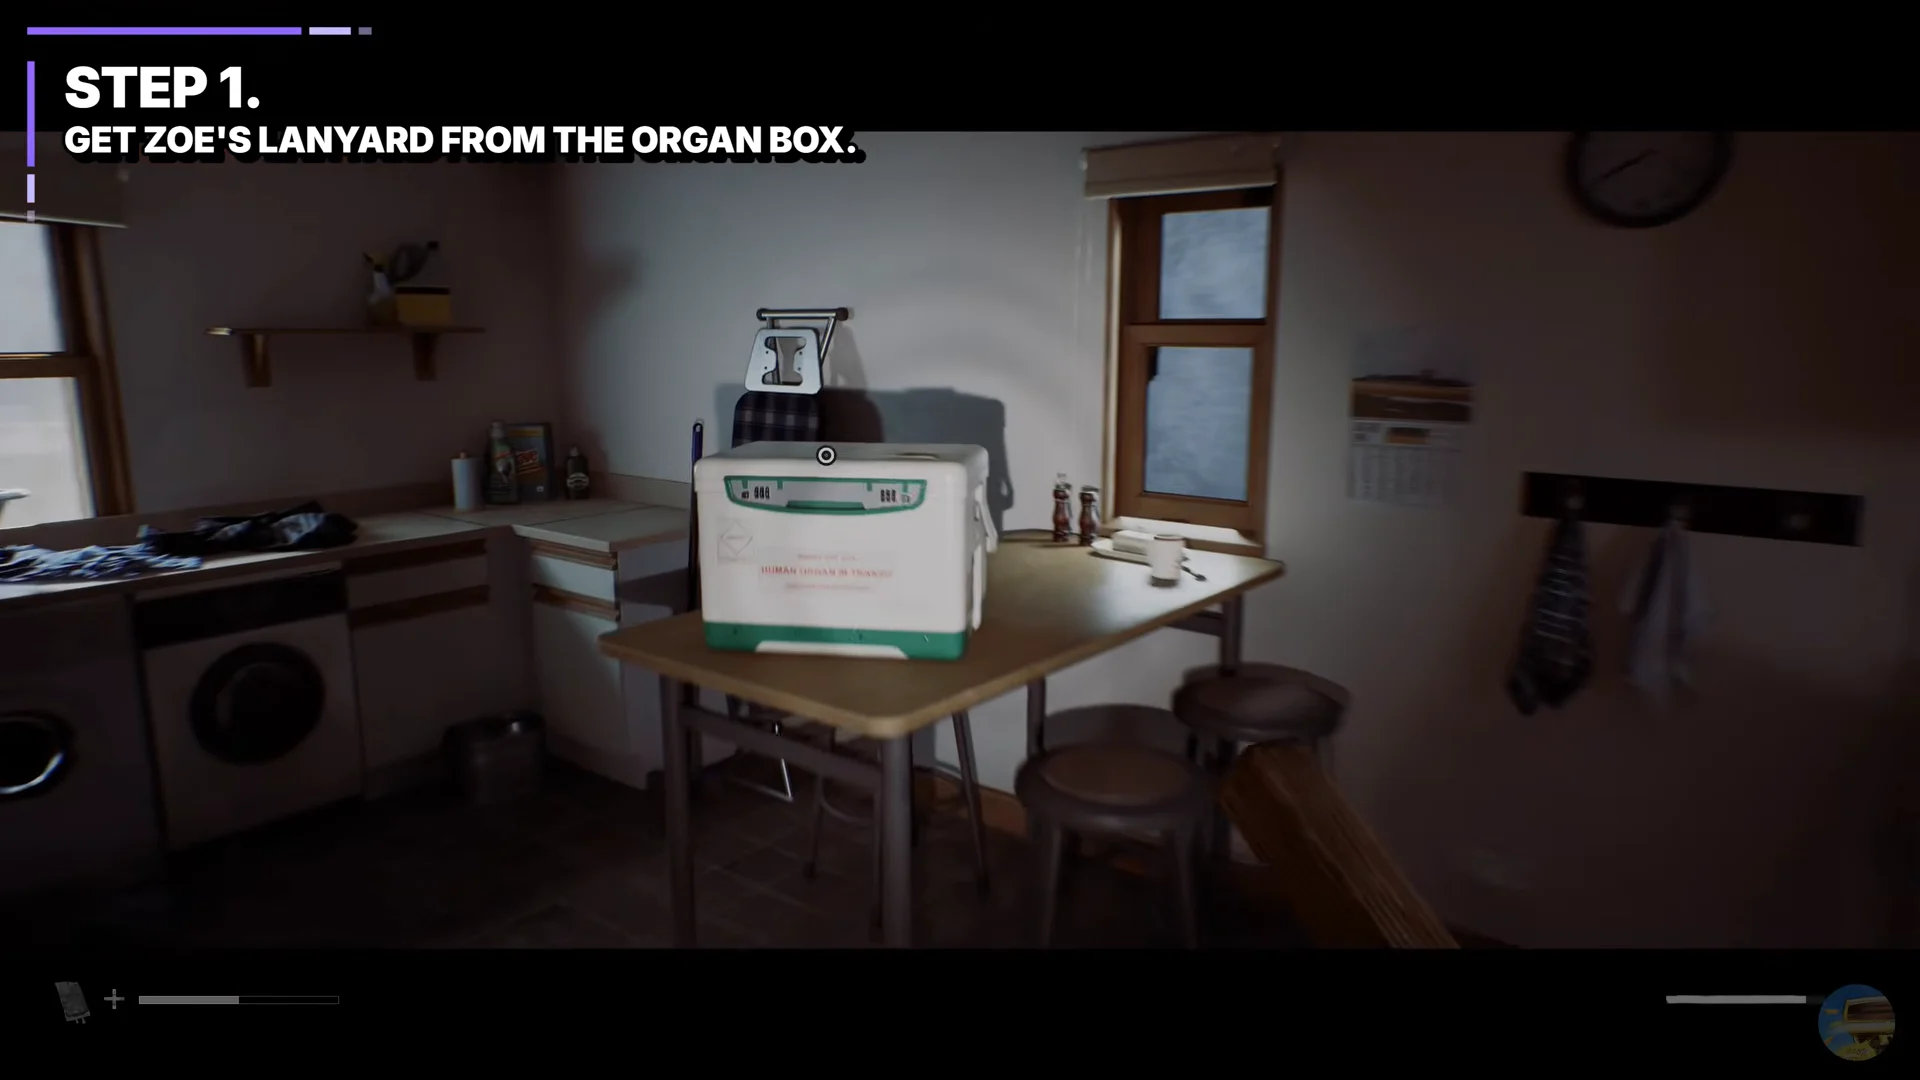
In the kitchen of Zoe’s home in St. Amelia’s Shorefront district, a white cooler bearing the words HUMAN ORGAN IN TRANSIT rests on the table. A three-digit combination lock secures each side, with Zoe’s Lanyard inside. Having the combinations beforehand does not bypass the requirements: Silent Hill: Townfall will reject any answer until you collect the necessary clues and restore the power.
Quick answer: Enter 956 on the left and 133 on the right. Those are the opening and closing three digits of the Organ Transplant Card’s ET number.
Where the Human Organ in Transit box is
Zoe’s home is west of the town square. Reach it by taking the fog-filled back alley, then climb the short stairs to apartment 2A. From the entrance hall, enter the ground-floor kitchen; the cooler sits on the wooden table. Interact with it to get a close view of either lock and rotate its tumblers individually. It cannot be forced, cut open, or bypassed.
Items the puzzle needs before the locks respond
The puzzle requires five pickups plus a functioning electricity meter. The lock screen refuses every combination until those items have been obtained or examined, regardless of whether the entry is correct.
| Item | Where it is |
|---|---|
| Flashlight (No Batteries) | Kitchen drawer beside the cooler |
| AA Batteries | Upstairs bedside cabinet drawer |
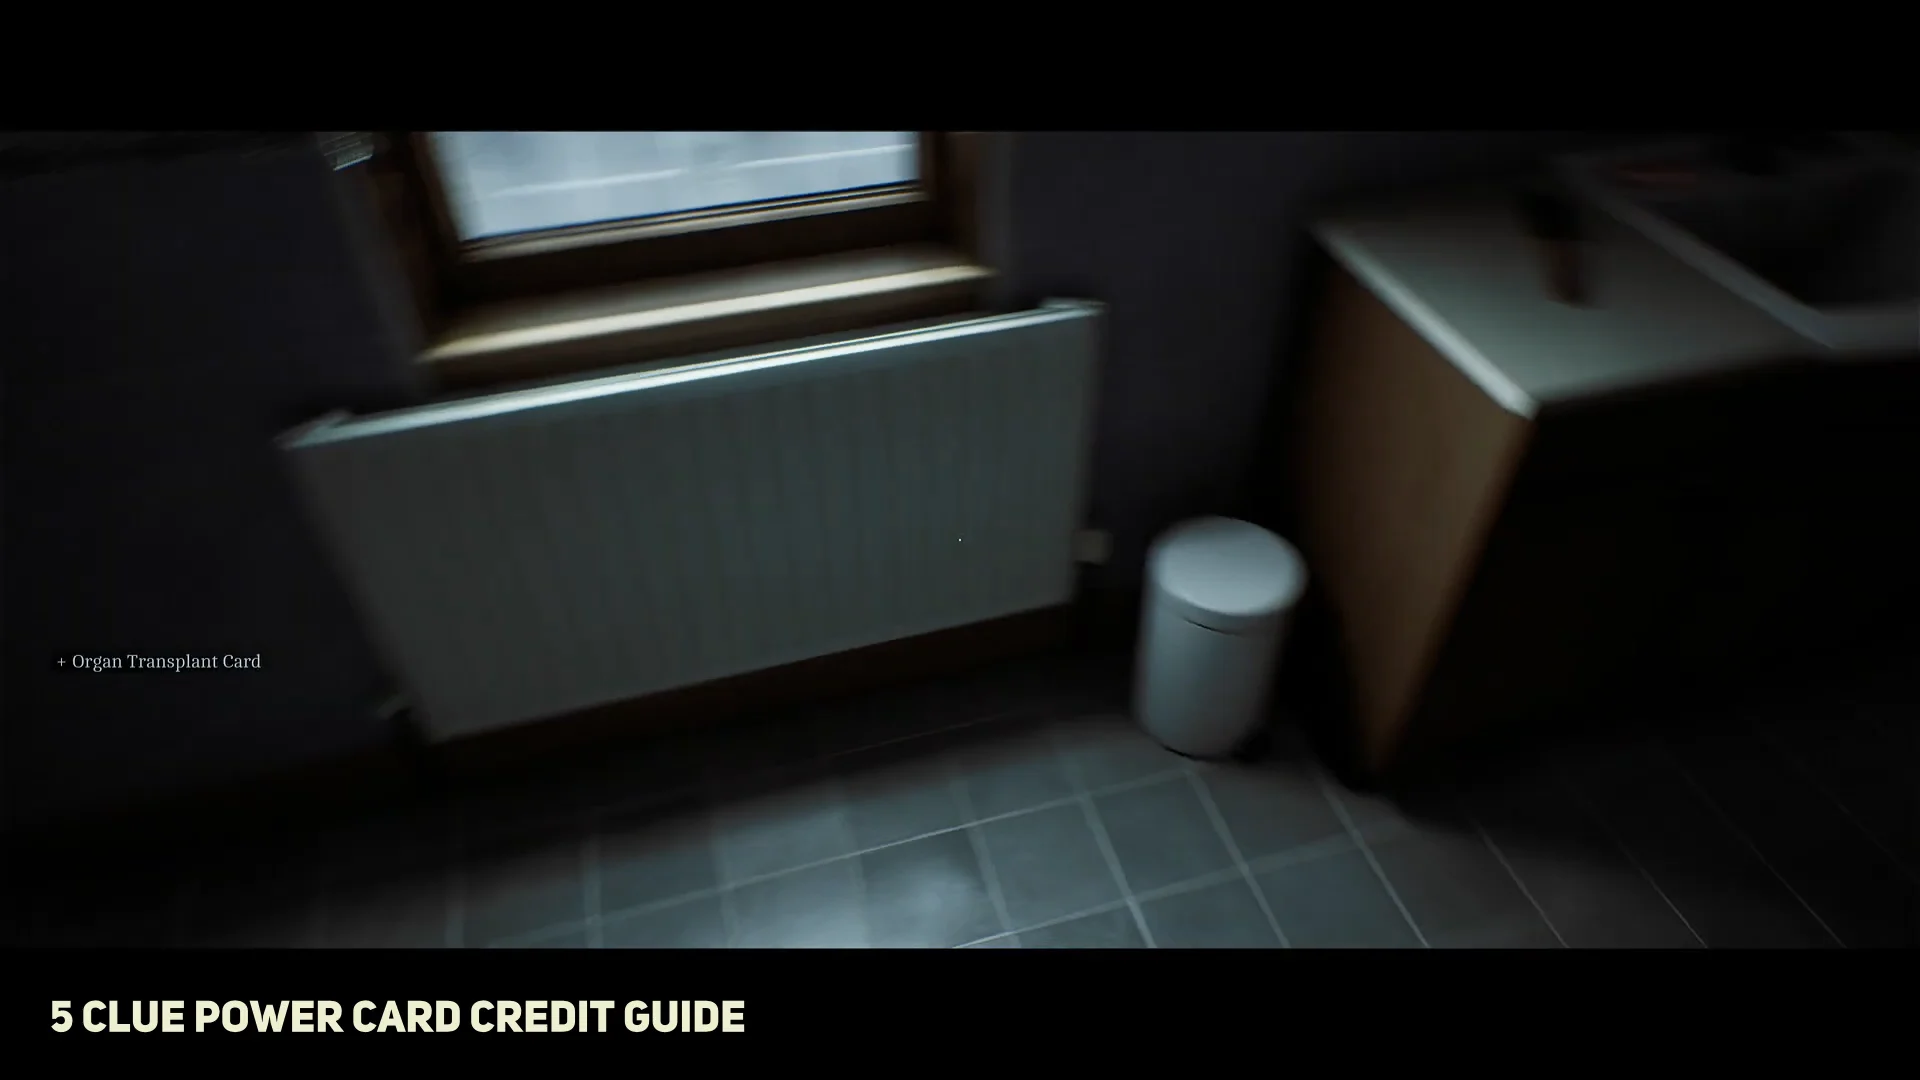
| Organ Transplant Card | Upstairs bathroom floor |
| Electricard Credit Guide | Cardboard box in the under-stairs crawlspace |
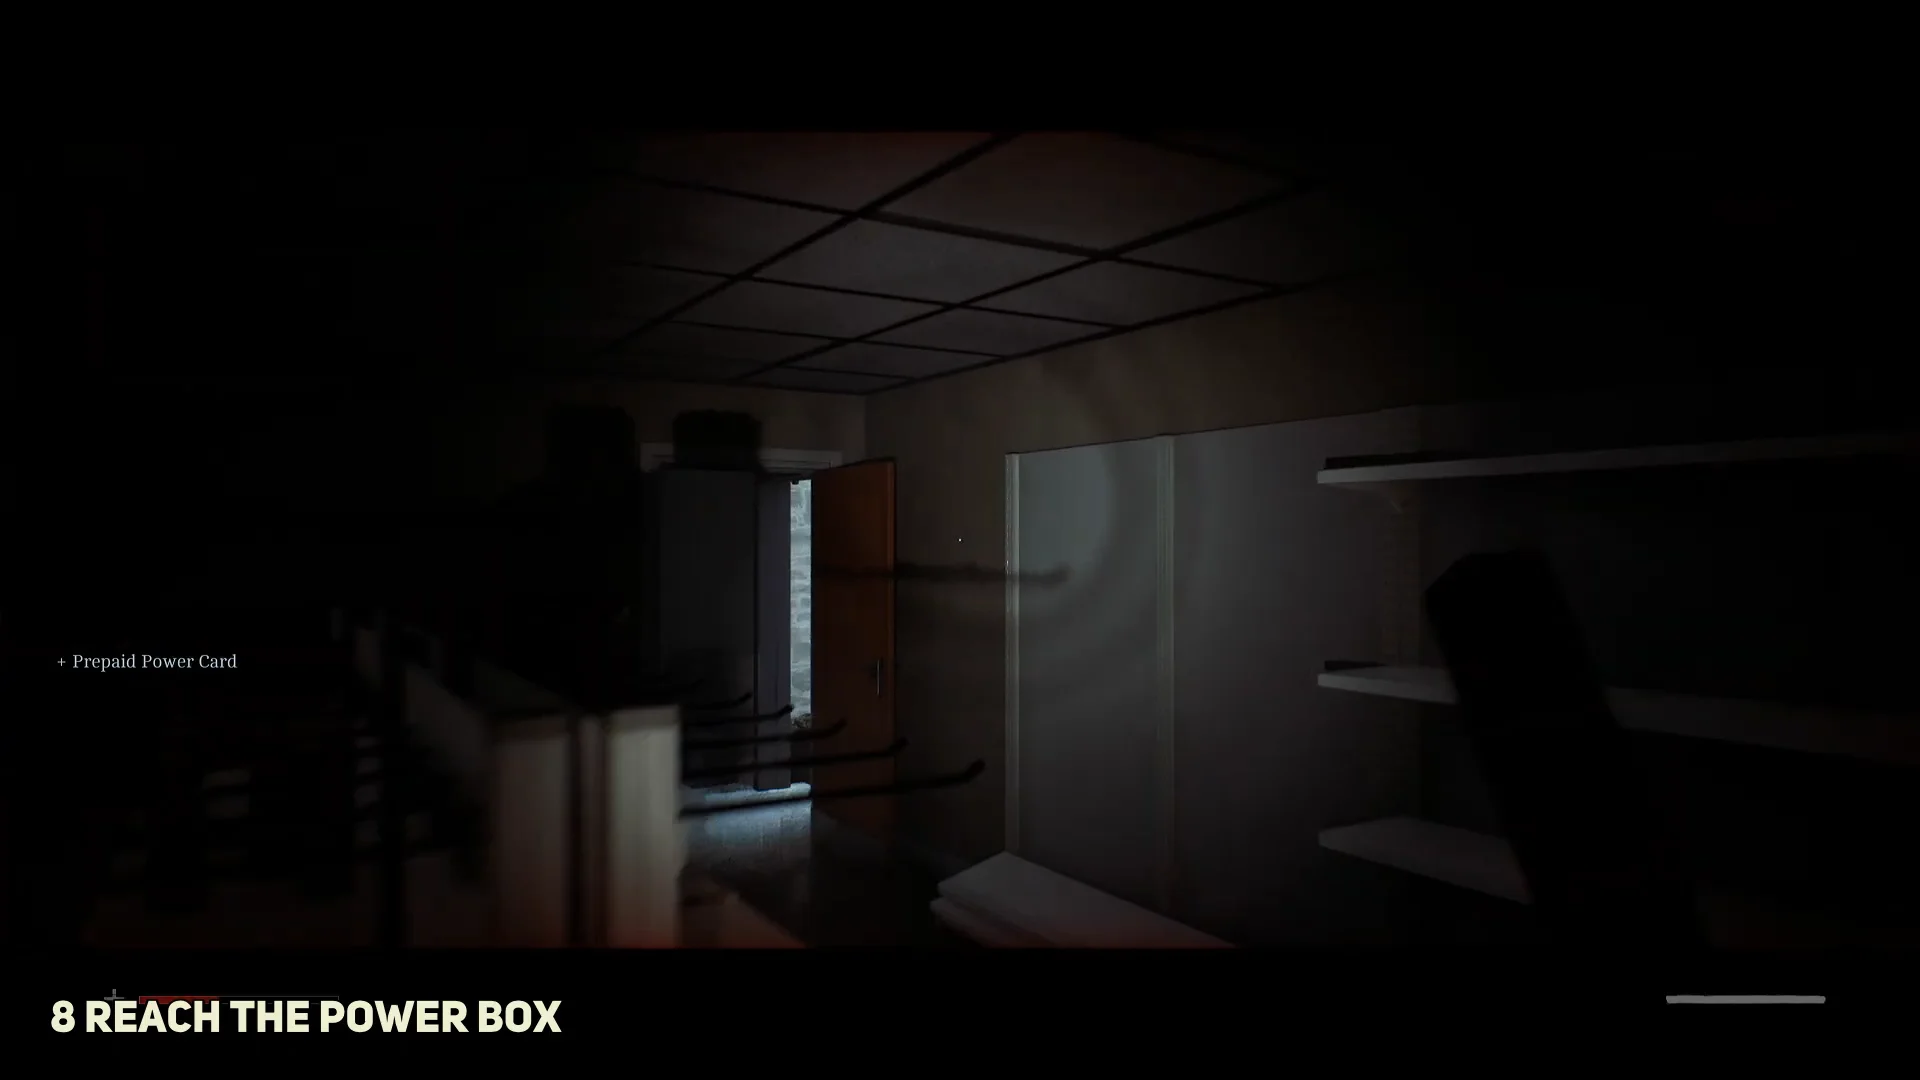
| Prepaid Power Card (£5) | Cash register in Peters Newsagent |
Turn the power back on in Zoe’s house
If the screen still shows no credit, you pressed B before cycling to Card Credit. Cycle with A first, then apply.
Where the 956 and 133 codes come from
After the power returns, switch on the desktop computer in the living room, launch the RedSquares mail client, and select Refresh Inbox. Zoe Ellis has three emails; the relevant one is the middle message, “FW: For Attending SURG04GE_+ON”.
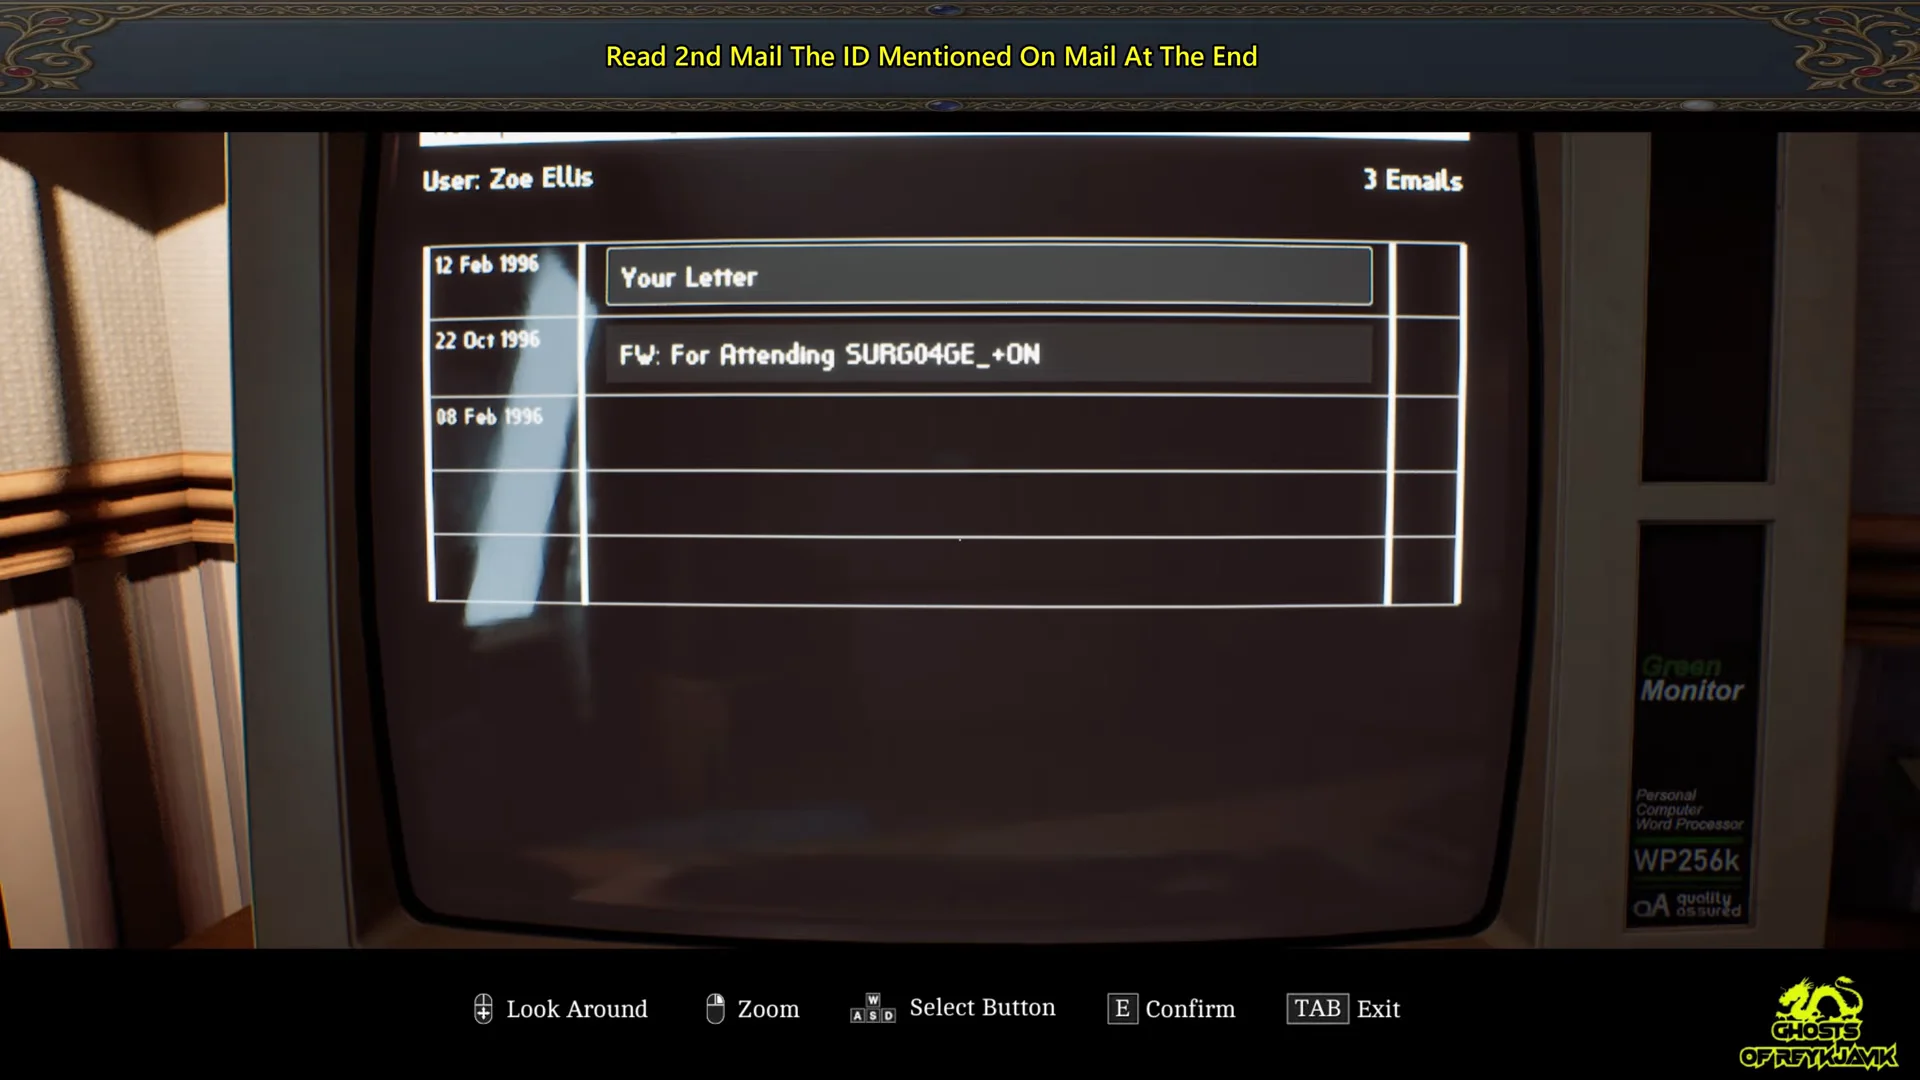
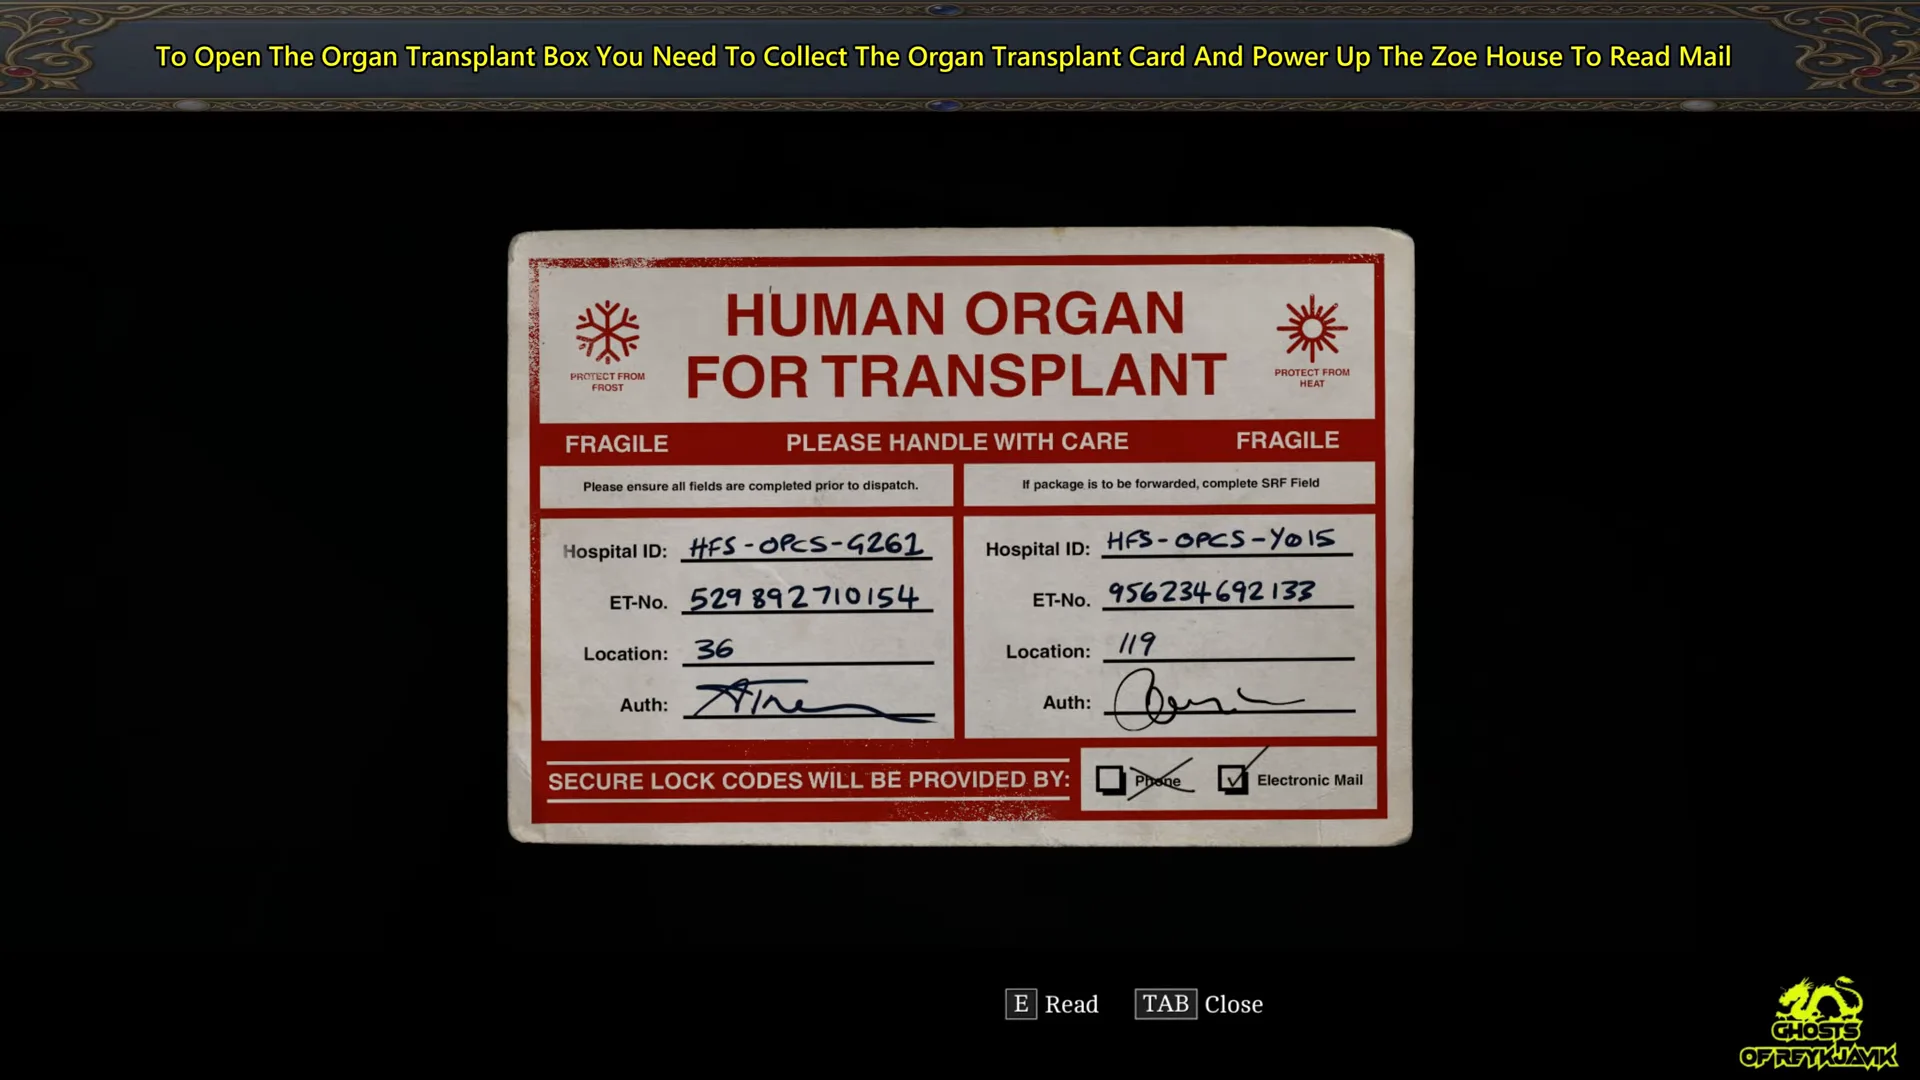
The text is partly corrupted, but the instruction survives: the lock boxes are “set using the first and last 3 digits of the corresponding ET Code”. The message ends with a hospital ID, and that ID matches the record printed on the right-hand side of the Organ Transplant Card. Pull the card up from your Clues tab and its ET number reads 956234692133.
| Lock | Digits used | Code |
|---|---|---|
| Left | First three of the ET number | 956 |
| Right | Last three of the ET number | 133 |
The second record on the card is a distraction. Its ET number is 529892710154, and those digits work in neither lock.
While the inbox is open, read the remaining two emails as well. They are added to your Documents list, which counts toward the trophies for collecting half and then the complete set of documents.
Dial in 956 and 133 on the organ transport box
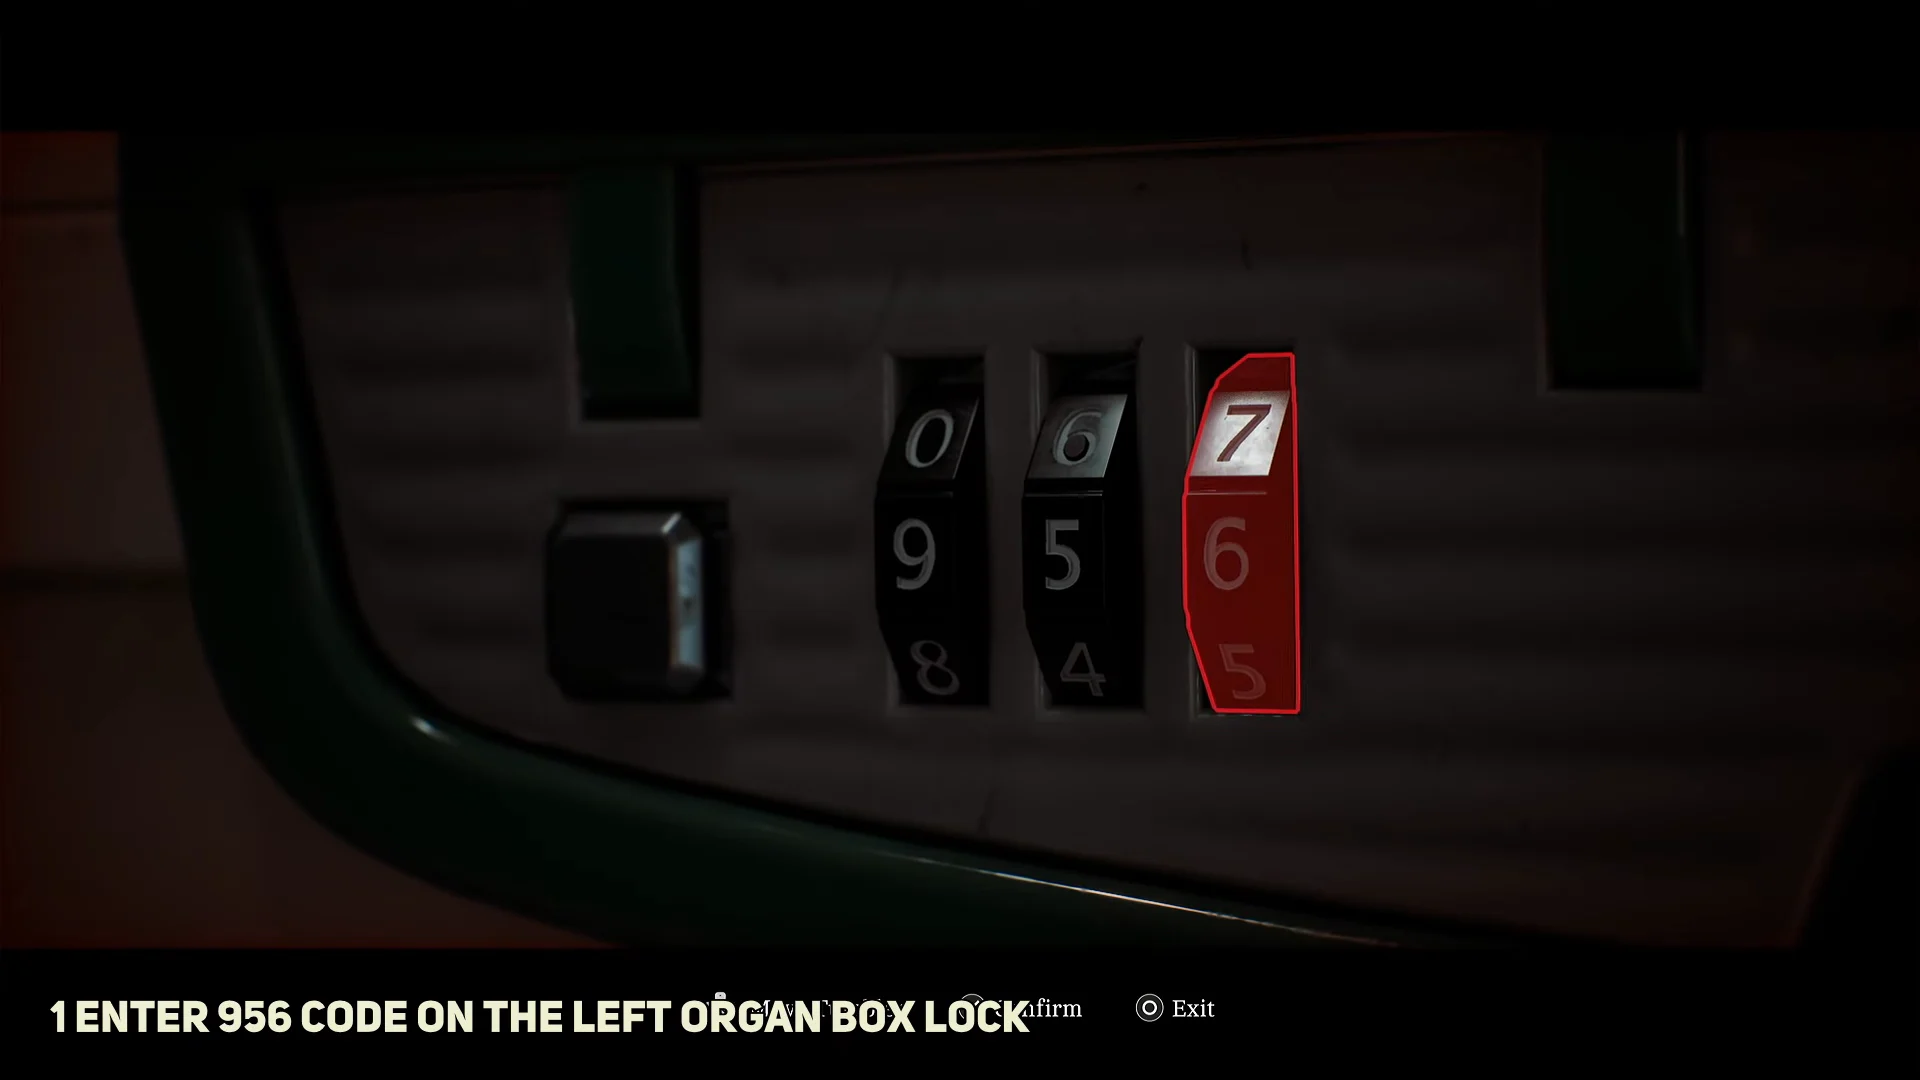
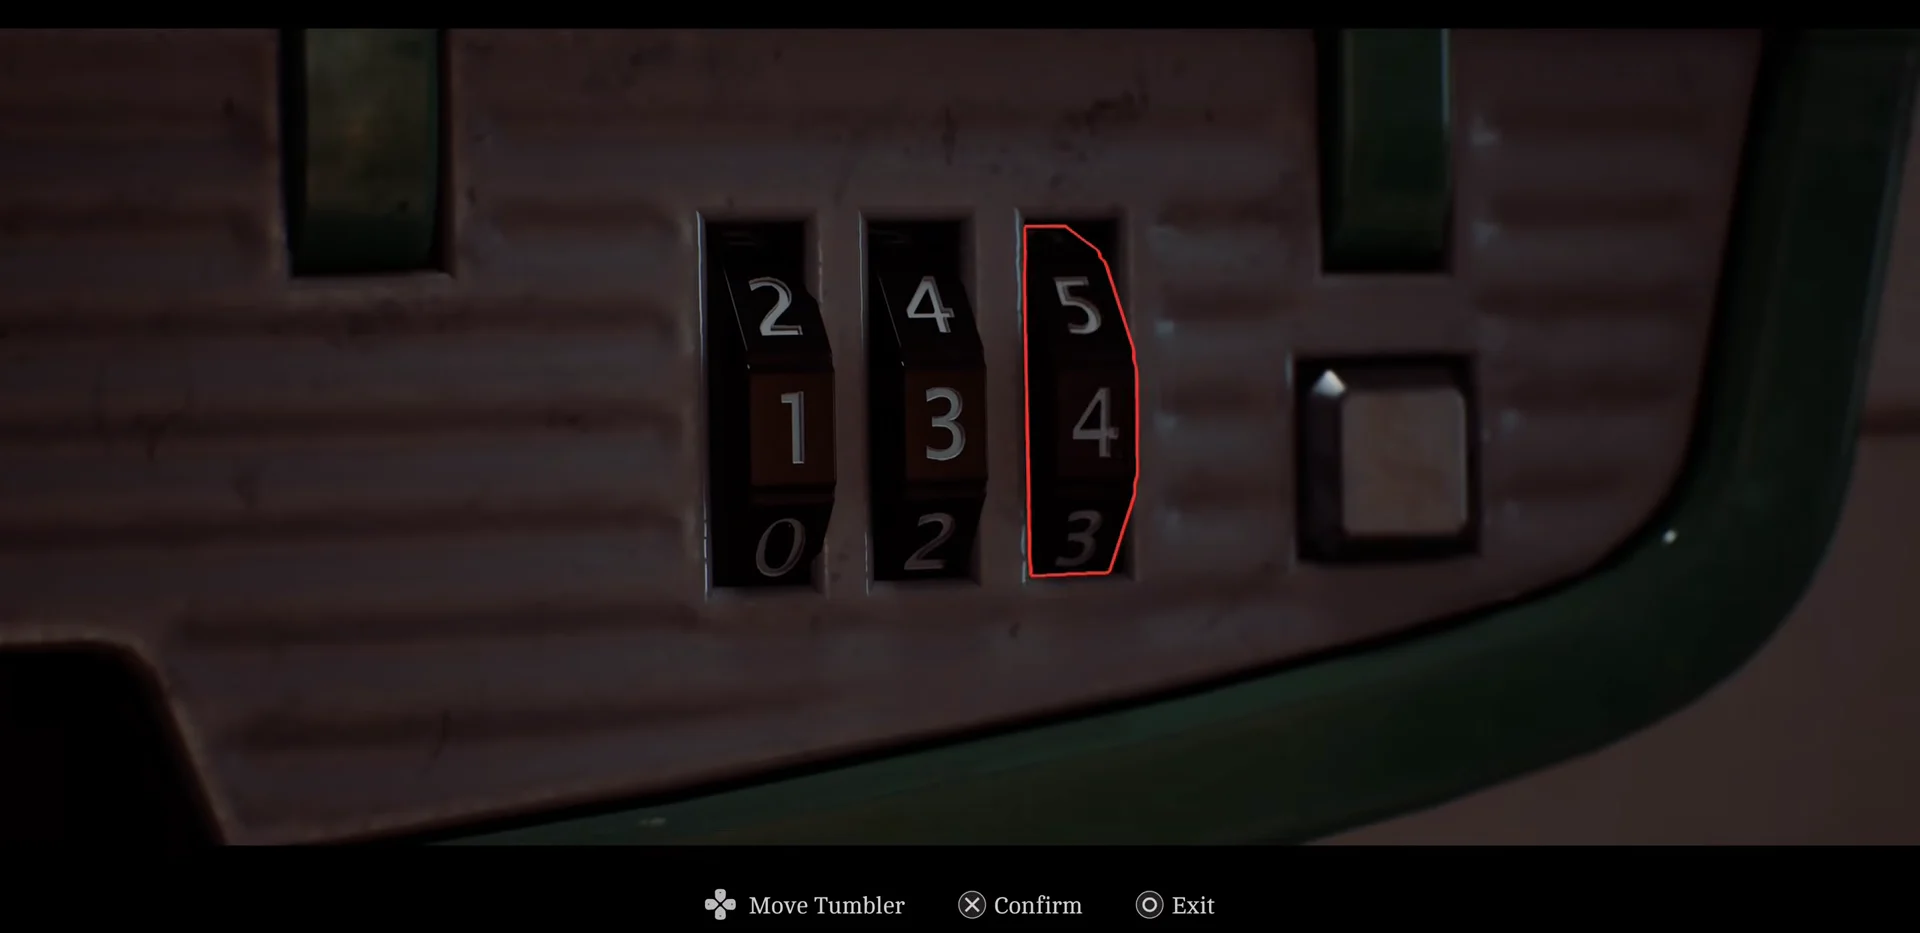
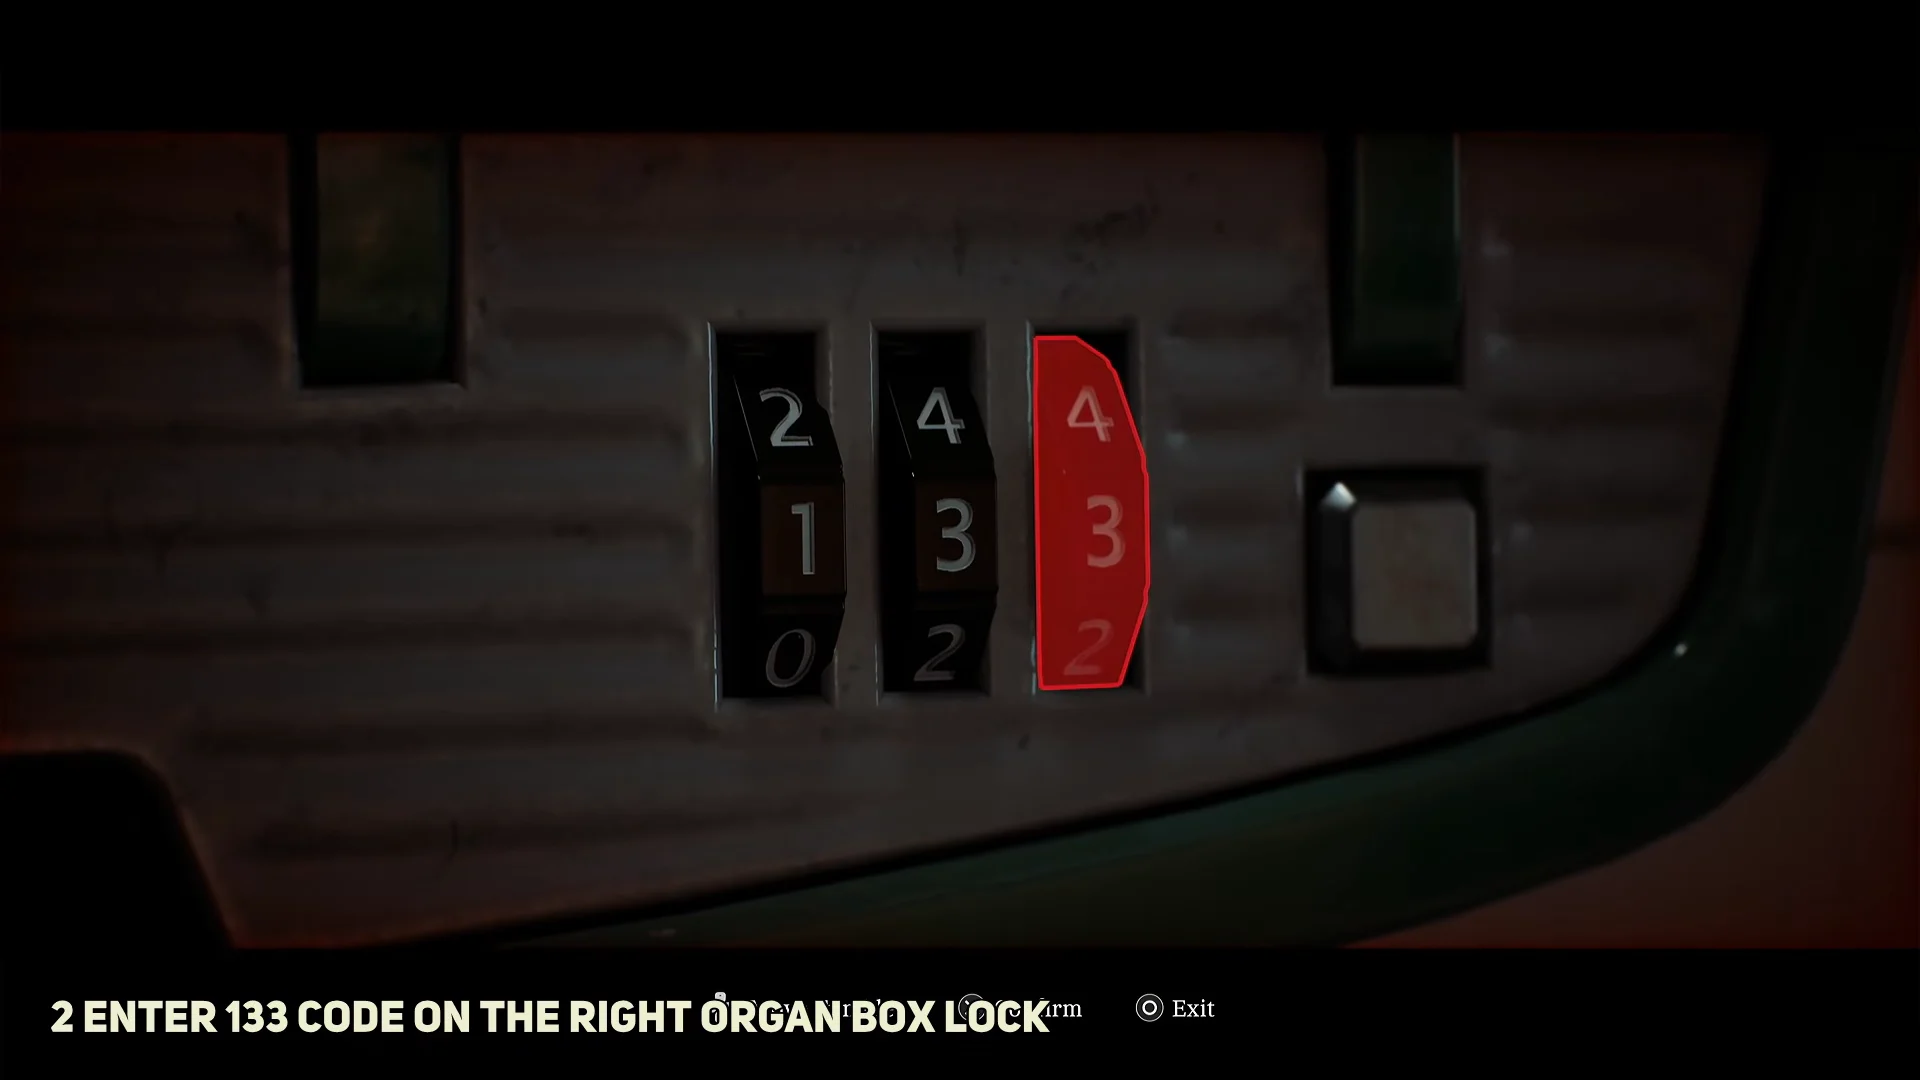
A short cutscene shows Simon lifting the lid and pulling out a lanyard. You receive Zoe’s Lanyard, the Access ID issued to Zoe Ellis for the Shorefront Family Clinic, and the map updates with the clinic marked as your next objective. The Organ Transplant Card stays in your inventory with a Read option if you want another look.
What Zoe’s Lanyard unlocks next
Take the lanyard to the clinic and use it on the panel left of the entrance. At the corridor’s far end, the Z Ellis office contains a green medical case with a Scalpel. That tool opens rusted doors fitted with a central hatch, including the pharmacy and the St. Amelia Park gate.
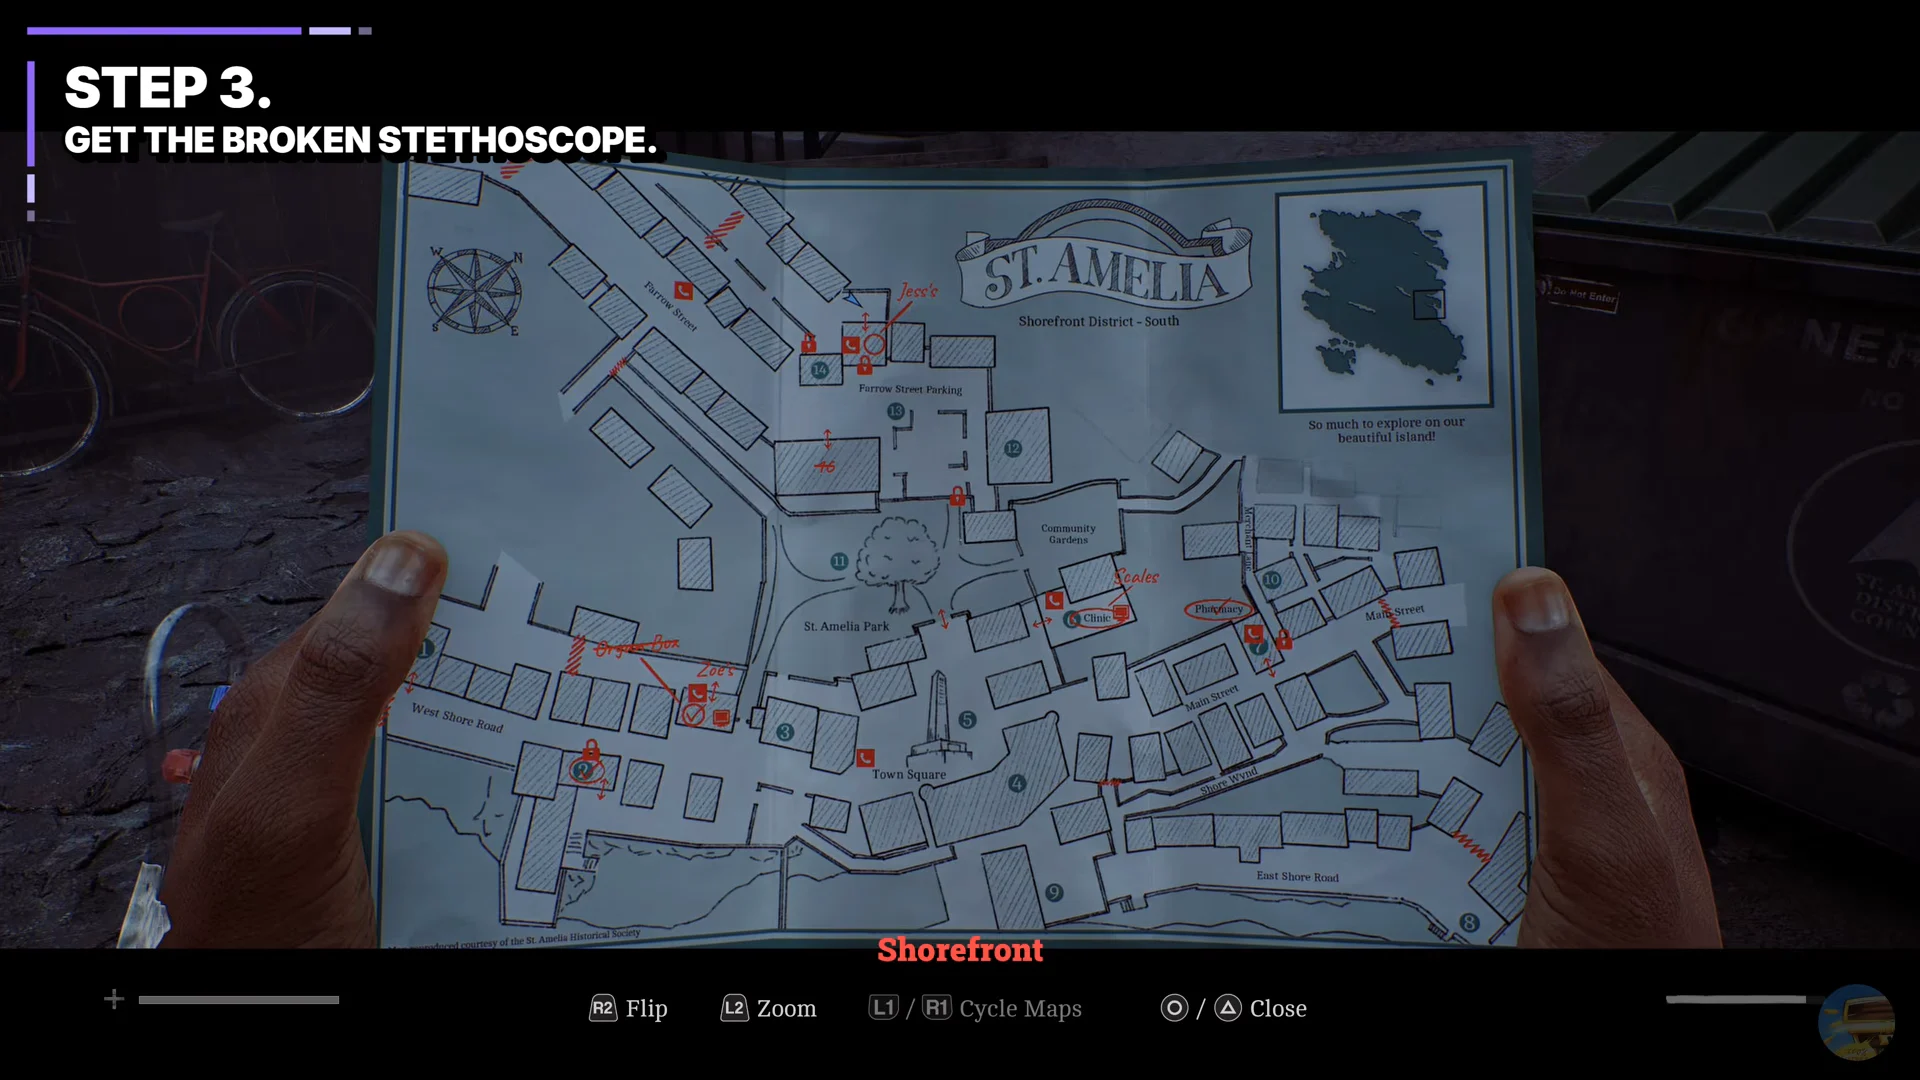
Hold onto the lanyard after the clinic door opens. It is one of three objects the scales puzzle in the Z Ellis room needs later, alongside the Prescription Dosage Error Record from the pharmacy locker and the Broken Stethoscope from Jess’s house.
After opening the cooler, the kitchen has no further worthwhile searches. Take the alley toward the town square to reach the clinic by the quickest route.





