Windows timeline feature serves the purpose of reminding the users what they were browsing earlier. The feature tracks the pictures, videos, documents or anything else you are browsing through on your PC and creates a timeline incorporating all the files.
If you are aware of your internet’s browsing history, then you will understand the concept better. It is more like your PC’s browsing history that lets you open any recently used (days, weeks, months) file quickly. You need to choose the previously used file from the timeline collection.
This timeline feature rolled out with Windows 10’s April 2018 Update and is quite appreciated by the users.
If you are a Windows 10 user and haven’t used the Timeline feature yet, here is a step-by-step guide to put this exciting feature in proper use.
How to open Windows 10 Timeline
- Click on the Task View icon located to the right of the Cortana search box.
└ Note: If you do not see the Task View option in the mentioned place then, chances are, you have disabled the option in the past. To re-enable the option, right-click on the Taskbar » Click on “Show Task View Button.” - Now the timeline will appear on the screen. Scroll through it to see how Windows has been keeping track of the stuff you do on your PC.
Note: If Timeline shows the following message “Use your PC more to see your activities here” even when you use your PC enough, then the Timeline is probably facing some issues. Follow the link below to fix it.
→ Windows Timeline not working? Here’s how to fix it
How to use the Timeline on Windows 10?
You can use the Timeline in several ways. Let’s have a look at some of its best usages.
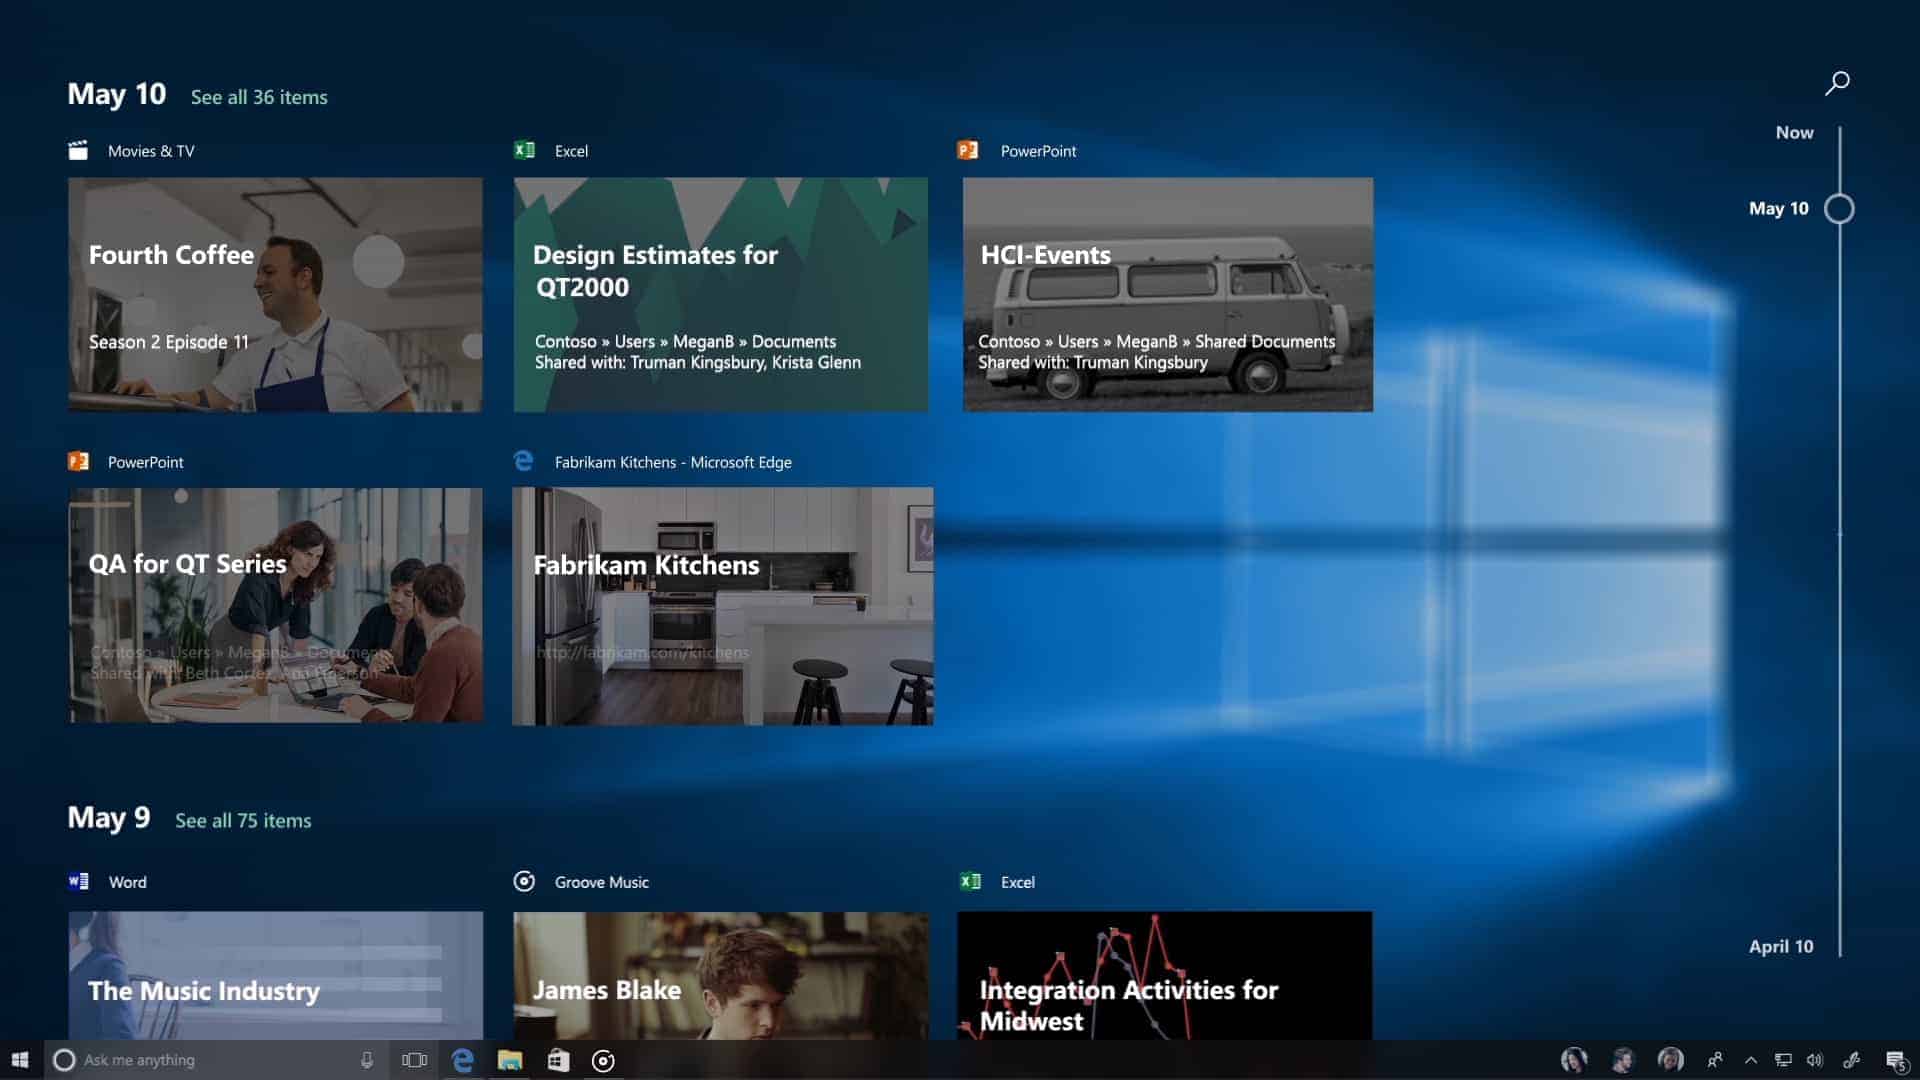
Check the date specific activities
To check a particular action performed on a specific date, click the circle on the Slider on the right and set it to your preferred time.
Search activities and top activities
To search for an activity, click the Search icon located at the upper right area of the screen and type the name of the activity.
To see only top activities, click on the “See only top activities” option located at the upper left area of the screen, just next to the date and time display.
Remove the activities
To remove an activity, right-click on the activity thumbnail and select the Remove option. This only deletes the activity from the timeline, not the file from the system.
Synchronize multiple devices
If you want to use the timeline on other devices, you can do it as well by enabling the syncing option first.
Open Settings » Privacy » Activity History, and enable the Let Windows sync my activities from this PC to the cloud option.
Now you can use the timeline in another device by logging in with the same Microsoft account.
Customizing the Timeline
To customize the timeline, Open Settings » System » Multitasking, and enable the Show suggestions occasionally in Timeline toggle.
Disabling the Timeline feature
You can also disable the Timeline feature. To do that, open Settings » Privacy » Activity History, uncheck the Let Windows collect my activities from this PC option.
That’s all. Enjoy browsing through your PC activity using the Windows 10 Timeline feature.


