
WINFR, short for Windows File Recovery, is a command used in the Windows File Recovery command-line app to recover deleted files, data lost while formatting the hard drive or partition, or to restore files from a corrupted drive.
Windows File Recovery tool can be downloaded and installed from the Microsoft App Store and it works on Windows 10 version 2004 or newer. You can use this tool to recover your lost files from internal drives, external drives, SD cards, and USB devices. This utility cannot recover files from cloud storage and network file shares.
Here’s everything you need to know about winfr command-line utility and how it works.
How to Install Microsoft File Recovery
Before Microsoft’s Windows File Recovery tool, if you accidentally deleted or lost a file, you needed 3rd party file recovery tools to recover it. Now Microsoft gives a free in-built File Recovery program for all Windows 10 users.
To recover lost files, you need to download and install the Windows File Recovery app from Microsoft App Store.
To do that, search for ‘Microsoft Store’ in the Windows search box and open it. Then, type ‘Windows File Recovery’ in the Microsoft Store search box at the top right-hand corner and open the app from the search result.

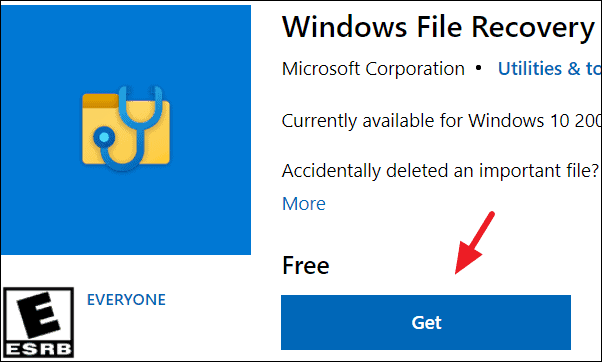
Now Click ‘Get’ to start the download and wait for it to finish.
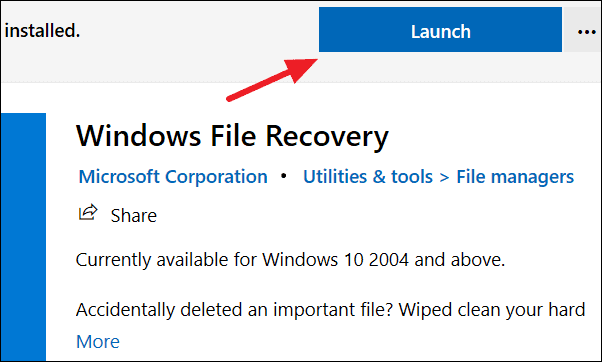
Once the download is complete, you can start the app by clicking the ‘Launch’ button at the top.
How to Use WINFR Command to Recover Deleted Files on Windows 10
The summer 2020 release of the Windows File Recovery tool had three modes ‘Default’, ‘Segment’, and ‘Signature’, which were a little bit complicated. But the new version rectified that with only two modes ‘regular’ and ‘extensive’ which can be used to recover files.
Deciding which Mode of WINFR to Use
The ‘regular’ mode is used to recover files that were recently deleted on the NTFS file system. And the ‘extensive’ mode is used to recover files that were lost a while ago, from a corrupted disk, and from a formatted disk.
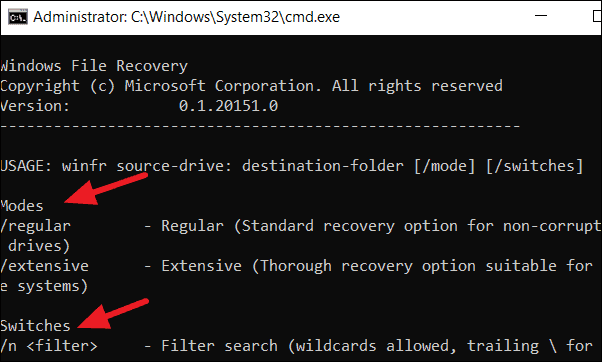
Launch the ‘Windows File Recovery’ app from the Windows menu and an elevated command prompt will open. There, you can see all the modes and switches that are available in the tool.
The general command line syntax to recover files in ‘regular’ and ‘extensive’ modes is:
winfr source-drive: destination-drive: [/switches]How to Recover Files using Windows File Recovery on Regular Mode
The ‘regular’ mode offers the quickest way to recover files that were recently lost and it only supports the NTFS file system. To find out the file system of your drive, right-click on the drive you want to recover and click ’Properties’, and then click the ‘General’ tab to see what file system your drive is using.
Type the following command in the command prompt and press Enter to search and recover the deleted files using ‘regular’ mode:
winfr source-drive: destination-drive: /regular /n FILTER
In the above command, the source-drive and destination-drive arguments refer to the search drive letter and saving drive letter respectively. And FILTER refers to the folder path to narrow down your search.
Examples
For Example, if you want to recover an entire ‘Documents’ folder inside ‘rajth’ user account from the ‘C:’ drive and save the recovered files in ‘A:’ drive, then you can use the following command.
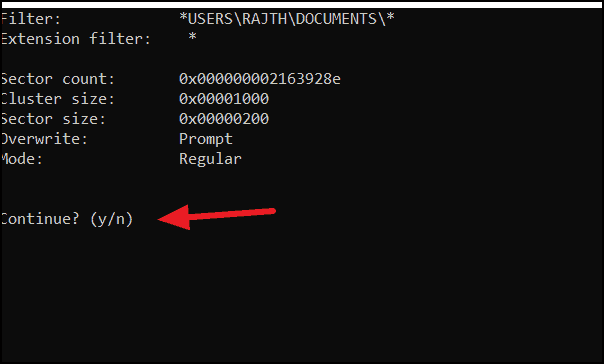
winfr C: A: /regular /n UsersRajthDocuments
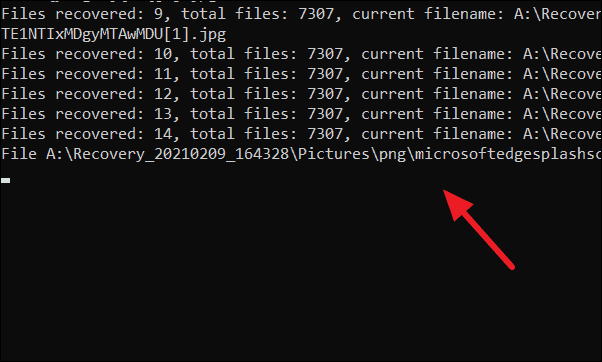
Press Y to continue and the recovered files will be saved in an automatically created recovery folder named ‘Recovery_20210209_164328’ in the ‘A:’ drive.
To recover image (PNG) and Word files (.docx) from your ‘C:’ drive and save the recovered files on an ‘A:’ drive, use this command:
winfr C: A: /regular /n *.png /n *.docx
Press Y to continue and the tool will scan the drive for lost data and recover them to the designated drive.
If you want to recover a specific file named ‘QuarterlyStatement.docx’ from ‘B:’ drive to ‘E:’ drive.
winfr B: E: /regular /n B:QuarterlyStatement.docx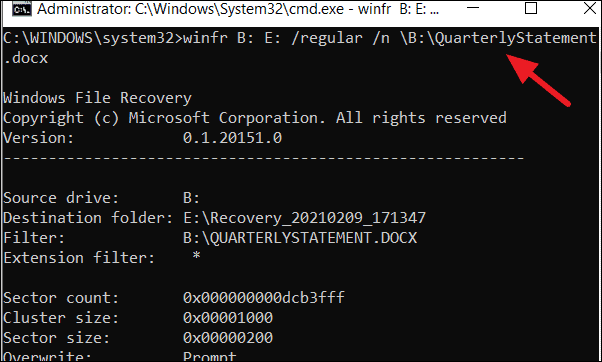
How to Recover Files using Windows File Recovery on Extensive Mode
The ‘extensive’ mode enables you to perform a more in-depth search and recover files that were lost a while ago, when the drive has become corrupted, or it has been formatted. The ‘extensive’ mode supports both NTFS and non-NTFS file systems.
The syntax for scanning and recovering the deleted files using ‘extensive’ mode:
winfr source-drive: destination-drive: /extensive /n FILTERExamples
Enter the below command to recover the ‘Documents’ folder inside the ‘Default’ user account from your ‘C:’ drive to save the recovered folder on the ‘A:’ drive. Always put the backslash (\) at the end of the folder name.
winfr C: A: /extensive /n UsersDefaultDocuments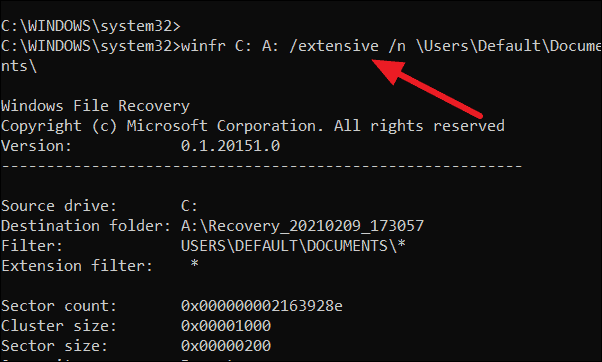
If you lost some MP4 files from the Videos folder while formatting the ‘C:’ drive and now you want to recover them to ‘E:’ drive, then type the given command and press Enter.
Winfr C: E: /extensive /n UsersrajthVideos*.MP4 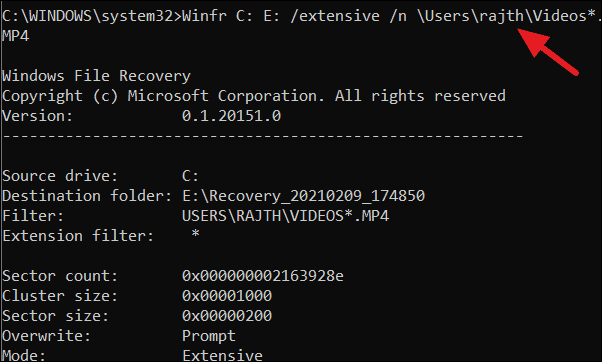
If you lost your payslips in a corrupted ‘A:’ drive, and now you can just recover any files with the string ‘payslip’ in the filename by using wildcard characters. Type the following command and press ‘Enter’.
winfr A: E: /extensive /n *payslip*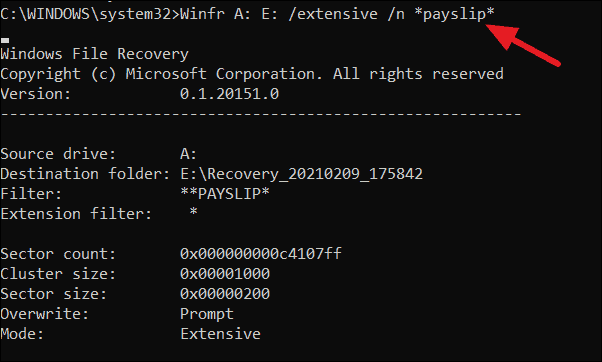
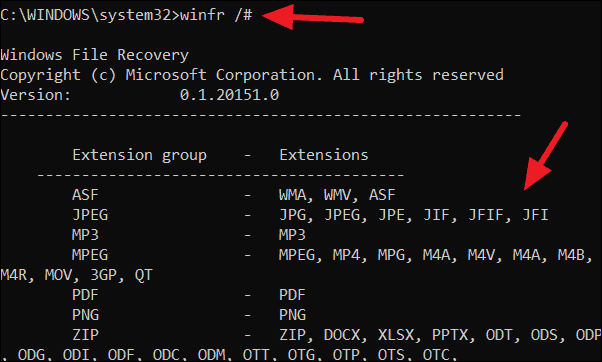
Although Windows File Recovery is an efficient recovery tool, it cannot recover all file types. To know all the file extension groups and their corresponding file types, which are supported by the WINFR tool, just type:
winfr /#And the file types that are supported for recovery will be listed.
Once the process is complete, check the destination drive which you entered in the command prompt to see if your files are recovered. We strongly recommend you back up your files regularly to avoid data loss in the future.


