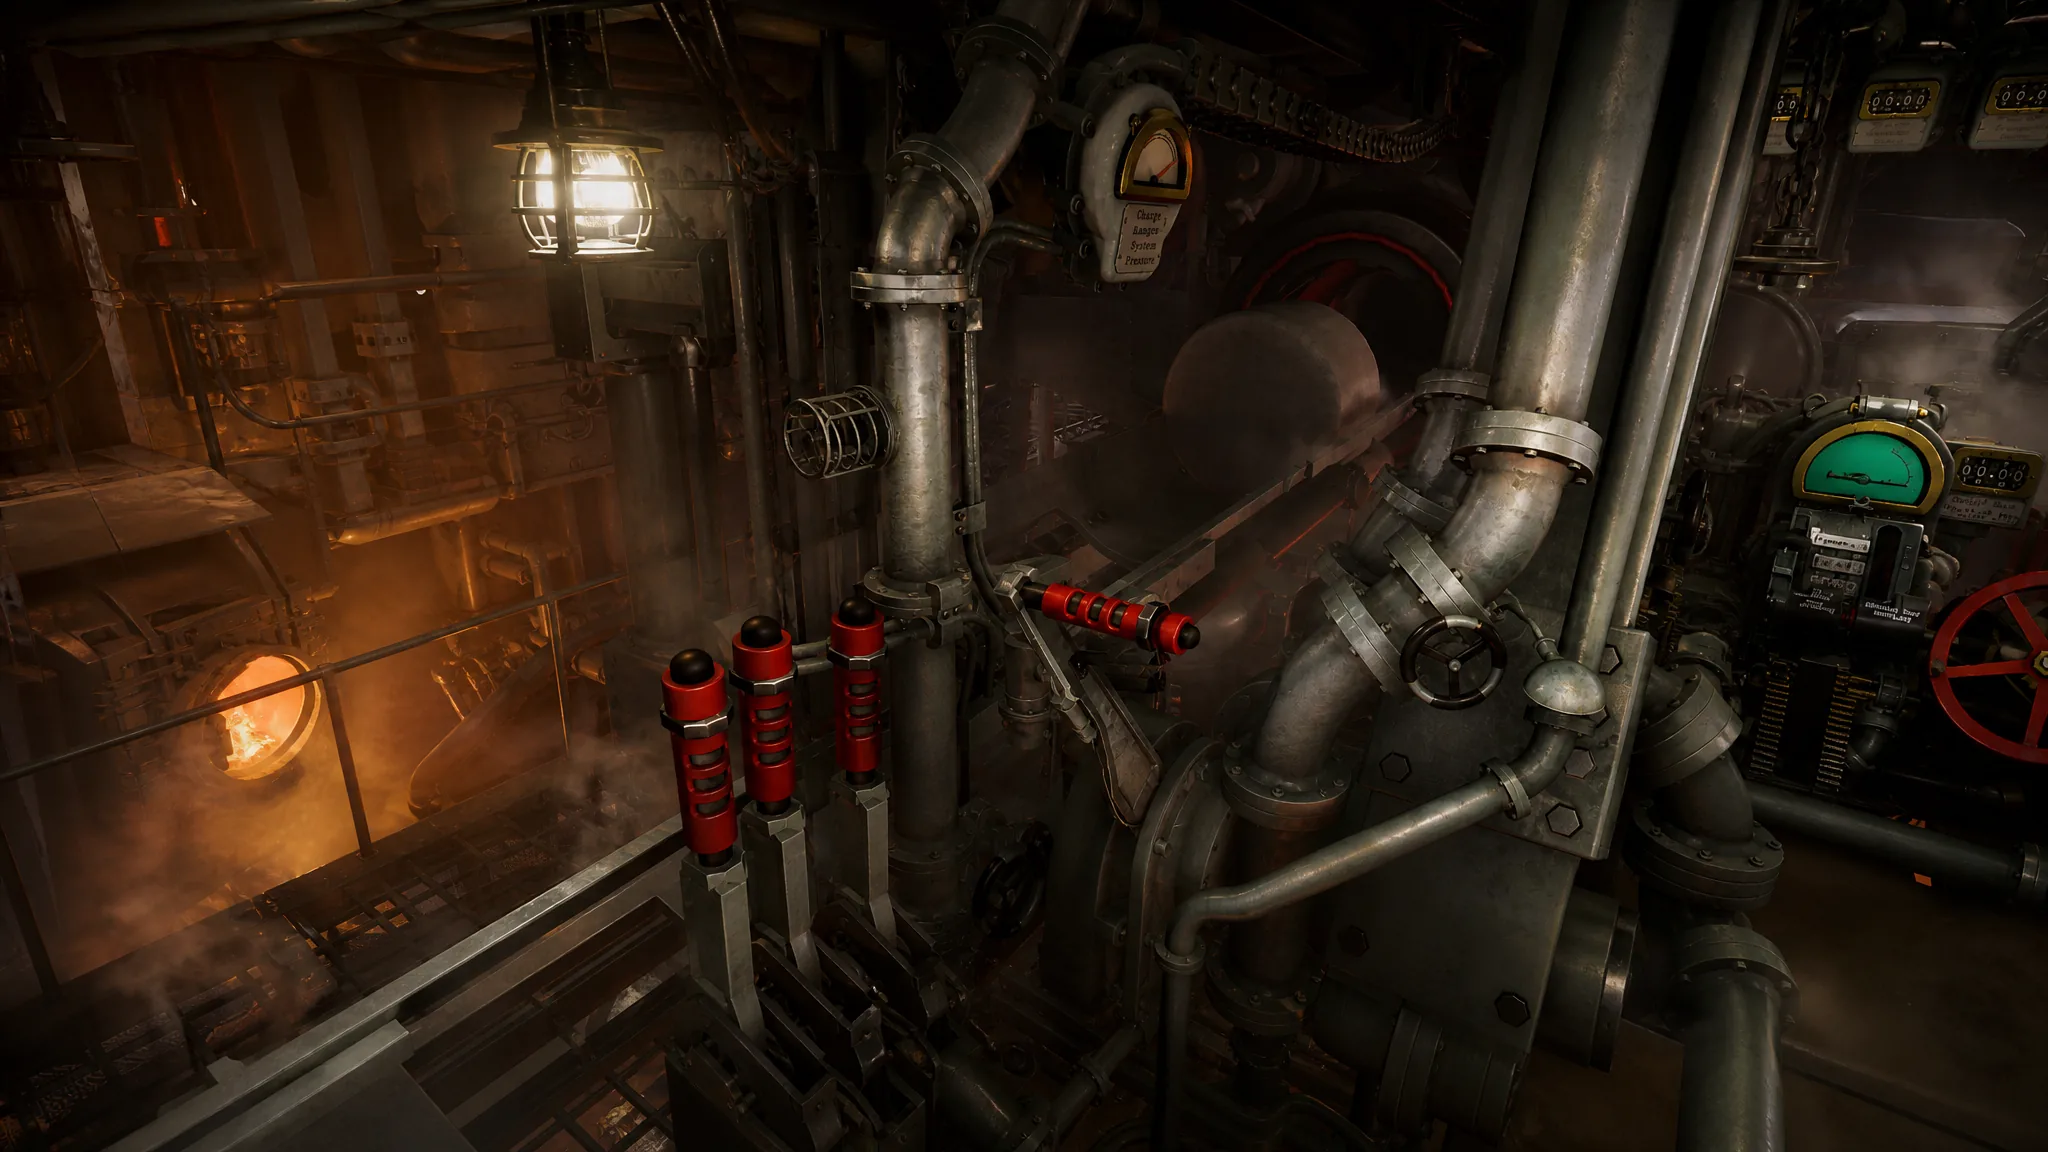
Loading the right shell decides whether an operation ends in a clean strike or a wasted requisition. The turret in IRON NEST: Heavy Turret Simulator accepts a wide spread of ammunition, and each round trades damage, blast size, and cost against one another. Below are the exact numbers for every shell so you can match ammunition to the target in front of you.
Quick answer: Read the Impact Radius and Requisition Cost columns first. Pick the smallest blast that still clears the target, and keep the cost low when you are chasing a Gold Medal.
All shell types and their core stats
Every shell shares three constant values: a projectile speed of 0.7, a single projectile per shot, and a default charge of 3. The figures that actually change between rounds are damage, impact radius, maximum charges, and requisition cost.
| Type | Damage | Impact Rad | Max Charges | Req. Cost |
|---|---|---|---|---|
| HE | 1 | 0.25 | 7 | 10 |
| AP | 2 | 0.15 | 6 | 10 |
| APHE | 2 | 0.25 | 6 | 15 |
| ATMC | 2 | 3 | 6 | TBD |
| CLMN | 1 | 0.5 | 6 | 17 |
| CYAN | 1 | 0.75 | 6 | 28 |
| DRIL | 1 | 0.07 | 6 | 3 |
| EQKE | 2 | 0.55 | 6 | 26 |
| FLCH | 1 | 0.62 | 6 | 20 |
| HCHE | 1 | 0.55 | 6 | 18 |
| INCN | 1 | 0.25 | 6 | 12 |
| LE | 1 | 0.15 | 6 | 10 |
| PCLM | 1 | 0.15 | 6 | 15 |
| PHGN | 1 | 0.62 | 6 | 10 |
| PRPG | 1 | 0.5 | 6 | 7 |
| SMK | 1 | 1 | 6 | 2 |
| STAR | 1 | 0.5 | 6 | 2 |
| TEAR | 0 | 0.75 | 6 | 8 |
| THRM | 1 | 0.35 | 6 | 8 |
| WP | 0 | 0.75 | 6 | 10 |
HE is the only shell that allows up to 7 charges. Every other round tops out at 6. The requisition cost for ATMC is not yet set, so treat it as a variable until the value appears in-game.
How impact radius changes your shot
Impact radius is the size of the blast when the shell lands. A larger radius covers more ground, but it also reaches anything nearby, including friendly units. Firing a wide-radius round near your own troops can wipe them out along with the target.
The spread is dramatic. DRIL has the tightest footprint at 0.07, ideal for pinpoint work, while ATMC blankets a huge 3-unit area. Between those extremes, rounds like AP, LE, and PCLM (all 0.15) stay narrow, and SMK covers a full 1.0 radius for screening.
When friendly forces are close to the objective, drop down to a small-radius round such as DRIL, AP, or LE to avoid collateral hits.
Shells that deal no damage
Not every mission is about destroying a target. Some objectives call for effect rounds that carry a damage value of 0. TEAR and WP both do zero direct damage while still producing a 0.75 blast radius, so they serve support roles rather than kills.
SMK is another low-cost utility option at a requisition cost of 2, useful for screening a friendly withdrawal behind a wall of smoke. STAR shares that same 2 cost and a 0.5 radius. Reach for these when the task rewards control of the battlefield instead of raw destruction.
Managing charges and requisition cost
Charges control how far a shell travels. Distant targets need rounds that let you set three or more charges, so build the firing solution around range before you commit to a shell. HE gives you the most headroom with a maximum of 7.
Requisition cost is the resource you spend per shot, and it matters most when you are aiming for Gold Medals. Cheap rounds keep your score healthy: DRIL costs just 3, PRPG costs 7, and SMK and STAR cost only 2. At the other end, CYAN is the priciest at 28, followed by EQKE at 26 and FLCH at 20.
Balancing these two columns is the heart of shell selection. Match the charge count to the distance, choose the smallest blast that still completes the objective, and keep an eye on cost so a single operation does not drain your requisition. Do that consistently and you will clear missions without wasting a round.